How to Prepare to Hatch: Broody Hens, Incubators and Eggs
Everything from choosing an incubator or broody, what’s going on in the egg, tricks to make things run smoothly, and caring for your friends.
Today we are going to talk about selecting the right broody hen and getting an incubator setup properly, as well as how to care for your eggs up to the day you set them.
Whether it’s the hen won’t leave the nest or you get growled at every time you walk by, some sign will present that you have a broody hen on your hands. The key to success with a broody is that you make sure she is in it for the long haul. As some of you may remember, I had a very successful broody hatch in January, but an epic failure in February because my broody decided not only was she done, but she wanted the eggs destroyed.
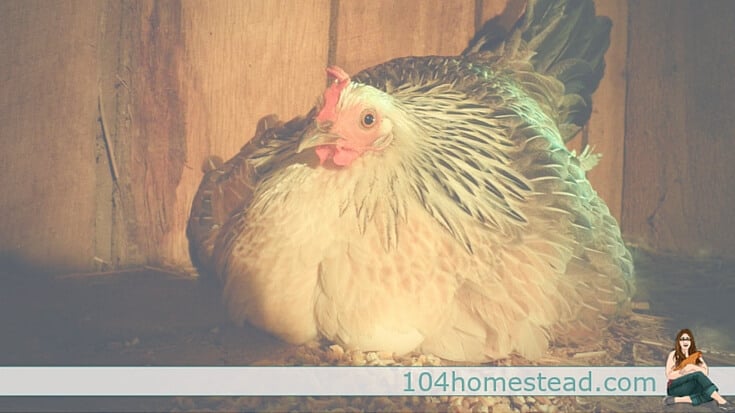
Getting Prepared with Your Broody Hen
Hens don’t have calendars under their wings, so don’t feel like you need to rush to get eggs under her at the first sign of broodiness. Give her a week or so and watch. That week not only assures you she’ll stay, but you can get to know all the issues than might present during the incubation.
Is she getting up to eat, drink and relieve herself at least once a day? No. You might need to go out there daily to make sure she stays healthy. If she does get off the nest to do her business does she come right back? No. That could indicate a lack of broodiness. Are the other hens bothering her? Yes. You might need to move her to a different location or barricade her area. Use this week to get an idea on how the next three weeks might go.
Once you’ve worked out these issues, you’re ready to set some eggs.
Getting Prepared with Your Incubator
Did you know that it is wise to run your incubator on its desired settings for one week before setting eggs? Why? Because that way you know (like with the broody hen) what you can expect during the next three weeks.
How much do you have to move the dial to change the temperatures? Does the sun shine in and increase the heat? Are you going to pop the breaker when you make toast using the same outlet? By getting to know how your incubator reacts, you can better ward off a problem before it arises. It may be a matter of relocating it or modifying it in some way.
I recently heard that someone had modified the temperature knob of the Little Giant Forced Air Incubator with a soda cap because they had a hard time making tiny adjustments with such a small knob. The soda cap fixed the problem. You don’t want to be dealing with issues like this when there are already precious eggs inside.

So what temperatures are you aiming for? In a still-air model (no fan) you want a temperature reading of 101-102°F at the top of the eggs. In a model with a fan, the recommended range is between 99-100°F. For the first 18 days you want to get a humidity of 45-50% and for the last three+ days you want to increase it to 65%.
Preparing the Eggs
Regardless of which incubating method you choose, there are some things you need to do to get ready. When collecting the eggs, do not wash them. Store them with the fat side up and at a temperature of 55°F and with a humidity level of around 75%. Make sure to tilt or turn the eggs a few times through the day to prevent sticking.
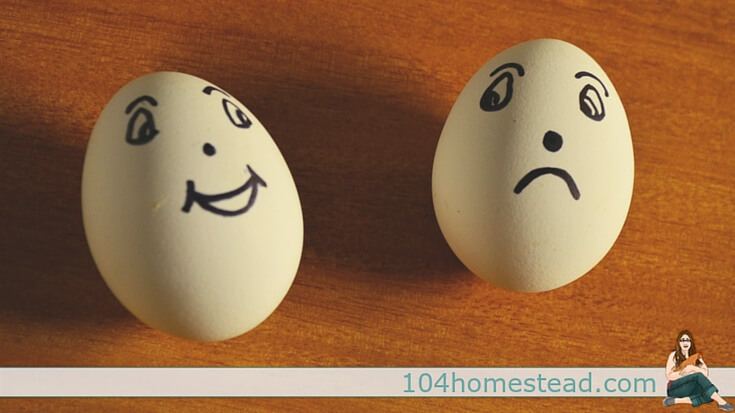
Speaking of turning eggs, you want to mark your eggs both before and during the incubation period. No, not silly faces like the picture below (well, I suppose you could). You want to mark the eggs with an X and an O in the case of incubator hatches so you can keep track of turning.
You may want to mark with a number or breed if you are interested in tracking those details. I usually number them no matter how I incubate and then I have a cheat sheet of which egg is from which hen (if I know). I do this so when I candle an egg on day 7 and I’m on the fence about how it’s doing, I know to check that same egg a few days later to see if there’s progress.
Another marking you might want to do is marking the air cell growth. You can trace the air cell when you candle so you can make sure it’s growing at the correct rate. You can learn all about candling in How to Candle Chicken Eggs.
Happy hatching!
If you’ve found value in this blog post and enjoyed reading it, why not share it with your Pinterest community? Pin the image below and spread the love!