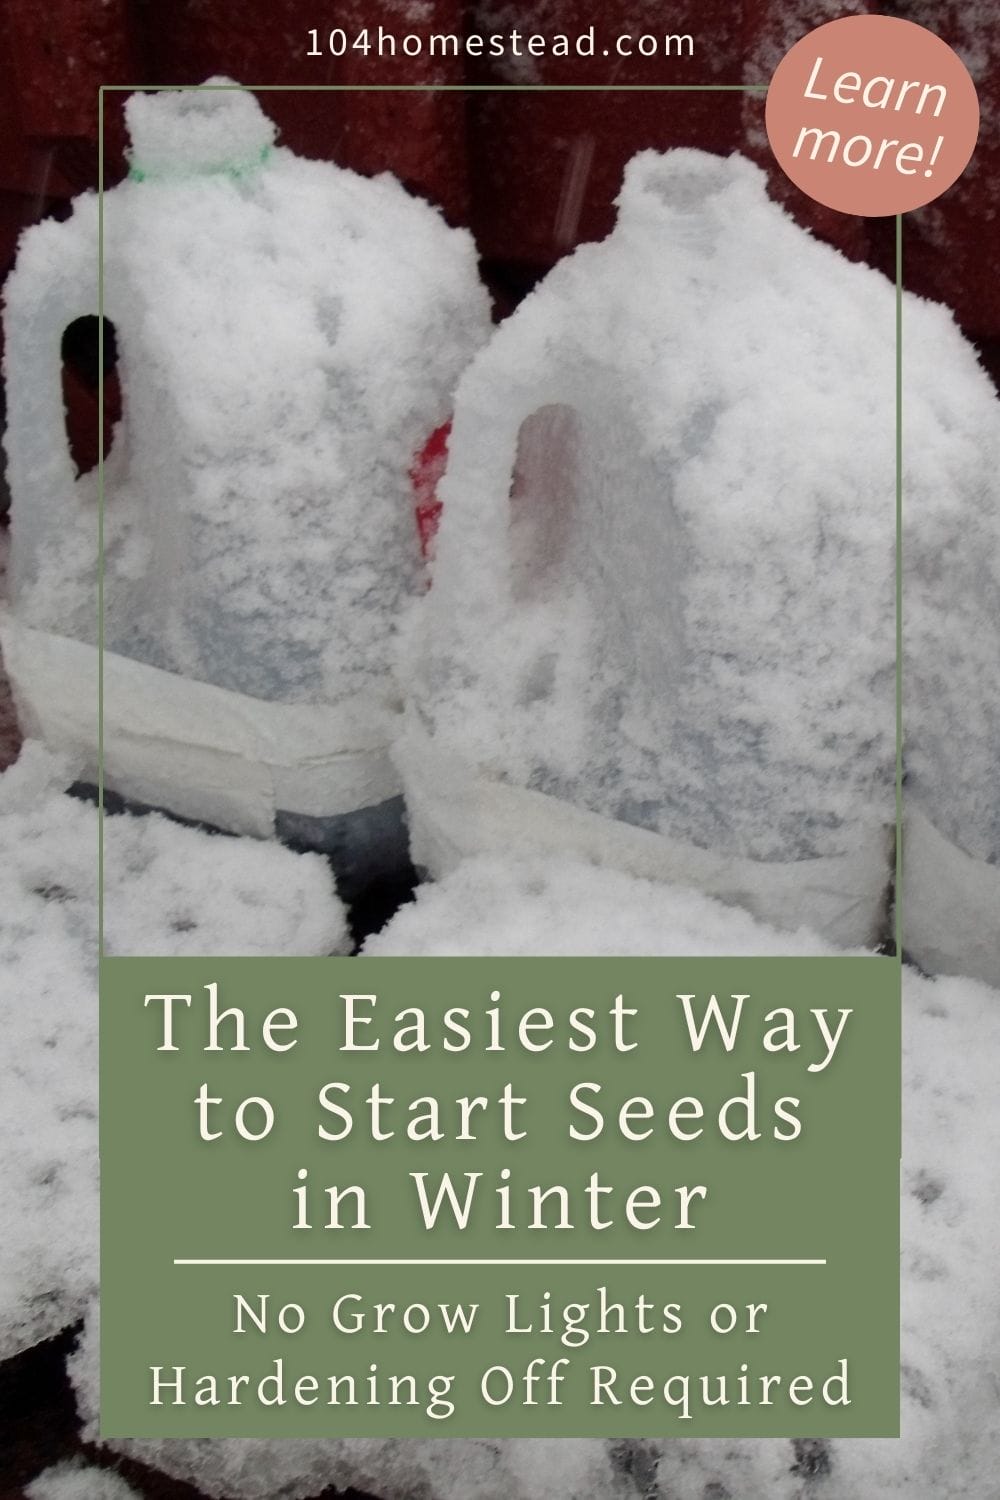
A Guide to Winter Sowing {Starting Seeds in Winter}

Winter sowing involves sowing the seeds outdoors in miniature greenhouses during the winter, allowing them to germinate naturally in spring.
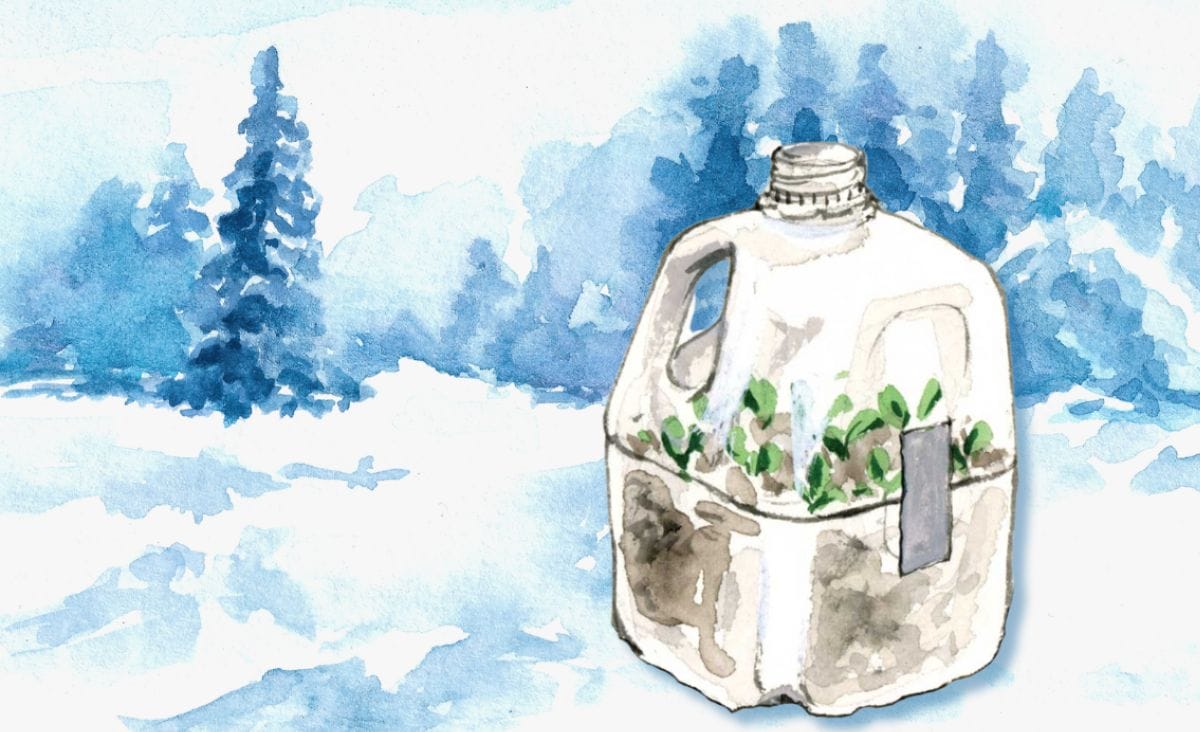
A drawing of seeds planted in a milk jug.

Results of a recent social media poll showed that 96% of people who start their plants from seed do so by following the instructions on the back of the packet. They sow seeds in pots in sunny windows 6-8 weeks before the last frost. It makes sense that you would follow the directions, but what if there were an easier and much better way to get those seedlings started?

This guide to winter sowing is like a backstage pass to the magic of gardening—skip the usual routine and embrace a simpler, more effective way to kickstart your seedlings. With its miniature greenhouses and natural germination, winter sowing adds a touch of homestead wisdom to your gardening journey. Whether you’re a first-time veggie gardener or a seasoned pro, the ease of this method is a game-changer. Grab those milk jugs, make some DIY greenhouses, and let your seeds enjoy a winter wonderland until spring bursts forth. Your future garden will thank you for this stress-free start!

What is Winter Sowing?

The idea behind winter sowing is that you sow the seeds outdoors in miniature greenhouses during the winter, allowing them to germinate naturally during the spring. If you live in a northern climate and have snow, this method works even better because the melt adds all the moisture your seeds need. An added bonus to winter sowing over traditional methods: No period of hardening off plants! My biggest downfalls in seedlings are forgetting to water them or over-watering them and then forgetting to bring them in at night when I’m hardening off the plants. This method is perfect for me.

How to Sow Seeds in Winter

So, how does one winter sow? Easily!  You need a plastic container to put your seeds in. Some things that work well are large plastic jugs (like the ones pretzels come in), 2-liter soda bottles, or clear plastic take-out containers. It will work as long as it will hold 3-4 inches of soil.

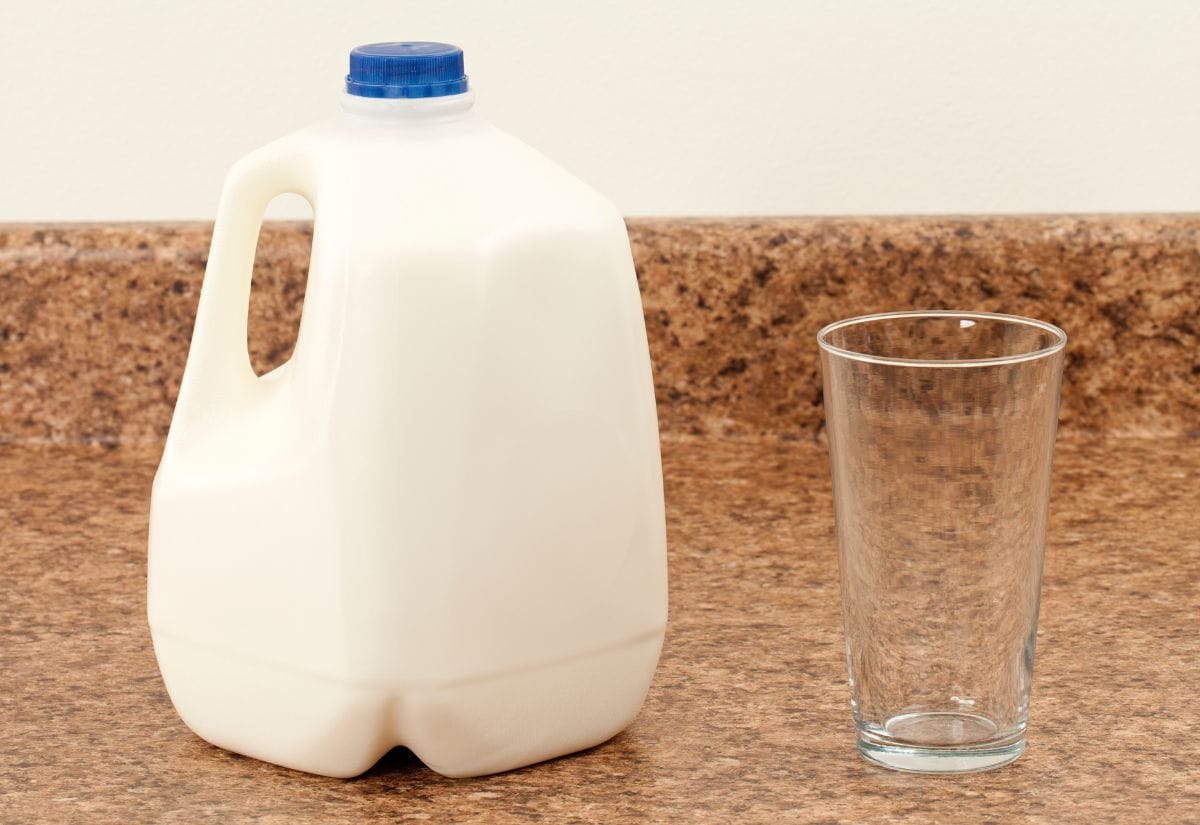
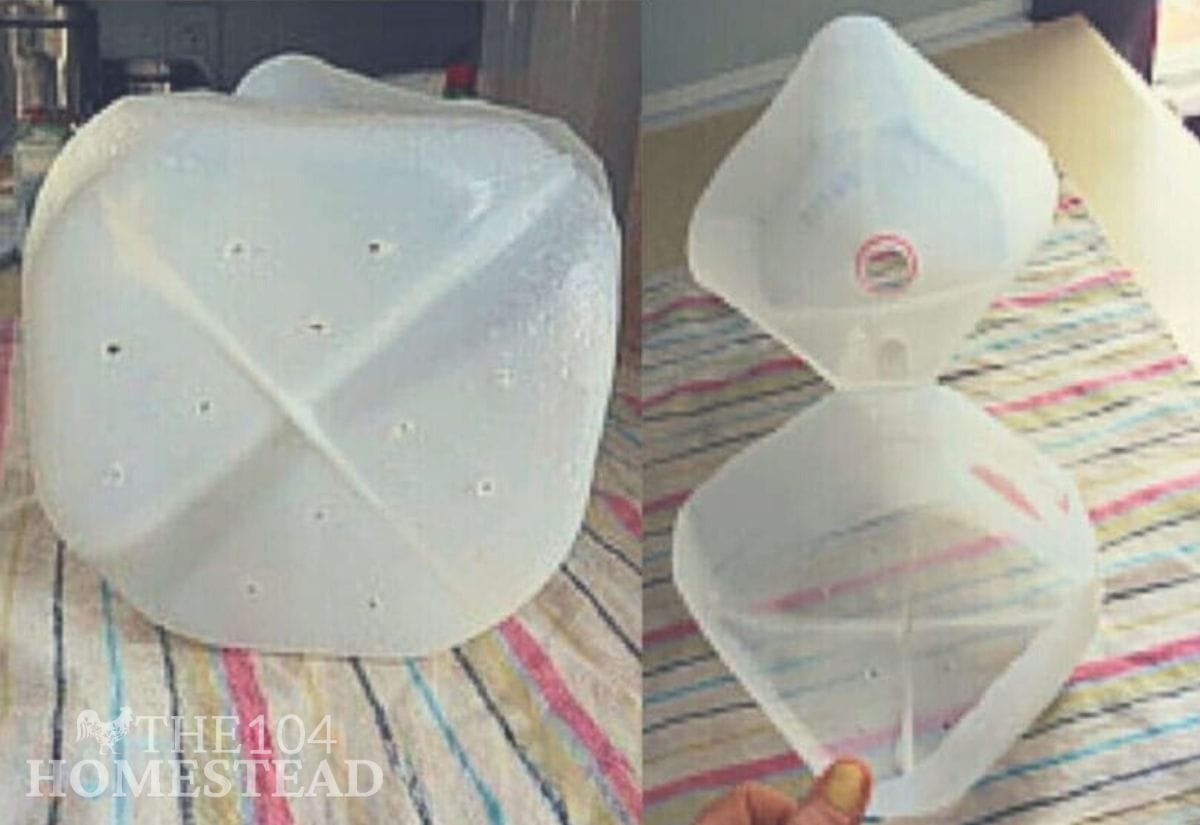
My personal favorite is to use milk jugs.  With their shape, you can squeeze a bunch together, and if you save caps/lids, you can regulate watering during heavy spring rains. I will show you how to use a milk jug, but the same rules apply to other containers. First, you need to put drainage holes in the bottom and sides. Being somewhat OCD, I like to do three holes, shaped like a triangle, in each of the four “sections” of the bottom. You also want to place three or four holes about 1/4 – 1/2″ up on the sides. I use the transition of textured plastic to smooth plastic as a guide. There is no set rule for the hole size, but I used a 1/8th drill bit.

Tip: Before drilling holes, fill your container with water and pop it in the freezer or outside until it’s frozen solid. This prevents your container from collapsing when you push the drill bit against it.

After you have all your drain holes in place, you need to make a hinged lid. I used the bottom of my handle as a guide, but with any container, you want your lid to be high enough to allow for 3-4″ of soil. Using a sharp knife and plenty of safety measures, cut across the container, leaving about an inch uncut. This will create a hinge.

My milk jug transformed into a winter sowing greenhouse.

Planting in Your Milk Jug

Once you have your greenhouse made, all you do is prepare the soil and seeds. Add your soil and wet it well. Let it drain out the holes you made until the soil is damp but not soaked. Add your seeds according to the packet as far as depth and spacing (though I fudge the spacing and have typically done okay). When you are done, just duct tape the lid closed, remove the cap, and label the outside of the carton with the plant name. If you are using a container that doesn’t have a cap, make sure to put some holes in the top so rain and snow can enter the container.

Placing Your Mini Greenhouses

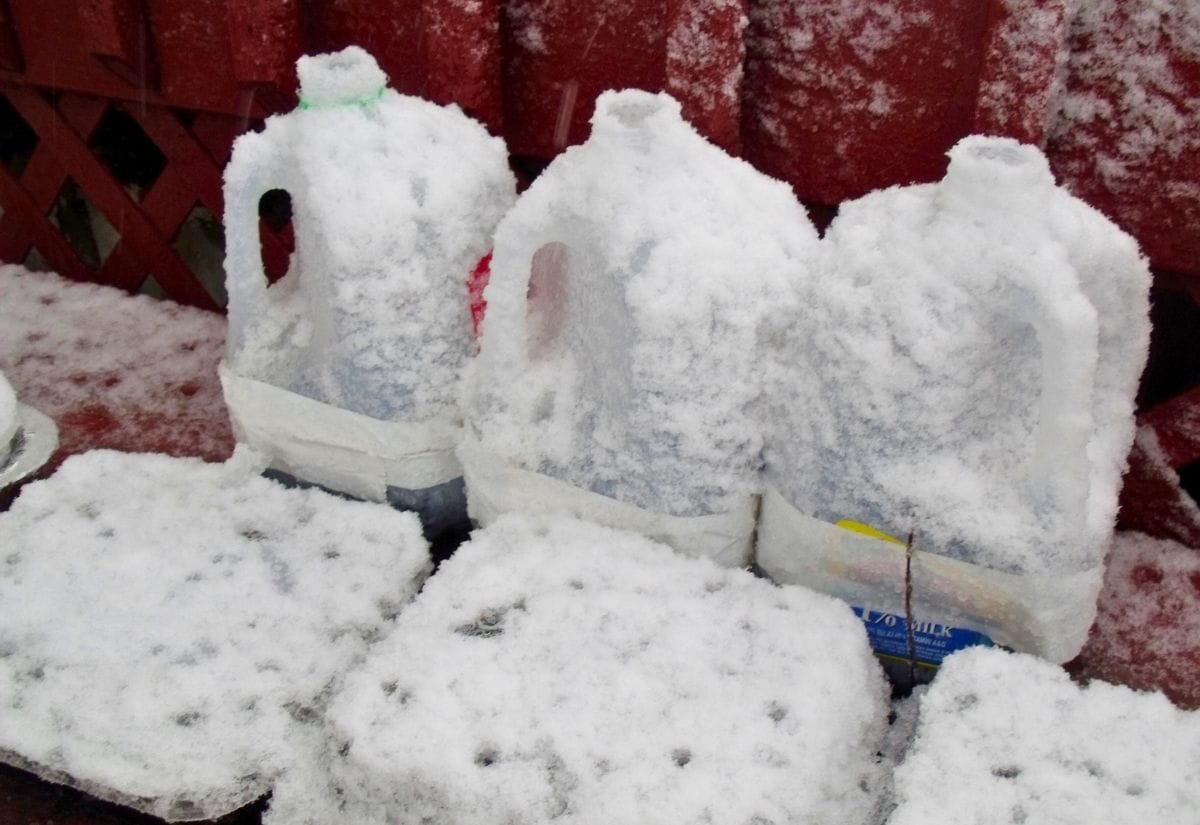
Once you have everything planted, it’s time to put on your snow boots and jacket to get your greenhouses to their proper place outdoors. The only considerations for placement are that you want your containers to get rain, so don’t put them where they’re under an overhang, and they will need sunlight come spring, so if you can place them in a sunny place now, you won’t have to move them later. I put them right smack in the middle of the front yard.

Because the milk cartons are white, they hardly show up, and after a snow, no one will know they are there. On that note, if you have small children, you may want to mark the area somehow so no one crushes your greenhouses while building a snowman.

When to Start Your Seeds in Maine

This schedule is based on my Maine growing zone, 5b.

January

  • Perennial Flowers
  • Hardy Annual Flowers
  • Brussels Sprouts

February

  • Spinach
  • Kale
  • Peas
  • Broccoli
  • Thyme
  • Sage
  • Oregano
  • Cilantro

March

  • Lettuce
  • Carrots
  • Basil
  • Parsley
  • Bok Choy
  • Beets

April

  • Tomatoes
  • Onions
  • Peppers

Click Here for zone-specific winter sow planting schedules.

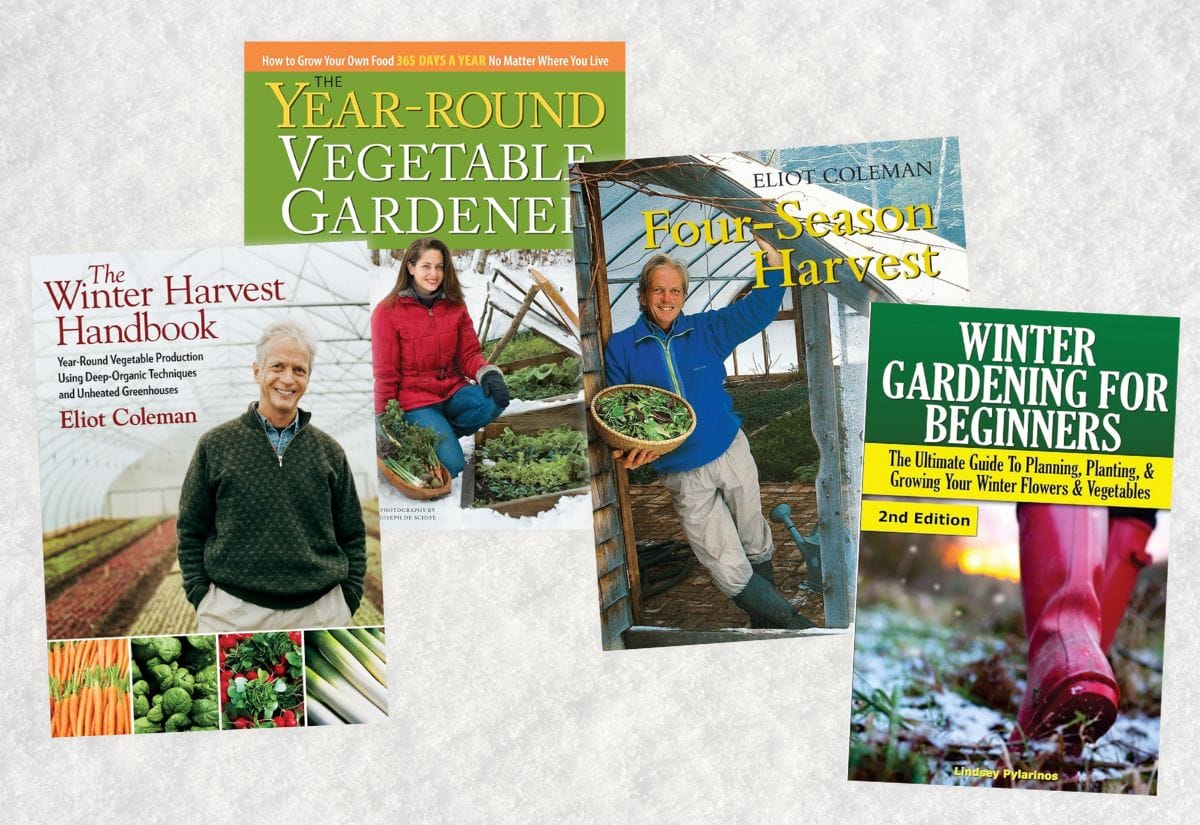
Winter Gardening for Beginners by Lindsey Pylarinos
The Winter Harvest Handbook by Eliot Coleman
The Year-Round Vegetable Gardener by Niki Jabbour

See more milk jug upcycling ideas here, and don’t miss one of our most popular upcycling posts, 22 New Uses for Old Pill Bottles.

Frequently Asked Questions

While winter snow and rain contribute moisture, especially in northern climates, monitoring soil moisture is essential. Water the seeds initially and ensure the soil stays damp but not soaked. In periods of low precipitation, supplemental watering may be necessary.

Winter sowing benefits colder climates, especially when snowfall provides natural moisture. However, it can also be adapted to milder climates with adjustments to planting times and consideration of local weather patterns.

Placing the mini greenhouses in a location that receives rain and sunlight is ideal. However, during severe weather, you can provide additional protection by placing them in a sheltered area or covering them temporarily.

If you’ve found value in this blog post and enjoyed reading it, why not share it with your Pinterest community? Pin the image below and spread the love!

A Pinterest-friendly graphic for winter sowing your seeds.

So what are you waiting for? Don’t wait for the last frost. Don’t spend hours counting backward. Throw some seeds in milk cartons and toss them out in the yard. You’ll thank me in the spring.

Have you tried winter sowing in your garden? Share your favorite plants to winter sow or any tips you’ve discovered along the way. If you’re new to this method, what seeds are you excited to try? Let’s swap stories and seed-sowing wisdom in the comments below!

Leave a Reply

Your email address will not be published. Required fields are marked *

This site uses Akismet to reduce spam. Learn how your comment data is processed.

165 Comments

  1. I love the idea.
    However, there are only so many plastic containers I can put out. What about building some sort of easy/inexpensive greenhouse instead? Similar idea but on a bigger scale? It would be easier. Any plans anywhere for such greenhouses?
    Thank you.

  2. Hi Jessica,
    I live in southern Michigan and my zone is 6. I started my winter sowing at the beginning of February and we’ve had a few really nice days here and in a few milk jugs I’m seeing small bits of green. Yay!! Today, March 20th I planted a second batch of seeds only to find out my weather forecast says we are going to get some really cold nights for about a week or so. So now I’m panicking. Should I bring my jugs indoors on the cold nights that dip below freezing? Michigan springs can be so frustrating.
    Thanks,
    Becky

  3. Hi, I’m in northern Utah, I think zone 6b. I want to first THANK YOU for posting some seed/plant names that are flowers or edible that most people plant. The first time I heard about this method the author only listed seeds that are rare herbal/flower/shrub types of things. So thanks!

    Second, should I use regular potting soil? Or the soil I put in my big raised bed containers, which is heavily composted soil?

    Third, mulch? Or is it not necessary because of the greenhouse effect of the jug?

    Fourth, we only put the milk jug lid on in the event of snow or rain, then take it off afterwards?

    Thank you so much!

  4. Do you have to transplant from the milk containers when the ground is warm? Will something like Brussel sprouts grow to full size in that small space?

  5. Heather V. says:

    Hi Jessica! Was just reading through your article and I saw the spot where you said the planting schedule is based off your growing zone (5b – same as me). It proceeds to list out certain plants under specific months. Just want to clarify that the plants/month specification is when they get “winter sown” outside in the plastic make-shift greenhouses. Example: March: Lettuce, Carrots, Basil, Parsley, Bok Choy, Beets; and April: Tomatoes, Onions, Peppers. I’d love to do this to start my garden this year. I’m a complete newbie and want to be as successful as possible. Appreciate your guidance!!

  6. I used this method years ago with great success. I thought of it again last winter and started some annual flowers this way. Milk jugs are always my go to and it still surprises me how easy and effective it is. 100% success rate and glad you shared it so more people give it a try!

    1. claire Wallick says:

      Do you have a suggestion for something other than plastic milk jugs? I don’t use these or buy milk (in gallon containers). could i use plastic bags? old plastic plant containers?

      1. I gathered a bunch of milk jugs from my transfer station the other day. From what I understand, the milk jugs are strong enough to hold up if you get a heavy snow.

      2. Do you have family, friends, neighbors who do have these jugs available? Most would be thrilled to share!!

  7. I’m going to try this. I grow a garden every year, but having a head start will be great! Thanks!

  8. David goldenberg says:

    Hi

    I’m new to winter sowing I’m in zone 6-7… I wintersowed 42 gallon jugs since Late dec.
    Cornflowers, delphinium, monkshood, morning glory, larkspur , hollyhock etc…
    It’s now early feb I looked in them from above today and it appears that the cornflowers are starting to sprout ??
    What do I do now? Just leave them be? Take them out? Will they die? There’s still a few months of winter.

    Thanks

    David G

  9. i have also used milk jugs but not for winter sowing..im planning to try that right now..
    my husband came up with a much more efficent idea for putting drain holes..there is no need to fill containers w water & freeze them
    i take a metal BBQ skewer ( like for kabobs) and heat that on the stove it punches the holes much easier..I also heat a knife to cut them.
    a little heat saves alot of work

    1. I use my glue gun to melt holes in the containers. It works very nicely.

  10. With as much milk as we go through I can definitely start saving jugs today so I can give this a whirl! Thank you.

  11. This will be my Second year trying Winter Sowing , and I can’t Wait ! Last year I used Gal.empty Water Jugs X 4 , planted Perenial Flower seeds and had Great Results ! I’ve saved 10 Jugs so far and will start this week, placing them on the Sunny Side of the House . Forgeting about them last Winter , then discovering them in the Spring was such a Pleasant Surprise !!!

    1. Guess I don’t understand, where do you place the jugs?

      1. Anonymous says:

        Bury them in snow on a sunny side

        1. I’m confused! How do you keep the plants from freezing?

      2. Jessica Lane says:

        Hi Lori! You put the jugs outdoors, right in the snow (if you have snow in your area). They don’t start sprouting until the weather warms up and then they act like little greenhouses to keep the seedlings from getting too cold.

        1. Kelley Minor says:

          How do I adjust for zone 4b weather?

  12. How can you transplant root vegetables like carrots and beets so that they will still grow straight.

    1. Jessica Lane says:

      You are moving them early enough in the seedling phase that it doesn’t tend to be a problem. At that stage of growth they will redirect their roots down. Just make sure not to smoosh the root.

  13. The area where we live is horribly windy, especially in winter and spring. I’m concerned that the containers will get blown away or just blown over. There are no good protected areas, either. Do you have any suggestions?

    1. Jessica Lane says:

      It may be too windy for this trick, but I’ve lined the bottoms with rocks before adding soil. That helps with drainage as well. If you are worried that won’t be enough, can you get a hay bale or something to create a wind block?

      1. SHARON MOAKE says:

        I have this concern as well but plan on putting the milk jugs in my raised beds 🙂

        1. I have mine against the side of my raised bed. They are sitting still in this morning’s 20mph plus winds!

    2. put four milk jugs in a plastic milk crate (or any appropriate-size container with plenty of holes to drain water). Easy to move around and keeps the jugs from being blown around.

    3. How about sticking a long dowel through the top down into the ground to hold it on place

  14. Maria Swetz says:

    I tried this in my raised beds with 2 liter pop bottle cloches and had no luck at all. Was it because it needs to be a closed system do you think

    1. Jessica Lane says:

      Yeah, cloches aren’t quite as protecting. I think it’s important it be contained.

  15. Cynthia Schuster says:

    I’m confused as far as transplanting the plants. Do you? And how do you?

    1. Jessica Lane says:

      Yes, we transplant just like you would with traditional starts. You can use a small garden scoop to remove them. I find it easiest to just use my fingers to pull out the seedlings.

  16. What is the coldest temperature this will work with – I live in Zone 3b so need to know how soon I could try this 🙂

    1. Jessica Lane says:

      I have a feeling it would work in 3b, since seeds don’t germinate until they get the “spring” cues from nature. I don’t know enough about growing in your area to say confidently what your planting timeline would be.

  17. Carmen Ross says:

    Thanks for sharing. I have read a lot of tips from other website, but yours is one of my favorite. I am in zone 9b glendale Arizona , i dont see the schedule here.

    1. Jessica Lane says:

      I’m sure you can winter sow in such a warm climate, but I don’t know enough to give actual dates and planting guides. I tried googling for information for your area, and came up short.

  18. Could you use 1/2 gallon paper milk cartons the same way? I think it might work as well

    1. Jessica Lane says:

      You could use those for indoor seed starting, but not winter sowing. They are opaque and wouldn’t allow the sun in.

    2. Actually I’ve seen what Susan is talking about. The way I’ve seen these done is by laying the carton down on its side, cutting the top out and cover it with the plastic from a ziploc bag. You can tape that on just the same, but you’ll need vent holes. Might be worth a try for me too because we never have any gallon milk jugs. But I think vinegar jugs are good too.

      1. Jessica Lane says:

        Okay, that makes sense. I was imagining cutting it the same way and couldn’t see how that would work. I love the idea of a vinegar bottle. That would hold some good sized seedlings.

  19. anna@greentalk says:

    This is brilliant. I was going to sow seeds into my raised beds early winter especially for those seeds that need a chill. I like your idea better since I won’t have to hunt for the seeds in the spring.

    1. Jessica Lane says:

      You are going to love this technique. It’s almost completely fool-proof.

  20. This is a great idea! I’m going to do this for next year!

    Thanks again for sharing with Green Thumb Thursday!

    Lisa

  21. Hmm this is very interesting. I’m definitely going to give this a try. This would be great since I often run out of room under my plant lights inside! Personally, I don’t like transplanting from pot that has more than one or two plants in it. I’m afraid to break all of the little roots that are all tangled together. Do you think that using little individual pots inside the milk carton would work?

    1. Jessica Lane says:

      You certainly can. The concept is to create a mini greenhouse. My only small concern with plant pots is that cold air can seep around the soil, opposed to when it’s a block, it warms a bit faster. It may cause delays in your seedlings, but not by any major amount.

    2. try using toilet roll inner tubes inside milk cartoons
      folded flat then flat again so there square then cut in half
      so u have 2 square pots easy to sow and replant into the garden in spring
      no disturbing roots cardboard composts away

    3. Colleen Jerns says:

      If you want to keep you plants separated for easier transplanting, why not insert cut toilet paper tubes. Cut each tube in half and insert in the soil in the jug. Sow your seeds in each tube. Place two or three seeds in each tube. You can thin when you transplant.