A Simple Milk and Honey Bath Recipe That Leaves Skin Soft
This simple milk and honey bath recipe helps soothe dry skin and sore muscles using ingredients you already have at home.

I don’t know about you, but there are days my skin just feels done. Maine air. Wood heat. Chores. It adds up.
A milk and honey bath is one of those old-school things that sounds a little extra until you try it. I started doing it in winter when my skin was tight and itchy and I wanted something simple that didn’t require a whole shopping trip. It’s not complicated. It’s not precious. It’s just a warm bath that leaves your skin feeling calmer.
This is how I throw it together, what I toss in when I need more moisture, and what I’ve learned the hard way about sticky tubs.
Why Milk and Honey Help Your Skin
There’s a lot of lore around milk baths. You’ll hear plenty about Cleopatra. I’m more interested in whether my elbows stop itching. Milk softens things up. Honey helps your skin hang onto moisture. Put them together and my skin feels less angry after a week of cold air and wood heat.
Why Milk Makes a Good Bath Base
Milk contains fats and proteins that make bathwater feel softer on your skin. It’s also known for lactic acid, which can help loosen dead skin cells in a gentle way. I’m not looking for a strong exfoliation in the tub. I want that “my skin feels less cranky” feeling when I towel off.
If you have sensitive skin, don’t crank the heat. Warm water is enough. Crank the heat too high and you’ll undo all the good.
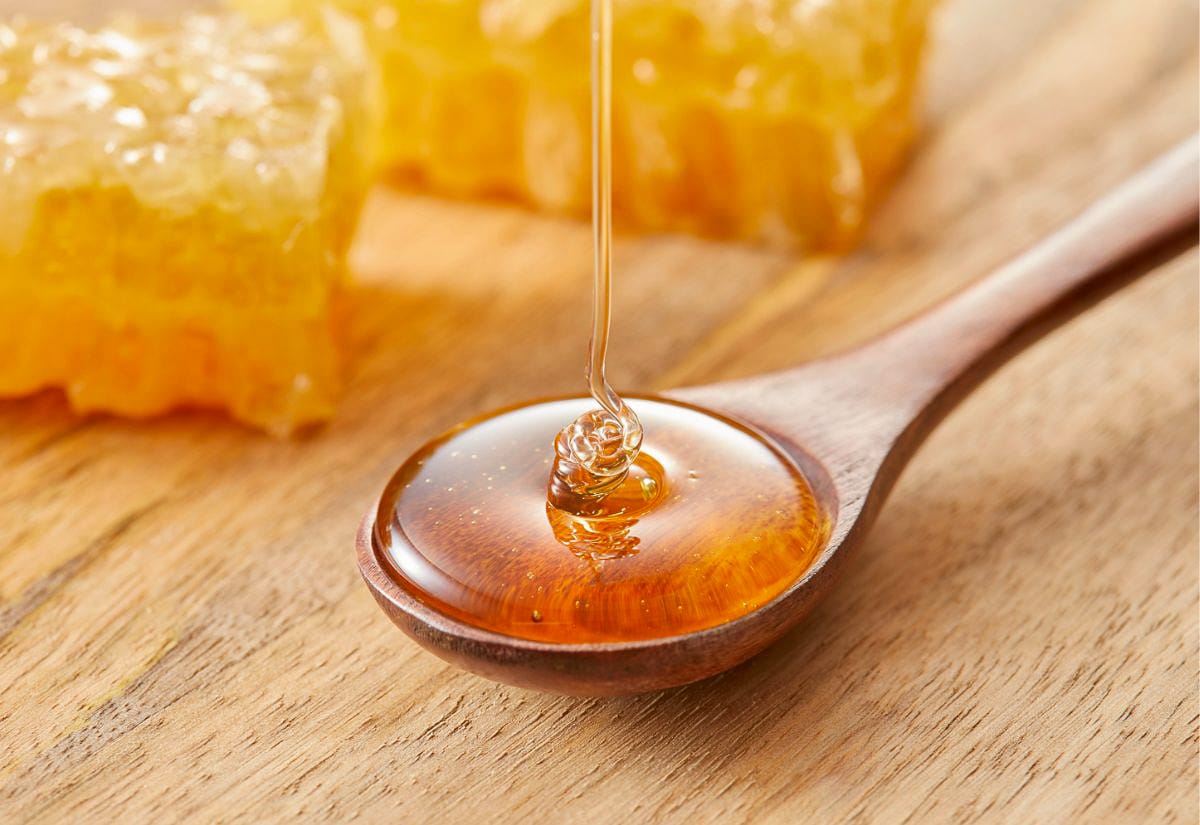
What Honey Adds (And Why I Bother)
Honey is a humectant, which is a fancy way of saying it helps pull moisture toward the skin. When I use honey in a bath, my skin feels less dry afterward, especially on my shins and elbows. Those are the spots that seem to take the biggest beating in winter here.
Milk and Honey Bath Recipe
Alright, let’s mix it. This is the one I keep coming back to.
The Basic One-Bath Recipe
You’ll need milk, honey, and warm bathwater. That’s it.
For a standard bathtub, I use about 2 cups of milk and about 1/3 to 1/2 cup of honey. If I’m feeling extra dry, I lean toward the higher end on honey.
Pour the milk into the tub as it fills. Then add the honey. Swish the water around with your hand for a few seconds to help it mix in.
Soak for about 15 to 20 minutes. I don’t stay longer than that because my skin starts to prune and it stops being relaxing.
Milk Options That Work (And When I Use Each)
You don’t need a specific kind of milk. Whatever milk you’ve got will do.
Whole milk feels the most moisturizing to me, especially in winter. If you only have 2% or skim, it still works. It just feels a little lighter.
If you can’t use dairy, you can try oat milk or coconut milk. I prefer oat milk for this because it feels soothing, not oily.
Add-Ins That Make This Soak More Useful
This is the part where you make it yours.
For Dry Skin That Feels Tight
If my skin feels rough and itchy, I add colloidal oatmeal or a small handful of finely ground oats. It turns the bath into more of a “skin comfort” soak. I also keep a jar of this bath mix on hand in winter.
If you need more than a bath soak can give you, I’d pair it with my homemade hand salve for stubborn winter-dry skin. That’s the combo that gets me through the worst stretch of winter without feeling like I’m shedding.
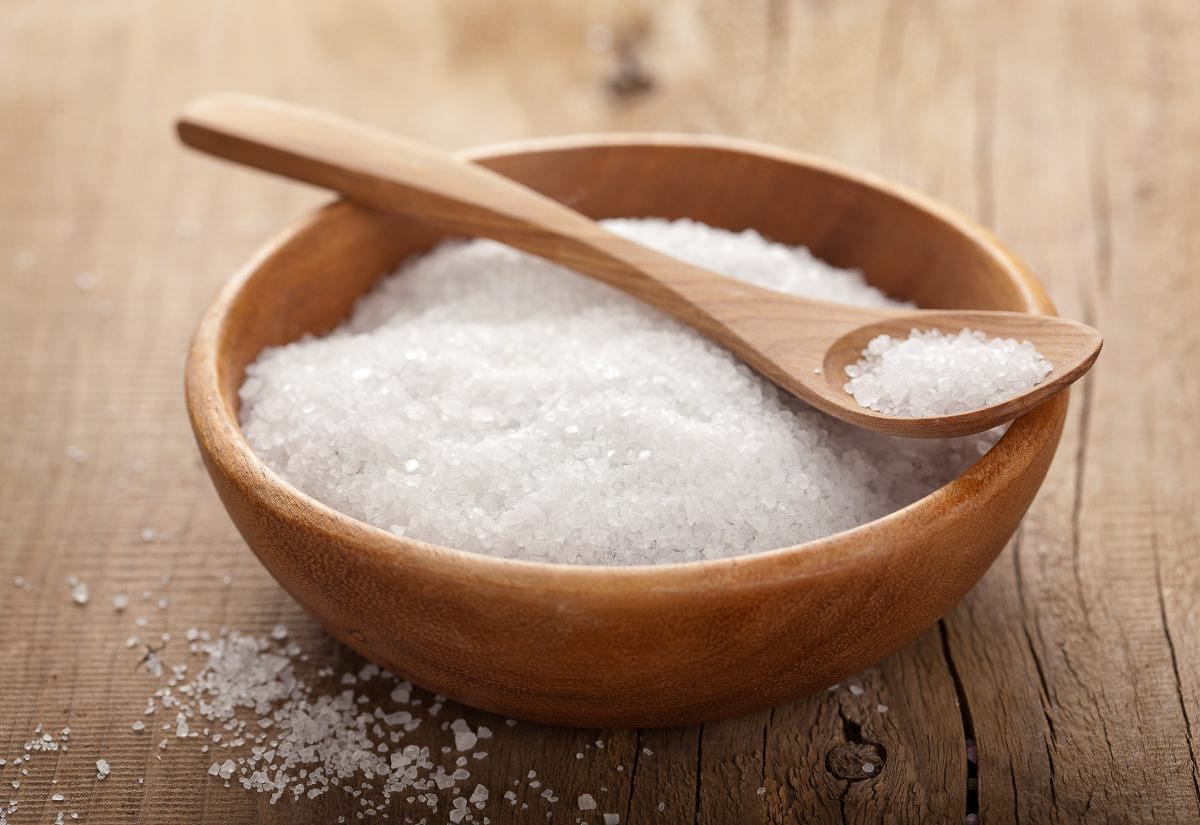
For Sore Muscles After Chores
If I’ve been hauling feed, shoveling, or doing the kind of work that makes you feel it the next morning, I add Epsom salt. I’m not saying it fixes everything. I just know my muscles feel better after. I add a good handful, stir it around, and call it done.
For Scent and Relaxation
If you want scent, keep it simple. A few drops of lavender or chamomile essential oil can be nice, but only if you dilute it first.
If you’re dabbling with herbs at home, getting started with simple homemade herbal remedies can help you make sense of what’s worth using and what’s better left on the shelf.
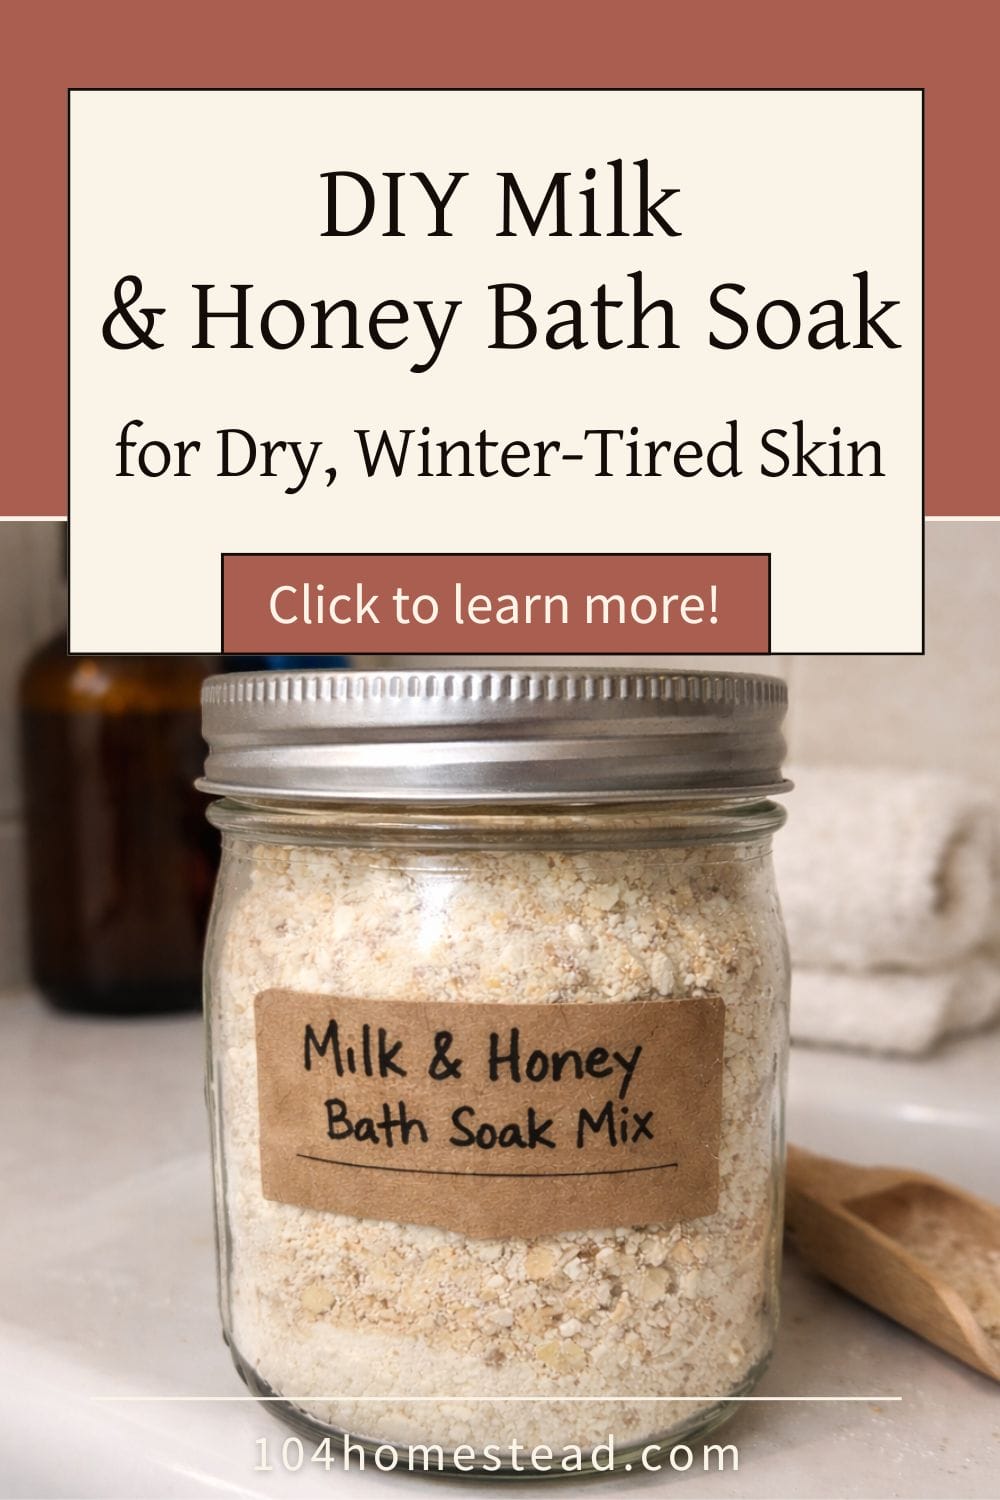
Make-Ahead Bath Soak Mix (And a Few Real-Life Tips)
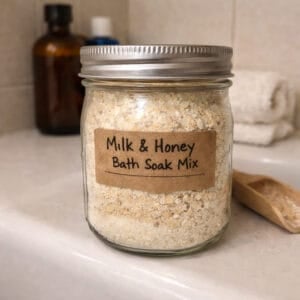
If you’re like me and won’t bother unless it’s easy, put it in a jar. That way I don’t skip it. I’m not big on complicated DIY self-care. If it takes too long, I won’t do it. A jar mix solves that.
I combine powdered milk and a dry form of honey (or I keep the honey separate and add it fresh at bath time). I label the jar with simple directions so I don’t have to think about it later.

If you like the idea of mixing up bath soaks for gifts or seasonal self-care, more DIY bath soak ideas you can mix up at home is a good next read. Same basic method. Different mix.
Fair warning. Honey and porcelain can get slick. Not always, but enough that I’m careful. I rinse the tub right after, and I don’t stand up like a baby deer on ice.
While You Soak: A Simple Add-On I Like
Since you’re in there anyway, do something extra. I usually mix up a simple face mask. Something I can mix up in two minutes. If you want ideas, easy homemade face masks using pantry ingredients fits perfectly here.
Before You Fill the Tub, Read This
These are the questions I get most.
Pin this simple milk and honey bath recipe so you have it ready the next time your skin needs a little extra help.
It’s not complicated, but it works for me. When winter dryness hits hard in Maine, I’ll take any low-effort win that makes my skin feel human again.
If you test it out, come back and tell me what worked. Did you keep it basic, or did you add oatmeal or Epsom salt? I want to hear what you tried.
If you’ve got the itch to make one more thing, my beginner-friendly melt and pour soap tutorial is a fun next step that stays in the same self-care lane.
Milk and Honey Bath Soak (Make-Ahead Jar Version)
This post may contain paid links. If you make a purchase using the links in this recipe, I may earn a commission.
Ingredients
- 2 cups Powdered Milk
- ½ cup Powdered Honey
- 1 cup Epsom Salt optional, for sore muscles
- ½ cup Finely Ground Oats optional, for dry or itchy skin
Instructions
- In a large mixing bowl, combine the powdered milk and powdered honey.2 cups Powdered Milk, 1/2 cup Powdered Honey
- Stir in Epsom salt and ground oats if using.1 cup Epsom Salt, 1/2 cup Finely Ground Oats
- Mix thoroughly until evenly blended.
- Transfer to a clean, dry jar with a tight-fitting lid.
- Label with directions: “Use 1/2 to 1 cup per bath.”
To Use
- Add 1/2 to 1 cup of the mixture to warm running bathwater. Swish the water with your hand to help it dissolve. Soak for 15 to 20 minutes.
Notes
- For extra dry skin, use the full 1 cup per bath.
- Rinse the tub after use, as honey and milk can make the surface slippery.
- Store in a cool, dry place. Use within 3 months for best freshness.