The Right Way to Clean Seed Trays (Stop Killing Seedlings)
Dirty trays spread disease fast. Learn how to disinfect seed trays using safe, natural methods that protect your seedlings from mold and failure.
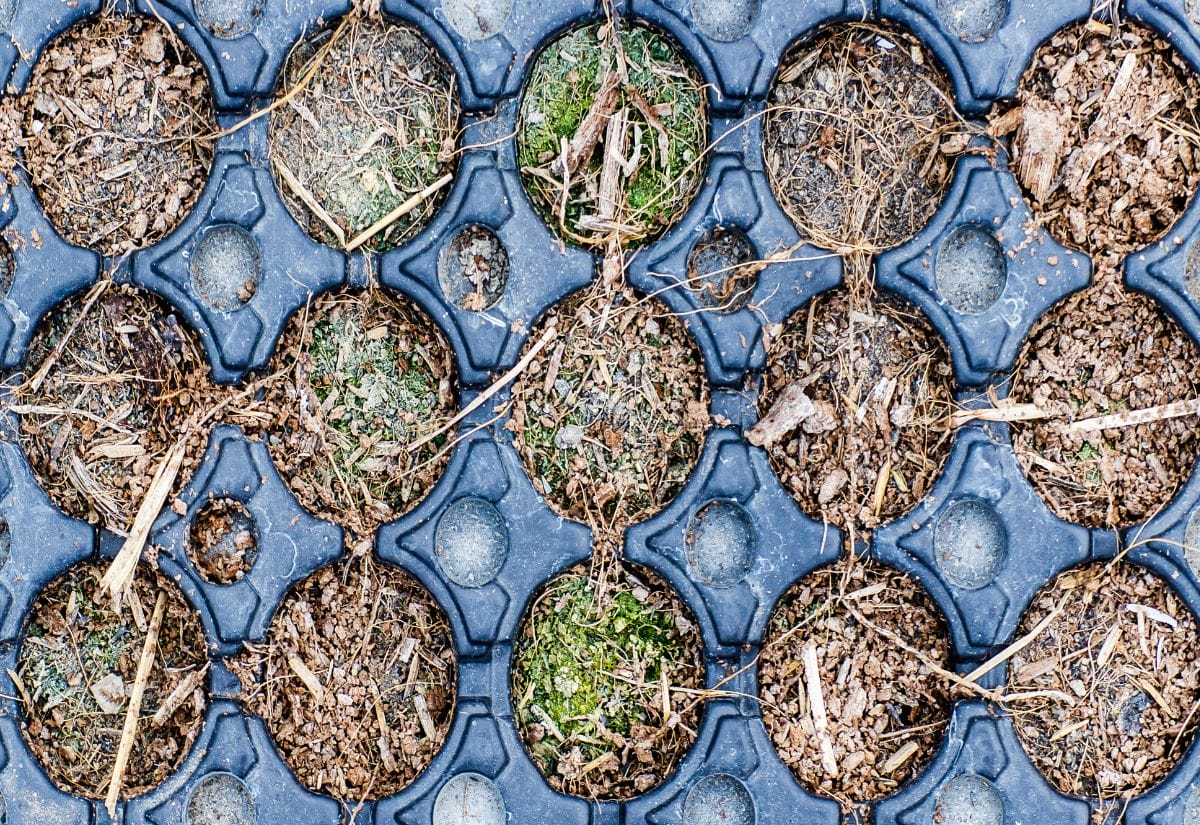
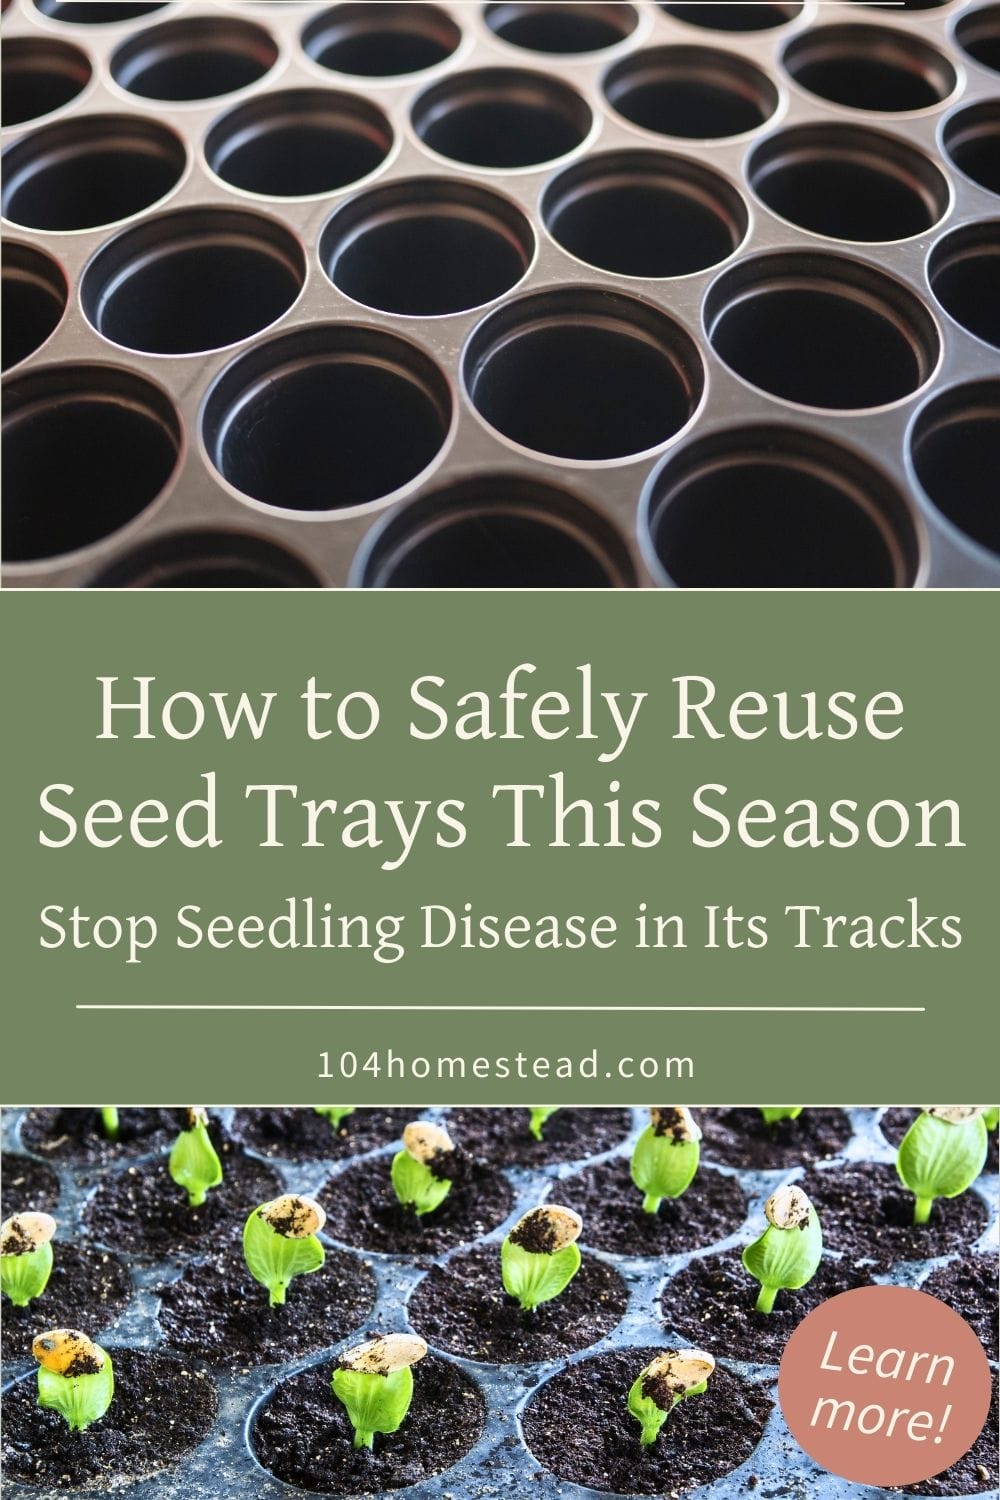
Every spring, I haul out my seed trays full of big plans and high hopes. But I learned early on—after losing way too many baby plants—that skipping the cleaning step can come back to bite you.
Reusing seed trays is a great way to save money and cut down on plastic waste, but if you’re not properly cleaning and disinfecting them? You’re basically inviting trouble. I’m talking about damping-off, root rot, mold, and mysterious seedling disappearances that leave you scratching your head.
So, if you want to reuse those trays season after season without sacrificing your seedlings, here’s exactly how I clean and sanitize mine.
Why Cleaning Your Seed Trays Matters
It’s tempting to skip this chore, especially when you’re eager to get seeds in the dirt. But dirty trays are like a welcome mat for all the worst garden problems:
- Seedling diseases – Damping-off, fungal infections, and root rot love lingering in old soil bits.
- Pests – Insect eggs and larvae can hitch a ride in leftover debris.
- Stunted growth – Clean trays = stronger, healthier roots.
- Tray lifespan – Dirt and grime break down plastic over time. Keeping them clean helps them last longer.
A little prevention now saves a whole lot of heartache (and wasted seed) later.
How I Clean and Sanitize My Seed Trays
This isn’t complicated or fancy—just practical steps that work. Here’s how I do it every season.
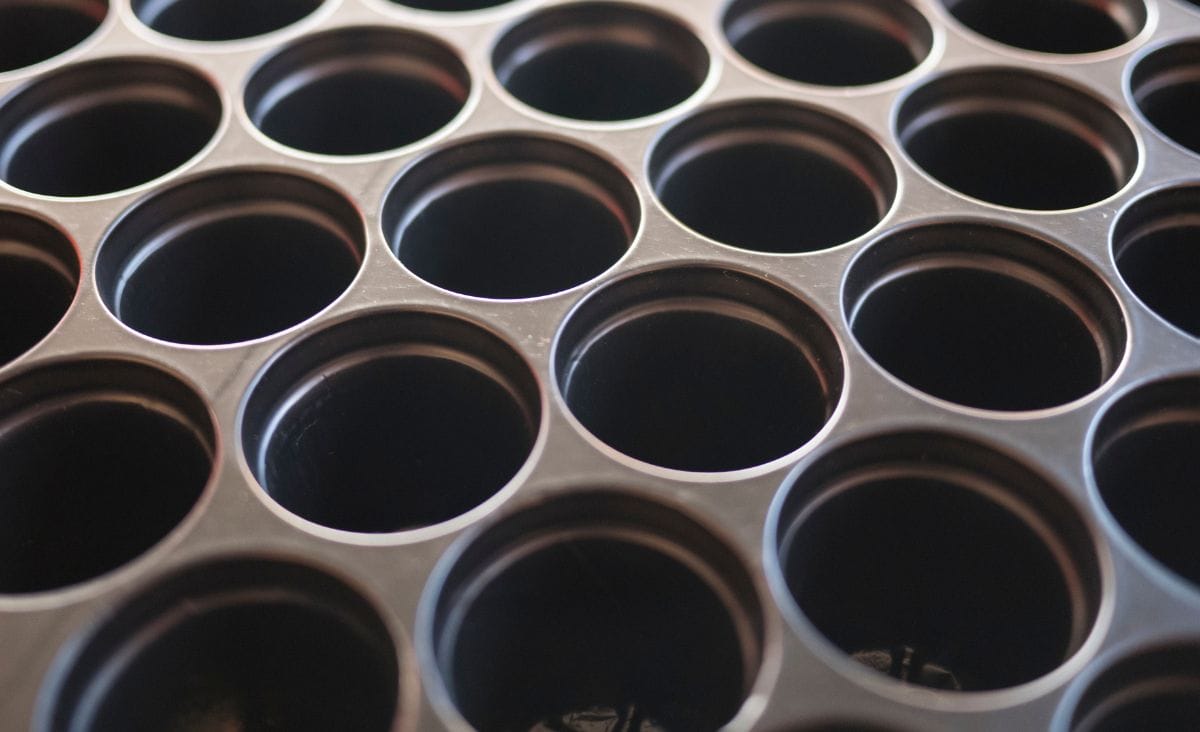
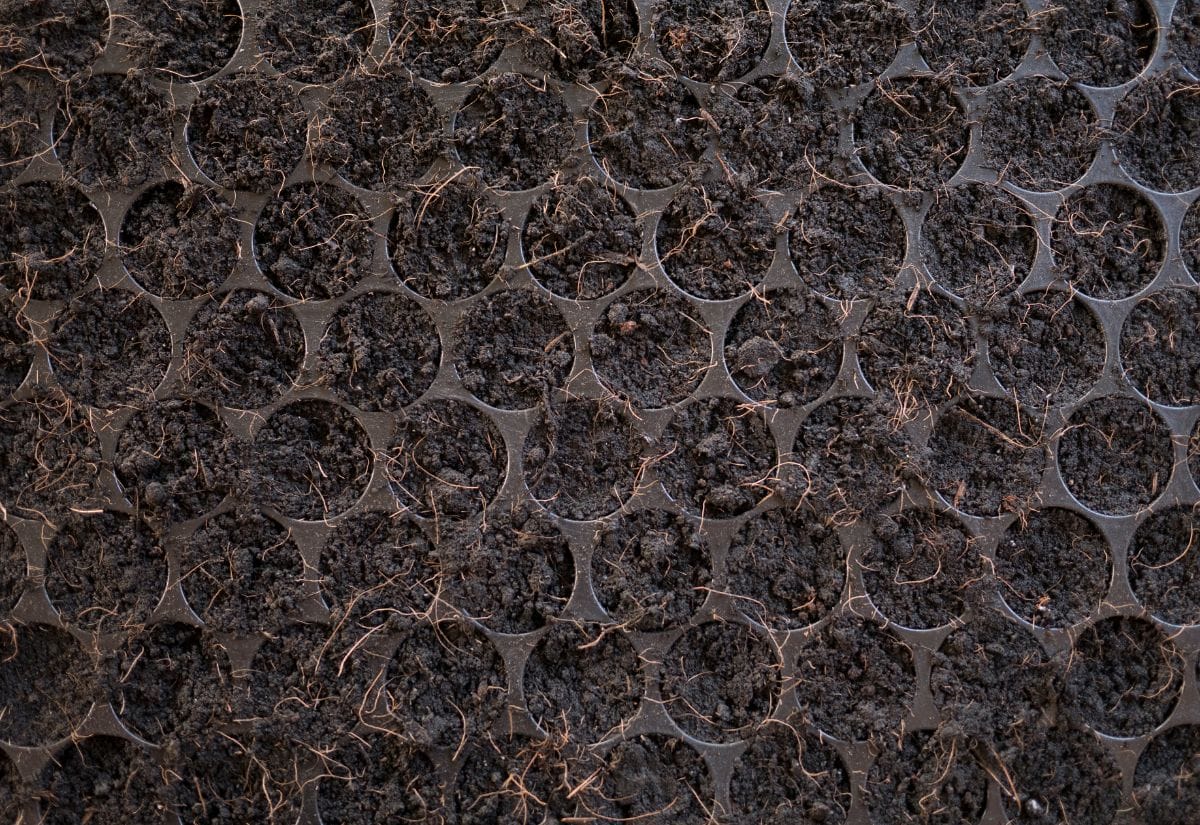
Step 1: Get Rid of Debris
First things first—dump out any soil and scrape off gunk.
- Shake or dump out any leftover soil.
- Use a stiff brush or old toothbrush to scrub off caked-on dirt.
- Blast them with the hose or rinse them in the sink.
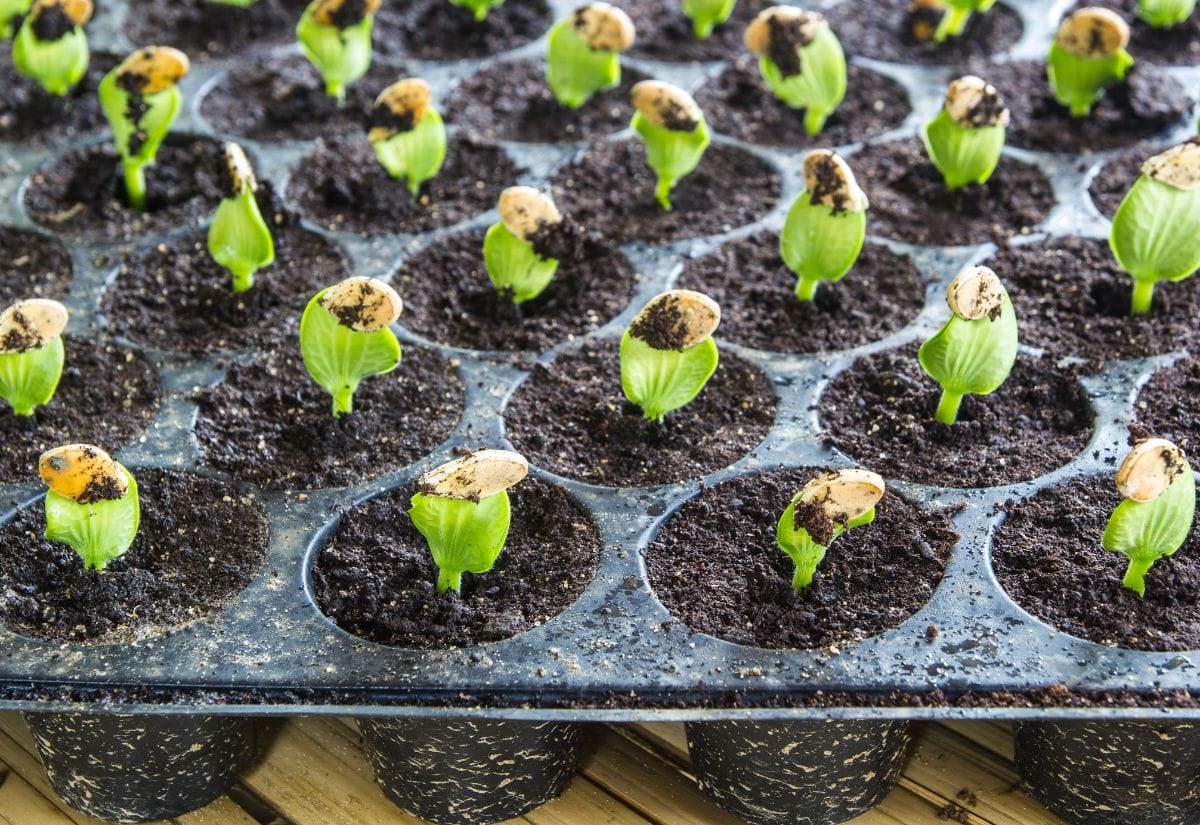
Tip: I’ve noticed that if you use peat pellets or soil blocks, there’s way less cleanup. Something to think about!
Step 2: Wash with Soapy Water
Washing removes the organic gunk that can hide pathogens from disinfectants.
- Fill a sink, bucket, or tote with warm water and a few drops of dish soap.
- Submerge trays and give them a good scrub—don’t forget the corners and crevices.
- Let them soak for 15–20 minutes, then rinse well.
Soap alone won’t kill bacteria or fungus, but it’s an essential first step.
Step 3: Disinfect to Kill the Bad Stuff
Now it’s time to make sure those lingering pathogens are gone for good. Pick the method that works best for you:
Option 1: Bleach Solution (Strongest)
- 1 part bleach to 9 parts water
- Soak for 10–15 minutes
- Rinse thoroughly
Heads-up: Bleach works great, but too much can wear down your trays over time.
Option 2: Hydrogen Peroxide (Eco-Friendly)
- Use 3% peroxide straight from the bottle or mix 1:5 food-grade hydrogen peroxide to water
- Spray or soak for 10 minutes, then rinse
Option 3: Vinegar + Baking Soda (Gentle & Non-Toxic)
- 1 part vinegar to 3 parts water
- Add ¼ cup baking soda per gallon
- Soak 20–30 minutes, scrub if needed, then rinse
No matter which method you choose, give everything a good rinse before drying.
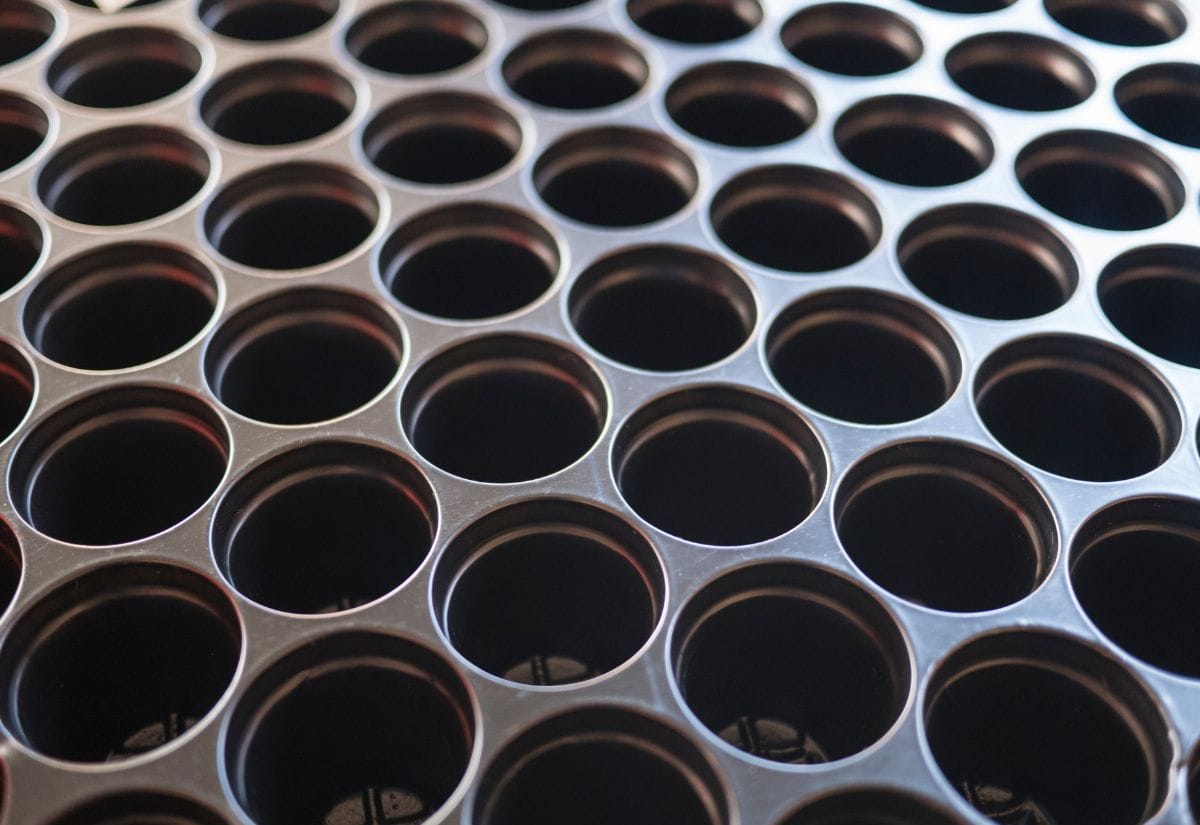
Step 4: Dry Them Completely
Moisture is the enemy here. Make sure trays are bone dry before you store them:
- Lay them in direct sun if the weather cooperates
- Indoors, use a drying rack or towel and give them a full 24 hours to dry
How I Store My Cleaned Trays
Once dry, I keep trays in a sealed plastic tote with a few silica gel packets to absorb any leftover moisture. That way, I’m not starting from scratch next season—and nothing funky grows in the meantime.
- Store in a dry spot (skip the damp basement)
- Use a sealed container to keep dust and critters out
- Label if you use specific trays for certain crops
Troubleshooting & Tips for Reusing Seed Trays
Need a Replacement? Try These DIY Seed Tray Alternatives
If your trays are beyond saving, don’t toss them just yet. There are plenty of free or low-cost options you probably already have around the house:
- Egg cartons – Great for small seeds (just water gently).
- Toilet paper rolls – Perfect for deep-rooted plants like squash.
- Plastic berry clamshells – Instant mini greenhouse!
Pin this for your spring garden prep—it’s a small step that can save a whole season of seedlings.
It’s easy to overlook, but cleaning your seed trays really does make a difference. It’s a quick job that pays off with stronger, healthier plants—and fewer garden headaches down the road.
If you’re gearing up for seed starting season, don’t forget to also check your frost dates, test old seeds for viability, and choose the right ones for your zone. And if you’ve ever struggled with leggy seedlings, trust me—there are ways to fix that too.
How do you clean your trays? Ever lost a batch of seedlings to something lurking in a dirty tray? Let’s talk about it in the comments.