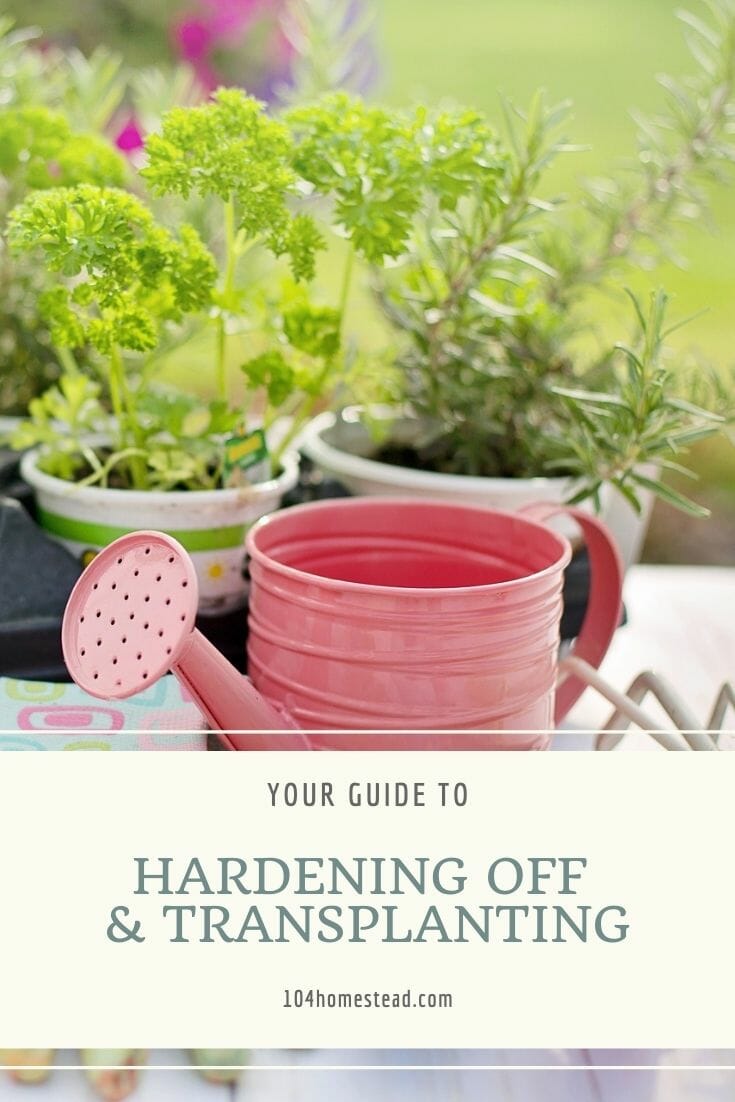
A Hardening Off & Transplanting Guide
There are two key things you need to know to make sure your plants are successful in the garden – hardening off and transplanting.
It’s time to plant! You started seeds inside, nurtured them, and watched them grow, and now you’re ready to transplant them into the garden. Or, maybe you just returned home from the nursery with an armful of new plants. Either way, before you start digging, there are two key things you need to know to make sure your plants are successful in the garden – hardening off and transplanting.
Hardening Off Your Plants
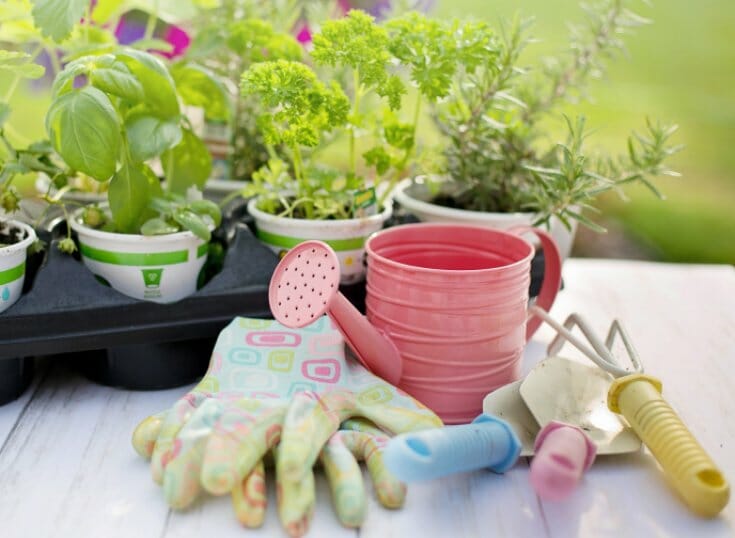
Whether you grew them from seed or purchased them at a nursery, plants need some time to adjust before you plant them in the ground. Most seedlings have been sheltered inside or in a greenhouse, and they aren’t ready just yet for the harsh conditions of life outdoors. If seedlings are transplanted without time to adjust, they can go into shock and die. We want our plants to survive and thrive!
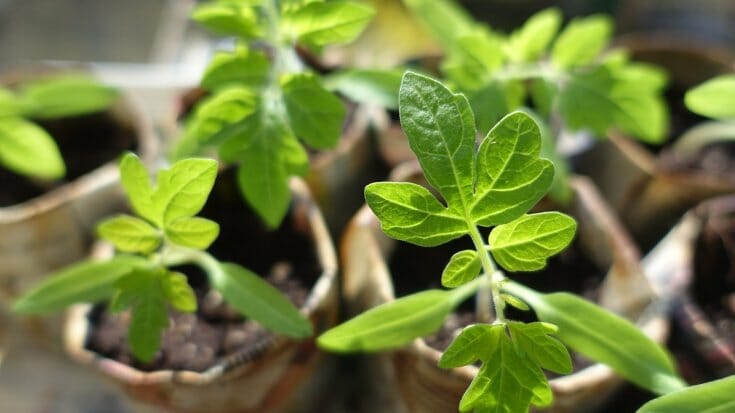
At Backyard Roots, we recommend a transition period of one week to get seedlings ready to transplant. This transition period is called hardening off, and your goal during this time is to expose your seedlings to different outdoor conditions so they can adapt. Sun, wind, rain and varying temperatures are all a part of the hardening off process.
Here is a step-by-step guide to hardening off your seedlings:
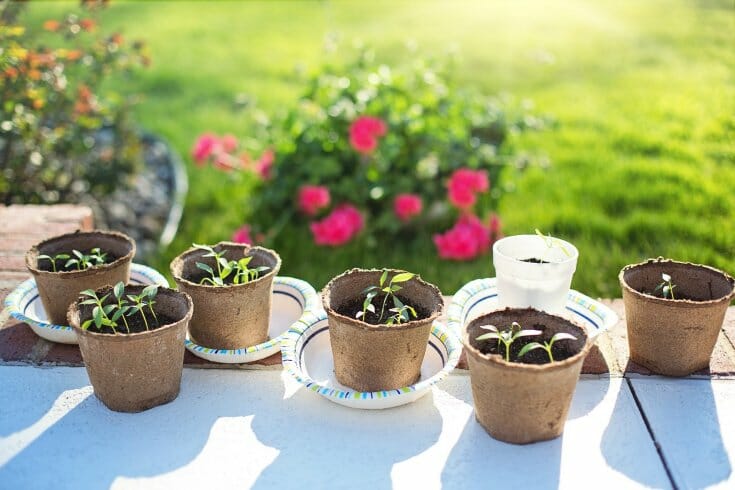
- On day one, start by putting your seedlings outside for a couple of hours. It’s easiest to place them in a tray to make carrying them back and forth between the garden and the house or garage easier.
- The next day, put your seedlings outside again, but this time leave them out for a bit longer. Your goal is to build up from 2 hours on the first day to full days (morning to night) at the end of the week.
- Even if it’s super nice and sunny outside, continue to build up gradually. Believe it or not, seedlings can get sunburned from too much sun without time to adapt!
- As the amount of time you’re leaving the seedlings out for increases, be sure to bring them inside to your house or garage each night. They still need some protection until they are in the ground, which will help insulate them.
- While you’re hardening off your plants, make sure they get enough water – the soil in the containers will tend to dry out more quickly outside than it does inside.
Transplanting Your Plants
Okay! You’ve patiently waited a week while hardening off your seedlings, and now it’s time to transplant them. Figure out where you want your plants to go and grab a small hand shovel. The hori-hori is our go-to garden tool, and it’s great transplanting. To remove the seedling from its container, tip it upside down and gently squeeze the bottom of the container. The transplant should slide out with the roots fairly intact. Don’t worry about hurting the roots – it’s actually better to rough them up a little bit than for them to stay compact.
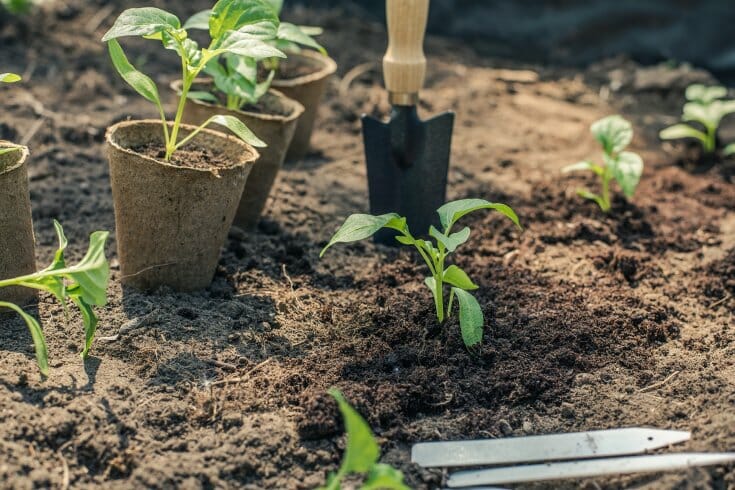
Dig a hole that is the same depth as the root ball of your transplant, and place the plant in it. You want the soil line in the garden to match the soil line of the transplant – no more and no less. Once you have that positioning, hold the transplant with one hand while using your other hand to fill in the rest of the hole with dirt. You don’t want to compact the soil too much, but it’s okay to press around the stem of the seedling a bit to make sure it’s steady where you planted it.
After you transplant your seedlings, give them a good drink of water and then sit back and watch them grow!