Winter Sowing: The Easiest Way to Start Seeds in Cold Weather
Winter sowing involves sowing the seeds outdoors in miniature greenhouses during the winter, allowing them to germinate naturally in spring.
If you’ve ever struggled with starting seeds indoors—dealing with grow lights, watering schedules, and hardening off—you’re not alone. I used to think it was the only way until I discovered winter sowing. This simple, hands-off method lets nature do the work, giving you strong, resilient seedlings with far less hassle.
Winter sowing is a method of starting seeds outdoors in miniature greenhouses during the cold months, allowing them to germinate naturally in the spring. It’s perfect for gardeners in northern climates like Maine and works exceptionally well with hardy vegetables, herbs, and flowers. In this guide, I’ll walk you through the process, from choosing the best seeds for winter sowing to setting up your containers for success.
What is Winter Sowing?
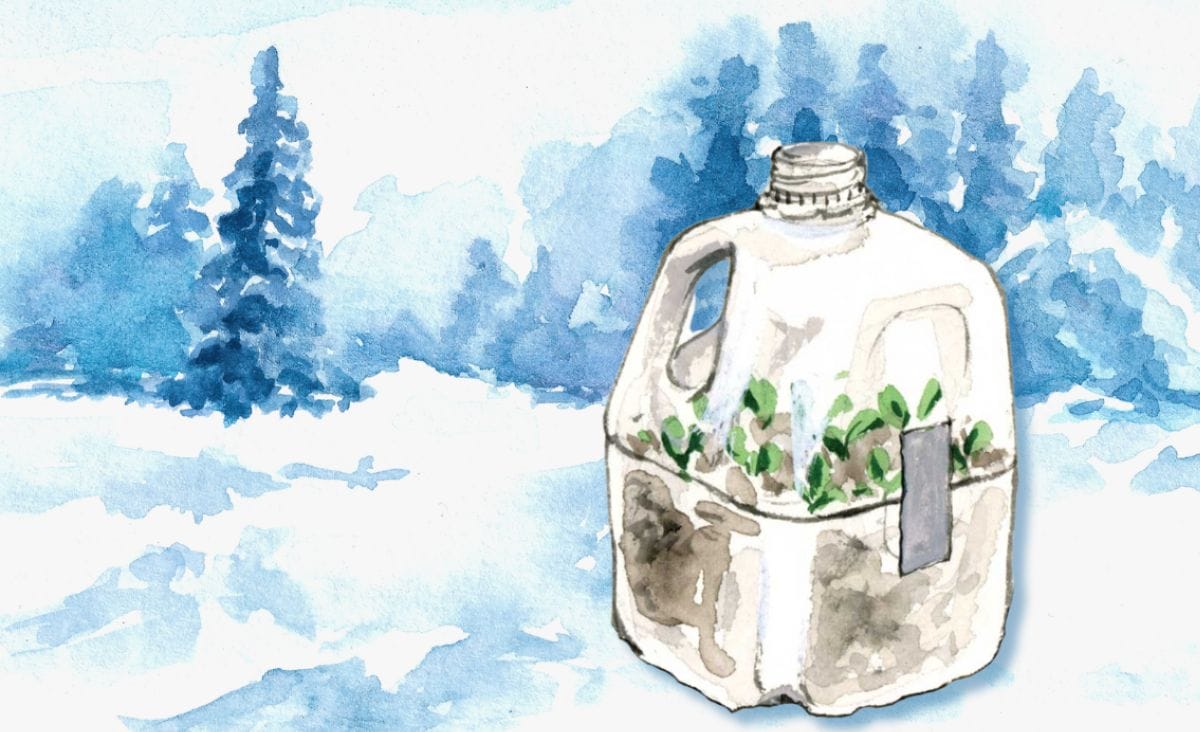
Winter sowing is a low-maintenance way to start seeds outdoors using recycled plastic containers as mini-greenhouses. The seeds experience natural winter conditions—cold, snow, and fluctuating temperatures—which triggers dormancy and natural stratification for stronger seedlings come spring.
One of the best things about winter sowing? No hardening off. Since the seedlings germinate in outdoor conditions, they’re already adapted to temperature shifts and sunlight, eliminating the need to move them in and out each day like indoor-started plants.
My biggest seed-starting struggles were forgetting to water seedlings or hardening them off too late. With winter sowing, nature takes care of those steps for me!
How to Sow Seeds in Winter
Winter sowing is all about simplicity, but getting started requires a few basic supplies. The right container will act as a mini greenhouse, protecting your seeds through the cold months while allowing moisture and light to reach them. Let’s go over the best container options and how to prepare them for successful germination.
Choose Your Containers
You’ll need a clear or translucent plastic container that holds at least 3-4 inches of soil and allows light to pass through. Here are some great options:
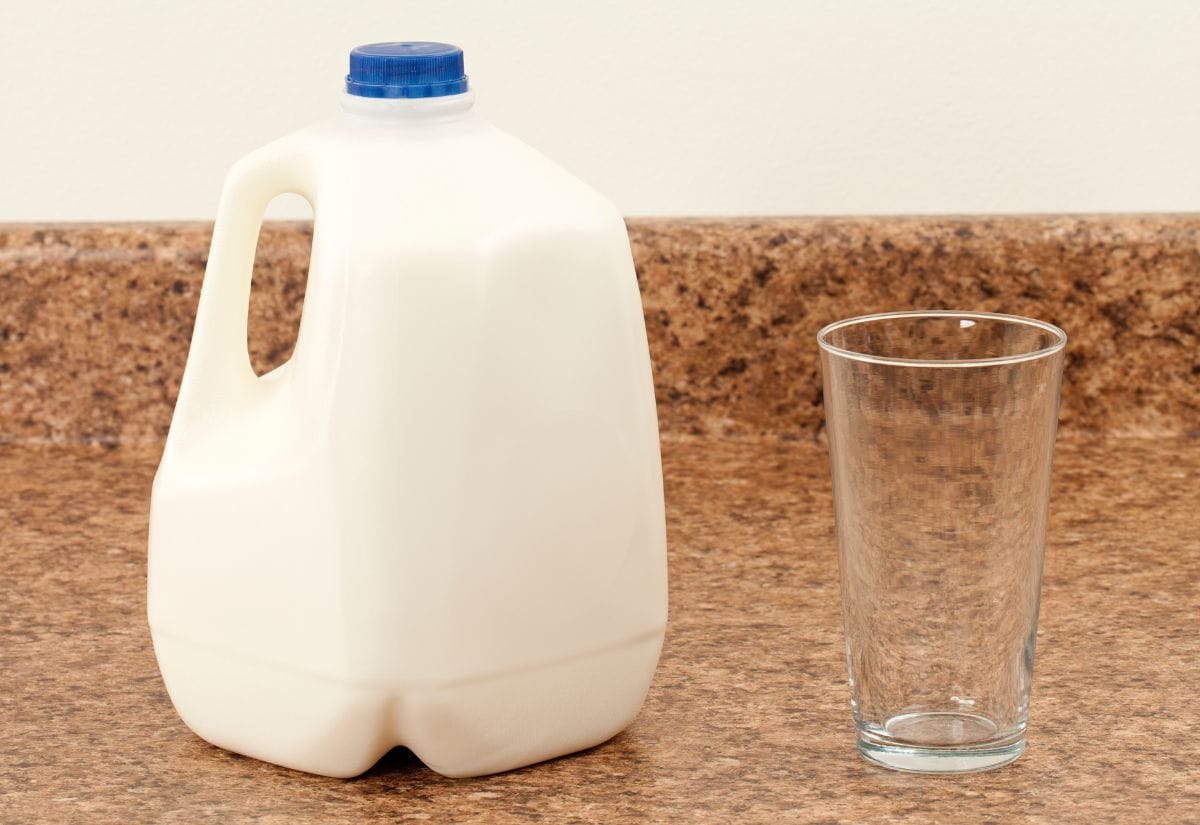
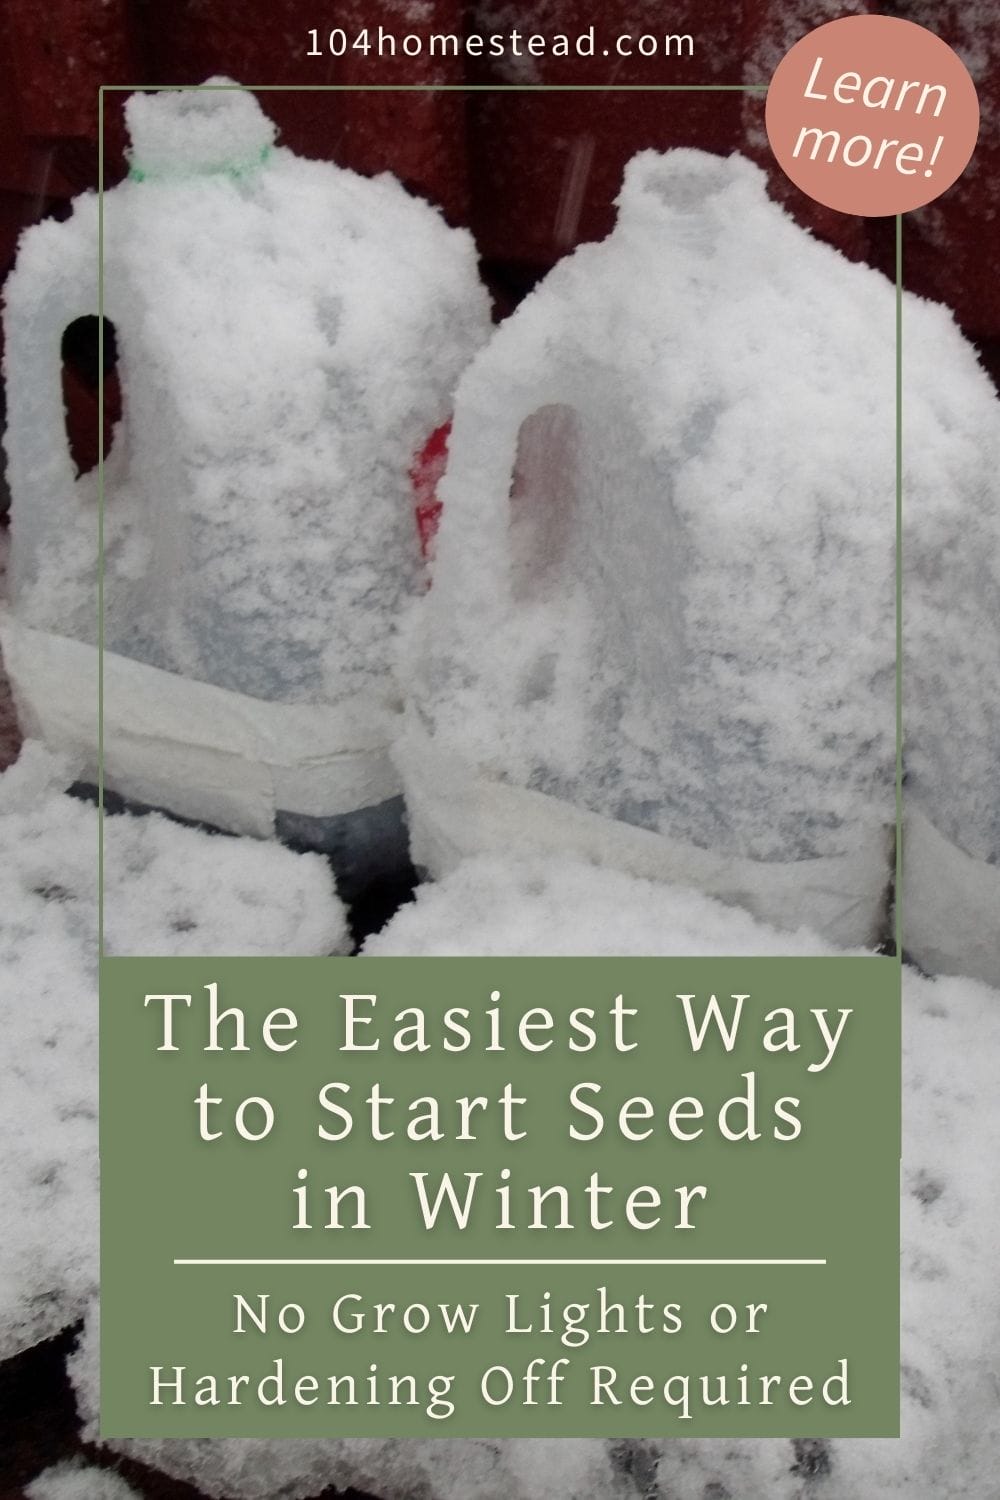
- Milk jugs (my personal favorite)
- 2-liter soda bottles
- Large plastic take-out containers
- Pretzel or snack tubs
Why milk jugs? Their size makes them easy to arrange, and saving the caps lets you control moisture levels in the spring.
Preparing the Containers
Once you’ve chosen your containers, it’s time to get them ready for winter sowing. Proper preparation is key to ensuring your seeds get the right balance of moisture, airflow, and protection from the elements. The first step? Making sure excess water can drain out so your seedlings don’t drown.
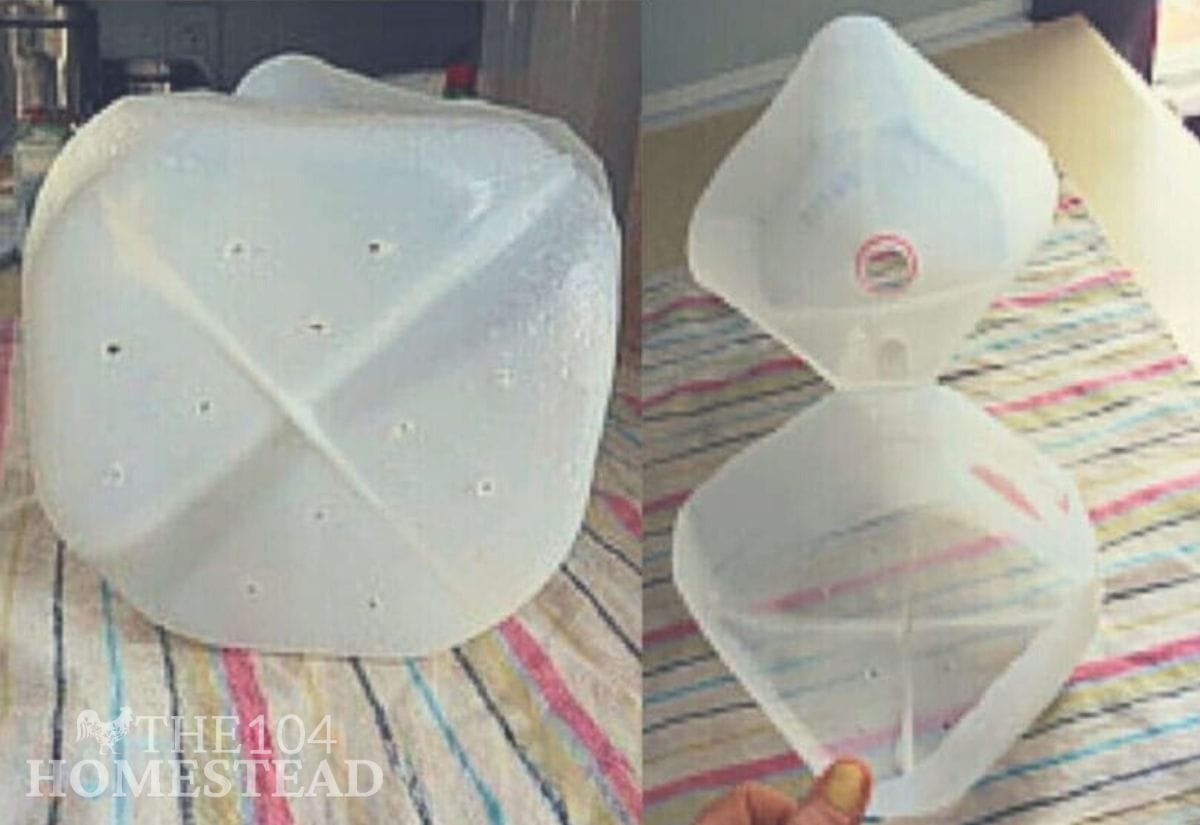
Create Drainage Holes
Use a drill or knife to poke 3-4 holes in the bottom and sides (about ¼ to ½ inch up). This prevents water from pooling and causing rot. Pro tip: Freeze the container with water inside before drilling. It keeps the plastic from collapsing under pressure.
Cut a Hinged Lid
Using a sharp knife or utility blade, carefully cut around the container, leaving about an inch uncut to create a hinge. This hinge will allow you to easily open the container for planting, watering, and checking on your seedlings as they grow. Be sure to cut high enough to allow at least 3-4 inches of soil in the bottom portion while leaving enough room for seedlings to sprout and develop inside their mini greenhouse.
If using a thicker plastic container, score the cut line first to make slicing easier and ensure a clean, controlled cut.
Planting in Your Milk Jug
Now that your mini greenhouse is ready, it’s time to plant! The key to successful winter sowing is creating the right environment inside the container—starting with properly prepared soil. Let’s go step by step to ensure your seeds have the best chance to germinate and thrive.
- Fill the container with moist potting soil about 3-4 inches deep.
- Sprinkle seeds according to the packet instructions for depth and spacing. (I tend to overseed a little, and it still works out fine.)
- Duct tape the lid closed and remove the cap (or poke holes in the top of the container) to allow rain and snow to enter.
- Label the container with a waterproof marker or plant tag to identify the seedlings in spring.
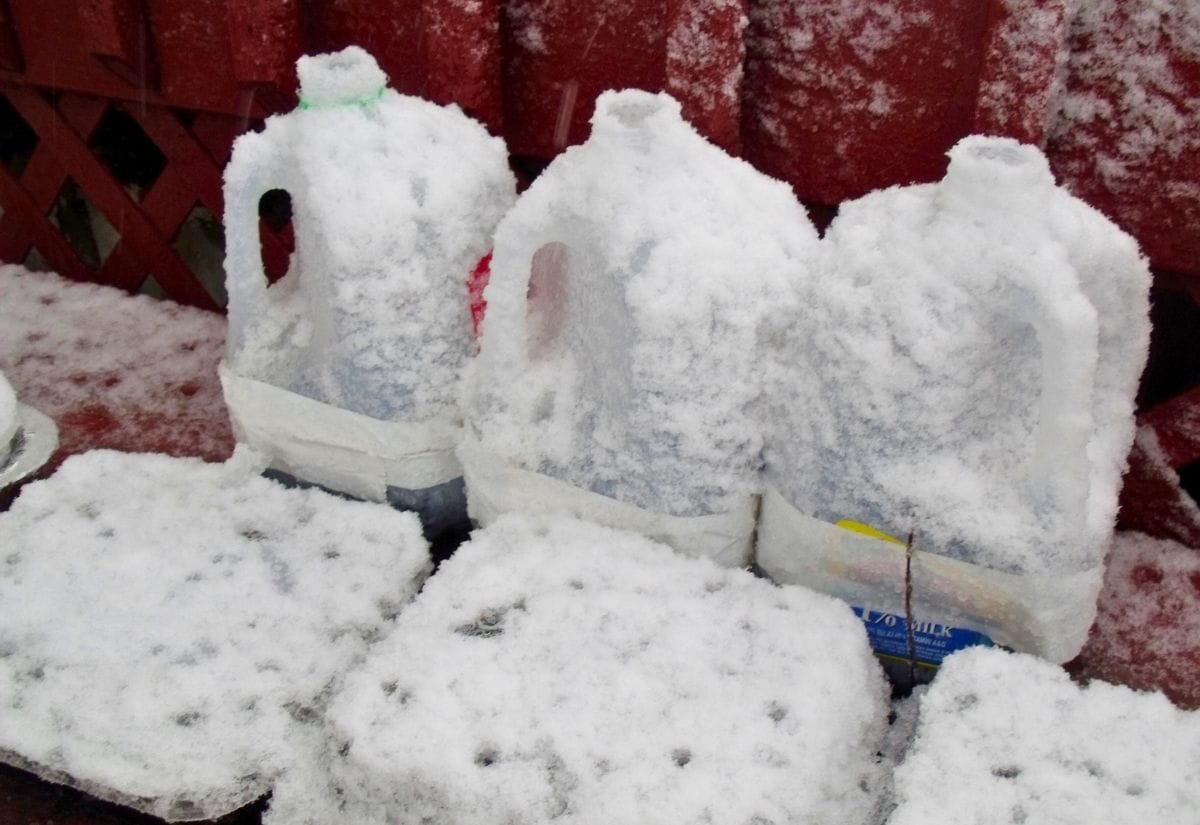
Placing Your Mini Greenhouses
Once your containers are ready, it’s time to put them outside. Here’s where to place them:
- Somewhere visible but protected from foot traffic. If you have kids who love building snowmen, you might want to mark the area!
- In an open area where they’ll get direct rain and sunlight. Avoid spots under eaves or trees.
- In a sunny location to warm up naturally in spring—this prevents having to move them later.
When to Start Your Seeds in Maine (5b)
This schedule works well for Zone 5 and colder regions, but you can adjust based on your local last frost date.
January
- Perennial Flowers
- Hardy Annual Flowers
- Brussels Sprouts
February
- Spinach
- Kale
- Peas
- Broccoli
- Thyme
- Sage
- Oregano
- Cilantro
March
- Lettuce
- Carrots
- Basil
- Parsley
- Bok Choy
- Beets
April
- Tomatoes
- Onions
- Peppers
Need a different planting schedule? Find winter sowing dates for your growing zone here.
Common Questions About Winter Sowing
Recommended Reading
If you’re eager to dive deeper into winter sowing and year-round gardening, these books are excellent resources. Whether you’re a beginner looking for step-by-step guidance or an experienced gardener wanting to refine your techniques, you’ll find plenty of valuable insights in these expert-written guides.
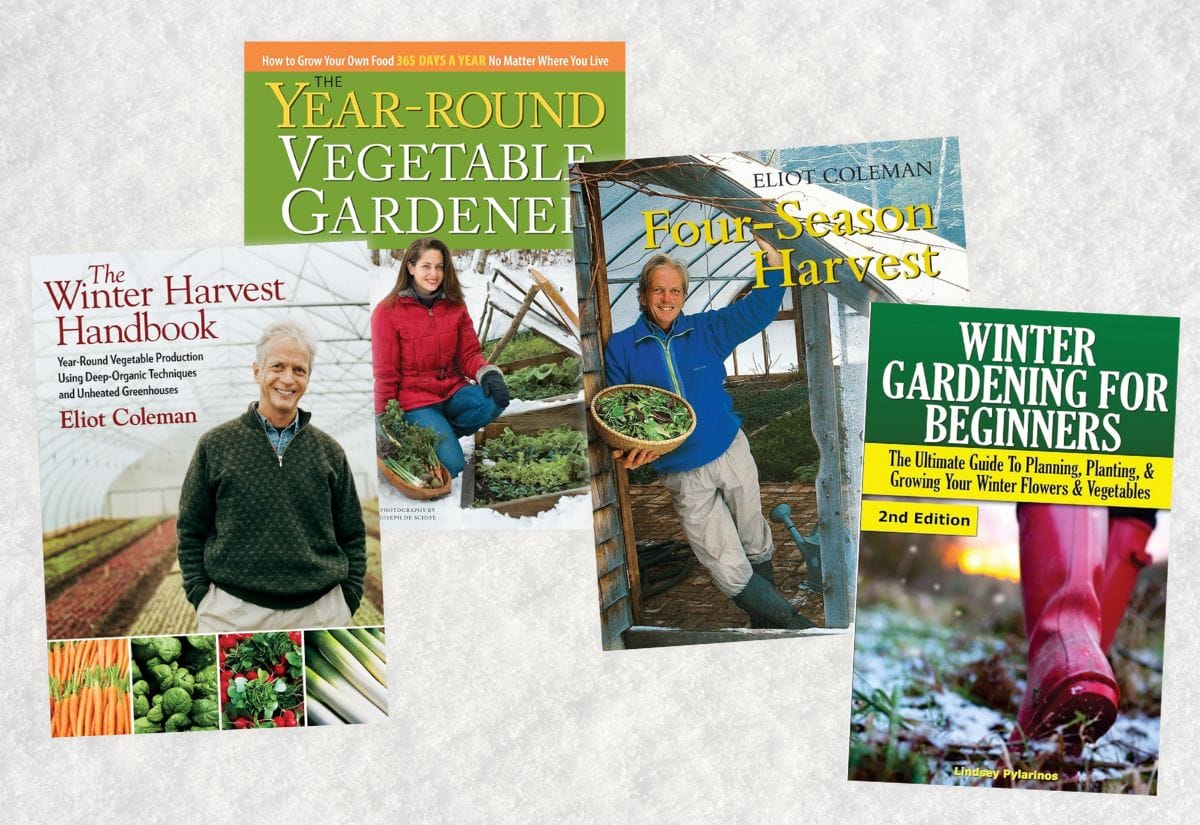
Winter Gardening for Beginners by Lindsey Pylarinos
If you’re new to winter gardening, this book is a great starting point. It simplifies cold-weather growing with easy-to-follow steps and covers topics like frost protection, choosing the right winter crops, and extending your harvest. I appreciate how beginner-friendly it is—perfect for anyone curious about gardening beyond the typical growing season.
The Winter Harvest Handbook by Eliot Coleman
Eliot Coleman is a pioneer in year-round vegetable production, and this book is a must-read if you want to take winter growing seriously. He shares practical techniques for cold frames, hoop houses, and unheated greenhouses—all of which can complement winter sowing. I love how he focuses on soil health and natural growing methods, making it an excellent resource for sustainable gardeners.
Four-Season Harvest by Eliot Coleman
A companion to The Winter Harvest Handbook, this book dives even deeper into season extension, root storage, and growing fresh food in colder months.
The Year-Round Vegetable Gardener by Niki Jabbour
This book is one of my favorites for practical, real-world advice on gardening in cold climates. Niki Jabbour shares detailed planting schedules, crop recommendations, and strategies for growing food in every season. What I love most is her accessible approach, making it easy to apply her tips whether you’re in a backyard garden or working with limited space.
Want stronger seedlings with less effort? Pin this guide!
Winter sowing is one of the simplest, most hands-off ways to start seeds. There’s no grow light setup, no transplant shock, and no tedious hardening-off process. Just plant, place, and let nature handle the rest. So, what are you waiting for? Forget the countdown to your last frost date. Toss some seeds into a milk jug and let winter sowing do the work for you. Your spring garden will thank you.
Winter sowing is a simple way to start seeds, but timing and seed selection are key to success. Knowing your gardening zone and frost dates will help you determine the best planting schedule, while understanding how to read a seed packet ensures you’re choosing the right seeds for your climate. If you’re unsure which seeds will thrive in your area, a zone-based winter sowing guide can help you make informed choices. With the right approach, winter sowing can set your garden up for a productive season.
Have you tried winter sowing before? What plants have worked best for you? Drop your experience or questions in the comments below!