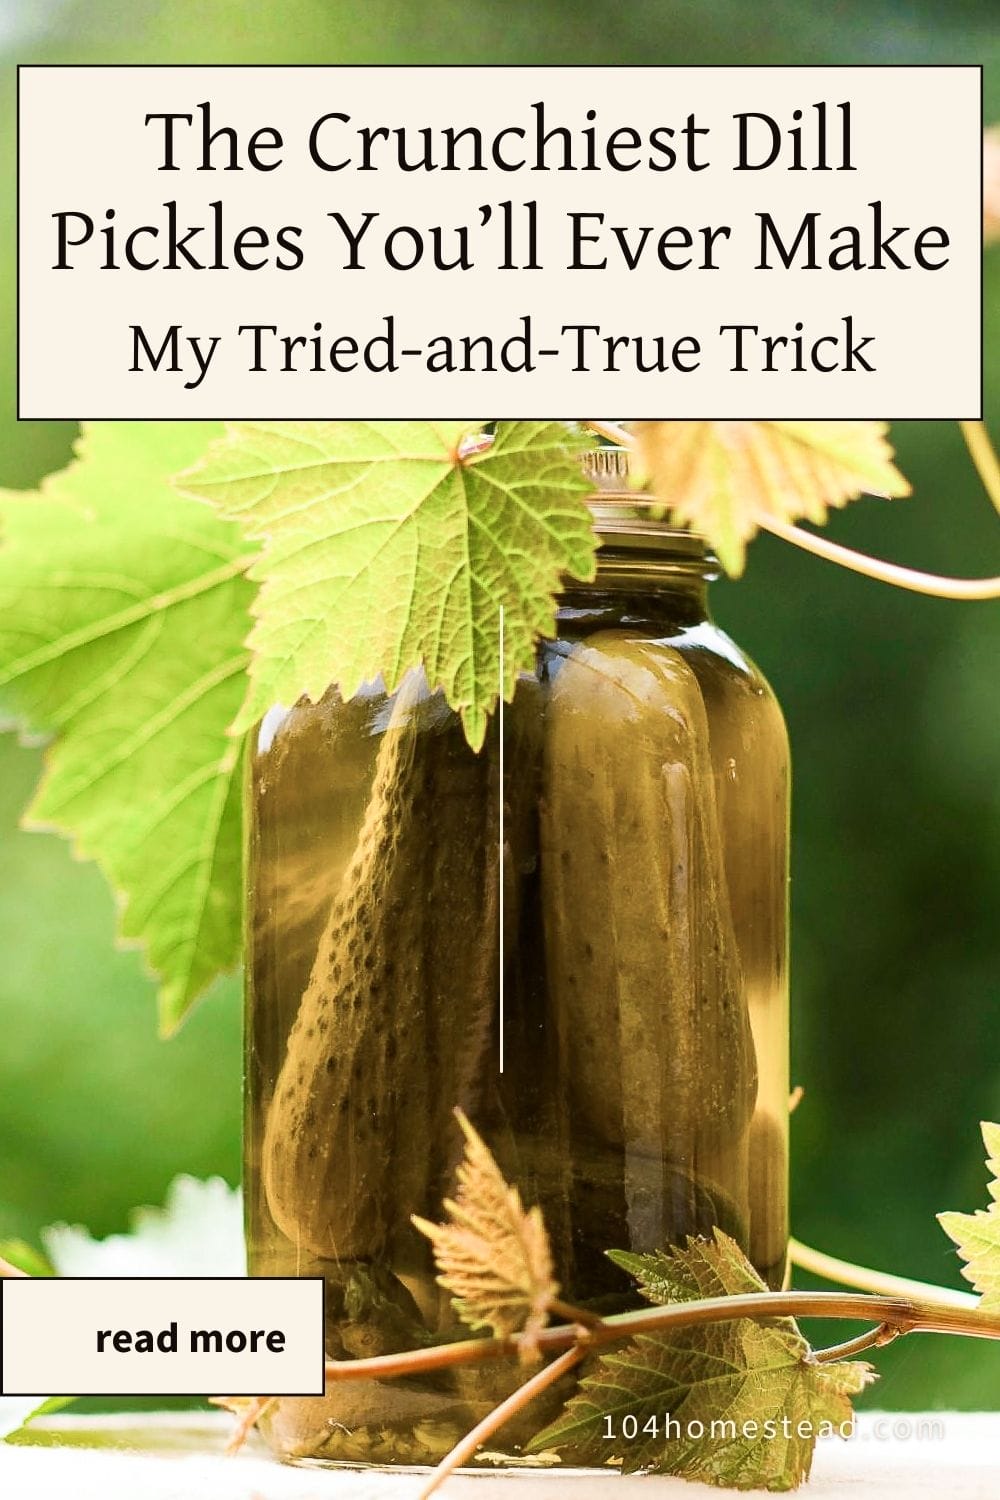
Crispy Dill Pickle Recipe Using a Natural Crisping Method
Make naturally crispy dill pickles that stay crunchy without additives! Learn my simple method using grape leaves for the perfect old-fashioned crunch.
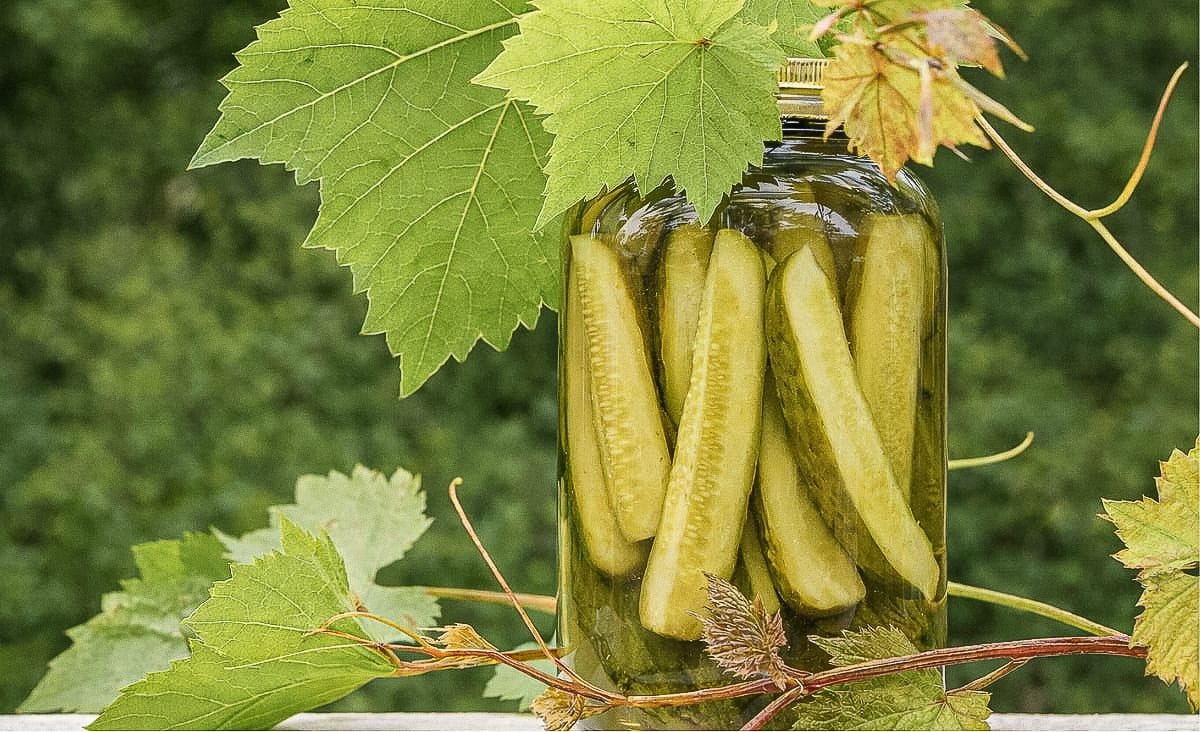
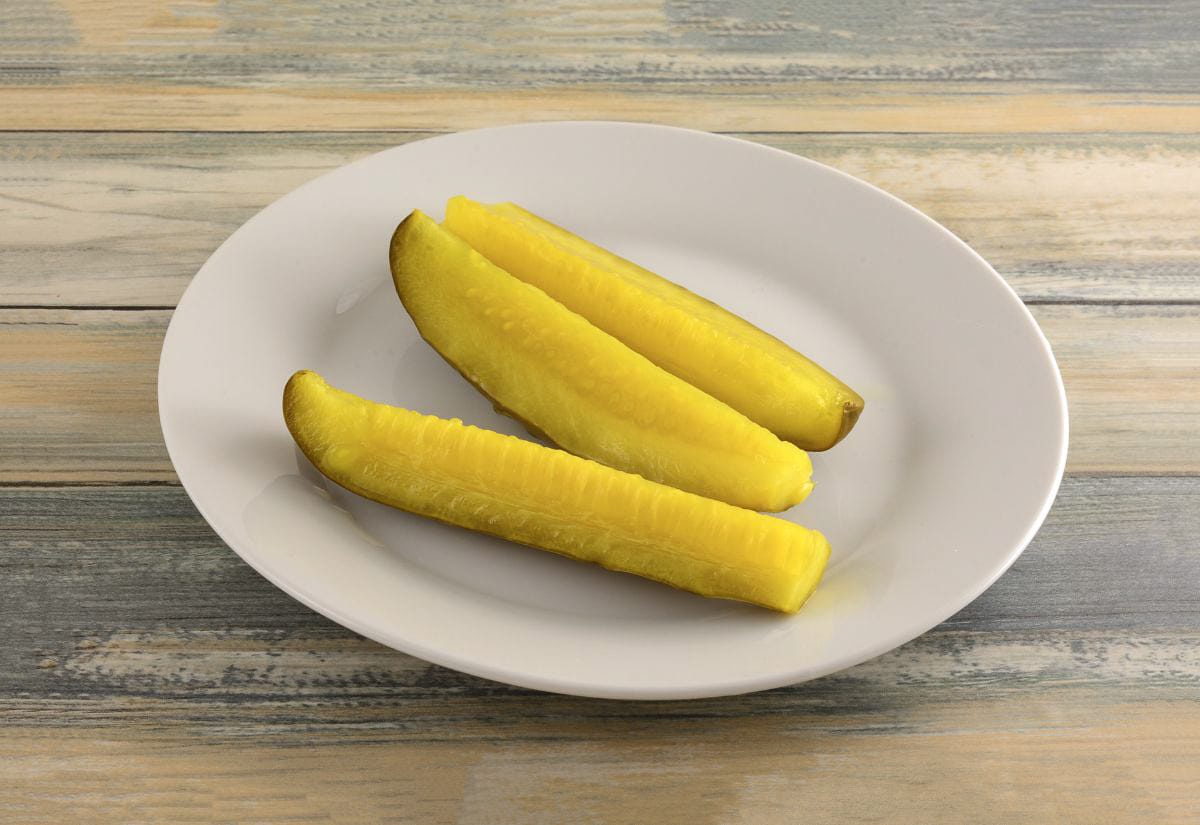
I love dill pickle spears. I prefer spears over coins because they stay crisper. Yes, late at night, I sneak into the kitchen and eat them straight from the jar (don’t tell my kids). The secret to a crispy pickle? Leaves. Plant leaves.
Specifically, grape leaves. Grape leaves have tannins that slow down a natural enzyme in cucumbers… the one that makes them go soft. Other leaves, like oak or cherry, work too, but they can make your pickles taste a bit bitter.
I’ll show you how to make classic crunchy dill pickles (the kind that actually stay crisp) plus a few tricks I’ve learned over the years to keep them that way.
My Naturally Crispy Dill Pickle Recipe
There’s something timeless about a good homemade dill pickle, and this recipe’s been my go-to for years. They’ve got that perfect mix of tangy vinegar, fresh dill, and spice that always makes me reach for just one more.
You’ll find the full recipe card below, but first, here’s what you’ll need and a few tricks that really make a difference.
What You’ll Need
You’ll need firm, freshly picked cucumbers (Kirby or Persian hold up best), white vinegar, dill seeds, pickling spice, kosher salt, fresh dill sprigs, and grape leaves for that signature crunch.
You’ll find the exact amounts down in the recipe card.
Make sure you wash and dry your grape leaves before adding them to the jars. Any moisture or debris can affect your brine.
My Pickling Spice Recipe
This spice mix works for any kind of pickle, not just these dill pickles. Double or triple it so you have plenty on hand for the harvest season.
- 2 tbsp. Black Peppercorns
- 2 tbsp. Mustard Seed
- 2 tbsp. Coriander
- 2 tbsp. Dill Seed
- 1 1/2 tbsp. Red Pepper Flakes
- 1 tbsp. Allspice
- 10 Bay Leaves
How to Make Crispy Dill Pickles
Warm the vinegar, water, and salt on the stove just until the salt fully dissolves. Give it a quick stir and make sure the liquid goes clear again. If there are still grains of salt sitting at the bottom, keep going. You want a smooth brine so the cucumbers soak up the brine evenly and stay crunchy.
Drop in your dill, pickling spice, and one grape leaf per jar. The grape leaf is what gives you that extra crunch, so add one if you’ve got access to fresh leaves. Then pack in the cucumbers as tightly as you can without crushing them. Less empty space in the jar means better brining and better flavor.
For refrigerator pickles, you’re basically done. Give them about two weeks in the fridge to build flavor.
Water-Bath Canning Directions
If you’re planning to can these instead of just refrigerating them, slowly ladle the hot brine over the cucumbers, making sure all the cucumbers are covered by brine. Leave the headspace listed in the recipe card so the jars will seal well. If you see bubbles trapped inside, slide a clean knife or spatula down the side of the jar to let them out. Finish by processing the jars in a water bath for the time listed in the recipe card.
Additional Tricks for a Crispy Dill Pickle
I’ve tried just about every trick in the book to keep my pickles crunchy, and a few actually make a difference. Let’s start with the cucumbers.
Choosing the Right Cucumbers
Start with the right kind of cucumber. Persian and Kirby cucumbers stay crisper and firmer than English cucumbers, which have more water and a thinner skin. Look for cucumbers that feel solid in your hand and snap clean when bent. The fresher they are (straight from the garden or farmers market) the better they’ll hold their crunch in the jar.

Preparing Your Cucumbers Correctly
Use your cucumbers right after picking them. If they even start to wilt, your pickles won’t be as crisp. Always trim off the blossom end (it’s where enzymes live that make pickles go soft). Speaking of cutting, the smaller your pieces, the softer they will become. It’s best to pick smaller cucumbers and cut them into larger spears.
Let your cucumbers chill in an ice bath for four to five hours before starting to process them.
Processing Your Cucumbers Properly
Refrigerator pickles stay firm because you’re not cooking them like you do when canning. Refrigerator pickles are good for about 2 months.
If you’re water-bath canning, leave ½-inch headspace and process quart jars for 15 minutes. Just keep an eye on the timer. You only need to cook them long enough for safe storage. I stick with Ball jars. It’s one of the few name brands I actually splurge on because they’re worth it. They are less prone to breakage than others on the market. Think of it as an investment in fewer broken jars down the road.
If you’re new to canning, I recommend grabbing a copy of Ball’s Book of Canning and Preserving. It’s packed with recipes and solid info on safe canning practices.
Common Pickle Problems (and How to Fix Them)
Whether you’re new to canning or just chasing that perfect crunch, here are some common questions about this crispy dill pickle recipe.
Love a good crunchy pickle? Save this recipe so you can make a batch (or five) once cucumber season hits!
As you start making your own crispy dill pickles, remember, the best recipes are the ones you have fun with. Use those grape leaves and watch your pickles turn into crisp, crunchy bites that disappear faster than you can jar them.
If you want to learn more about canning and get more recipes, check out my complete guide on water bath canning recipes and tips for new canners. Whether you’re new to canning or just brushing up, this guide is packed with tips to help you along the way.
How do you use homemade pickles in your meals? I’m always up for trying new ideas. Share your favorite combos in the comments!
Classic Crunch Dill Pickles
This post may contain paid links. If you make a purchase using the links in this recipe, I may earn a commission.
Equipment
- 6 Mason Jars quart
- 1 Canning Kit optional
Ingredients
- 6 lbs. Cucumbers recommend Persian or Kirby’s for best results
- 3 cups White Vinegar
- 3 cups Water
- 6 tbsp Dill Seeds
- 6 tbsp Homemade Pickling Spice
- 2 tbsp Kosher Salt
- 24 Dill Sprigs fresh sprigs
- 6 Grape Leaves fresh, cleaned and dried
Instructions
- In a large saucepan, combine vinegar, water, and kosher salt. Heat over medium-high until boiling and the salt is completely dissolved.3 cups White Vinegar, 3 cups Water, 2 tbsp Kosher Salt
- In each sterilized quart jar, place one grape leaf, 1 tablespoon pickling spice, 1 tablespoon dill seed, and 4 sprigs of dill.6 tbsp Dill Seeds, 6 tbsp Homemade Pickling Spice, 6 Grape Leaves, 24 Dill Sprigs
- Tightly pack the cucumber spears upright in each jar, leaving about ½ inch of headspace.6 lbs. Cucumbers
- Carefully ladle the hot brine over the cucumbers, keeping that ½-inch headspace.
- Wipe the rims clean and seal the jars.
For Refrigerator Pickles
- Cool to room temperature, then refrigerate for at least 2 weeks before eating.
For Canning
- Process in a water bath for 15 minutes with ½-inch headspace. Let jars rest 12–24 hours before checking seals.
Notes
- Freshness matters: Use firm cucumbers picked within 24 hours for the best crunch.
- Why the grape leaves? The tannins help keep pickles crisp naturally—no chemical crisping agents needed.
- Adjusting spice: Add garlic cloves, peppercorns, or chili flakes for a custom flavor.
- Shelf life: Refrigerator pickles stay crisp up to 2 months. Canned pickles will keep about a year in a cool, dark place.
How long should I Water bath pint jars?
I know this goes against USDA recommendation but, for about twenty years I have only put the jars back in the water bath for about three minutes to make sure the jar gets hot again for a good seal and always crisp pickles. Fifteen minutes will cook anything making them soft. The acidic environment takes care of germs.
Hey John,do you put the jars with the pickles in the pot right away(before the waters heated)and start timing it when the water boils or do you heat the water and then put the jars in for three minutes?
I’m looking forward to making your pickles but would you say these are similar to the ones in a chic Fila sandwich? I really like their taste.
I was raised with using Alum for pickles to make them crisp .. (if you are teething, they numb the gums and take away the pain) Alum is found in the space rack at the grocery
Alum is an aluminum compound, and when ingested can accumulate in the brain. Aluminum in the brain is linked to Alzheimers disease.
Hi I use fennel fresh leaves from my garden with few garlic, red paper chop. It look great and I am going to enjoy them with my veggies zucchini burgers in fall and winter. Thanks your recipe is great too. I try next year or if I get more from garden I will a give try.
Thanks enjoy your webpage.
almas.
What about wild grape leaves? Would that work or is there a difference?
I used wild grape leaves. Best pickles I ever made and they stayed crisper longer then when I used alum.
I’ve used Alum. But my whole family is staying away from it. It’s known to promote the on set of Alzheimer’s. Which shouldn’t be a huge issue, accept my family loves pickles.
I just started making my own pickles….. Lots of success and a few disappointments (some things just shouldn’t be pickled….). Anyway, a trick I found, because I could not locate grape leaves, was to use dried bay leaves (like 2 in a at jar). They also have tannins and impart a slight flavor that works well and is no where near as bitter as the other options. So, give that a try…..
Great idea
Hi I have uses grape leaves and oak leaves which are more abundant here at my house and I have never had bitter pickles. The leaves definitely give me the best most crisp pickles.
Hi Im excited to try the Grape leaves! But is this something you buy in the spice department? I’ve never seen it!! Nor heard of using it. But I also let my brine settle to warm instead of cooking my cucumbers in hot brine. Thanks for the recipe!
I don’t know if maybe a specialty store might carry them, but I just take them straight from the plant.
I love in Minnesota as & was wondering where do I find de grape leaves?
I get mine from our grape vines
Do you know if muscadine leave would work also? Thanks for sharing your recipe! I’m looking forward to trying it! Amy
I too am weary of crispness additives… I think it’s really not all that necessary as long as you use some sort of leave like grape or bay to keep the crispness up to par. I don’t really know how adding those leaves helps but they really do! I agree with your comment that bay leaves may add a little too much unwanted flavor – but I think it depends on the palette! Thank you very much for sharing this recipe, I will definitely give it a try.
I have been making my garlicky Dillsboro for about 30 years and I find the simplest way to have really crunchy pickles is to let your brine completely cool. In fact, I often make it up a day ahead and refrigerate it. When I’m ready to make my pickles, I sterilize my jars, then cool them so they don’t break when I pour in the brine. I cut my cukes long-ways to fit the jar and I load the jar with garlic cloves, fresh dill, cukes, and then fill with the chilled brine and cap with the lids. Refrigerate. They are ready to eat in less than 24 hours. The reason for cooling the brine is that you aren’t cooking your pickles. It makes all the difference in the world. Also, I always have brine on hand and can do ad many or as few jars at a time. Pickles all the time…I love it!
Would love to have your recipe too!
Barb
Would you please share your recipe?
Thanks for sharing!thanks for sharing!
Would love your recipe if you would share. Thanks, Agatha King
Would love this recipe!
I’ve heard about using grape leaves for pickles but how about using them to make pickled OKRA? I have a wonderful recipe that I found, gave it a shot (with a few adjustments) and it’s pure gold! Also heard BAY leaves work for crispness as well, but not sure about either of the leaves flavors…what are your thoughts on this??
I can’t see why it wouldn’t work for okra. As far as bay leaves, I haven’t tried it. I’d be worried about strong flavors from the leaves. Grape leaves don’t really have much of a flavor and they’re sort of waxy.