How to Sew a DIY Harvest Apron for the Garden
Sew a DIY harvest apron with this beginner-friendly tutorial, including simple steps, fabric tips, and ideas for carrying eggs, herbs, or veggies.
Whether you’re picking tomatoes, gathering eggs, or snipping herbs, a DIY harvest apron is one of the most practical tools you can make for your homestead. It keeps your hands free, saves your shirt from stains, and spares you from trying to balance a basket on your hip.
I’ll walk you through how to sew a simple harvest apron, and I’ll show you a few ways to tweak it depending on what you’re picking that day. You’ll also find ideas for reinforcing stress points, comparing aprons to baskets and bags, and I’ve even got printable instructions if you’d rather follow along on paper or keep it handy on your phone.
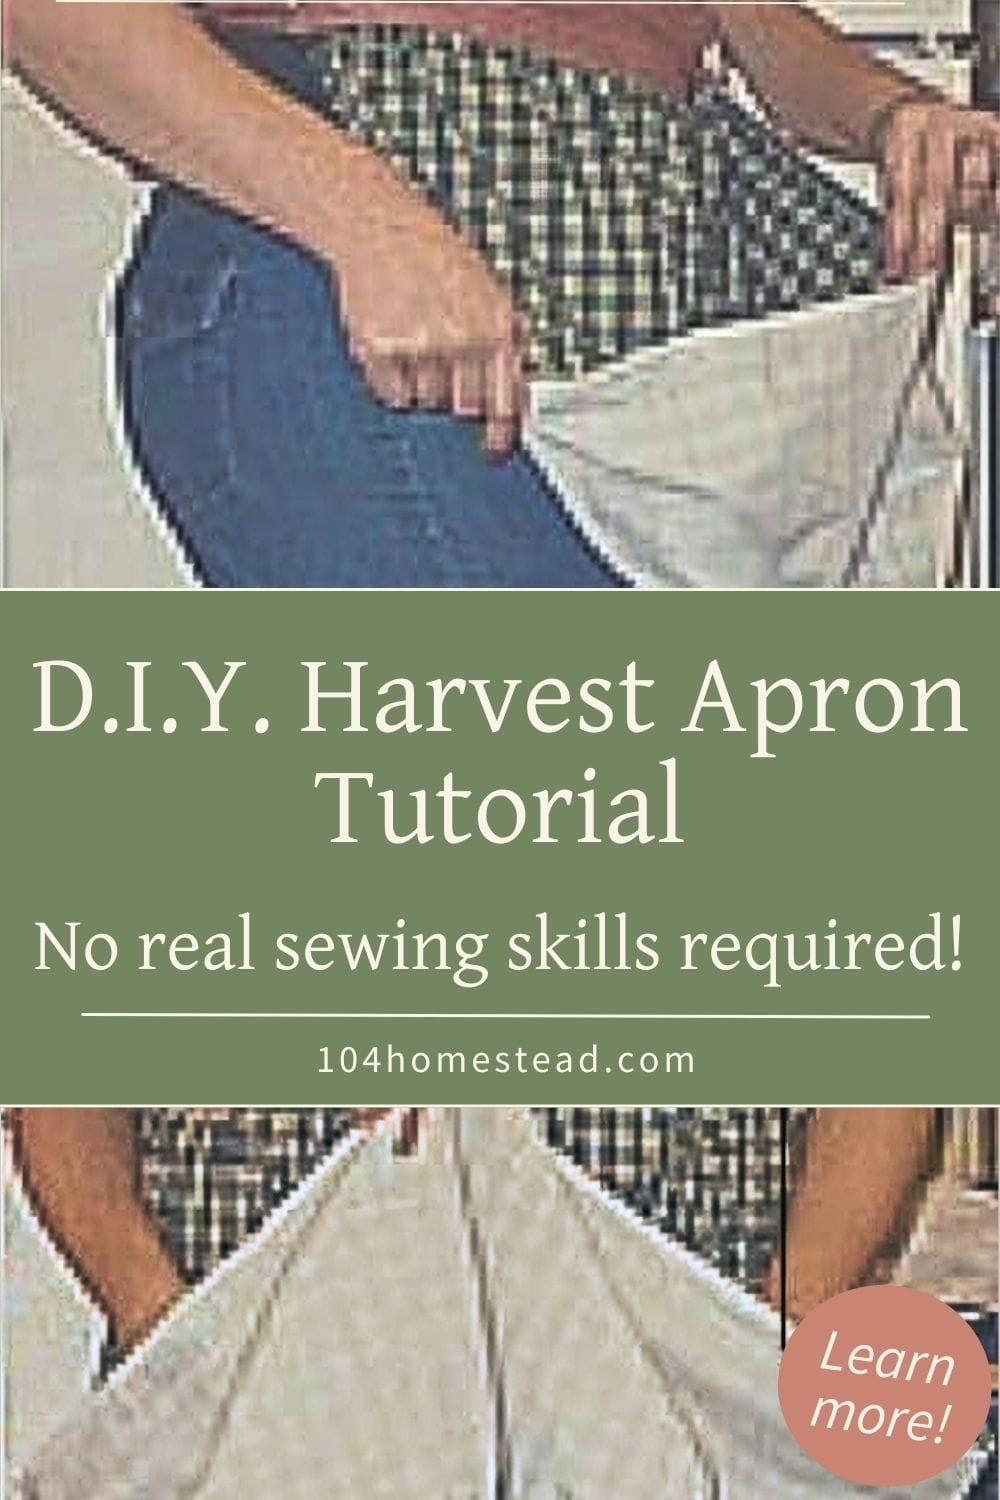
A quick note before we dive in—these photos are from one of my first tutorials, and it shows. The pictures are super pixelated and the fabric choices are… meh. But the method still works like a charm, and I’ll be updating the pictures as soon as I make another apron.
If you enjoy beginner-friendly sewing projects, you might also like this tutorial for how to make unpaper towels—a practical swap for paper towels that’s quick to stitch up.
Want a printable version of this tutorial? Download the full step-by-step instructions in a handy PDF format—perfect for printing or saving to your device so you can follow along at your sewing machine. Click here to download the DIY Harvest Apron Instructions PDF
Why Make a Harvest Apron?
Baskets are great, but let’s be honest… they’re not always the easiest thing to haul around. A well-made harvest apron gives you a hands-free way to carry garden produce, herbs, flowers, and even eggs and you can even tuck your pruners in there so they’re not always disappearing on you.
Other reasons to love them:
- You can cinch the bottom into a pouch to hold your harvest securely.
- They’re easy to wash and reuse.
- You can customize them to suit your style or the job at hand.
- If you use a good sturdy fabric, they’ll hold up a lot longer than you’d expect.
If you’re tired of fumbling with bowls and bags—or dropping tomatoes on your way back to the house—this project is for you. If you just want to make gathering less of a headache, don’t miss these tips on how to be more productive in the garden without working harder.
Supplies You’ll Need
Before you start cutting fabric, make sure you’ve gathered all your materials. You don’t need anything fancy—just the usual sewing basics and a fabric that can take a beating and still wash up fine.
- Cotton or linen fabric for the outer (something pretty and breathable)
- Muslin, canvas, or duck cloth for the lining (heavier = sturdier)
- Thread
- Ribbon or matching fabric for ties
- Scissors
- Pins or clips
- Measuring tape
- Iron (optional but helpful)
- Sewing machine with buttonhole function (or sew by hand)
- Safety pin or bodkin (for threading the cord)
DIY Harvest Apron Instructions
Once you’ve got your supplies ready, here’s how to put it together. The steps below walk you through exactly how to make your apron from start to finish—even if you don’t consider yourself much of a sewist.
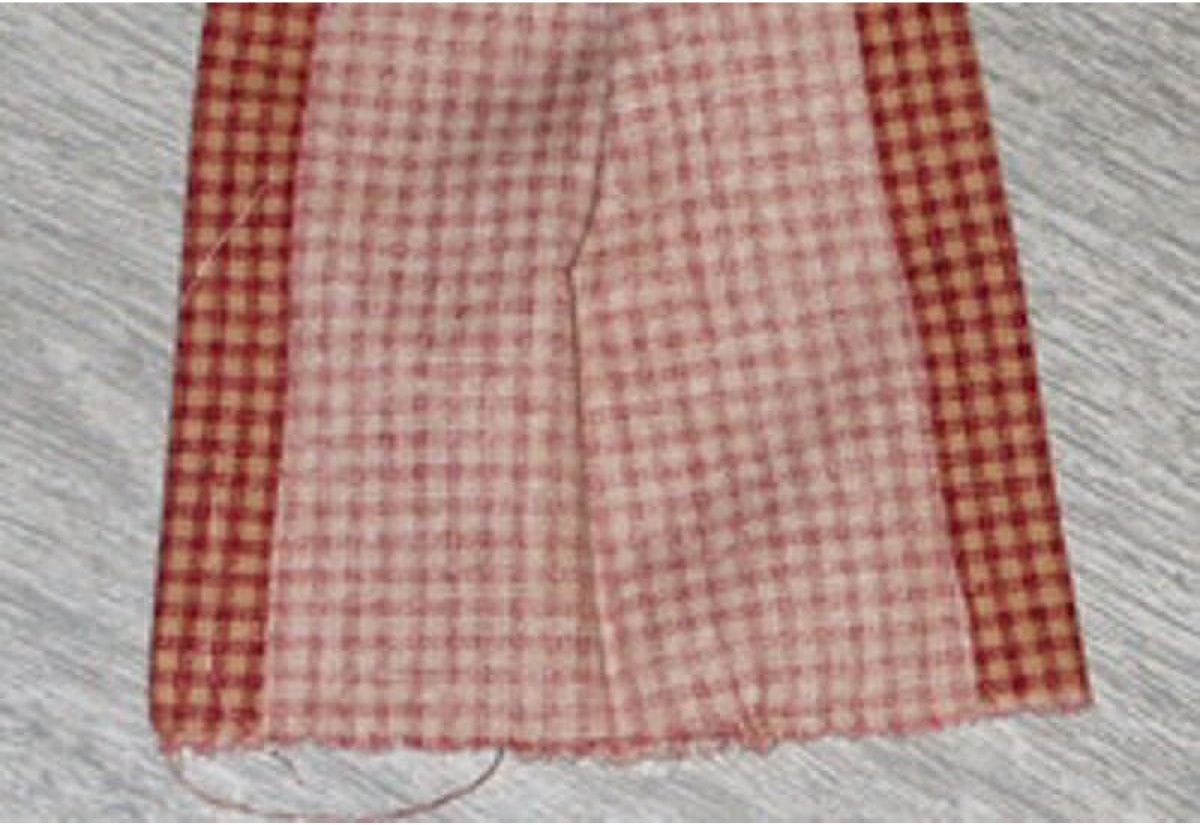
Step 1: Cut and Sew the Apron Body
Cut two rectangles of fabric to match your size and preference. For most people, 30 inches wide by 30 inches long works well.
- One piece should be decorative cotton or linen.
- The second should be heavier fabric like duck cloth for durability.
Place the pieces right sides together, and sew around the sides and bottom, leaving the top open. Use a ½” seam allowance. Clip corners, turn right side out, and topstitch the three sewn sides so it looks neat when you’re done.
Step 2: Create the Waistband/Sash
Cut a strip of fabric 8 inches wide and long enough to go around your waist with extra for tying—about 80–90 inches total for most adults.
- Fold the edges in by ½ inch and iron flat.
- Fold the strip in half lengthwise and iron again to create a long sash with tucked-in raw edges.
- If you’d like, hem the ends now or wait until later.
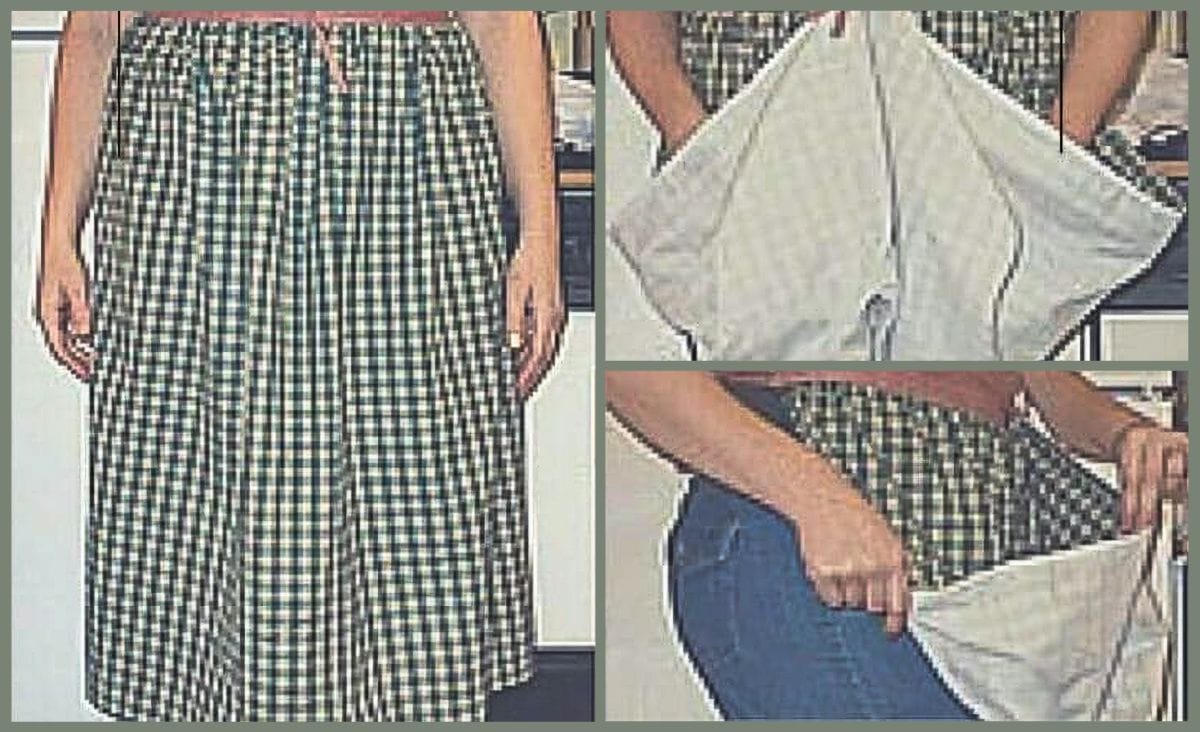
Step 3: Gather and Attach the Apron to the Sash
Create a wide running stitch across the open top edge of the apron body using a needle and thread. Pull gently to gather the fabric until it’s the same width as the section of the sash that will go across your front (hip to hip).
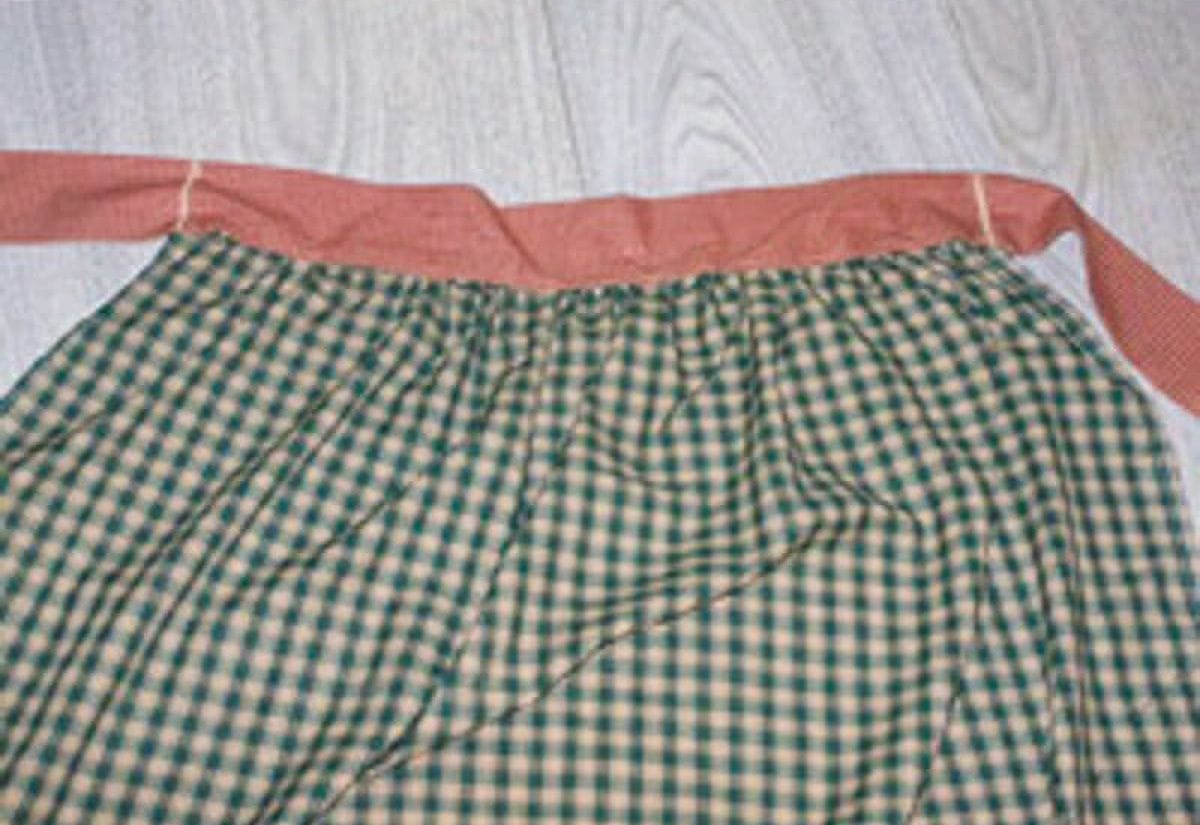
- Find the center of the sash and the apron.
- Insert the gathered edge of the apron into the folded sash, 1 inch deep.
- Pin securely, then adjust gathers as needed.
- Sew along the edge of the sash, catching both sides and securing the apron inside.
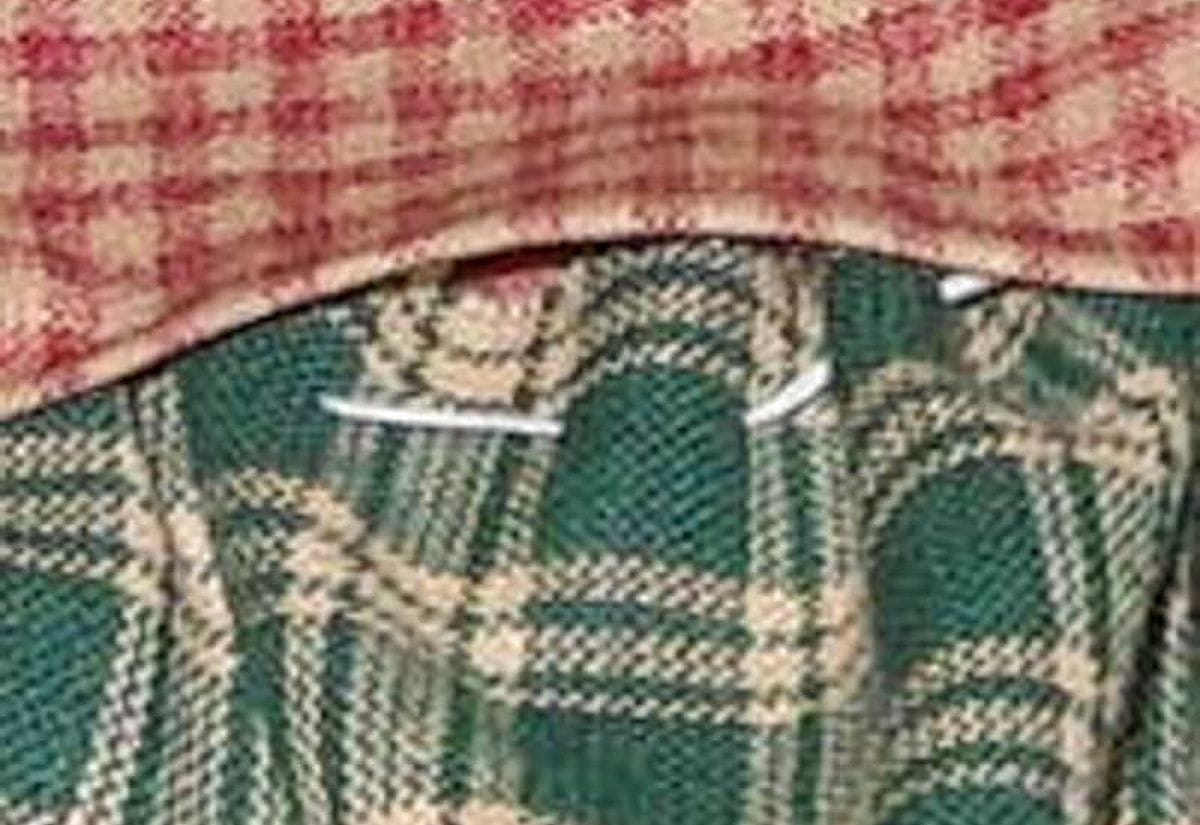
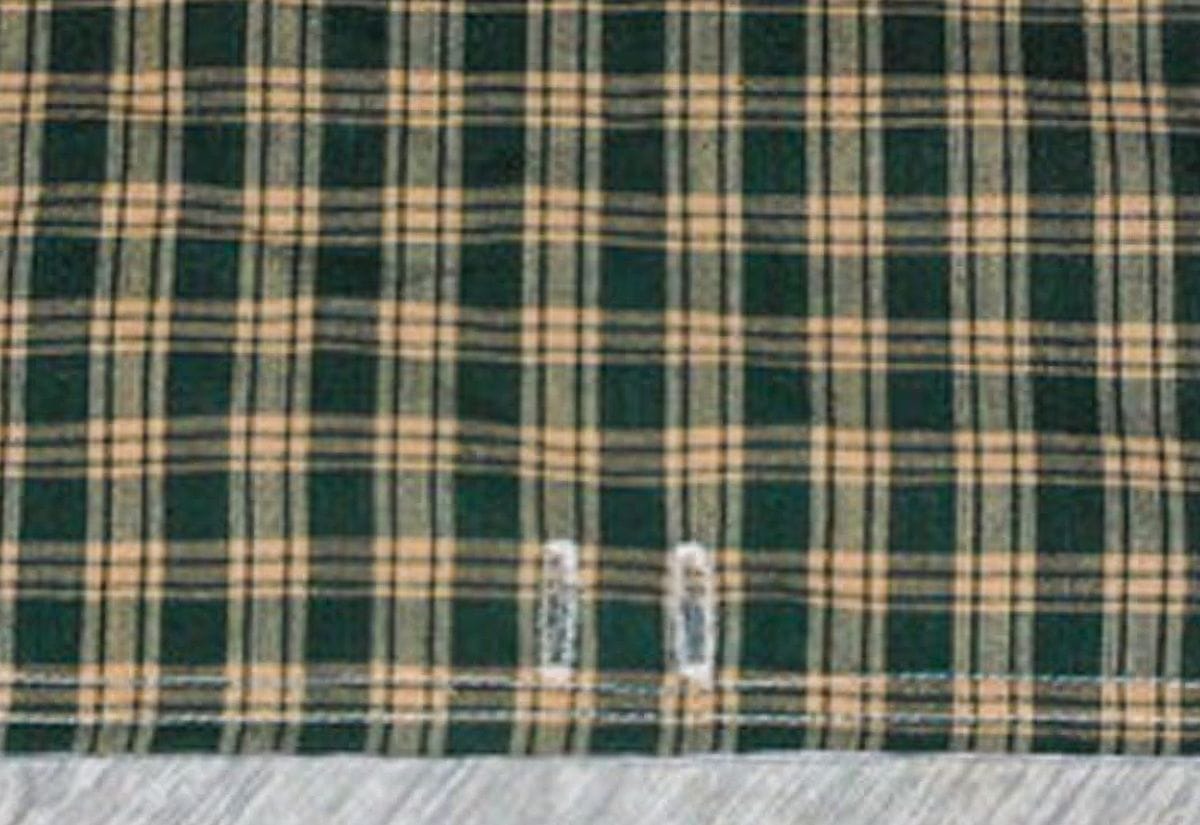
Step 4: Add the Gathering Pouch Feature
Here’s the clever part—the step that makes your apron double as a gathering pouch.
- Create four buttonholes along the bottom edge of the apron—two on the ends, two in the center. Each should be about 1 inch from the edge and 1 inch long.
- Thread a sturdy ribbon through the buttonholes. Tie the ribbon to the inside center of the waistband so it supports the weight when you cinch the apron.
To use the pouch, just lift the bottom edge, run the ribbon through the outer and inner buttonholes, pull tight, and tie.
Tips for Customizing Your DIY Harvest Apron
Your apron should be able to keep up with whatever you’re harvesting. Here are a few simple ways to tweak the design so it fits the way you actually use it, whether you’re gathering greens or hauling in heavy zucchini.
- For heavier produce: Reinforce the gathers with a double stitch or use extra-sturdy fabric like canvas.
- For egg collecting: Add internal dividers or padding for each pocketed section.
- For herbs or flowers: Include a side loop or pocket for snips and scissors.
- For kneeling: Add a lightly padded knee panel on the front.
This project is easily adapted to fit whatever you’re harvesting—just tweak the fabric and features to match your needs.
Are Aprons Better Than Baskets?
While baskets have their charm, honestly, aprons usually come out ahead for a few reasons:
- You can carry tools and harvest together.
- Your hands stay free.
- No balancing act while crouching or reaching.
- Less chance of bruising produce while picking.
If you’re harvesting large, fragile, or many items at once, the apron will make you wonder how you ever managed without it.
Don’t Forget to Wash and Store It
Your apron will get dirty—and that’s the point! Just toss it in the washing machine after each use, especially if you’ve been working with juicy tomatoes or herbs that can stain.
Frequently Asked Questions About Making a Harvest Apron
If you’re thinking about making one of these aprons or customizing your own version, here are some common questions that might help before you get started.
Pin this tutorial so you’ll have it handy next time you want to whip up a DIY harvest apron for the garden, homestead, or gift-giving.
You don’t need to be an expert sewer—if you’ve got some scrap fabric and an afternoon, you can whip one up and make harvesting a whole lot easier.
Want to grow more food to fill your apron with? Here’s how to grow a garden for fresh food all year long, even if you live in a cooler climate.
Let me know in the comments how your DIY harvest apron turns out—or share your best tips for gathering gear you can’t live without!
Well I have to say if a novice sewist wanted to make themselves a simple and ample harvest apron, I would steer them away from this tute. However, since I have done a fair amount of sewing and since I like the look of your apron, I might give your design a try. It looks good. BTW investing in a cloth measuring tape (couple of bucks at a fabric store) might save you time and headaches. Also did you know you can often find the operating instructions for most makes of sewing machines if you just google the make model and any identifying numbers along with the words ‘owners manua’ form’….in case you have questions about using you particular machine.
This tutorial is almost 10 years old, so I’m happy to report that I’ve come along way in my sewing abilities. I’ve been meaning to update it, but haven’t had the time to make a new apron yet to get the photographs. And the original is still living and collecting produce to this day.
Love the concept of your pattern and thank you for taking the time to share it. In the picture, it appears the bottom corners are sewn to the sides but my understanding from the instructions is that the cord from the center front wasteland just goes through the buttonhole in the corner then through one of the center buttonholes and back to the top to tie. Is this correct? Thank you for clearing this up for me. I’m excited to make one.
Janet
This is exactly what I’ve been looking for – thank you! Tell me though is there a minimum length for the ribbon?
Thanks so much for the pattern, I made this using the 30″ for the length and at the bottom added extra buttonholes for a total of 10 across the bottom, 2 at bottom center, 2 at bottom corners, & 2 at 15″ from bottom corners, this created a neat pleated fold look and works very well for someone that is a size 12 & 5’7″ tall.
We are blueberry farmers and our pickers like to pick them in the tails of their t-shirts. this looks like just the thing to make for them to wear. Cute, easy to sew and washable. Thanks for your pattern and instructions. The Farm at Blueberry Hill, Donalds, SC.
Beautiful person you. Thank you for sharing.
Just made two of these!! One for me and one for a friend. Thanks for sharing. The instructions where very easy to follow.
It’s adorable apron. What is the length inches to be cut for pattern? 30″ or 36″ I’m confused.
OH my…this is so cute!
Thanks for joining Cooking and Crafting with J & J!
I have been looking for a pattern like this one. Thank you for posting. 🙂
Sandra