Step-by-Step Guide to Starting Beekeeping for Beginners
Learn how to start beekeeping with this step-by-step guide for beginners. Everything you need to start your first hive successfully!
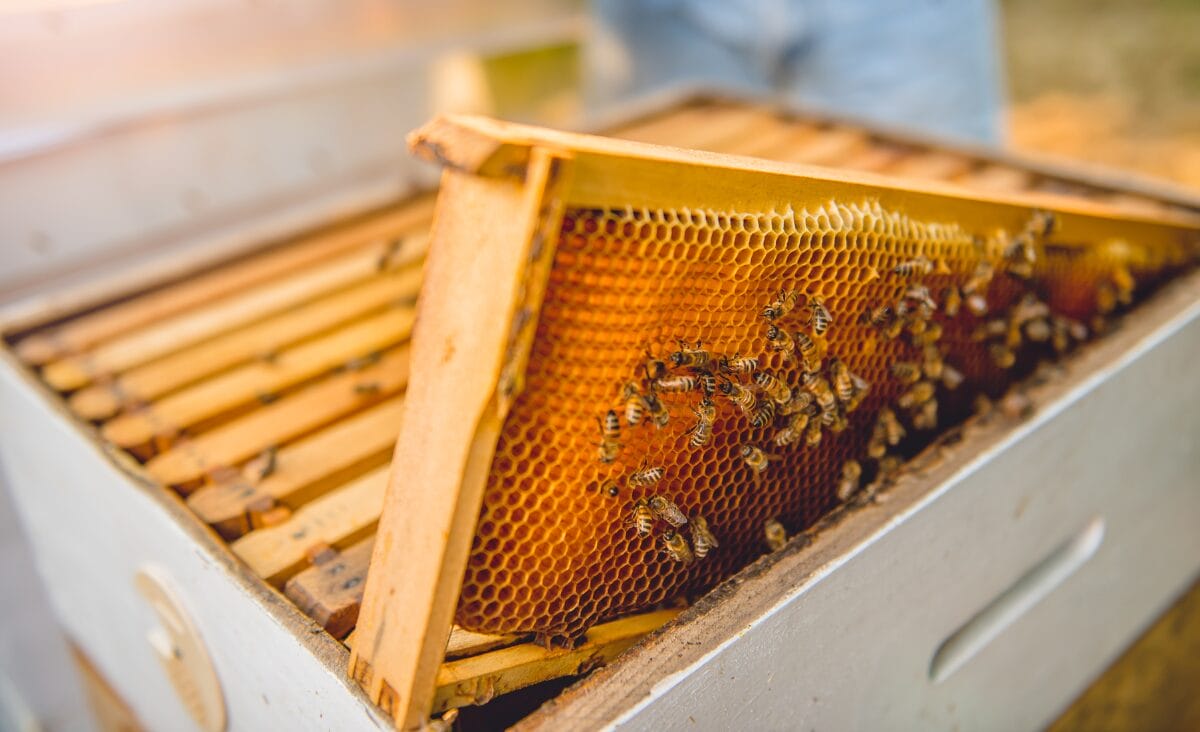
Beekeeping is one of the most rewarding hobbies for homesteaders. Not only can you enjoy fresh honey and beeswax, but your garden will thrive from improved pollination. If you’ve ever thought about starting beekeeping but felt unsure about how to begin, you’re not alone—every beekeeper was once a beginner!
This step-by-step guide is designed to walk you through everything you need to start your beekeeping journey, from choosing the right hive to maintaining your colony. Whether you’re on a small homestead or a spacious property, this guide breaks it all down into simple, actionable steps tailored for beginners.
Step 1: Learn the Basics of Beekeeping
Beekeeping starts with knowledge. Before you dive in, familiarize yourself with the fundamentals:
- Read beginner-friendly books like Beekeeping for Dummies or The Beekeeper’s Bible.
- Take a local or online beekeeping course for hands-on tips and best practices.
- Join a beekeeping group or club to connect with experienced mentors.
When I started, I was overwhelmed by information. A local beekeeper invited me to observe their hive inspections, and it gave me the confidence I needed to get started.
Step 2: Check Local Regulations and Prepare Your Property
Beekeeping laws vary by location, so it’s important to:
- Check your city or county’s zoning laws to ensure backyard beekeeping is allowed.
- Inform your neighbors about your plans to address any concerns.
- Choose a hive location on your property that is:
- Sunny (with afternoon shade).
- Sheltered from strong winds.
- Close to water (but not in high-traffic areas).
Pro Tip: A hive facing east or southeast ensures bees get early morning sun to kickstart their activity.
Step 3: Choose Your Hive and Equipment
Selecting the right hive and tools makes a huge difference.
Hive Types
- Langstroth Hive: Most common, stackable, and beginner-friendly.
- Top-Bar Hive: Horizontal, simple design, great for natural beekeeping.
- Warre Hive: Vertical, minimal intervention style.
Why I Recommend Langstroth Hives: They are widely used, making it easy to find parts, guidance, and support from other beekeepers.
Essential Equipment
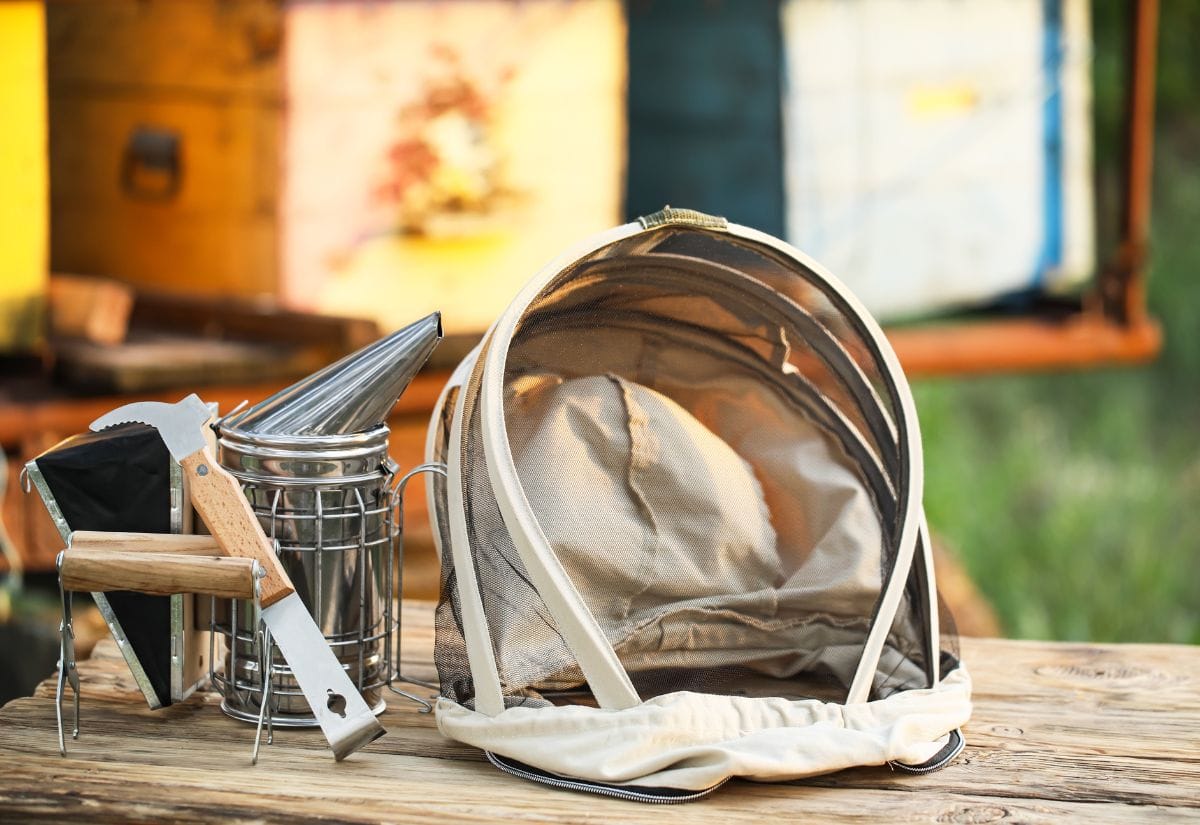
Starting beekeeping requires a few essential tools to ensure both your safety and the well-being of your colony. Here’s a closer look at the must-have items for every beginner:
Beekeeping Suit and Gloves
A full beekeeping suit, along with protective gloves, is your first line of defense against stings. Look for a suit with a veil that provides clear visibility while keeping your face protected. Lightweight, breathable materials are ideal for hot weather, and adjustable cuffs help keep bees out. While gloves are helpful for beginners, some experienced beekeepers prefer to work without them for better dexterity once they’re comfortable with their bees.
Smoker to Calm the Bees
A smoker is an invaluable tool for managing your hive. The smoke masks alarm pheromones released by bees, helping to keep them calm during inspections. Use natural materials like pine needles, wood chips, or dry grass as fuel. Learning how to light and maintain your smoker properly will make your hive checks much smoother.
Hive Tool for Inspections
The hive tool is a simple but critical piece of equipment. It’s used for prying apart frames, scraping propolis, and loosening hive boxes. Choose a sturdy metal hive tool that fits comfortably in your hand—this tool will quickly become an extension of you during hive inspections.
Feeder for Your Colony During Low Nectar Periods
A feeder is essential for providing supplemental food when natural nectar is scarce, such as in early spring or late fall. Options include entrance feeders, top feeders, and frame feeders. Sugar syrup in a 1:1 or 2:1 ratio (depending on the season) helps sustain the bees until they can forage naturally. Always clean your feeder regularly to prevent mold or contamination.
Step 4: Source Your Bees
Finding your bees is an exciting step in your beekeeping journey, as it marks the beginning of your hive’s life. There are several options available to start your colony, each with its own advantages and considerations. Here’s a closer look at the most common methods for acquiring bees:
Nucleus Colony (Nuc)
A nucleus colony, often referred to as a “Nuc,” is one of the best options for beginners. It consists of a small, established colony, typically including:
- 3–5 frames of bees.
- A laying queen.
- Brood in various stages of development.
- Honey and pollen stores to sustain the colony.
Why Choose a Nuc?
Nucs are essentially a “mini hive” that’s already functional. The bees are acclimated to their queen and working together harmoniously, reducing the risk of rejection or colony failure. Since the colony is already thriving, it requires less time to establish and expand. Nucs are perfect for beginners as they offer a smoother, more straightforward start to beekeeping.
Considerations
Nucs are typically more expensive than other options, as you’re purchasing an established colony. They’re often only available during the spring, so plan your purchase early.
Package Bees
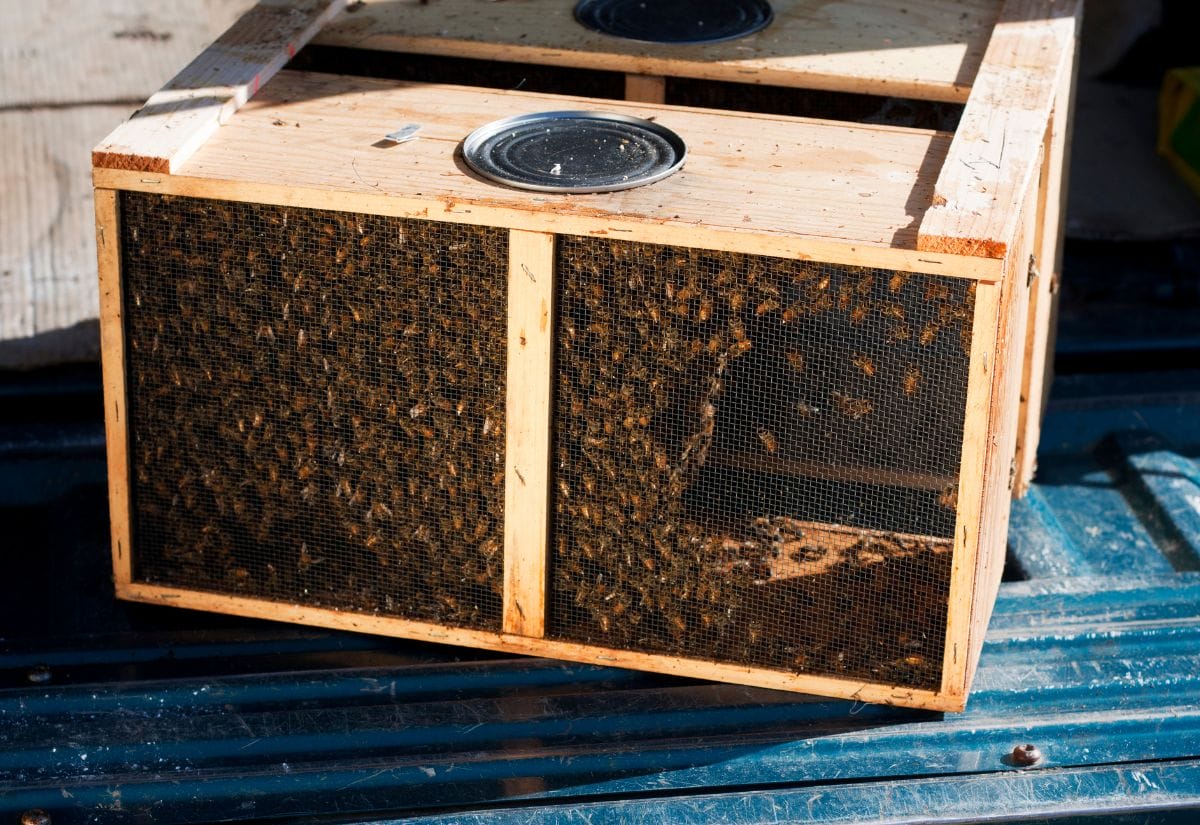
A package of bees is another popular option for starting a hive. It usually contains:
- A caged queen who is not yet part of the colony but will be introduced after installation.
- 2–3 pounds of worker bees (approximately 10,000 bees).
Why Choose Package Bees?
Packages are widely available and can be shipped to your location, making them accessible to more people. They’re more affordable than Nucs, making them an attractive option for budget-conscious beekeepers.
Considerations
Since the queen is not initially part of the colony, there’s a risk the bees may reject her, which can lead to challenges in establishing the hive. The colony takes longer to become productive, as they need time to accept the queen, build comb, and establish brood.
Packages are ideal for beekeepers who are confident managing queen introductions or who have access to local mentorship.
Pro Tip: Use a queen excluder under your hive body during installation to prevent the queen from leaving before the colony settles.
Swarm Capture
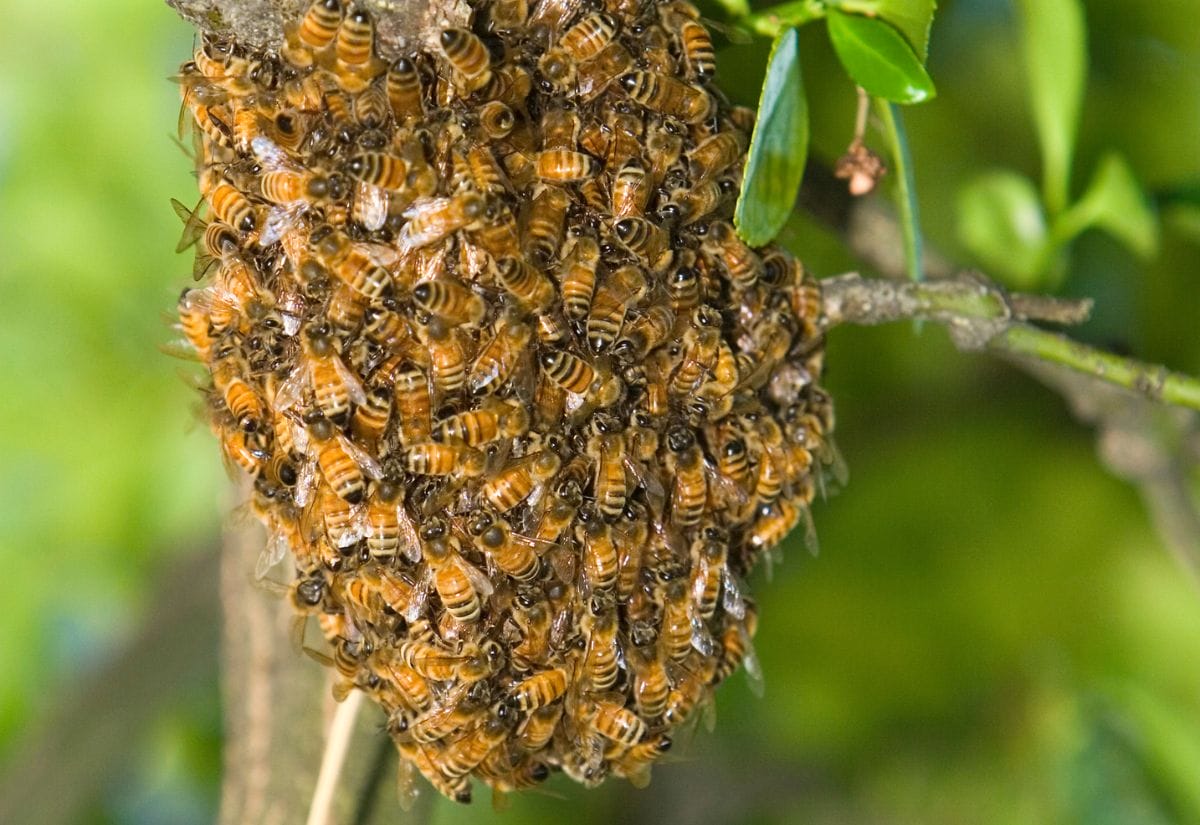
Capturing a swarm is an adventurous and cost-free way to start a hive. A swarm occurs when part of an established colony leaves to form a new hive, often clustering on tree branches or other structures temporarily.
Why Choose Swarm Capture?
- It’s free! If you’re able to locate a swarm or work with a local beekeeper who can help you find one, this method eliminates the cost of buying bees.
- Swarms are typically very docile as they’re focused on finding a new home rather than defending an established one.
Considerations
Capturing swarms requires experience and confidence, as you’ll need to handle bees in an open environment. Swarms are unpredictable; there’s no guarantee you’ll find one, and their availability is limited to certain seasons. Swarm capture is best suited for beekeepers who have prior experience or a mentor to assist with the process.
Pro Tip: If you’re interested in swarm capture, connect with local beekeeping clubs or join swarm alert lists in your area.
Which Option Is Best for Beginners?
If you’re just starting out, a Nuc is your best choice. It provides a ready-to-go colony that’s already working together under a laying queen. This reduces the risks and challenges associated with establishing a new hive, making it the easiest and most reliable option for beginners.
Additional Tip: Regardless of how you source your bees, always ensure you’re purchasing them from a reputable supplier who provides healthy, disease-free bees. Local bees are often better adapted to your region’s climate and flora, which can improve their chances of success.
Step 5: Install Your Bees
Once your hive and bees are ready, it’s time to set up.
- Prepare the Hive: Place it securely in your chosen location.
- Introduce the Bees: Gently place the bees in the hive, ensuring the queen is safely released from her cage.
- Feed Your Colony: Provide a sugar syrup feeder to support the bees until they can forage naturally.
Step 6: Maintain Your Hive
Ongoing maintenance is the cornerstone of keeping your bees healthy, productive, and thriving. A well-maintained hive not only ensures your colony’s survival but also maximizes honey production and reduces the likelihood of pests or diseases taking hold. Here’s how to maintain your hive effectively:
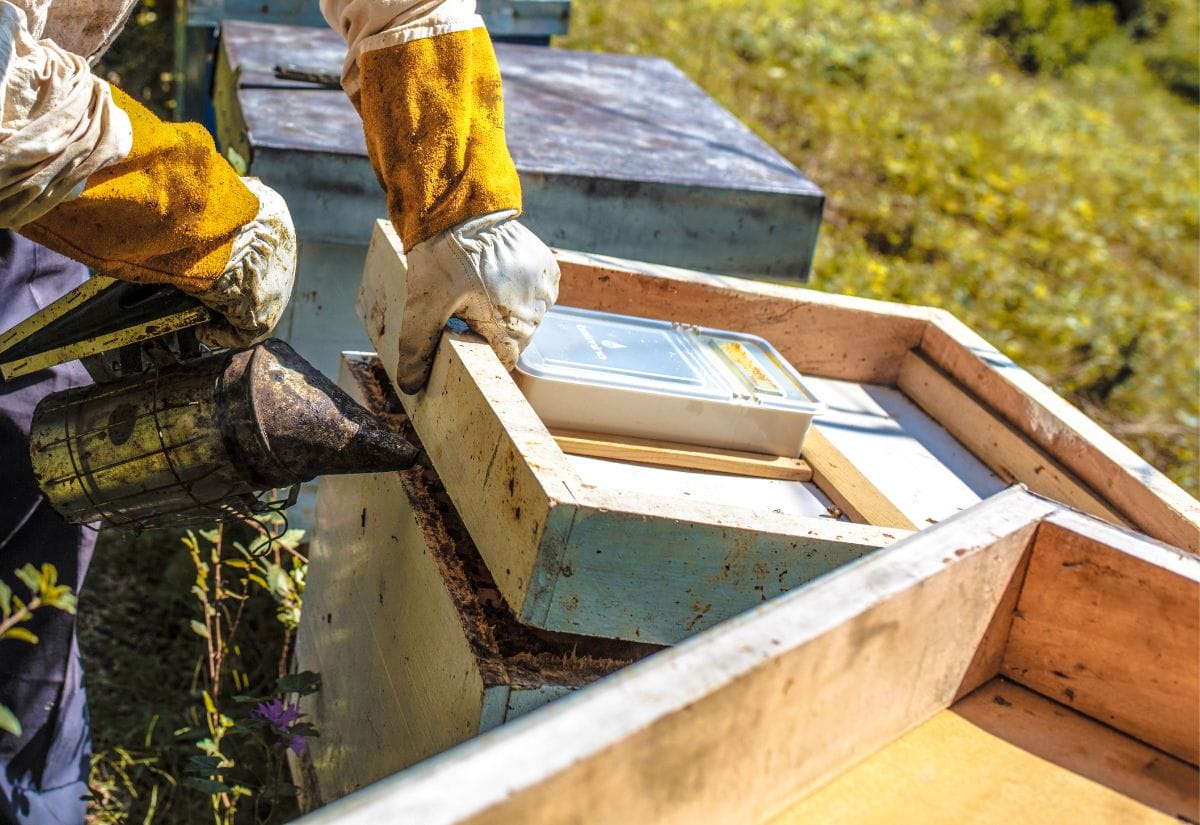
Regular Inspections: Every 7–10 Days
During the active season (spring through early fall), inspections are vital to monitor the health and progress of your hive. Here’s what to look for during your routine checks:
- Check for a Laying Queen: A healthy hive starts with a healthy queen. Look for eggs and larvae in a consistent pattern, which indicates she is laying effectively. If you don’t see evidence of her activity, you may need to requeen your hive.
- Look for Pests Like Varroa Mites: Varroa mites are one of the most common threats to bee colonies. Check for small, reddish-brown mites on the bees or within the hive. Use a sticky board test or an alcohol wash to assess infestation levels, and apply treatments if necessary.
- Monitor Food Stores and Brood Health: Check for adequate honey and pollen stores, especially leading into times when forage may be scarce. Ensure the brood (eggs, larvae, and capped pupae) is healthy, with no signs of disease or irregular patterns. Spotting issues early can save your colony.
Feeding Your Bees
While bees are excellent foragers, there are times when nature doesn’t provide enough nectar or pollen. Supplemental feeding is crucial during these periods:
- Early Spring: Feed sugar syrup in a 1:1 ratio (sugar to water) to help bees build up strength and expand the colony before flowers bloom.
- Late Fall: As the nectar flow slows, switch to a 2:1 sugar syrup ratio to help them build up stores for winter. If you harvest honey, ensure you leave enough for the bees’ winter survival (typically 40–60 pounds per hive).
Monitor for Seasonal Challenges
- Hot Weather: Ensure your bees have access to fresh water during hot months to stay hydrated and regulate hive temperature.
- Cold Weather: In colder months, avoid opening the hive too frequently. Instead, focus on ensuring the colony has adequate honey stores and ventilation to prevent condensation.
Pro Tip: Always approach inspections calmly and use a smoker to reduce bee stress. Taking detailed notes during each inspection helps you spot trends and identify any recurring issues over time.
Bee Ready: FAQs About Starting Beekeeping
One of my favorite tips for new beekeepers is to plant pollinator-friendly flowers near your hive. It helps your bees thrive and ensures they have a steady nectar source close to home.
If you’re not ready for full-scale beekeeping, consider supporting bees by creating a pollinator garden or purchasing honey from local beekeepers to get involved in the community.
Ready to start beekeeping? Pin this for easy reference!
Beekeeping is an incredible journey that offers benefits far beyond honey. By following these step-by-step instructions, you’ll gain the confidence and skills needed to start your first hive.
If you’re still deciding whether beekeeping is the right fit for your homestead, exploring the benefits and challenges can help you make an informed choice. Additionally, planting a variety of bee-friendly flowers can create a thriving environment for your bees, even if you’re not ready to start a hive just yet. These resources will guide you in supporting pollinators and integrating beekeeping into your homestead.
What part of beekeeping are you most excited about? Share your thoughts or questions in the comments—I’d love to hear about your plans!
