How to Make Scented Pinecones for Fire Starters
Learn how to make scented pinecones for fire starters using a simple simmer-and-dry method that burns clean, smells great, and works for any wood stove.
If you heat with wood, you know the morning shuffle: you stumble out of bed, the house is chilly, and the stove is just there, silently judging you until you get the fire going. I’ve had plenty of those moments where I was in no mood, and the firewood wasn’t making things any easier. That’s what pushed me to start experimenting with pinecones as fire starters years ago.
Along the way I realized that most of the tutorials out there are clearly fun for holiday gifts, sure, but useless when you’re trying to light a stove before coffee. A lot rely on wax coatings, fragrance oils, or glitter… which I’m not exactly excited to set on fire inside my house. So I started tinkering. After a lot of trial and error, I landed on a simmer-and-dry method that produces naturally scented pinecones that catch quickly, burn clean, and smell good in the process.
Why I Reach for Pinecones When I Need a Fire Going Fast
Pinecones burn hot and fast thanks to their layered structure, which acts like built-in kindling. That little blast of heat makes a big difference when the flue’s cold and the logs don’t want to catch. If the pine/creosote myth has you nervous, I get it. I explain what’s real (and what’s not) in my pine firewood breakdown.
But here’s the real secret to this method: it doesn’t use wax or essential oils. Wax-dipped cones do work, but they can leave residue on your stovepipe if you’re burning them regularly. And essential oils? They burn unpredictably and can smoke in ways I don’t love. The simmer-and-dry technique avoids all of that. What I love about this process is that it:
- Lightly infuses scent using herbs, spices, citrus, or pine needles
- Sanitizes the cones if you gathered them outdoors
- Helps cones open fully
- Dries them to the ideal burn-ready stage
- Keeps your stove glass clearer longer (and if it still gets black, here’s how I keep my stove glass clean without scrubbing for ages)
It’s simple, cheap, and works whether you’ve got a tiny stove in a cabin or you’re heating the whole house.
What You’ll Need Before You Get Started
The best part? It really doesn’t have to be perfect to work well. And if you don’t have everything? Trust me, they’ll still come out great. You’ll need:
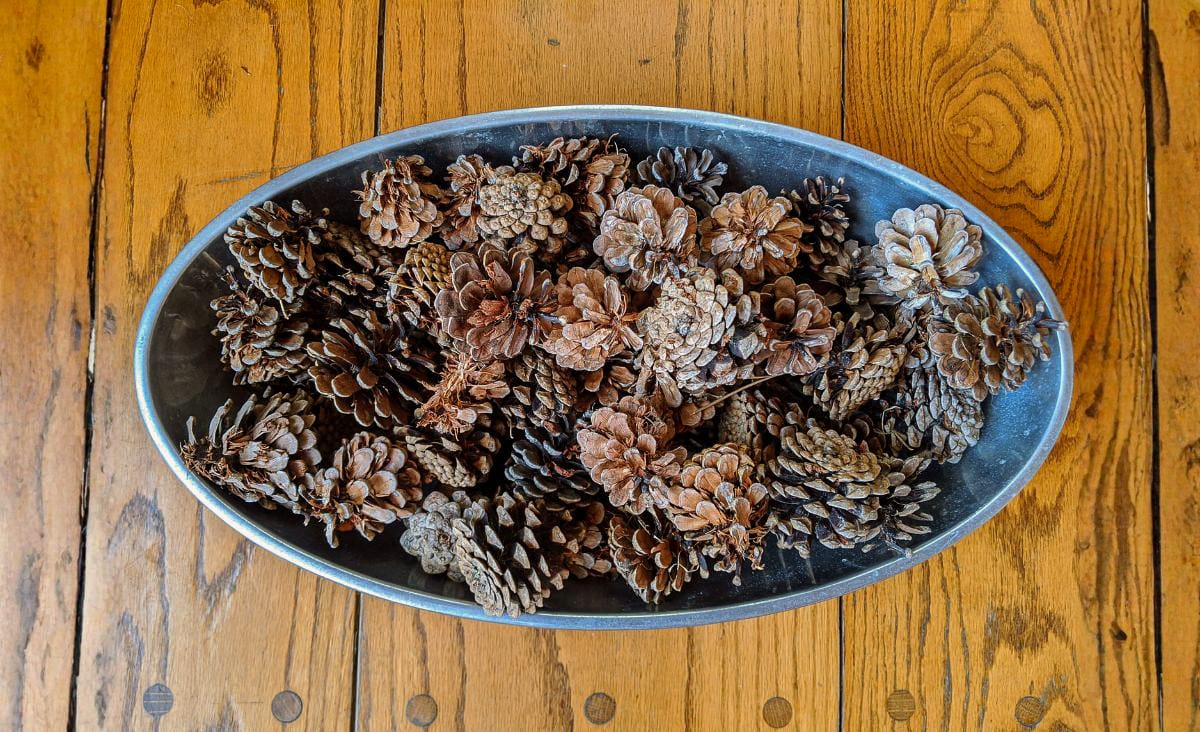
- Pinecones (10–30 is a good first batch)
- A large pot
- Spices, herbs, citrus peels, or pine needles for scent
- A cooling rack or sheet pan
- An oven for drying
- A paper bag, crate, or mesh sack for storage
I just pick them up as I go about chores. They add up fast.
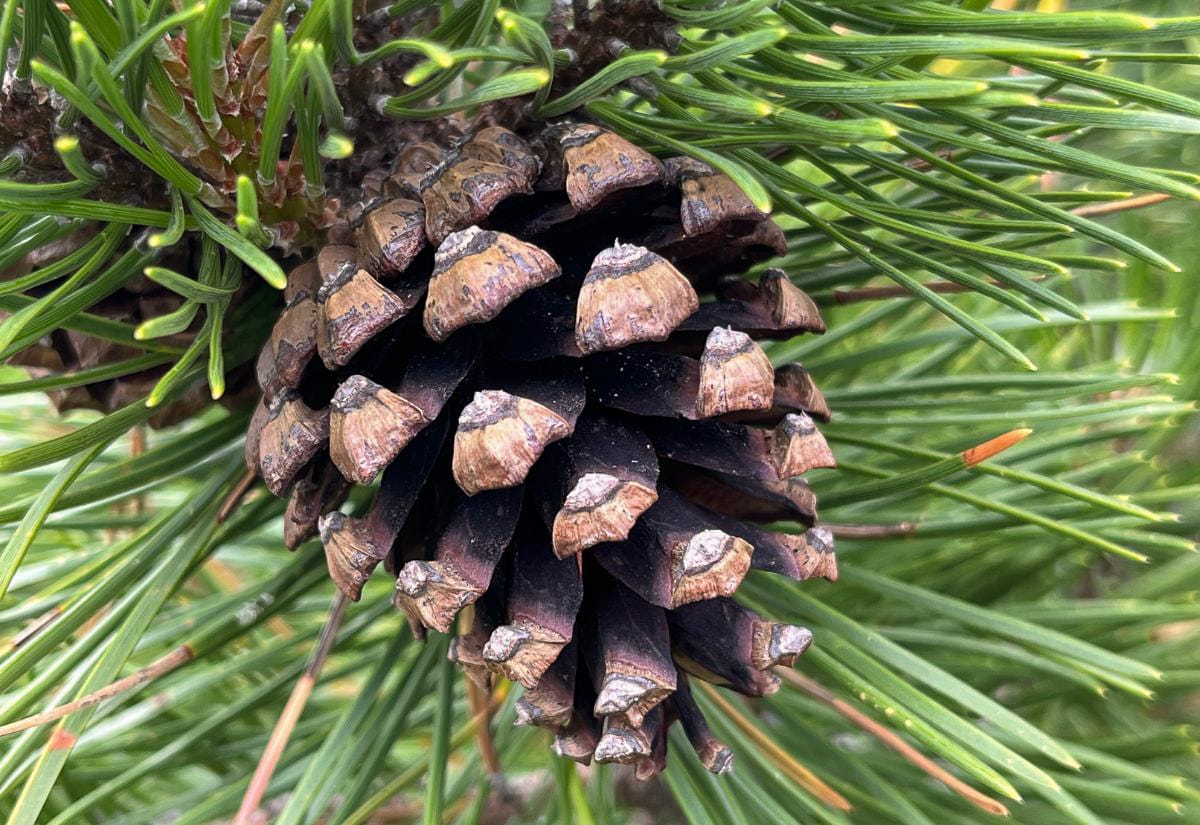
Which Pinecones Work Best for Fire Starters
Not all pinecones burn the same. Some are way better fire starters than others.
Cones that perform well:
- White pine: Opens wide, burns fast
- Red pine: Burns longer
- Spruce: Small but feisty, great as “starter” material
- Hemlock: Tiny but excellent fillers in a batch
Cones to avoid:
Skip cones that are soft, musty, or housing anything you’d rather not bring inside. Pitchy cones will still burn, but they might smoke a little more. Not a big deal if your chimney is maintained.
If you’re brand-new to lighting fires and want a deeper look at wood types, my guide to the best firewood for everyday burning can help you match these cones with good hardwood splits.
How to Naturally Scent Pinecones Using the Simmer-and-Dry Method
The simmer method has kind of turned into a fall habit for me. I usually make a batch sometime in October when I’m already simmering spices on the stove.
Some Easy Scent Combos You Can Try
These combos are easy to tweak depending on the time of year.
- Warm winter blend: Cinnamon, clove, star anise, and a few pine needles.
- Evergreen blend: Cedar shavings, rosemary, bay leaf.
- Citrus-herb blend: Orange peel, thyme, sage.
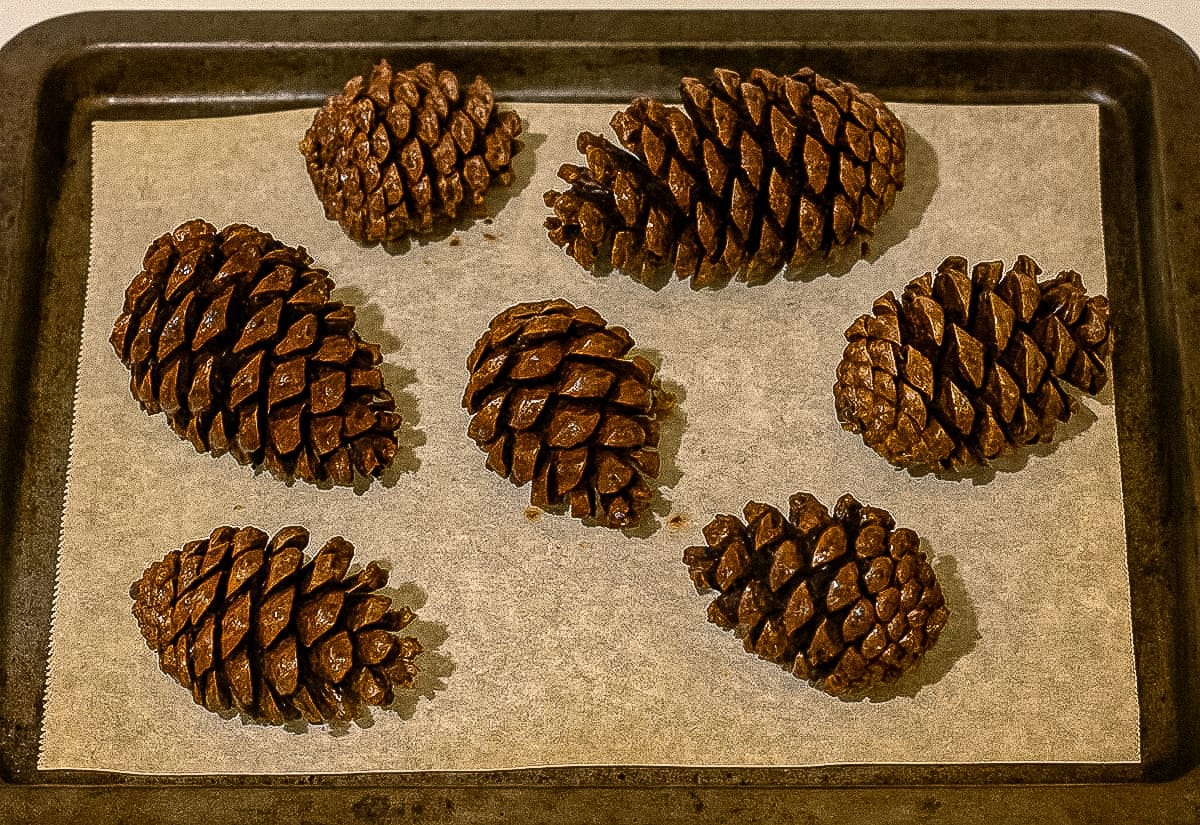
Fill a pot with enough water to cover the cones. Add your chosen scent ingredients and bring everything to a gentle simmer. Keep it going for 25–30 minutes, or until the cones begin to relax and open slightly. This step removes debris, softens sap, and infuses scent. Honestly, the way it makes the house smell might be my favorite part.

Use tongs to move the cones to a cooling rack or sheet pan. Let them air-dry for a couple hours. They won’t be fully dry yet. You just want the surface moisture gone. Transfer the cones to a lined sheet pan. Dry at 200°F for 35–45 minutes, checking halfway through. You want them fully open, lightweight, and completely dry. If you store firewood outdoors or in a cold shed like most of us do, you already know that moisture is the enemy. These cones behave the same way. As long as they’re dry, they’ll light right up.
Let everything cool completely, then stash the cones somewhere dry:
- Paper grocery bags
- Mesh produce bags
- Wooden crates near your woodpile
- Metal tins
If you’re fighting damp wood all winter, you might like the way I store my firewood outdoors (the same tricks work for these cones).
How to Use Scented Pinecones
This is how I do it on cold mornings when I’m still half asleep:
- Place one or two pinecones at the bottom of your firebox.
- Top with a few pieces of small kindling.
- Add your larger wood splits on top of that.
- Light the pinecone directly.
If you’re short on kindling (happens to the best of us), these cones pair well with the no-kindling fire-starting methods I rely on when I’m running low. They burn hot enough to warm the flue quickly, which cuts down on smoke. That alone makes them handy to keep around.
And if you’re still working on dialing in your stove setup, a simple addition like a heat-powered fan keeps the warm air moving instead of letting it hover right at the stove.
Common Questions About Making and Burning These Pinecone Starters
Here are some of the things people usually ask about these.
Pin this so you can find this pinecone fire starter guide when stove season rolls back around.

These pinecone starters are one of those “why didn’t I do this sooner?” kinds of projects. They smell good, they burn hot, and they’re made from things you probably already have on hand. Once you’ve got a bag or two set aside, you’ll wonder how you ever managed without them.
If you make a batch, drop a comment and tell me what you think or what scent mix you ended up loving.