A Beginner’s Guide to a No-Fuss Survival Mini-Homestead
Want a simple survival homestead? Learn how to grow food, raise chickens, and secure your family’s food supply with minimal effort.
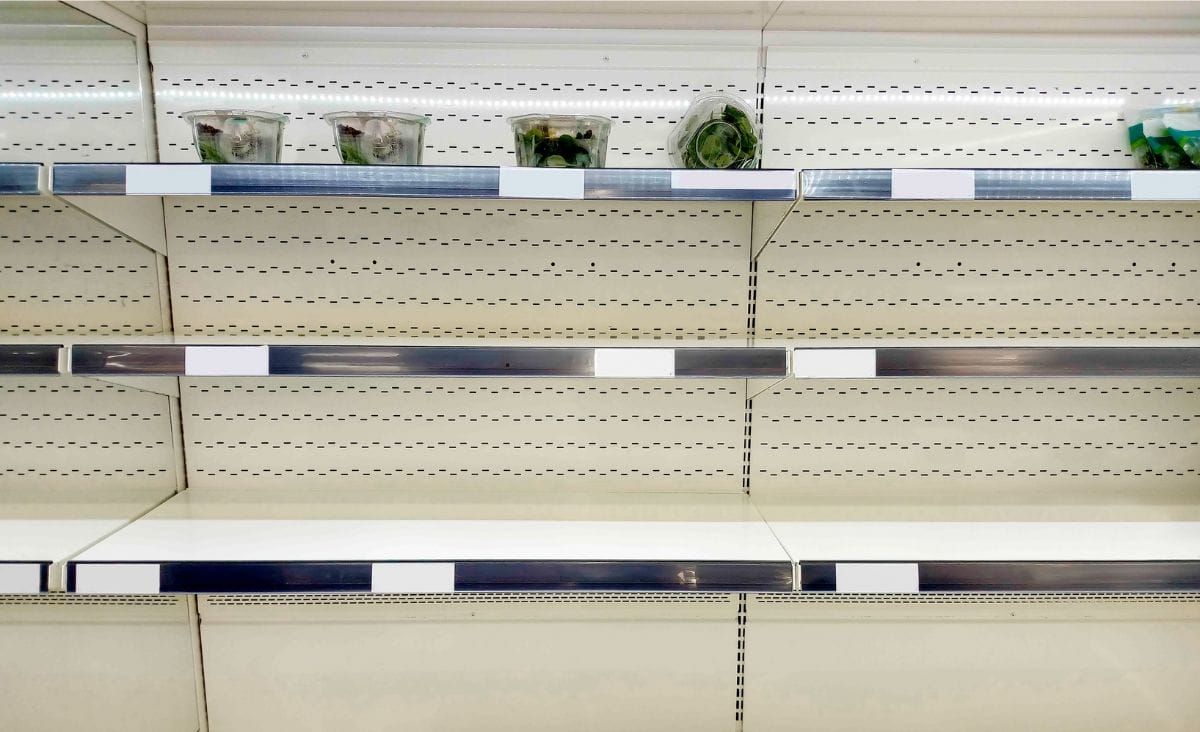
If you’re feeling the pull to grow your own food but don’t have the time (or desire) to become a full-fledged homesteader, you’re not alone. Many people are looking for a simple, low-maintenance way to ensure their family has fresh food in uncertain times—without turning their lives upside down.
The good news? You don’t need acres of land or years of farming experience to set up a small but productive survival homestead. With a basic garden, a few chickens for eggs, and a couple of other low-effort food-producing projects, you can create a steady food supply with minimal effort. This guide walks you through everything you need to know to start your own low-maintenance homestead for food security.
The Basics of a Survival Homestead
A simple survival homestead focuses on four key elements:
- A productive garden – Grow reliable, nutrient-dense foods with minimal upkeep.
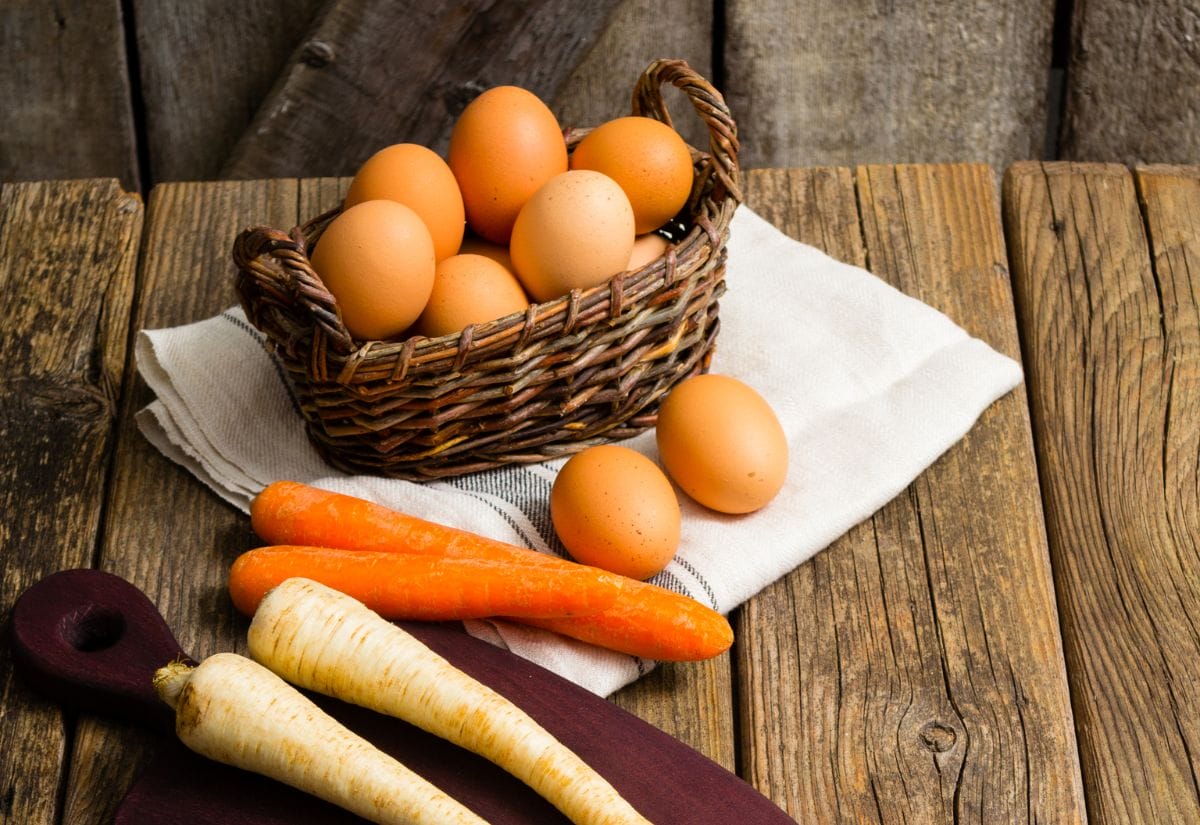
- A small flock of chickens – Keep a few hens for a steady supply of fresh eggs.
- Perennial food sources – Add fruit bushes, herbs, and other plants that come back every year.
- Food preservation basics – Learn simple ways to store food for long-term use.
These components provide the most food for the least effort, making them perfect for beginners or anyone with a busy schedule.
Step 1: Growing a Low-Maintenance Survival Garden
A survival garden doesn’t need to be large or complicated. The goal is to plant nutrient-dense, calorie-rich foods that are easy to maintain and store for long-term use.
The Best Survival Foods to Grow
When choosing crops for a survival garden, focus on high-yield, easy-to-grow, and storable options. Here’s what I recommend:
- Potatoes – One of the best survival foods, packed with calories and nutrients. Stores well.
- Sweet Potatoes – More nutrient-dense than white potatoes and thrives in warmer climates.
- Beans (Bush or Pole) – High in protein, easy to grow, and stores well when dried.
- Winter Squash (Butternut, Acorn, or Spaghetti Squash) – Requires little care and lasts months in storage.
- Carrots & Beets – Root vegetables that can be stored in the ground or a root cellar.
- Leafy Greens (Kale, Swiss Chard, Collards) – Nutritious, grows quickly, and can be dehydrated or frozen.
- Tomatoes – A versatile staple that can be canned or dried for year-round use.
- Onions & Garlic – Essential for flavoring food, easy to grow and store.
How to Set Up a Simple Survival Garden
Start small. A 4×8 raised bed or even a few large containers is plenty to get started. You don’t need a massive garden to grow a surprising amount of food—just a well-planned space with high-yield crops.
Use mulch to your advantage. A thick layer of straw, wood chips, or leaves helps retain moisture, meaning you’ll water less often. It also suppresses weeds, saving you time and effort in the long run.
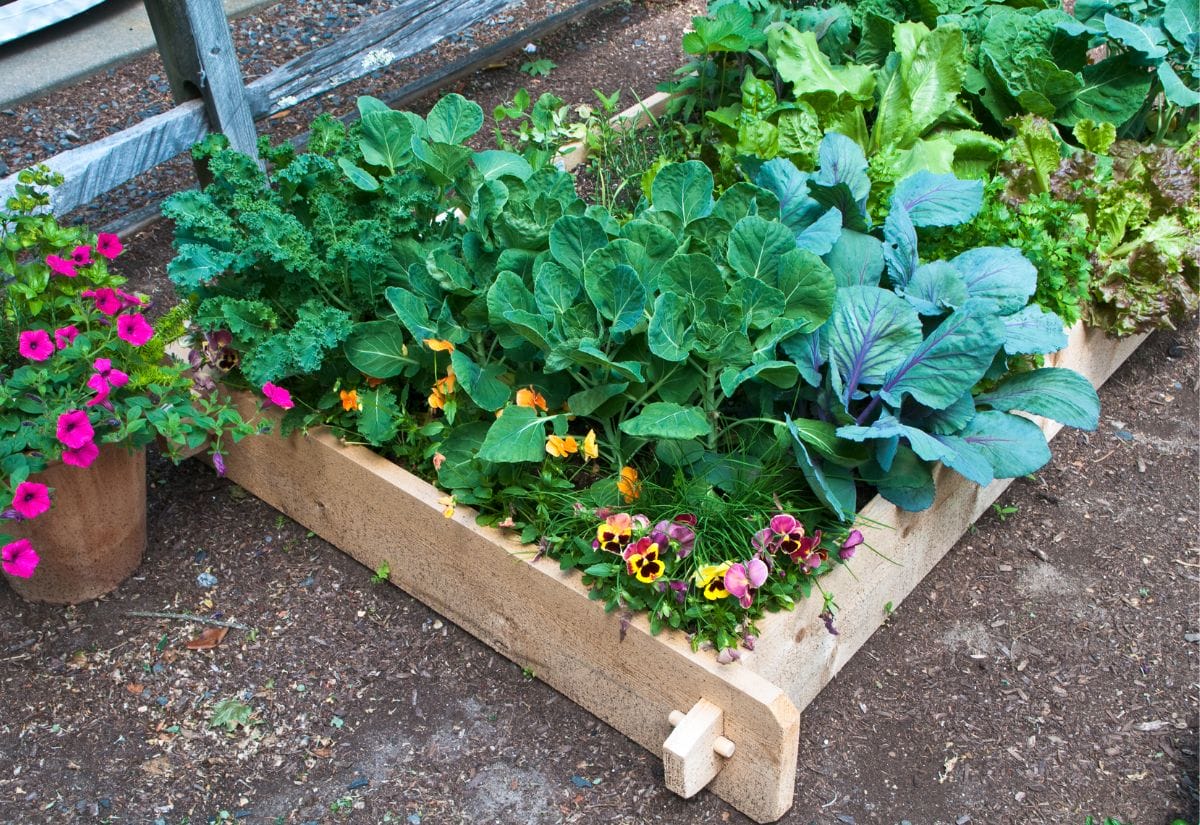
If possible, grow perennials. Plants like asparagus, rhubarb, and hardy herbs like oregano and thyme will come back year after year. Once established, they require little maintenance while providing a steady supply of fresh food.
Incorporate companion planting. Pair crops that support each other—like basil with tomatoes or beans with corn—to naturally deter pests and boost growth. This method improves plant health and maximizes space, making your garden more productive with less effort.
New to Gardening?
If you’re new to gardening or want to expand your skills, there are plenty of ways to make your survival garden even more productive with minimal effort. From soil preparation to natural pest control, learning a few key techniques can save you time and boost your harvest. Check out my gardening posts for more tips and tricks to grow food successfully!
Step 2: Raising Chickens for Eggs
A small flock of 3-4 hens is enough to provide fresh eggs for most families. Chickens are easy to care for, require minimal space, and offer high-protein food year-round.
The Best Chicken Breeds for Beginners
Some breeds lay more eggs and are easier to care for. Good starter breeds include:
- Rhode Island Reds – Hardy, reliable layers (5-6 eggs/week).
- Buff Orpingtons – Friendly, good egg production (4-5 eggs/week).
- Isa Browns – High production, easy to manage (6+ eggs/week).
- Easter Eggers – Colorful eggs, hardy birds (4-5 eggs/week).
How to Set Up a Low-Maintenance Chicken Coop
Keep it simple. A basic 4×4 coop with a small run is plenty of space for three to four hens. You don’t need anything fancy—just a secure, well-ventilated shelter to keep them safe and comfortable.
Use deep bedding. Wood shavings or straw help absorb waste, control odors, and minimize the need for frequent cleaning. A deep layer allows you to turn the bedding instead of replacing it constantly, making coop maintenance easier.
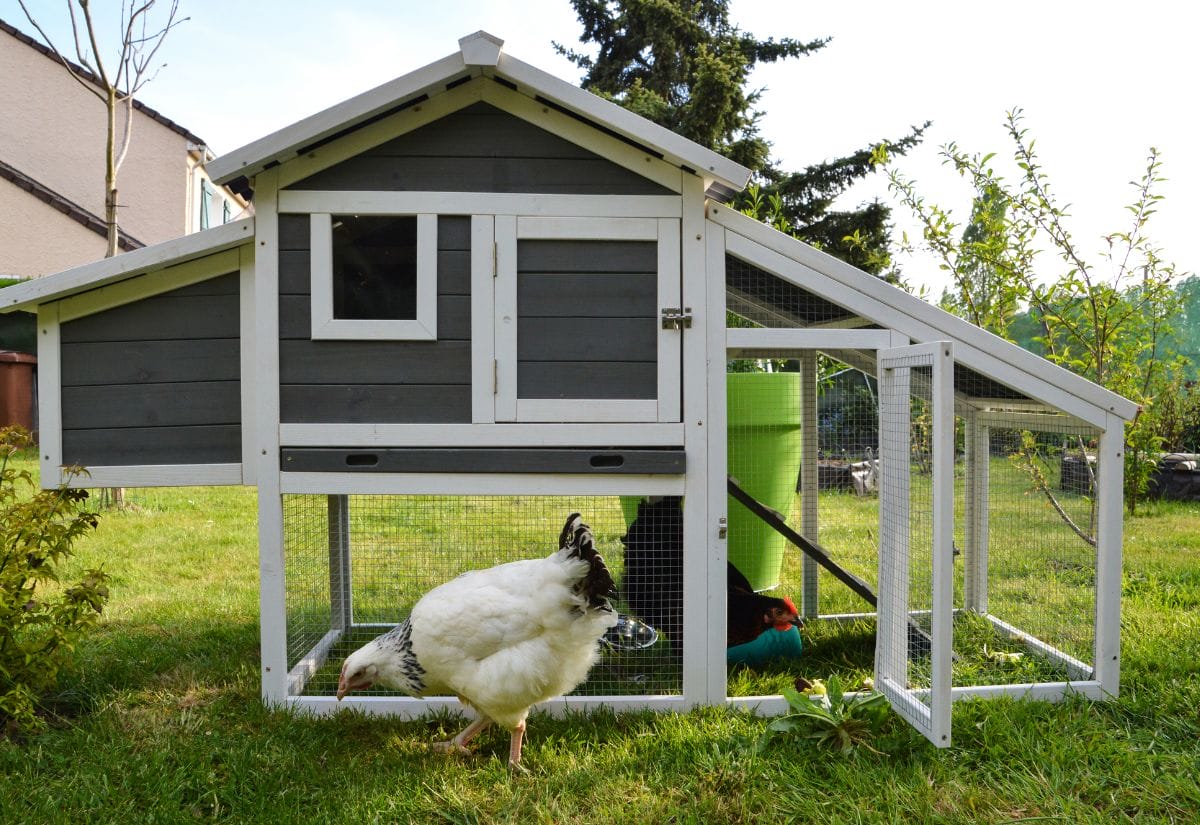
Invest in an automatic waterer and feeder. These save time and ensure your chickens always have access to fresh food and water. A gravity-fed system or a nipple waterer can keep things cleaner while reducing daily upkeep.
Let them free-range if possible. Even a few hours outside their run allows chickens to forage for bugs and weeds, cutting down on feed costs while improving their diet. If full free-ranging isn’t an option, consider a chicken tractor to move them around safely.
Start With Pullets, Not Chicks
Chicks take 6-8 months to start laying eggs, which means if you start with baby chicks, you won’t see eggs for a while. Instead, consider buying pullets—young hens that are just about to start laying. They’re typically around 16-20 weeks old and ready to provide eggs much sooner.
New to Chickens?
Raising chickens for eggs is one of the easiest and most rewarding ways to increase your food security. Whether you’re choosing the best breeds, setting up a coop, or troubleshooting common issues, a little knowledge goes a long way. Check out my chicken posts for more tips on keeping a happy, healthy backyard flock!
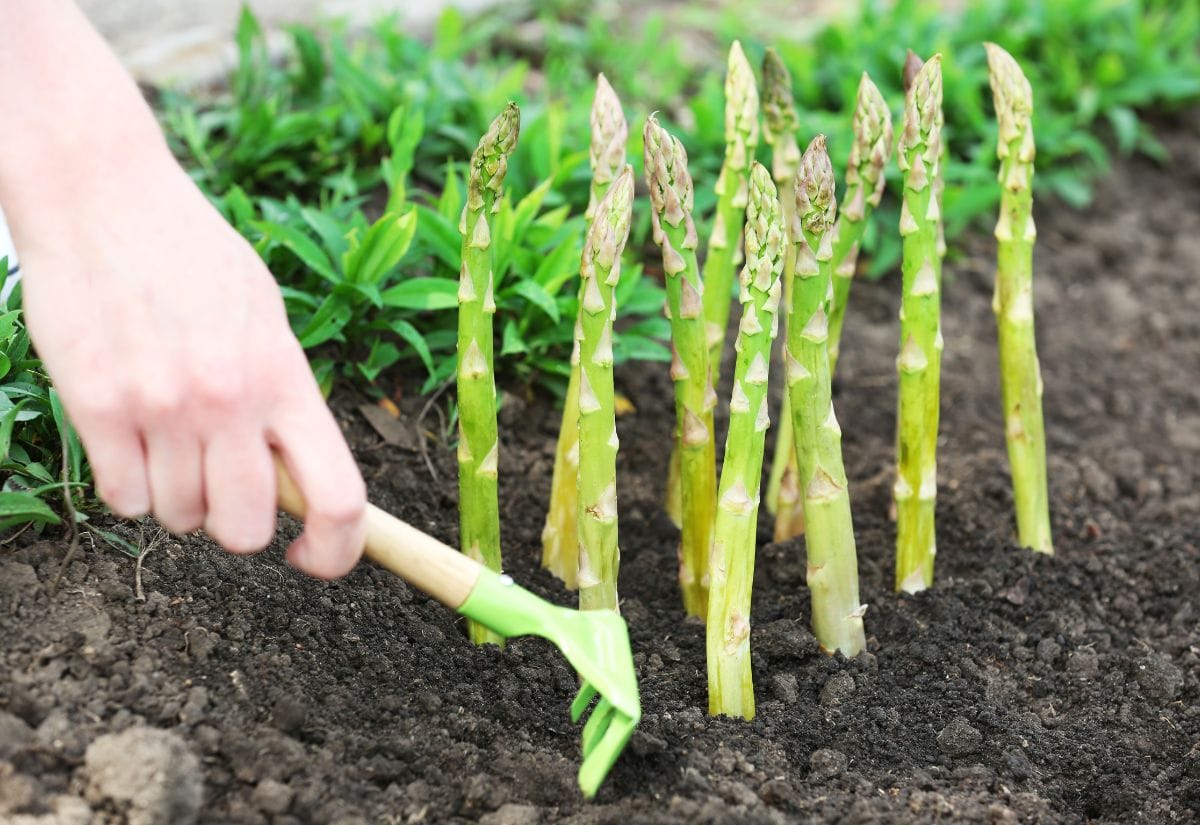
Step 3: Planting Perennial Food Sources
If you want food that comes back year after year, adding a few perennials is a great idea. Unlike annual vegetables, perennials require little maintenance once established.
Best Perennial Foods for a Survival Homestead
- Berry Bushes (Blueberries, Raspberries, Blackberries) – Provide fruit for years with minimal care. Purchase mature bushes or at least 2- to 3-year-old plants from a nursery. Many fruiting bushes take a few years to reach maturity, so starting with older plants can cut down on the wait time.
- Fruit Trees (Apples, Pears, Peaches) – Take a few years to produce but are a great long-term investment. Buy grafted or dwarf fruit trees from a reputable nursery. Grafted trees are already mature and will fruit much faster than those grown from seed, which can take 5-10 years before producing.
- Herbs (Thyme, Oregano, Rosemary) – Hardy and perfect for cooking or natural remedies.
- Asparagus & Rhubarb – Once planted, these provide food for decades.
Step 4: Preserving Your Food for Later
Growing food is great, but knowing how to store it ensures nothing goes to waste. Even basic food preservation skills can make a big difference in long-term food security.
Freezing
Freezing food is one of the easiest ways to preserve it. Wash and prep fruits, vegetables, or meats before freezing. Blanch vegetables to maintain color and texture, and slice fruits if needed. Store everything in freezer-safe bags or airtight containers, removing as much air as possible to prevent freezer burn. Label with the date and contents, and keep your freezer at 0°F (-18°C) or lower. Freeze food in small portions for faster thawing, and always thaw safely in the fridge, under cold water, or in the microwave.
Dehydrating
Dehydrating is a simple way to preserve food by removing moisture to extend its shelf life. Slice fruits, vegetables, or meats into even pieces and spread them on dehydrator trays or a baking sheet if using an oven. Set a dehydrator to 125-135°F or an oven to its lowest setting (usually 150-170°F) with the door slightly open for airflow. Dry until the food is crisp or leathery, then store it in airtight containers in a cool, dark place. Properly dried food can last for months or even years.
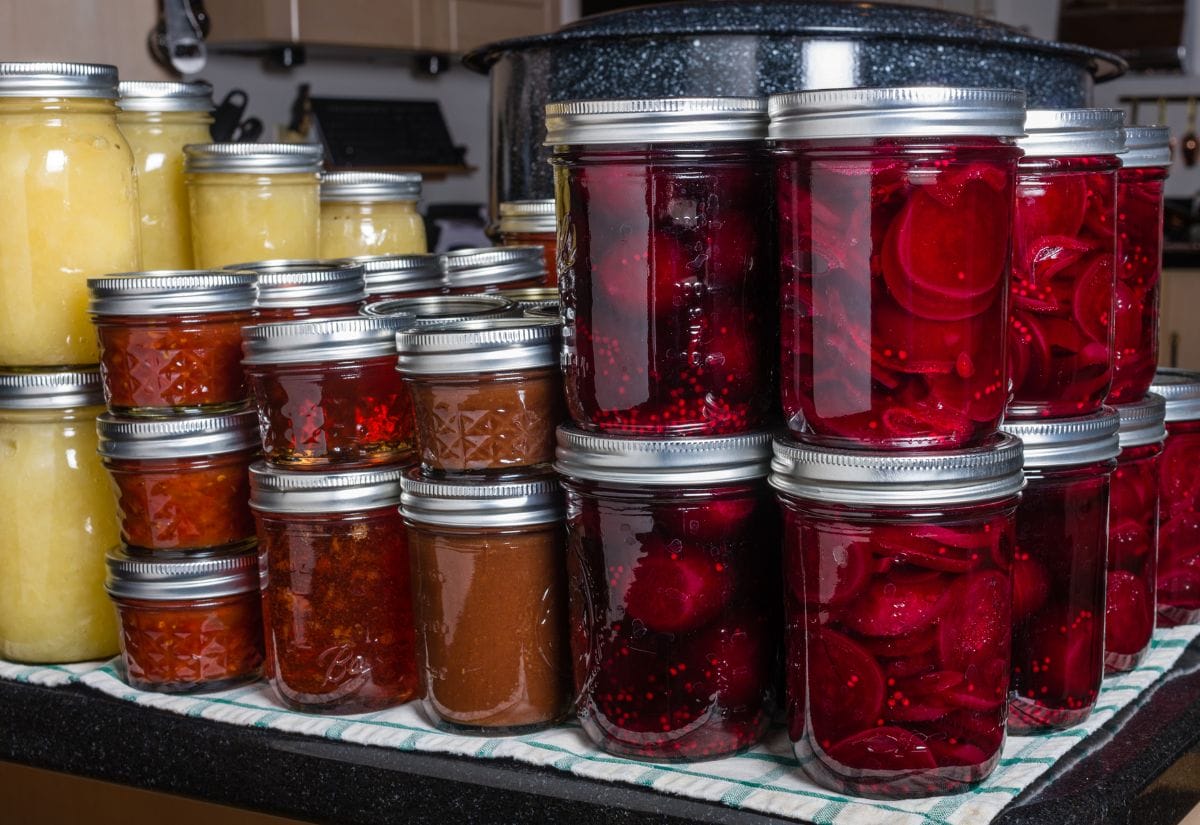
Canning
Canning preserves food by sealing it in jars and processing them at high temperatures to prevent spoilage. There are two main methods: water bath canning for high-acid foods like fruits, jams, and pickles, and pressure canning for low-acid foods like vegetables, meats, and soups. Fill sterilized jars with prepared food, leaving proper headspace, and process them in boiling water or a pressure canner for the recommended time. Once sealed, store jars in a cool, dark place. For a step-by-step guide, check out my post on water bath canning for beginners.
Root Cellaring
Root cellaring is a traditional way to store fresh produce in a cool, humid environment to extend its shelf life. Ideal for root vegetables, squash, apples, and cabbage, it works best in a basement, garage, or any area that stays between 32-50°F with good ventilation. If you don’t have a root cellar, you can use a cool, dark closet, an insulated garage, or even a buried container outdoors. Store produce in crates, sand, or straw to maintain humidity and prevent spoilage. Properly stored, many crops can last for months without refrigeration.
Got Questions? Here’s What You Need to Know
If a garden or chickens aren’t an option, consider:
- Quail Instead of Chickens – Smaller, quieter, great for urban areas.
- Container Gardening – Grow food on a balcony or patio in large pots.
- Sprouting & Microgreens – Fast, easy nutrition indoors year-round.
Thinking about food security? Pin this simple survival plan!
Starting a simple survival homestead doesn’t require a huge time commitment or years of farming experience. With a small garden, a few chickens, and a couple of perennials, you can create a reliable, low-maintenance food source for your family.
If food security is on your mind but you don’t want the overwhelm of full-scale homesteading, this approach is the perfect middle ground.
Are you considering starting a small-scale survival homestead? Let me know your biggest questions in the comments!
If you’re looking for even more guidance and inspiration, these are some of my favorite homesteading books that have helped me along the way.