How to Sprout Barley Fodder for Chickens, Ducks, Quail, and Goats
Sprouting barley fodder is an easy way to cut feed costs and boost animal health. Learn how to grow, feed, and troubleshoot your own fodder.

Every time I set out a tray, I still get a kick out of watching it turn into a mat of green feed. You start with dry seed, add water, and in less than a week you’ve got a lush green mat of feed that your animals practically fight over. I’ll admit, the first time I tried it I thought, there’s no way this little pile of barley is going to turn into much. But sure enough, it did. That’s all it took to get me hooked.
If you’ve been wondering whether sprouted fodder is worth the effort, I’ll walk you through what it is, why it works, how I grow mine, and how much I feed to different animals. I’ll also share the problems I’ve run into (hello, mold) and how I solved them, so you don’t have to learn the hard way.
Why Barley Fodder Works for Livestock
Barley is one of the most reliable grains for sprouting. A single pound of seed produces about seven pounds of finished fodder, which means you can stretch your feed bill quite a bit. The good stuff starts once it sprouts. That hard little seed softens up, gets easier to digest, and suddenly it’s loaded with more vitamins and protein.
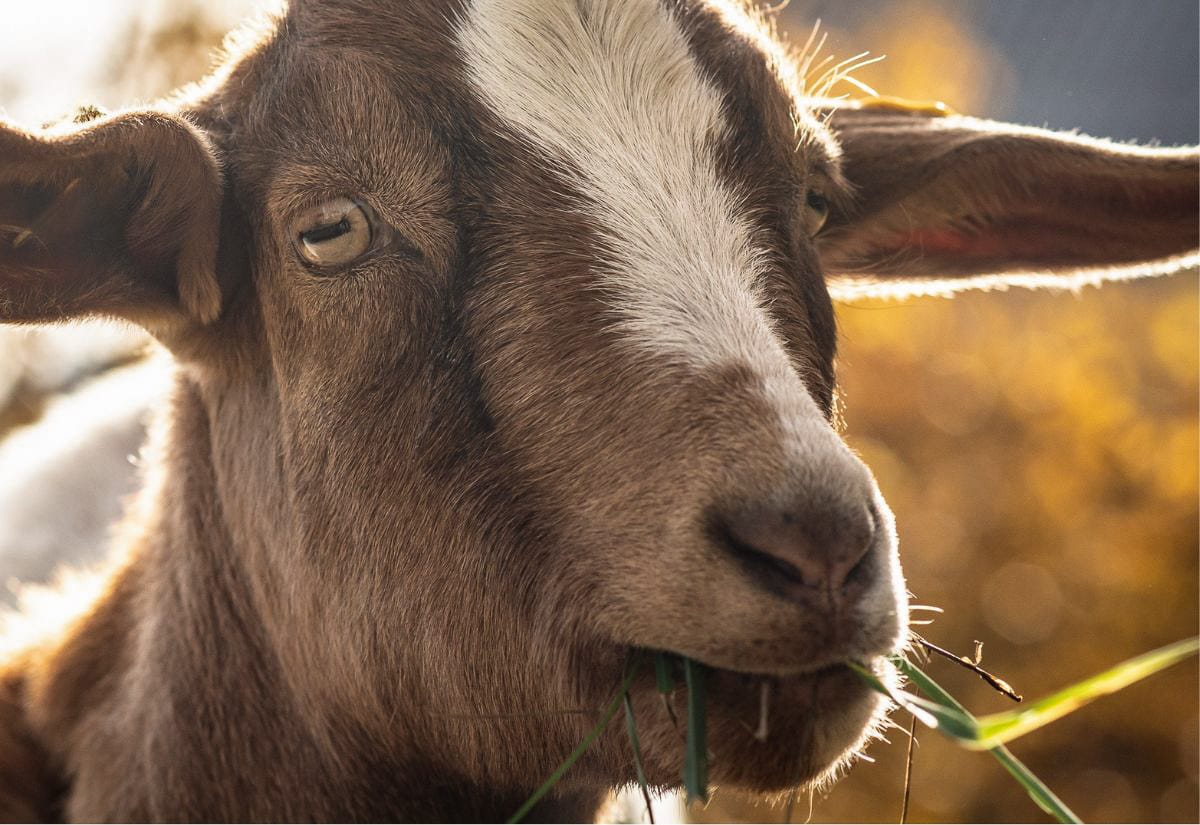
I notice the difference most clearly in my goats’ coats and in the egg yolks from my chickens. There’s a richness that you don’t get when you’re just feeding dry grain. That boost of chlorophyll and beta-carotene really does carry through into the milk and eggs.
That said, fodder isn’t meant to be a complete feed. It works best as a supplement: fresh greens and variety in their diet, especially in the middle of winter when nothing’s growing outside. If your goal is to cut costs, you might also like my thoughts on fermenting chicken feed and my favorite cheap feed-stretching ideas.
What You’ll Need to Get Started
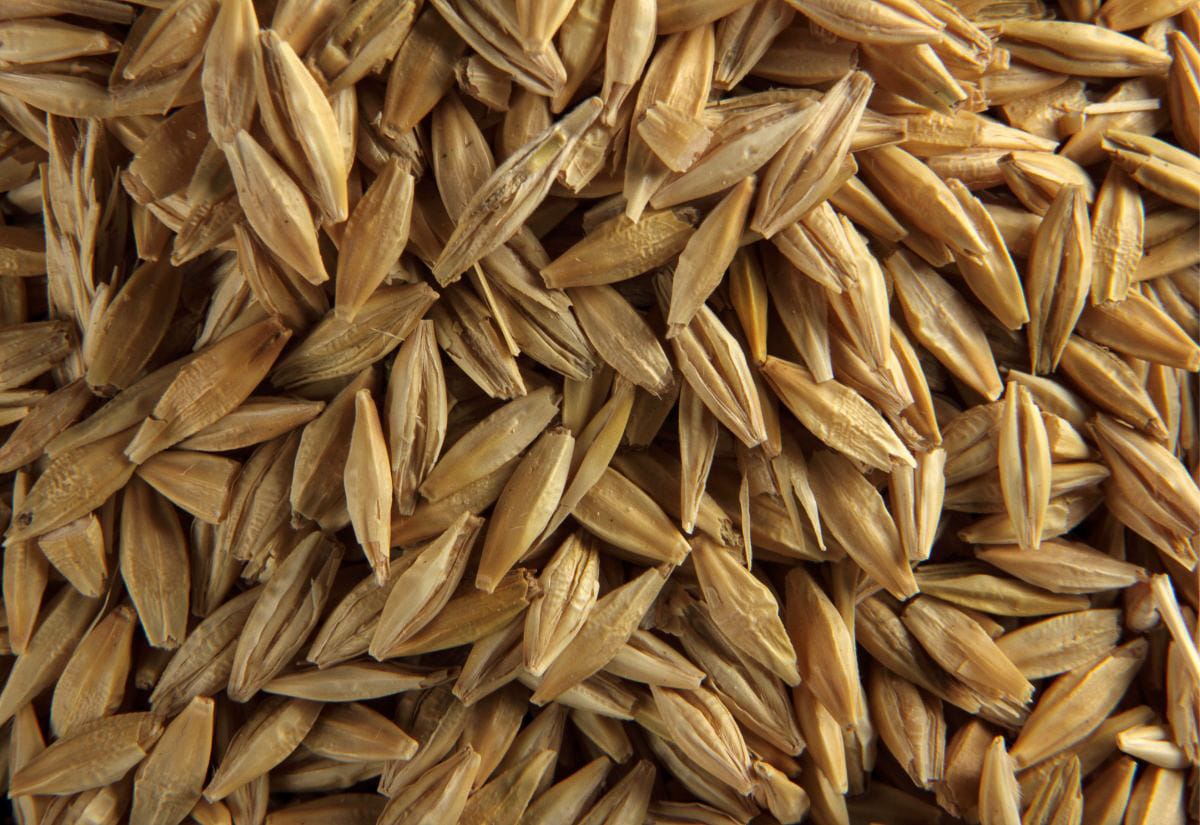
I keep my setup pretty simple. The most important piece is the seed. You’ll want unhulled barley, because hulled or pearled barley won’t sprout. The germ has been removed, and without it you’ll just have a soggy mess.
For trays, I use shallow plastic bins from the dollar store. I drilled holes in the bottom for drainage, and they’ve held up for years. Add clean water, a spot with indirect light, and you’re set. Don’t worry about grow lights or special gear (unless you’re trying to turn your basement into a fodder factory).
I order seed online because the quality I was finding locally wasn’t consistent. Joseph’s Grainery and Hancock Seed have both worked well for me. Make sure the seed is clean and actually sprouts well, otherwise you’ll just end up with a tray of mush instead of fodder.
How to Sprout Barley Fodder
Sprouting fodder is simple, but trust me… miss a couple details and you’ll end up with a moldy mess instead of a mat of greens.
I start by soaking the barley overnight, usually 8–12 hours. By morning the grains have softened and swelled. After draining them well, I spread them in the trays in a thin layer. This part matters. If the seed is piled too thick, airflow gets blocked and mold is almost guaranteed.
From there, it’s just a matter of rinsing and draining twice a day. I tip the trays to make sure no water sits in the corners. Within three days the roots are showing, and by day six or seven I’ve got a solid mat of bright green fodder. That’s about when I haul it out. Sometimes I tear it into chunks, sometimes I just plunk the whole tray down for the goats.
If you stack trays, don’t nest them right on top of each other. Leave space for air to move through. A little airflow solves most mildew problems.
How Much Fodder to Feed Chickens, Ducks, Quail, and Goats
There’s no exact number. Here’s what works for me, and it’s all based on the finished fodder, not the dry seed.
- Chickens: 1.5–2 oz per bird in summer, 2–2.5 oz in winter
- Ducks: 2–3 oz per bird, more in cold months
- Quail: 0.7–1 oz per bird
- Goats (dwarf): 1.5 lbs per goat in summer, 2.5 lbs in winter
I don’t weigh out exact portions for each chicken (can you imagine?), but I do keep an eye on whether the tray gets cleaned up quickly or if some is left behind. Goats are a different story. I have to measure theirs out because if they gorge, they’ll bloat.
If you’re curious about goat care in general, you might enjoy my post on Nigerian Dwarf goats and the question of whether milking goats is worth it.
Tips for a DIY Fodder System
When I first set up my fodder trays, I didn’t invest in anything fancy. A stack of cheap plastic bins from the dollar store got me started.
- Drainage is everything. Without holes, water will stagnate and mold takes over.
- Mix in sunflower seeds (up to 5%). This simple trick reduced mold and improved growth.
- Reuse soak water cautiously. I’ve used the same water to flush trays without issues, but if your climate is humid or you’ve had mold problems, stick with fresh.
Forget those giant hydroponic setups you see online. A couple of trays on a shelf will do the job.
Troubleshooting Common Fodder Problems
Even with a good setup, things can still go wrong. Here are a few issues I’ve run into (and fixed):
- Seeds not sprouting: I’ve had trays where nothing happened at all. It’s usually because the seed was too old or it was hulled barley.
- Mold or mildew: Yep, I’ve battled that too. For me, thinning the seed layer and adding a small fan made all the difference.
- Slimy roots: That usually means the water’s sitting too long. Make sure your trays drain fully after each rinse.
- Patchy growth: It usually just means I didn’t spread the seed evenly. A thinner layer fixes it.
Still Wondering About Fodder?
If you’re still curious, here are a few of the common questions people ask once they start growing barley fodder.
Pin this post for the next time you’re looking to cut feed costs or keep your animals in fresh greens all winter.

Sprouting barley has honestly been one of the easiest ways I’ve found to stretch the feed bill and keep my animals healthier. It’s especially satisfying in the middle of winter, when the snow’s deep and nothing’s growing outside, to carry a tray of fresh greens out to the goats and chickens.
If you’re on the fence, just start with one tray. That’s what I did, and once I saw the difference, I was hooked.
And if you want more inspiration for stretching feed and improving animal health, take a look at my guides on fermenting chicken feed and what to feed rabbits. Both pair perfectly with fodder in a thrifty, healthy homestead routine.
Before we start, you will need to figure out how much finished fodder your animals will be eating on a daily basis. I have included a rough estimate for the more common homestead animals, but please do your own research on feed amounts and if necessary, consult your veterinarian. As any responsible animal or livestock caretaker, you will not only need to transition your animals onto fresh fodder, you will need to monitor their growth and maintenance rates to keep them in a healthy condition while you get used to feeding fodder. Some animals will also require roughage or mineral supplements. Please only use these amounts as a guide.
Hello! I plan on setting up a fodder system for my quail very soon but I was wondering what you use as another protein source for them?
Pumpkin seeds (intact or sprouted) are an excellent source of protein. 33% I believe.
Hi, I am in Australia in the Alpine area and have a small flock of sheep and a few Alpacas. Can you suggest any type of sprouts that I can grow for them to supplement their winter feed as they do not like any of the hays that are easily accessible to me. They are a bit spoiled. Also it may be that I need different types of sprouts for the Alpacas. Please let me know when you have a chance. Enjoy your emails and the wealth of info that you put out.
Thanks from Downunder,
Bec (Snowflake Mountain Farm)
I don’t know much about alpacas or sheep, so I’m going to approve this comment and hopefully someone with more experience can help out. I’d hate to give bad advice.
Bec
I don’t know if you ever found some good info, but here’s a post from fodder thread on a chicken forum written by someone who raises alpacas and sounds like they know what they’re talking about. They’ve also included some links to their own site with lots more info. Hope that helps (and that you see this).
Thanks Nathan! That’s really helpful!
Oops, I forgot the link! http://www.backyardchickens.com/t/713334/growing-fodder-for-chickens/750#post_10004779