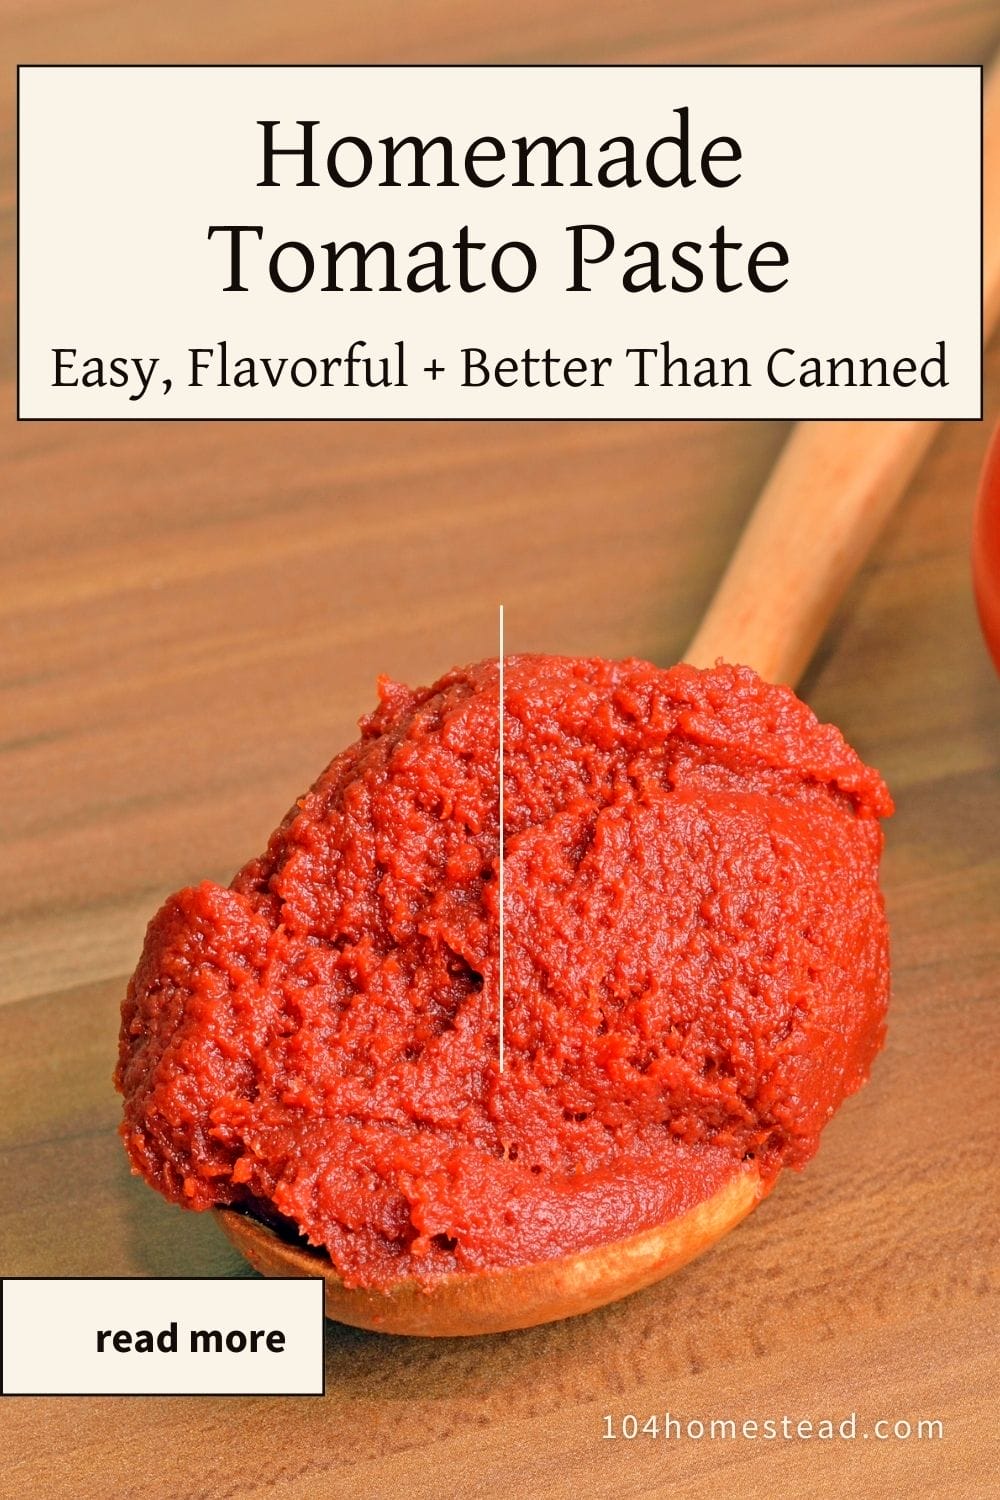
Homemade Tomato Paste: Rich, Easy, and Better Than Canned
Learn how to make homemade tomato paste from fresh tomatoes. Easy instructions, the best tomato varieties to use, and storage tips.
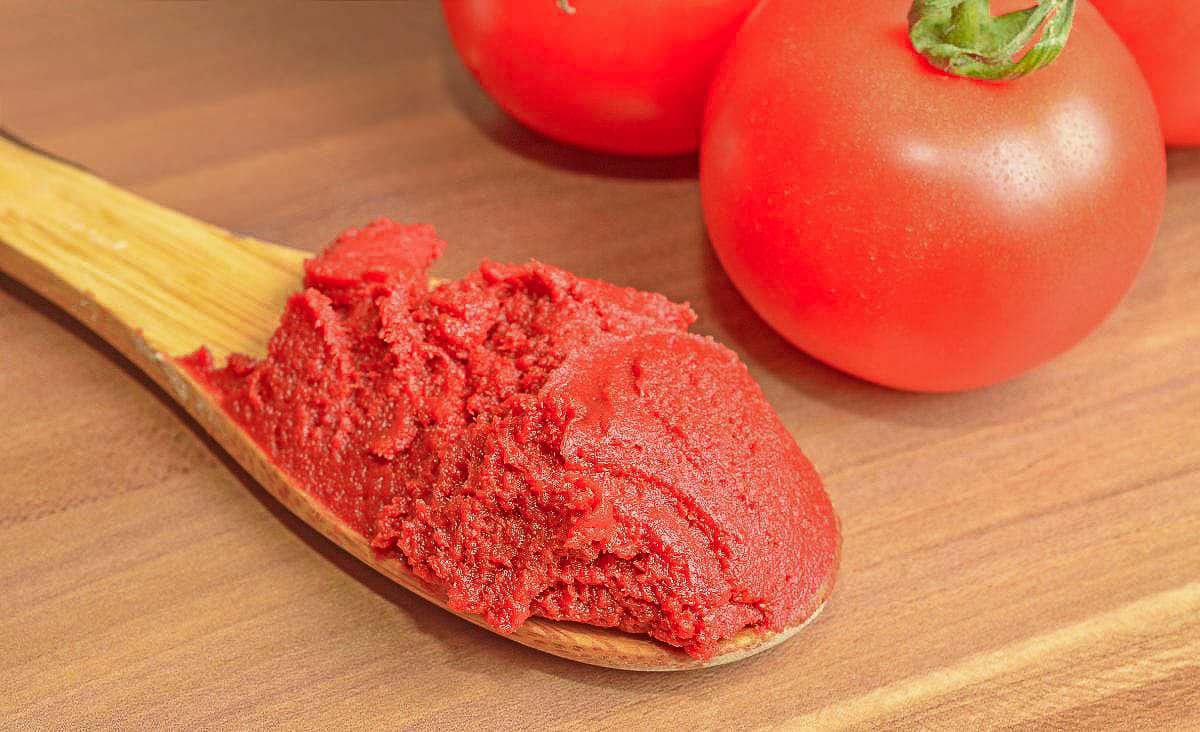
There are a few foods I’ll always make from scratch, no matter how cheap the store version is. Tomato paste is one of them. Those little cans at the store just don’t compare. The homemade version has a depth and sweetness you can’t get anywhere else. When you’ve got a bumper crop of paste tomatoes, this is hands-down one of the best ways to preserve their flavor for winter.
I’ll admit, the first time I tried it, I underestimated how much patience it would take. It’s really just a slow reduction, cooking off water until what’s left is shiny and brick-red. The first time I did it I kept peeking in the oven like a kid waiting for cookies.
Here’s how I do it. What tomatoes I use, how I cook them down, and how I stash the jars away for later.
Choosing the Best Tomatoes for Paste
Not all tomatoes are created equal. The juicier slicers that make a perfect BLT will leave you frustrated here. They take forever to cook down. What you want are paste varieties: meaty, low-water tomatoes bred for cooking.
My go-tos are Amish Paste and Roma, sometimes blended together. Amish Paste can look a little underwhelming raw (kind of bland, honestly), but once they’ve simmered down, the flavor turns into something bold and rich. They might not wow you right off the vine, but once they hit the pot, they turn into exactly what you want for paste.

If you’re not sure when to harvest, I’ve written more about the best time to pick tomatoes and simple ways to preserve them. Picking at peak ripeness makes all the difference.
Ingredients (and Why They Matter)
Instead of listing out amounts, here’s what you’ll actually need and why each ingredient counts:
- Fresh tomatoes → Choose paste varieties for less water and more flesh. Overripe slicers can work in a pinch, but they’ll take longer.
- Olive oil → Helps prevent sticking during cooking and adds a subtle richness.
- Sea salt → Brings out sweetness and balances acidity.
- Citric acid (or bottled lemon juice) → Keeps the acidity where it needs to be for safe canning.
Don’t be tempted to skip the acid if you’re planning to can. It’s not about flavor. It’s about keeping your jars safe.
Step-by-Step: How to Make Tomato Paste
I’ve broken this into stages so you can see how the process unfolds.
1. Prep the Tomatoes
Wash, core, and chop your tomatoes into quarters. If they’re very ripe, you can peel them first using this easy method for peeling tomatoes without boiling. If they’re firm, you’ll soften them in the next step before peeling.
2. Cook Them Down
Add your chopped tomatoes to a large pot with a splash of olive oil. Simmer until they’re soft and the skins are starting to separate. This helps them move through the food mill more easily.
3. Separate Skins and Seeds
I run mine through a manual food mill. It’s sturdy, easy to clean, and makes quick work of separating skins and seeds. No food mill? A sieve and a sturdy spoon will do the trick. You’ll end up with a smooth pulp in one bowl and a pile of skins and seeds in another.
Don’t toss those skins! If you’ve got a reliable dehydrator, toss the skins in and let them dry until crisp. Once ground into powder, you’ve got a free thickener for homemade spaghetti sauce.
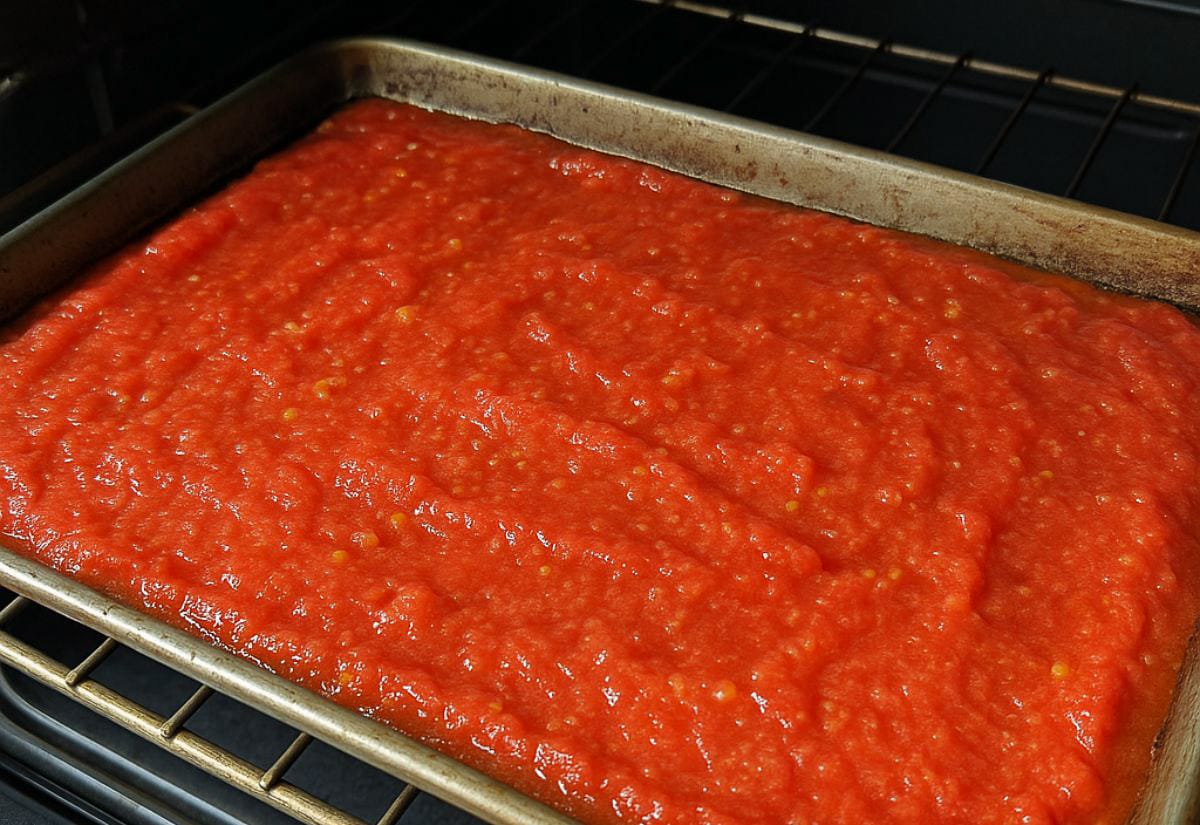
4. Bake the Puree
Spread the puree in shallow, rimmed baking sheets. Bake at 350°F, stirring every 30 minutes and rotating trays so everything reduces evenly.
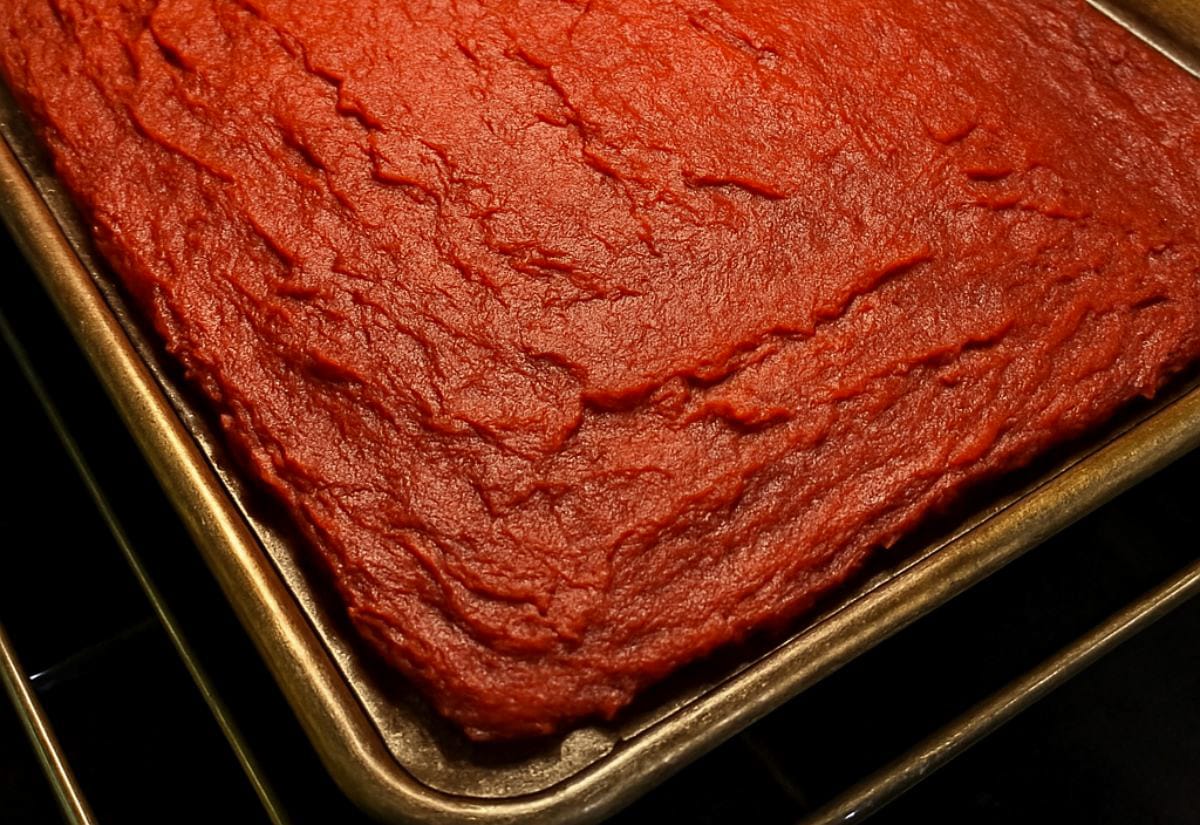
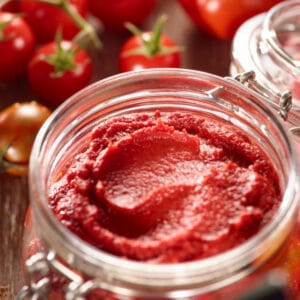
When the paste no longer spreads across two trays, combine into one and keep baking. You’ll know it’s ready when it’s glossy, deep red, and reduced by at least half. Depending on how juicy your tomatoes were, this can take hours. I know it feels like forever (I usually give up and start folding laundry between stirrings), but rushing it leaves you with watery paste that won’t keep as well. Yes, your oven will be on forever, but trust me, it’s worth it.
How to Store Your Tomato Paste
Once you’ve got that thick, shiny paste, you’ve got a couple good options for storing it.
Water Bath Canning
Fill quarter-pint jars, leaving headspace, and process for 15 minutes. If canning feels intimidating, start with my beginner’s guide to water bath canning. It’ll walk you through everything you need to know.
If you’re just getting into canning, a basic water bath canning kit is all you really need to get started. It usually comes with jars, a rack, and a few simple tools (enough to make the whole process feel less overwhelming).
Refrigerate or Freeze
For a smaller batch, pack into clean jars, cover the top with olive oil, and store in the fridge (3–4 weeks) or freezer (up to 9 months). The oil layer keeps the paste sealed and fresh.
Your Tomato Paste Questions, Answered
Still wondering about the details? Here are some of the most common questions I hear:
Save this homemade tomato paste recipe to Pinterest for later.
Every spoonful tastes like summer. Even a plain weeknight dinner (like the quick pot of chili I throw together in January) perks up when I stir some in. If you’re already making your own sauces, soups, or ketchup, this is one of those skills that just makes sense to add to your repertoire.
Give it a try this season, and let me know if you taste the difference. I promise, you won’t go back to the cans.
How To Make Tomato Paste (Easy, Delicious, Homemade)
This post may contain paid links. If you make a purchase using the links in this recipe, I may earn a commission.
Equipment
- 2 Baking Sheets
- 6 Quarter Pint Jars
Ingredients
- 10 lbs Tomatoes
- 2 tbsp Olive Oil
- 2 tsp Sea Salt
- ½ tsp Citric Acid
Instructions
- Chop tomatoes into quarters. Preheat the oven to 350ºF.10 lbs Tomatoes
- Combine tomatoes and a splash of olive oil in a large saucepan. Simmer until softened and skins start to slip.2 tbsp Olive Oil
- Run the warm tomatoes through a food mill (or push through a sieve) to separate skins and seeds.
- Stir in salt and citric acid (or bottled lemon juice) until well mixed.2 tsp Sea Salt, 1/2 tsp Citric Acid
- Spread pulp in two rimmed baking sheets. Bake, stirring every 30 minutes and rotating trays.
- When the paste reduces enough to fit on one tray, combine and keep baking.
- Paste is done when it’s glossy, brick-colored, and thick with no water separating out.
Notes
- Water Bath Canning: Spoon into quarter-pint jars, leaving ¾″ headspace. Process 15 minutes.
- Refrigerate or Freeze: Pack into clean jars, top with a thin layer of olive oil, and refrigerate (3–4 weeks) or freeze (up to 9 months).