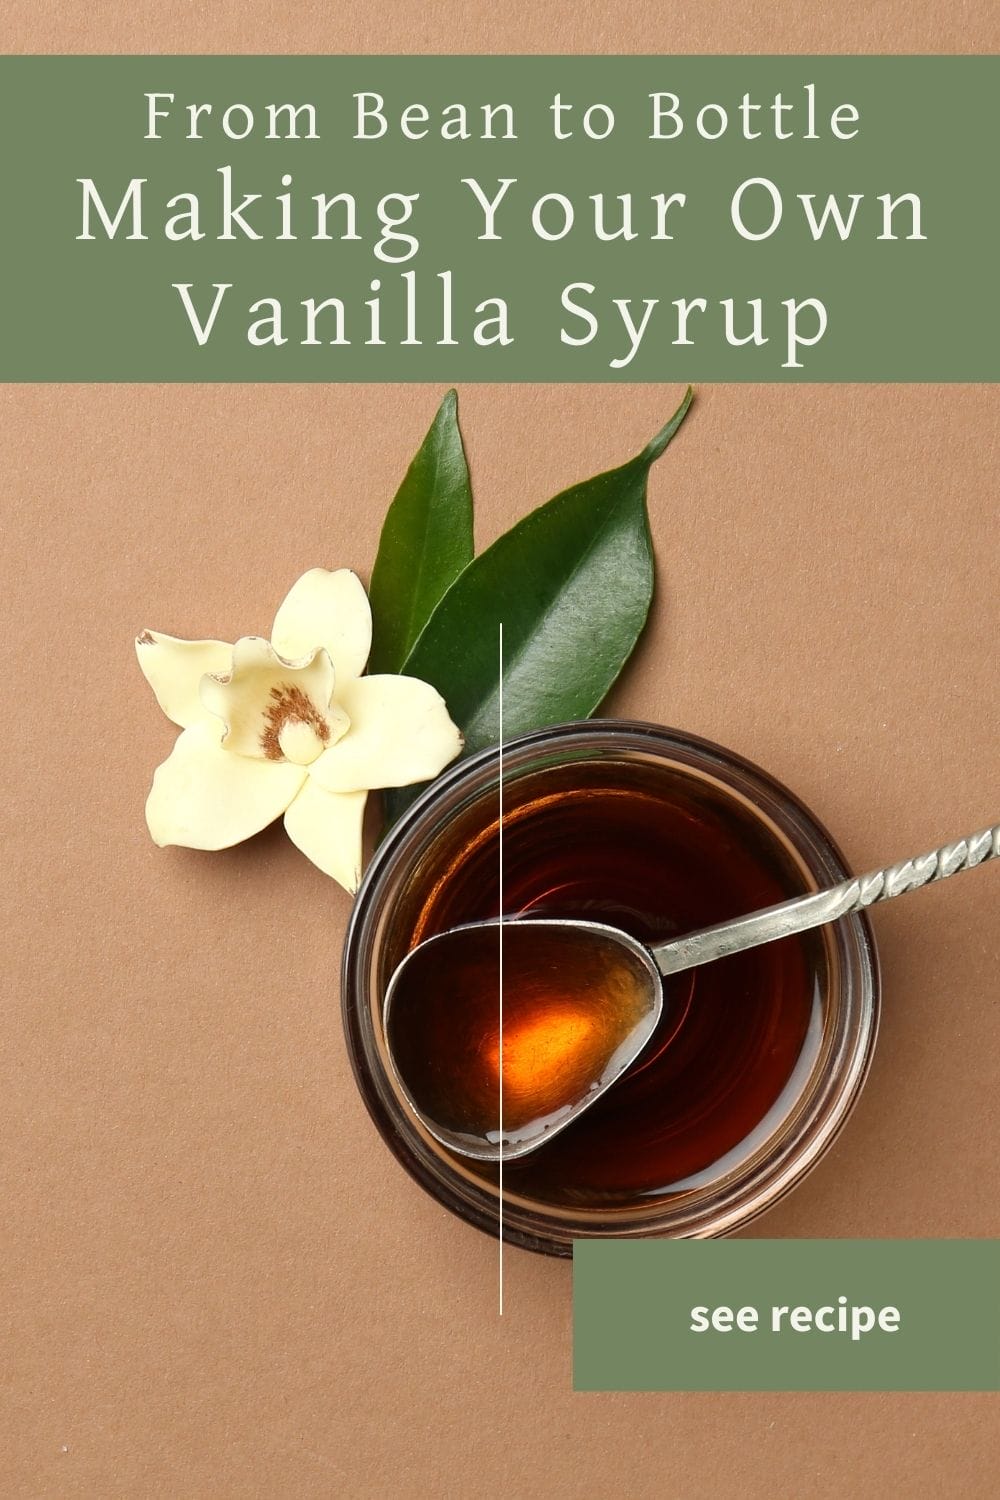
Sweetening Your Homestead: How to Make Vanilla Syrup
Discover how to make Vanilla Bean Simple Syrup at home—a natural, richly flavored addition to your pantry, perfect for drinks and desserts.
Vanilla syrup is a versatile and delicious addition to any homestead kitchen. Whether you’re looking to sweeten your morning coffee, drizzle over pancakes, or add a touch of vanilla to your favorite recipes, this simple syrup is the perfect solution. Making your own vanilla syrup at home is easy, cost-effective, and ensures that you know exactly what’s going into your sweet treat.
I started making vanilla syrup because I wanted to have more control over the ingredients in my food. Store-bought syrups often contain preservatives and artificial flavors, which I prefer to avoid. By making my own, I can use organic sugar and real vanilla beans, resulting in a much richer and more natural flavor. Plus, it’s surprisingly simple to make!
This vanilla syrup is perfect for those who love homemade, natural products and want to avoid the unnecessary additives found in commercial syrups. It’s a great project for DIY enthusiasts and anyone who appreciates the taste of real vanilla.
Trust me, once you try this homemade version, you’ll never want to go back to store-bought syrup.
Ingredients
Granulated Sugar (1 cup): The foundation of any simple syrup, giving it its sweetness and body.
- Use honey if you like. Use ¾ cup of honey, as it’s sweeter than sugar.
- Maple syrup offers a rich, autumn flavor. Use in a 1:1 ratio, but expect a thinner syrup.
- Coconut sugar produces a caramel-like flavor. Use a 1:1 ratio, keeping in mind that the final syrup will have a darker color.
Water (1 cup): Dilutes the sugar to create a syrup consistency.
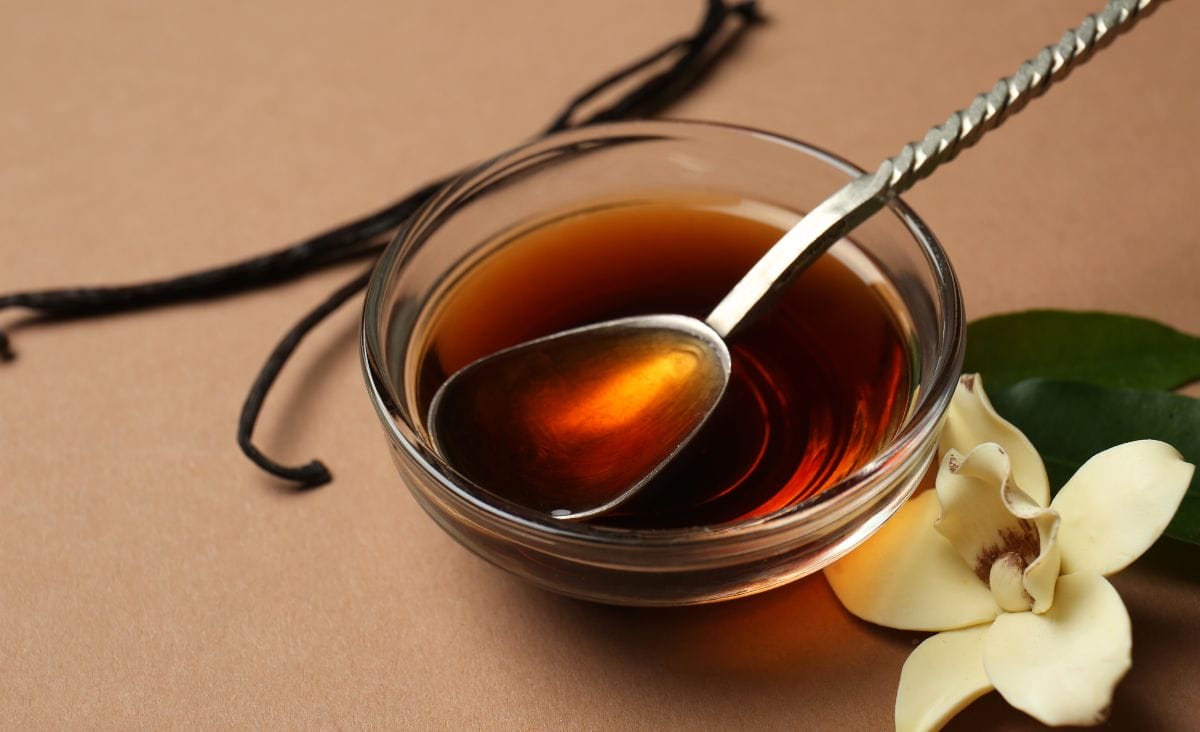
Vanilla Bean (1 bean): Infuses the syrup with a rich, aromatic vanilla flavor.
- If whole beans are not available or they’re out of your price range, use 1 tablespoon of pure vanilla extract added after the syrup has been removed from the heat.
Equipment Needed
Start with a small saucepan. You’ll also need a sharp knife and a cutting board for splitting and scraping the vanilla bean. To achieve a smooth, clear syrup, a strainer or cheesecloth is necessary to filter out the vanilla bean pod and any residual solids. Lastly, have a clean glass bottle or jar on hand for storing your syrup.
Making Vanilla Bean Syrup
Start by slicing the vanilla bean lengthwise with a sharp knife. Use the back of the knife to scrape out all those fragrant seeds. Don’t worry, it’s easier than it sounds and totally worth it for that rich vanilla flavor. Both the seeds and the pod are going into our syrup.
Next, grab a medium saucepan and combine the water and sugar. Turn the heat to medium and stir continuously. You’ll know it’s ready when the sugar is completely dissolved and the mixture looks clear.
Toss in the vanilla seeds and the pod. If you’re using vanilla extract instead, hold off for now. Let the mixture come to a gentle simmer. This is where the magic happens, infusing the syrup with that deep vanilla essence.
Allow it to simmer for about 5 minutes, stirring occasionally. This step ensures the syrup is packed with flavor. You’ll start to smell that wonderful vanilla aroma filling your kitchen.
Remove the saucepan from the heat and let the syrup cool completely. Once it’s cooled down, strain it through a fine mesh strainer or cheesecloth to remove the vanilla pod and any seeds. If you’re using vanilla extract, now’s the time to add it. You won’t need to strain.
Finally, pour your homemade vanilla syrup into an airtight glass bottle or jar. Store it in the refrigerator, and it should keep well for up to one month. I always make sure to have some on hand for my morning coffee.
Serving
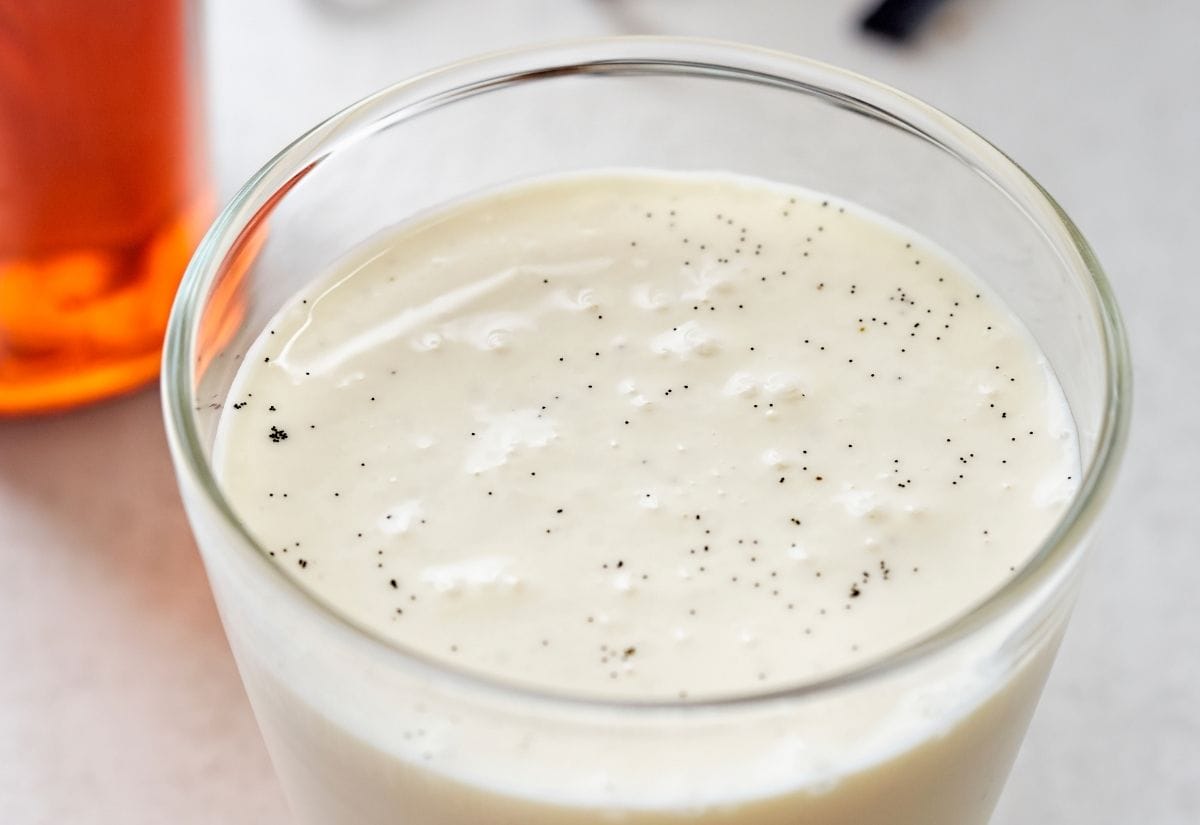
- Add a splash of vanilla syrup to your morning coffee or tea for a sweet, vanilla-flavored treat.
- Drizzle over pancakes, waffles, or French toast for a delightful breakfast.
- Use as a sweetener in baking recipes, such as cakes, cookies, and muffins. You can brush it on cakes before frosting to add moisture and flavor.
- Mix vanilla syrup into cocktails or mocktails for a unique twist on your favorite drinks. I love this Caramel Creme Brulee White Russian recipe from 3 Yummy Tummies.
- Top ice cream, yogurt, or fruit with a bit of vanilla syrup for added flavor.
Storage Tips
Store your vanilla syrup in an airtight glass bottle or jar in the refrigerator. It will keep for up to one month. If you notice any changes in color or odor, it’s best to make a fresh batch.
FAQs
Making vanilla syrup is a simple and rewarding addition to your homesteading skills. It’s versatile, delicious, and can be used in so many ways around your kitchen. Plus, homemade syrups like this can save you money and reduce the need for store-bought alternatives with unnecessary additives.
If you enjoyed this recipe, you might also like my homemade elderberry syrup recipe. Elderberry syrup is another great homemade treat that’s both delicious and packed with health benefits.
Don’t forget to pin this post for later and sign up for my newsletter to get more homesteading tips and recipes straight to your inbox!
What’s your favorite way to use vanilla bean simple syrup in your culinary creations? Share your tastiest tips and recipes in the comments below!

Easy Vanilla Bean Simple Syrup
This post may contain paid links. If you make a purchase using the links in this recipe, I may earn a commission.
Equipment
- 1 Small Saucepan
- 1 Fine Mesh Strainer or cheesecloth
- 1 Bottle or jar
Ingredients
- 1 c. Granulated Sugar
- 1 c. Water
- 1 Vanilla Bean
Instructions
- Lay your vanilla bean flat on a cutting board. With a sharp knife, split the bean lengthwise. Use the back of your knife to scrape out the seeds.1 Vanilla Bean
- In a small saucepan, combine the water, sugar, vanilla seeds, and the split bean pod.1 c. Granulated Sugar, 1 c. Water
- Place the saucepan over medium heat, stirring the mixture gently until the sugar dissolves. Reduce the heat to low and let the mixture simmer for about 15 minutes.
- Remove the saucepan from the heat and let the syrup cool to room temperature.
- Once cooled, strain the syrup through a fine mesh strainer or cheesecloth to remove the vanilla bean pod and any large particles.
- Pour the strained syrup into a clean bottle or jar. Seal tightly and store in the refrigerator.