Winter Sowing: The Easiest Way to Start Seeds in Cold Weather
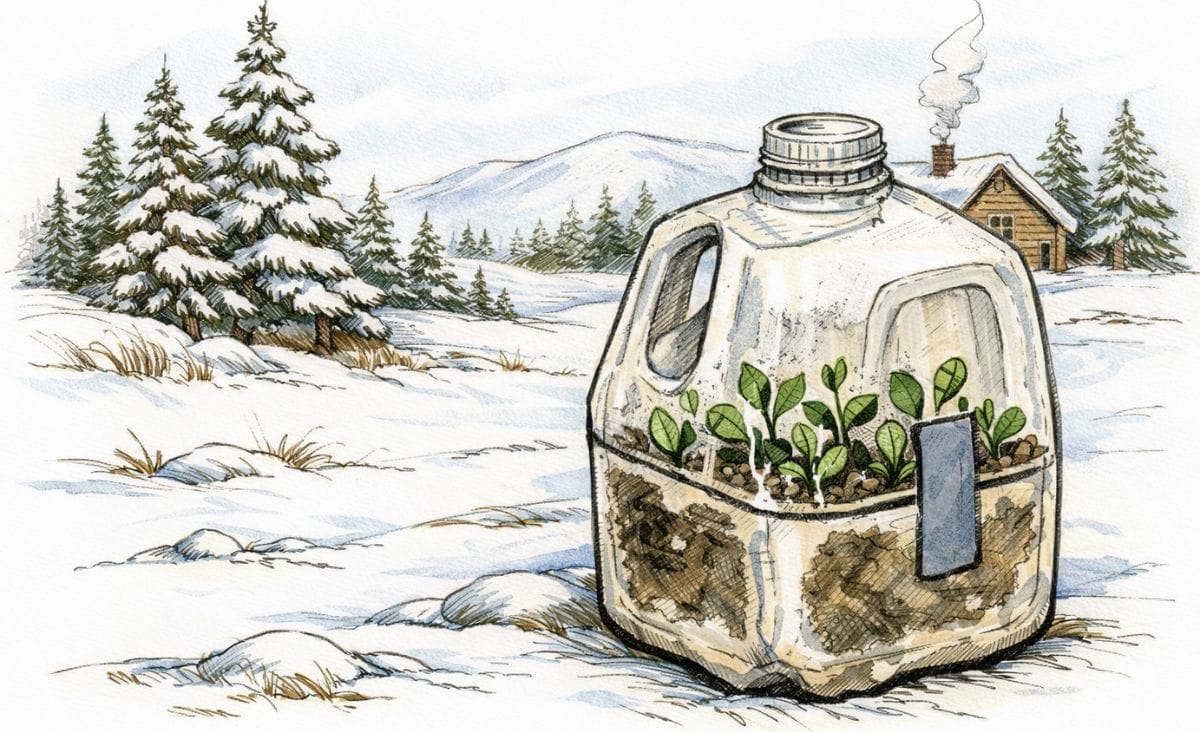
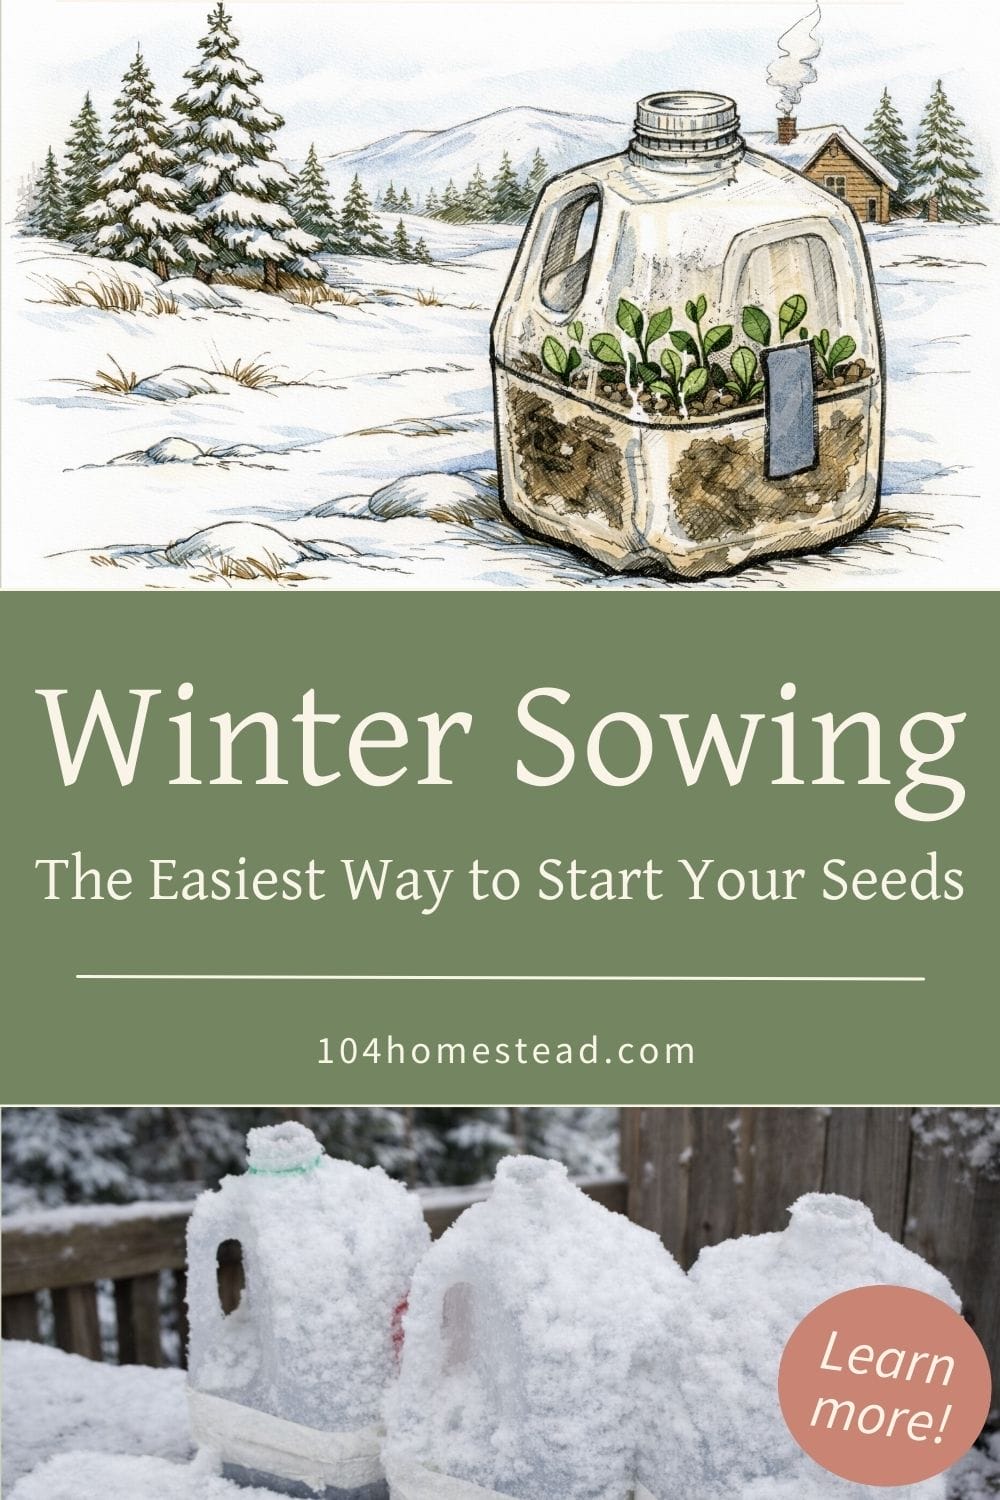
Winter sowing involves sowing the seeds outdoors in miniature greenhouses during the winter, allowing them to germinate naturally in spring.
Starting seeds indoors can feel like a whole production between grow lights, watering, and remembering to harden things off. I used to think it was the only way until I discovered winter sowing. I stopped trying to control every step, and the plants honestly did better.
Winter sowing is simply starting seeds outside, in covered containers, and letting winter and spring do their thing. It’s perfect for gardeners in northern climates like Maine and works really well with hardy vegetables, herbs, and flowers.
Here’s how I do it and what I’ve learned along the way.
What is Winter Sowing?
Winter sowing is an easy way to start seeds outside using recycled plastic containers as mini-greenhouses. The seeds go through real winter conditions, which helps them break dormancy and grow stronger once spring arrives.
One thing I really like about winter sowing is since the seedlings germinate in outdoor conditions, they’re already adapted to temperature shifts and sunlight, so no back-and-forth every day trying to harden things off.
My biggest seed-starting struggles were forgetting to water seedlings or hardening them off too late. With winter sowing, nature takes care of those steps for me!
How to Sow Seeds in Winter
Winter sowing is simple, but there are a few basics you’ll need to get started. The container just needs to protect the seeds while letting in light and moisture. Here’s what I use and how I get everything ready.
Choose Your Containers
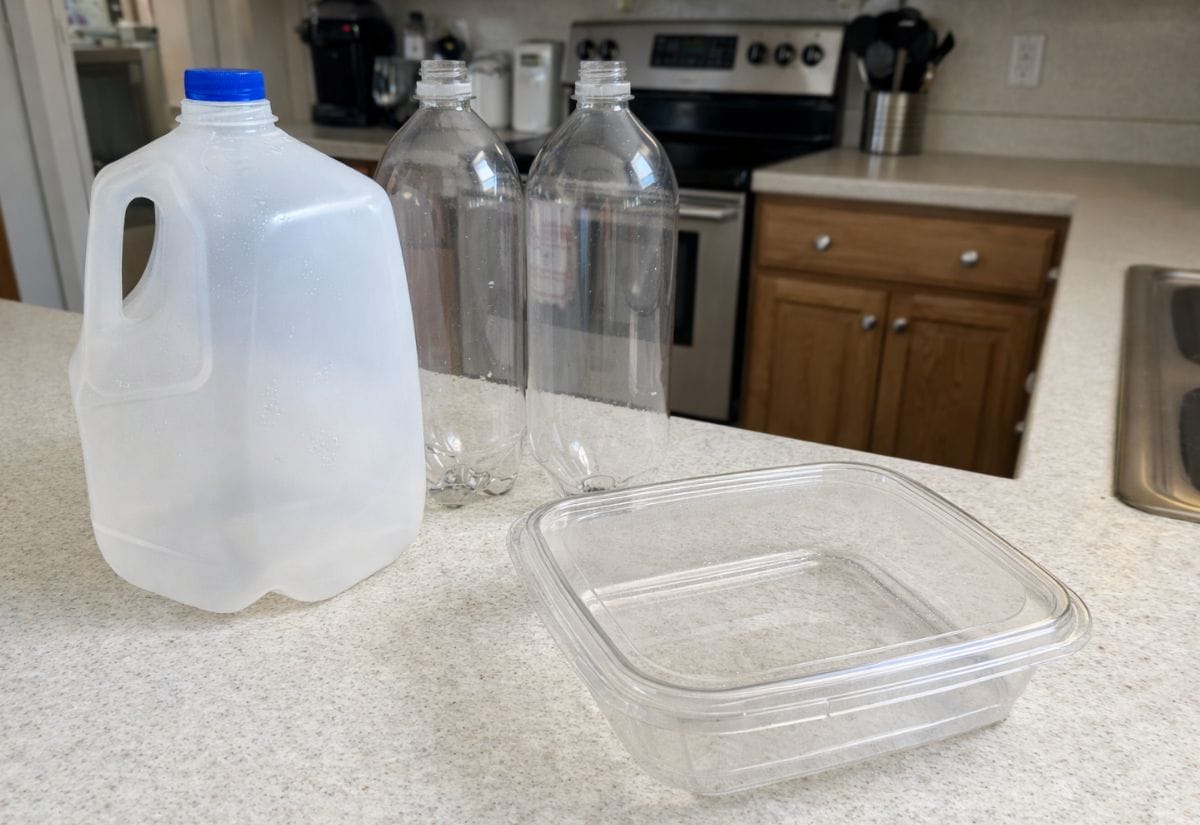
You’ll need a clear or translucent plastic container that holds at least 3-4 inches of soil and allows light to pass through. These are the containers I’ve had the best luck with:
- Milk jugs (my personal favorite)
- 2-liter soda bottles
- Large plastic take-out containers
- Big pretzel or snack tubs
I like milk jugs because they’re sturdy, easy to line up, and the caps come in handy later.
Preparing the Containers
Once you’ve chosen your containers, it’s time to get them ready for winter sowing. Before anything else, make sure water has somewhere to go.
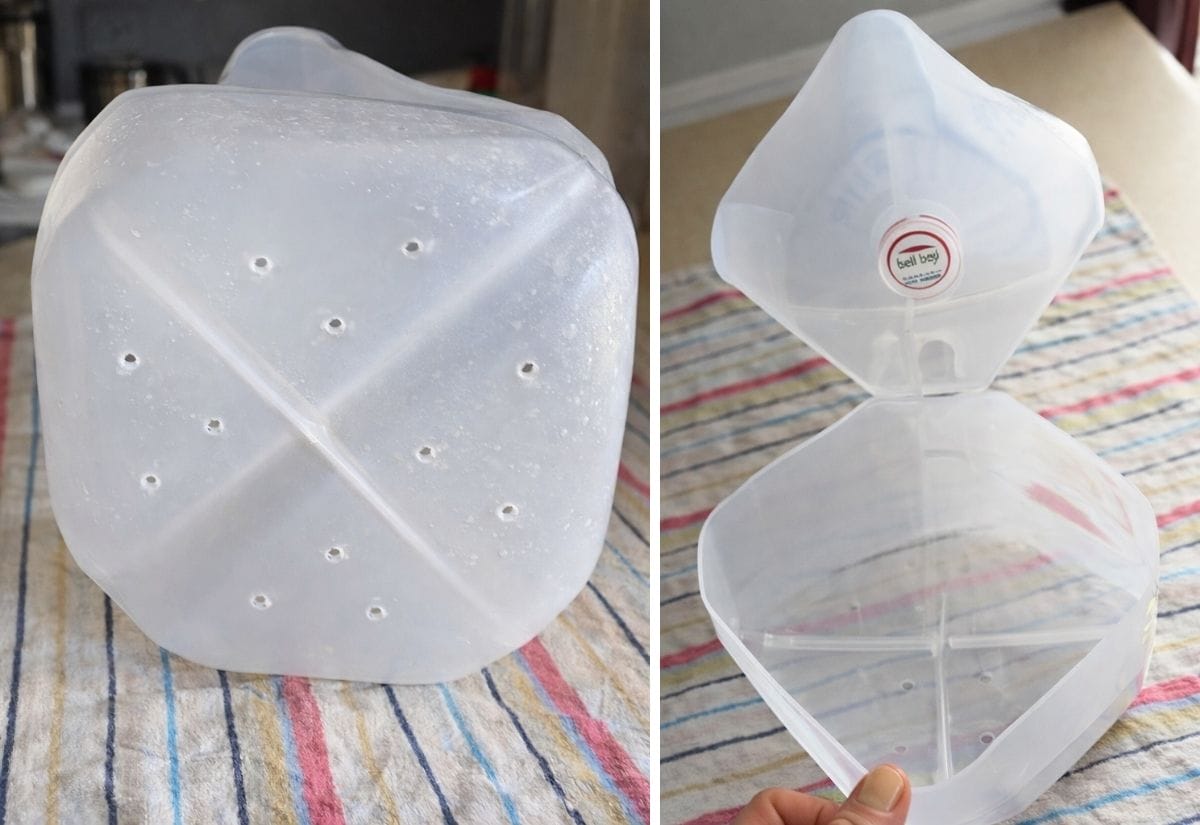
Create Drainage Holes
Use a drill or knife to poke 3-4 holes in the bottom and sides (about ¼ to ½ inch up). This prevents water from pooling and causing rot. Freeze the container with water inside before drilling. It keeps the plastic from collapsing under pressure.
Cut a Hinged Lid
Using a sharp knife or utility blade, carefully cut around the container, leaving about an inch uncut to create a hinge. This hinge will allow you to easily open the container for planting, watering, and checking on your seedlings as they grow. Be sure to cut high enough to allow at least 3-4 inches of soil in the bottom portion while leaving enough room for seedlings to sprout and develop inside their mini greenhouse.
If using a thicker plastic container, score the cut line first to make slicing easier and ensure a clean, controlled cut.
Planting in Your Milk Jug
Now that your mini greenhouse is ready, planting is easy. Here’s how I do it.
- Fill the container with moist potting soil about 3-4 inches deep.
- Sprinkle seeds according to the packet instructions for depth and spacing. (I tend to overseed a little, and it still works out fine.)
- Duct tape the lid closed and remove the cap (or poke holes in the top of the container) to allow rain and snow to enter.
- Label the container with a waterproof marker or plant tag to identify the seedlings in spring.
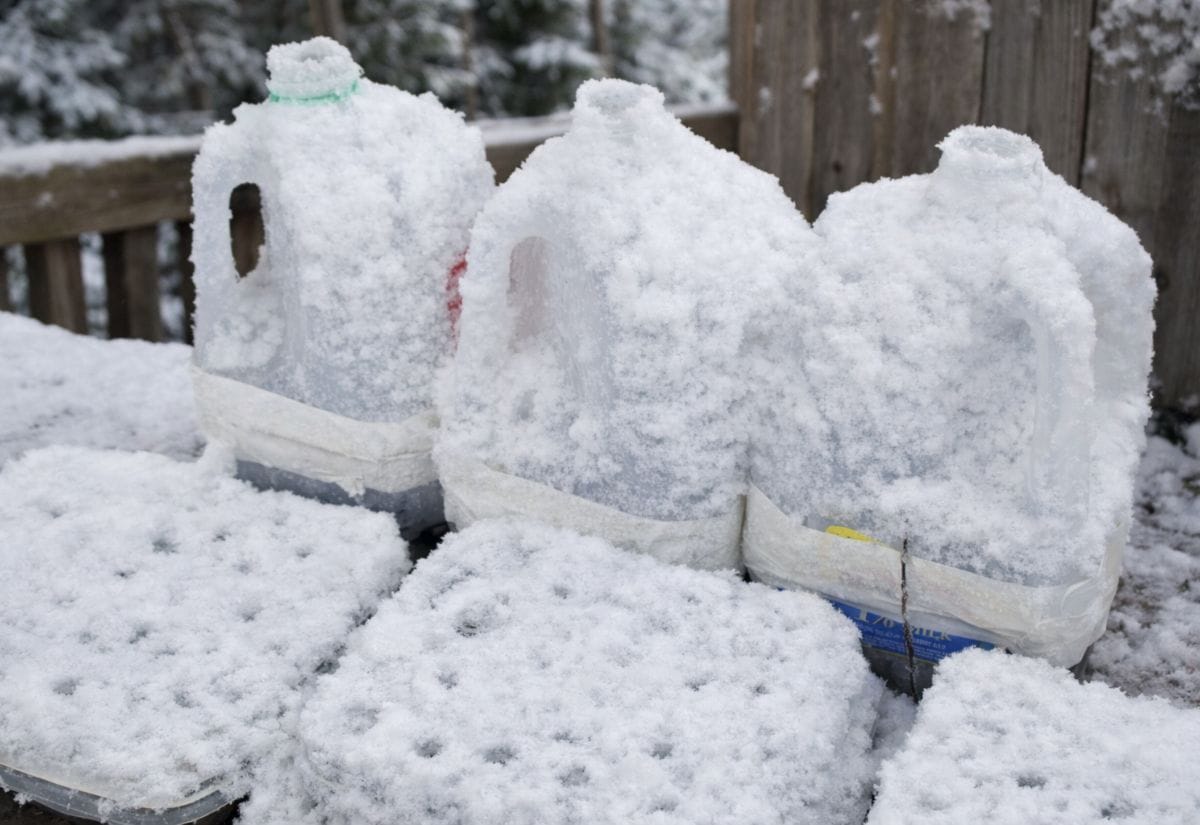
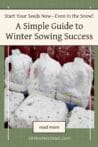
Placing Your Mini Greenhouses
Once your containers are ready, it’s time to put them outside. This is where I put mine:
- Somewhere visible but protected from foot traffic. If you have kids who love building snowmen, you might want to mark the area!
- In an open area where they’ll get direct rain and sunlight. Avoid spots under eaves or trees.
- In a sunny location to warm up naturally in spring so I don’t have to mess with them later.
When to Start Your Seeds in Maine (5b)
This is the rough schedule that works well for me in Zone 5, but you can adjust based on your local last frost date.
January
- Perennial Flowers
- Hardy Annual Flowers
- Brussels Sprouts
February
- Spinach
- Kale
- Peas
- Broccoli
- Thyme
- Sage
- Oregano
- Cilantro
March
- Lettuce
- Carrots
- Basil
- Parsley
- Bok Choy
- Beets
April
- Tomatoes
- Onions
- Peppers
Need a different planting schedule? Find winter sowing dates for your growing zone here.
If your containers didn’t sprout the way you expected, or seedlings stalled once they did, you might be dealing with one of these common winter sowing mistakes. I break down the small setup and timing issues that can derail your results so you can fix them before next season.
Recommended Reading
If winter growing grabs you, these are good ones to have on the shelf.
Winter Gardening for Beginners by Lindsey Pylarinos
If you’re brand new to winter gardening, this is an easy place to start. It walks through cold-weather growing in a way that’s approachable and not overwhelming, especially if you’re still figuring out what’s realistic for your space and climate.
The Winter Harvest Handbook by Eliot Coleman
This is a classic for a reason. Eliot Coleman focuses on practical, low-tech ways to grow food through the winter using season extension tools like cold frames and hoop houses. It pairs really well with winter sowing if you want to keep pushing your growing season.
Four-Season Harvest by Eliot Coleman
This book goes deeper into planning, timing, and storage for year-round food production. If you like understanding the why behind growing methods and want to fine-tune your approach, this one’s worth the read.
The Year-Round Vegetable Gardener by Niki Jabbour
One of my favorites for cold-climate gardening. Niki Jabbour shares realistic planting schedules, crop ideas, and season-extension strategies that work for backyard gardens, even in shorter growing seasons.
Still Wondering How Winter Sowing Works?
If you’re new to winter sowing, this is the stuff you’re probably wondering about.
Have a specific plant in mind or wondering if winter sowing will work where you live? This winter sowing guide goes deeper into timing by growing zone and answers a lot of the questions that tend to come up once you’re ready to try it.
Pin this for later if you want strong seedlings without grow lights or hardening off.
For me, winter sowing has been the easiest way to start seeds. There’s no grow light setup, no transplant shock, and no tedious hardening-off process. I set them up, put them outside, and let the weather do its thing. There’s no need to obsess over frost dates with this method.
The biggest learning curve with winter sowing is timing, especially across different growing zones. Knowing your gardening zone and frost dates will help you determine the best planting schedule, while understanding how to read a seed packet makes sure you’re choosing the right seeds for your climate.
Have you tried winter sowing before? What plants have worked best for you? Drop your experience or questions in the comments below!

What about watermelon and pumpkins in Zone 5? What month should I winter sow them?
I start those in late March or early April. If you need help deciding what to start and when, I have it broken down by gardening zone here: https://104homestead.com/winter-sowing-by-zone/#h-zone-5-growing-guide
You are eventually transplanting right?
Liked your thoughts on quail. I would love puctures.
I love the idea.
However, there are only so many plastic containers I can put out. What about building some sort of easy/inexpensive greenhouse instead? Similar idea but on a bigger scale? It would be easier. Any plans anywhere for such greenhouses?
Thank you.
Hi Jessica,
I live in southern Michigan and my zone is 6. I started my winter sowing at the beginning of February and we’ve had a few really nice days here and in a few milk jugs I’m seeing small bits of green. Yay!! Today, March 20th I planted a second batch of seeds only to find out my weather forecast says we are going to get some really cold nights for about a week or so. So now I’m panicking. Should I bring my jugs indoors on the cold nights that dip below freezing? Michigan springs can be so frustrating.
Thanks,
Becky
Hi, I’m in northern Utah, I think zone 6b. I want to first THANK YOU for posting some seed/plant names that are flowers or edible that most people plant. The first time I heard about this method the author only listed seeds that are rare herbal/flower/shrub types of things. So thanks!
Second, should I use regular potting soil? Or the soil I put in my big raised bed containers, which is heavily composted soil?
Third, mulch? Or is it not necessary because of the greenhouse effect of the jug?
Fourth, we only put the milk jug lid on in the event of snow or rain, then take it off afterwards?
Thank you so much!
Do you have to transplant from the milk containers when the ground is warm? Will something like Brussel sprouts grow to full size in that small space?
Hi Jessica! Was just reading through your article and I saw the spot where you said the planting schedule is based off your growing zone (5b – same as me). It proceeds to list out certain plants under specific months. Just want to clarify that the plants/month specification is when they get “winter sown” outside in the plastic make-shift greenhouses. Example: March: Lettuce, Carrots, Basil, Parsley, Bok Choy, Beets; and April: Tomatoes, Onions, Peppers. I’d love to do this to start my garden this year. I’m a complete newbie and want to be as successful as possible. Appreciate your guidance!!
I used this method years ago with great success. I thought of it again last winter and started some annual flowers this way. Milk jugs are always my go to and it still surprises me how easy and effective it is. 100% success rate and glad you shared it so more people give it a try!
Do you have a suggestion for something other than plastic milk jugs? I don’t use these or buy milk (in gallon containers). could i use plastic bags? old plastic plant containers?
I gathered a bunch of milk jugs from my transfer station the other day. From what I understand, the milk jugs are strong enough to hold up if you get a heavy snow.
Do you have family, friends, neighbors who do have these jugs available? Most would be thrilled to share!!
I’m going to try this. I grow a garden every year, but having a head start will be great! Thanks!
Hi
I’m new to winter sowing I’m in zone 6-7… I wintersowed 42 gallon jugs since Late dec.
Cornflowers, delphinium, monkshood, morning glory, larkspur , hollyhock etc…
It’s now early feb I looked in them from above today and it appears that the cornflowers are starting to sprout ??
What do I do now? Just leave them be? Take them out? Will they die? There’s still a few months of winter.
Thanks
David G
i have also used milk jugs but not for winter sowing..im planning to try that right now..
my husband came up with a much more efficent idea for putting drain holes..there is no need to fill containers w water & freeze them
i take a metal BBQ skewer ( like for kabobs) and heat that on the stove it punches the holes much easier..I also heat a knife to cut them.
a little heat saves alot of work
I use my glue gun to melt holes in the containers. It works very nicely.
Brilliant!
With as much milk as we go through I can definitely start saving jugs today so I can give this a whirl! Thank you.
This will be my Second year trying Winter Sowing , and I can’t Wait ! Last year I used Gal.empty Water Jugs X 4 , planted Perenial Flower seeds and had Great Results ! I’ve saved 10 Jugs so far and will start this week, placing them on the Sunny Side of the House . Forgeting about them last Winter , then discovering them in the Spring was such a Pleasant Surprise !!!
Guess I don’t understand, where do you place the jugs?
Bury them in snow on a sunny side
I’m confused! How do you keep the plants from freezing?
Hi Lori! You put the jugs outdoors, right in the snow (if you have snow in your area). They don’t start sprouting until the weather warms up and then they act like little greenhouses to keep the seedlings from getting too cold.
How do I adjust for zone 4b weather?
How can you transplant root vegetables like carrots and beets so that they will still grow straight.
You are moving them early enough in the seedling phase that it doesn’t tend to be a problem. At that stage of growth they will redirect their roots down. Just make sure not to smoosh the root.
The area where we live is horribly windy, especially in winter and spring. I’m concerned that the containers will get blown away or just blown over. There are no good protected areas, either. Do you have any suggestions?
It may be too windy for this trick, but I’ve lined the bottoms with rocks before adding soil. That helps with drainage as well. If you are worried that won’t be enough, can you get a hay bale or something to create a wind block?
I have this concern as well but plan on putting the milk jugs in my raised beds 🙂
I have mine against the side of my raised bed. They are sitting still in this morning’s 20mph plus winds!
put four milk jugs in a plastic milk crate (or any appropriate-size container with plenty of holes to drain water). Easy to move around and keeps the jugs from being blown around.
How about sticking a long dowel through the top down into the ground to hold it on place
I tried this in my raised beds with 2 liter pop bottle cloches and had no luck at all. Was it because it needs to be a closed system do you think
Yeah, cloches aren’t quite as protecting. I think it’s important it be contained.
I’m confused as far as transplanting the plants. Do you? And how do you?
Yes, we transplant just like you would with traditional starts. You can use a small garden scoop to remove them. I find it easiest to just use my fingers to pull out the seedlings.
What is the coldest temperature this will work with – I live in Zone 3b so need to know how soon I could try this 🙂
I have a feeling it would work in 3b, since seeds don’t germinate until they get the “spring” cues from nature. I don’t know enough about growing in your area to say confidently what your planting timeline would be.
Thanks for sharing. I have read a lot of tips from other website, but yours is one of my favorite. I am in zone 9b glendale Arizona , i dont see the schedule here.
I’m sure you can winter sow in such a warm climate, but I don’t know enough to give actual dates and planting guides. I tried googling for information for your area, and came up short.
Could you use 1/2 gallon paper milk cartons the same way? I think it might work as well
You could use those for indoor seed starting, but not winter sowing. They are opaque and wouldn’t allow the sun in.
Actually I’ve seen what Susan is talking about. The way I’ve seen these done is by laying the carton down on its side, cutting the top out and cover it with the plastic from a ziploc bag. You can tape that on just the same, but you’ll need vent holes. Might be worth a try for me too because we never have any gallon milk jugs. But I think vinegar jugs are good too.
Okay, that makes sense. I was imagining cutting it the same way and couldn’t see how that would work. I love the idea of a vinegar bottle. That would hold some good sized seedlings.
This is brilliant. I was going to sow seeds into my raised beds early winter especially for those seeds that need a chill. I like your idea better since I won’t have to hunt for the seeds in the spring.
You are going to love this technique. It’s almost completely fool-proof.
This is a great idea! I’m going to do this for next year!
Thanks again for sharing with Green Thumb Thursday!
Lisa
Hmm this is very interesting. I’m definitely going to give this a try. This would be great since I often run out of room under my plant lights inside! Personally, I don’t like transplanting from pot that has more than one or two plants in it. I’m afraid to break all of the little roots that are all tangled together. Do you think that using little individual pots inside the milk carton would work?
You certainly can. The concept is to create a mini greenhouse. My only small concern with plant pots is that cold air can seep around the soil, opposed to when it’s a block, it warms a bit faster. It may cause delays in your seedlings, but not by any major amount.
try using toilet roll inner tubes inside milk cartoons
folded flat then flat again so there square then cut in half
so u have 2 square pots easy to sow and replant into the garden in spring
no disturbing roots cardboard composts away
If you want to keep you plants separated for easier transplanting, why not insert cut toilet paper tubes. Cut each tube in half and insert in the soil in the jug. Sow your seeds in each tube. Place two or three seeds in each tube. You can thin when you transplant.