How to Dry Your Homegrown Herbs Quickly & Easily with a Dehydrator
You can simply bring herbs indoors and hang them as bundles from hooks, but it’s easier and faster to dry herbs with a dehydrator.
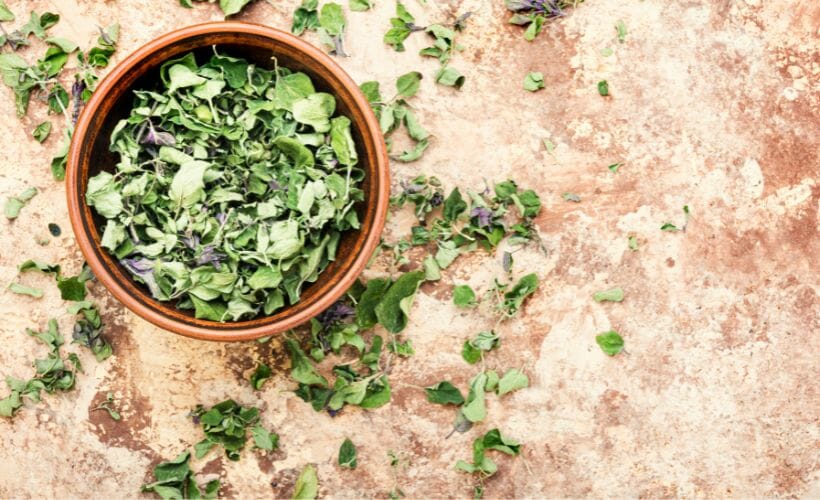
Summer is winding down and before you know it all the glorious fresh herbs we’ve been taking advantage of will no longer be available. It’s time to talk about how to dry herbs. You can simply bring them indoors and hang them as bundles from hooks (I like doing this with lavender). You can also make racks/screens like these ones. When you need to preserve a lot at a time, it’s easiest to dry herbs with a dehydrator.
Oven drying is an option if you don’t have a dehydrator, but drying at higher temperatures can sacrifice plant quality. Plus, it can be difficult to maintain the ideal temperature for drying herbs using an oven. When you dry fresh herbs in a dehydrator, you can control the temperature and therefore preserve the herb’s medicinal and flavor qualities.
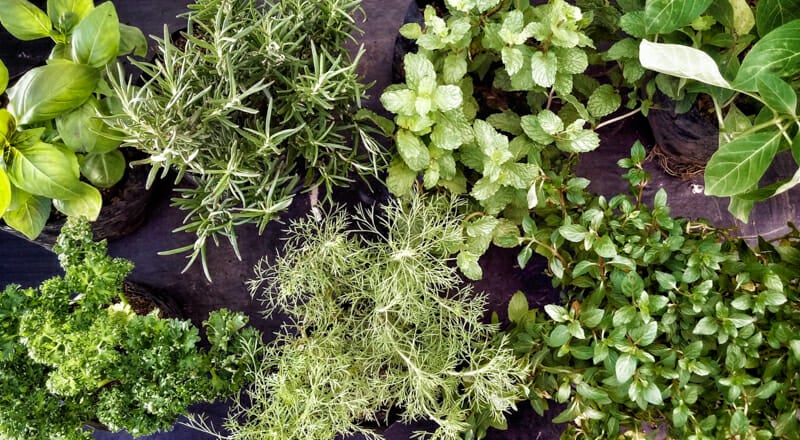
There was a brief period of time I was drying herbs in my car, but as you’ll read in 21 Gardening Hacks, there were a couple of flaws to this concept. Yes, it works, but no, it’s not wise.
How To Dry Herbs Using a Dehydrator
Preheat your dehydrator with the thermostat set between 95ºF and 115ºF. If your herbs are damp, be sure to gently blot them dry with a towel to remove as much moisture as you can.
Place the herbs on the dehydrator trays in a single layer. You can leave small leaves on the stems, but remove larger leaves from thick stems to shorten the drying time.
Drying times will vary depending on the moisture content of your herbs. Tender herbs like dill, parsley, and oregano will dry more quickly than think herbs like plantain and comfrey. Expect 1 to 4 hours for most herbs. The exception would be with roots. You’ll want to cut roots into 1/4 to 1/2″ pieces. They can take anywhere from 6 to 10 hours to dry. Check them from time to time for dryness.
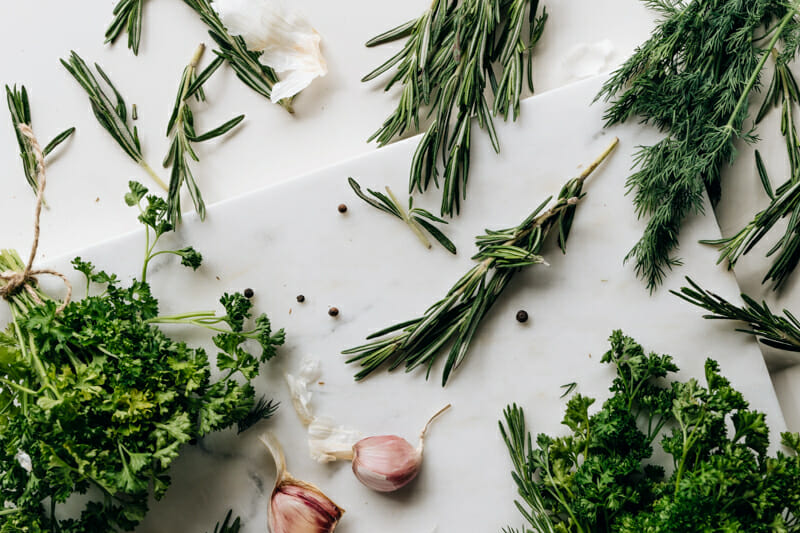
Leaves, stems, and flowers are dry when they become brittle. The leaves and flowers easily crumble and the stems easily break. Roots will be stiff when they are completely dry.
This may seem like a no-brainer, but I share because I screwed up. Label which herbs are on each tray. It’s incredible how similar in appearance and smell herbs can be when they are dehydrated.
How to Store Dry Herbs
Store your dried herbs in air-tight containers. I like to use mason jars (but that’s because I’m a mason jar addict). Be sure to label the container with the name of the herb and the drying date. Be sure to keep your dried herbs out of direct sunlight. Some people purchase special amber-tinted containers for this reason. I’m too frugal for that. Special jars cost a couple of bucks each. The space behind the pantry door is free.
If you’ve found value in this blog post and enjoyed reading it, why not share it with your Pinterest community? Pin the image below and spread the love!
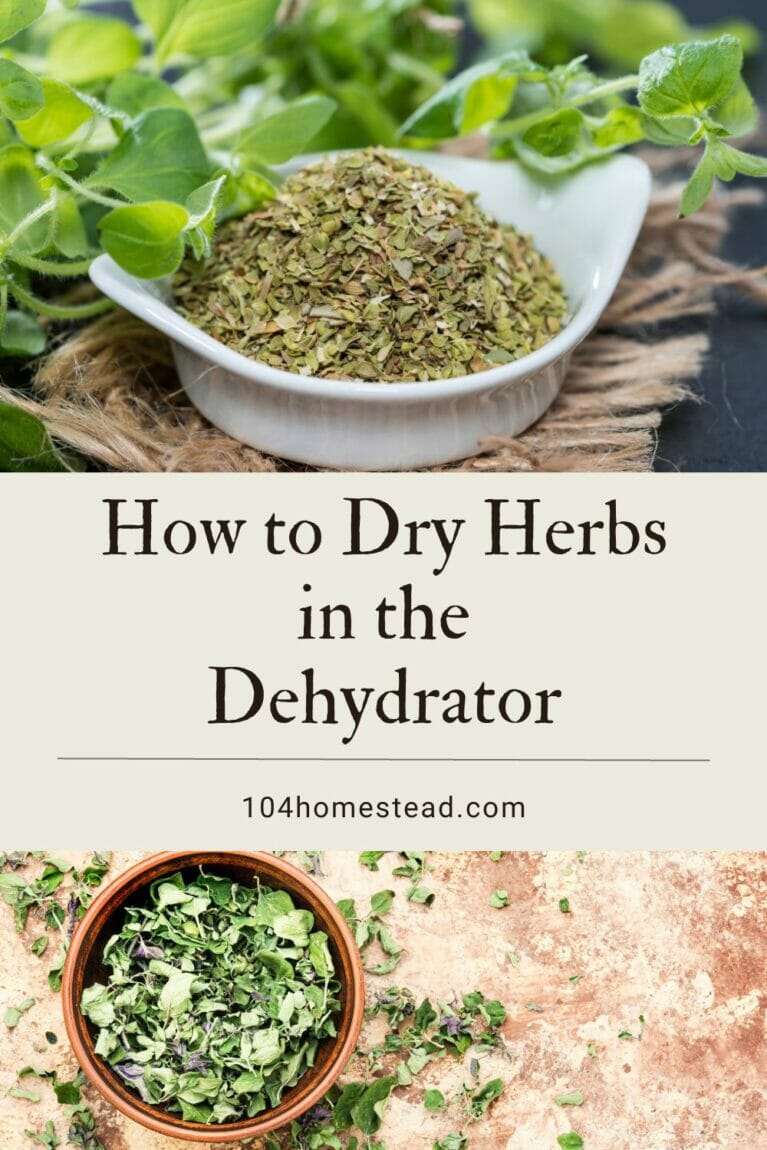
Thanks to your dehydrator, you can have access to your homegrown herbs throughout the year. Are dry herbs still not enough reason to splurge on a dehydrator?

Dehydrators use very little electricity. I have read where people use their ovens, which I think, is too hot for herbs, even at the lowest setting. And besides, my oven is 220 volt and heats up the whole house. Dehydrators are also fairly inexpensive. I get the best results using my dehydrator. This year, most of my herbs will be going to the chickens who will be giving me the finest eggs around. A win win siutation.
Please tell me which herbs you give to your chickens
Have chickens & just got a Dehydrator
These are the ones that we use with our flock: https://104homestead.com/herbals-essential-oils-other-natural-remedies-for-chickens/
THanks for this post. I just bought a dehydrator and the first thing I’m trying in it is some oregano and mint. It’s a bit of trial and error I guess. First time ever using a dehydrator so I need to look up the estimated times for most things. The recipe book it came with didn’t have instructions for drying herbs, strange enough. I have a big garden and every year I say that I wish i had a dehydrator when I’m needing to process lots of things at once. Can’t wait to see how they turn out!
The Purposeful Pantry on YouTube is v good on dehydrators and dehydrating. She says ignore recommended times and that stuff is done when it is done. She also strongly recommends ‘conditioning’ which is when you check your jar once a day for a week, shaking the contents, listening for the brittle sound, checking there is no moisture visible and no clumping; if there is dehydrate some more). Some things take days rather than hours, e.g. citrus slices (on as low a setting as possible so as not to brown), and the only things you can overdo is fruit leathers and jerky 🙂