Fermenting Chicken Feed for Healthier Birds and Lower Costs
Boost nutrition, cut costs, and improve egg production with fermented chicken feed. Learn the benefits, methods, and tips for healthier chickens.
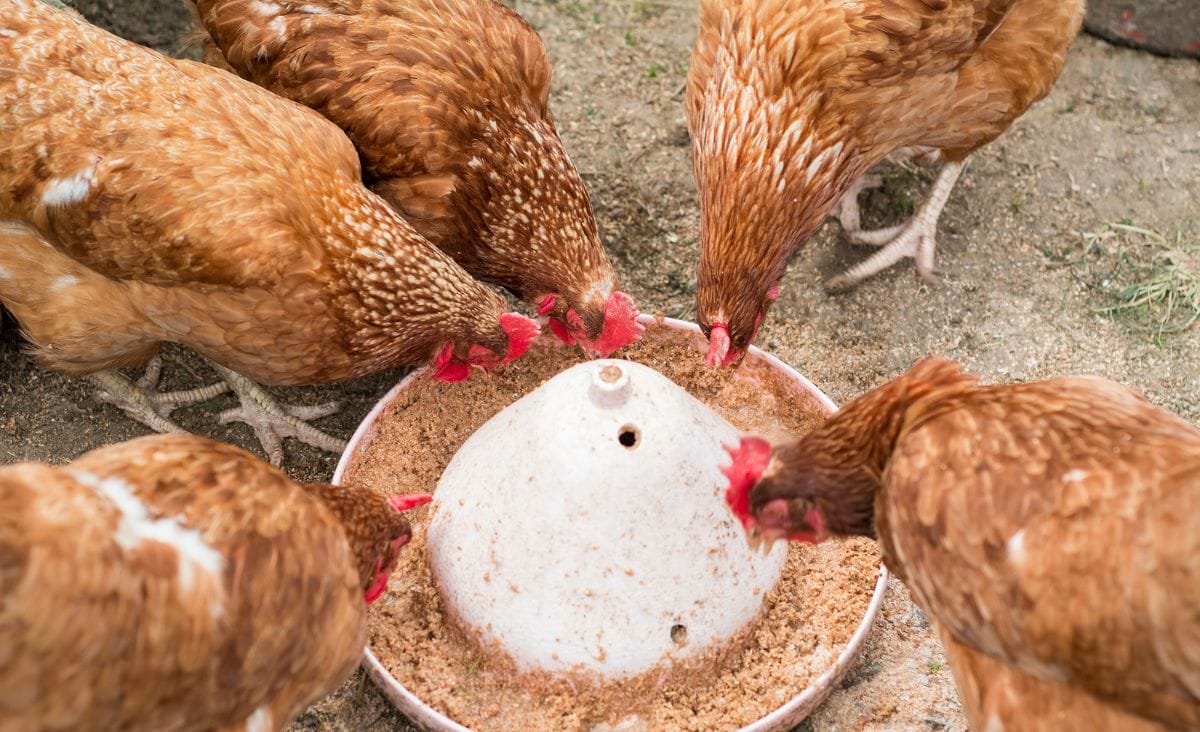
When I first started fermenting chicken feed, it was out of necessity—I had more beaks to feed than eggs to collect, and the numbers simply weren’t adding up. What began as a budget-saving experiment turned into a practice that transformed the health of my flock and my approach to chicken care.
Fermenting chicken feed isn’t just about cutting costs—it’s about improving your flock’s nutrition and minimizing waste. Whether you’re curious about how to get started or wondering if it’s worth the effort, this guide will walk you through the benefits of fermented chicken feed, how it works, and how to make it a seamless part of your routine.
The Benefits of Fermented Chicken Feed
Understanding the benefits of fermented chicken feed is just the first step. Now, let’s dive deeper into why fermenting chicken feed is such a game-changer for your flock’s health, your budget, and your overall feeding routine.
Why Ferment Chicken Feed?
Fermenting chicken feed has two standout benefits:
- Saves Money: Fermented feed minimizes waste. Dry feed often ends up scattered on the ground, uneaten. When fermented, feed becomes a soft, moist mixture that chickens eagerly consume, leaving little to no leftovers.
- Improves Nutrition: Fermentation increases the bioavailability of nutrients in chicken feed, enhancing your flock’s overall health. You’ll notice shinier feathers, better digestion, and even less feed consumed overall—around 30% less, on average.
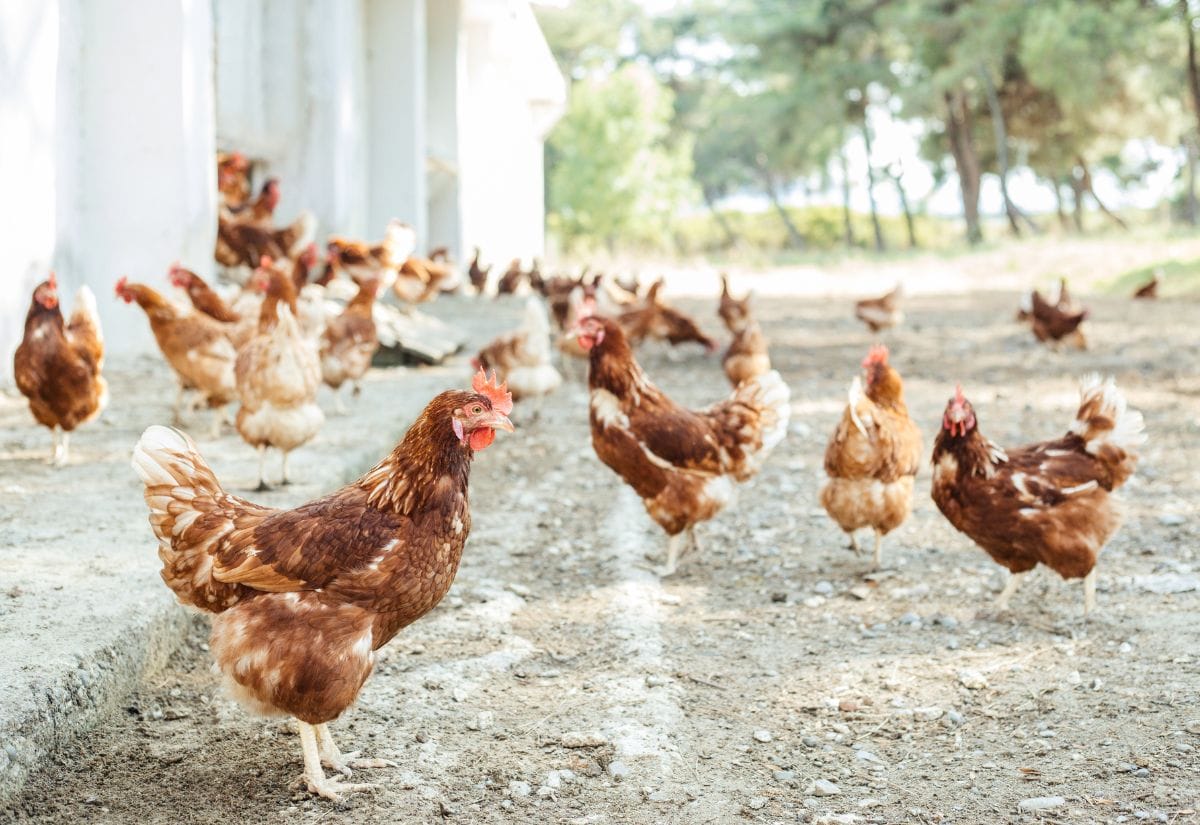
Less Waste, Healthier Flock
Chickens are notoriously picky eaters, often scratching and tossing feed onto the ground, leading to unnecessary waste. With fermented feed, this behavior decreases significantly because the moist texture makes it easier for them to consume and less likely to scatter.
Additionally, the fermentation process boosts beneficial probiotics, promoting good gut health that strengthens their immune systems, improves nutrient absorption, and can even enhance the quality and quantity of their egg production. Over time, you’ll notice healthier birds with shinier feathers and stronger shells, all while reducing feed costs.
A Step-by-Step Guide to Fermenting Chicken Feed
- Gather Supplies: You’ll need a bucket (or two, if using the strainer method), chicken feed, and water.
- Prepare the Bucket: Drill small holes in the bottom of one bucket to create a strainer. Place this bucket inside a second one to catch liquid.
- Add Feed and Water: Fill the inner bucket with feed, then cover it with water. Ensure the water level stays above the feed to prevent spoilage.
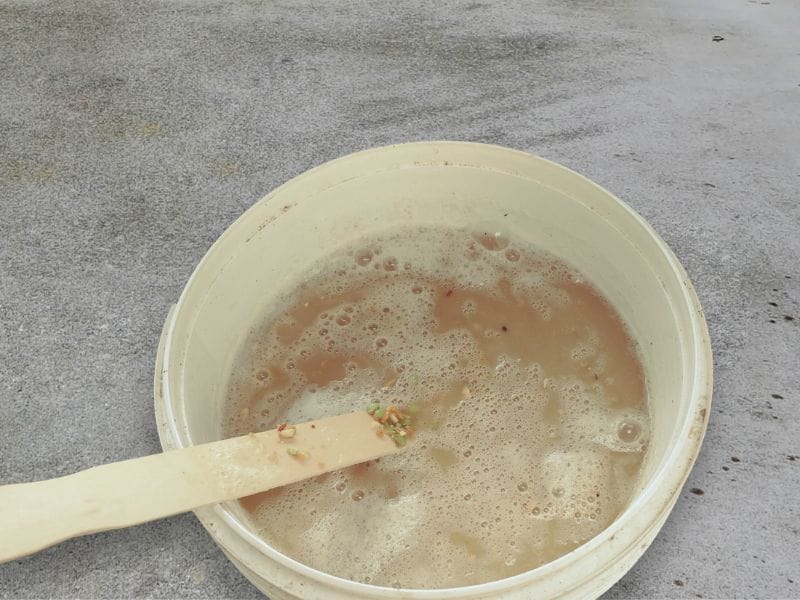
- Let It Ferment: Leave the feed to ferment for 3–5 days. Stir daily to ensure even fermentation. You’ll know it’s ready when you see bubbles and smell a pleasant, doughy aroma.
- Serve and Repeat: Lift the inner bucket to drain the excess liquid, then scoop out the feed for your flock. Save the starter water for your next batch.
What Can You Ferment?
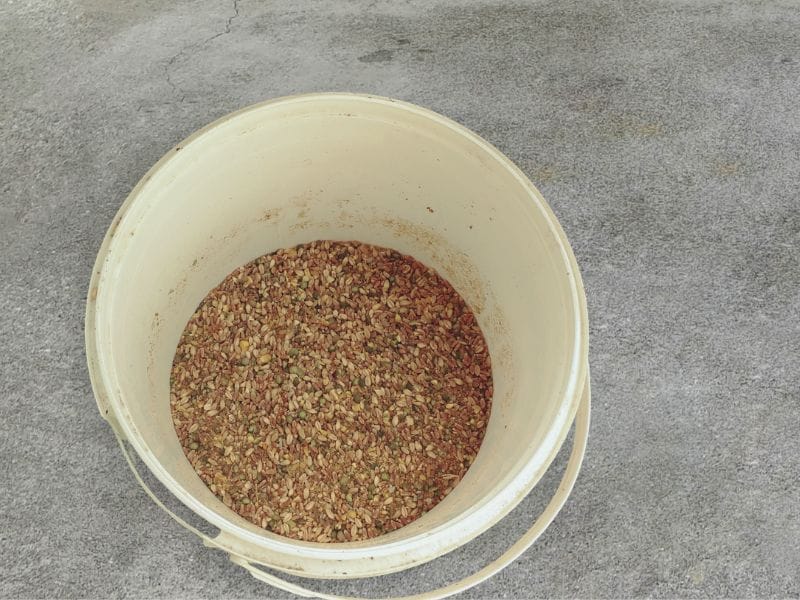
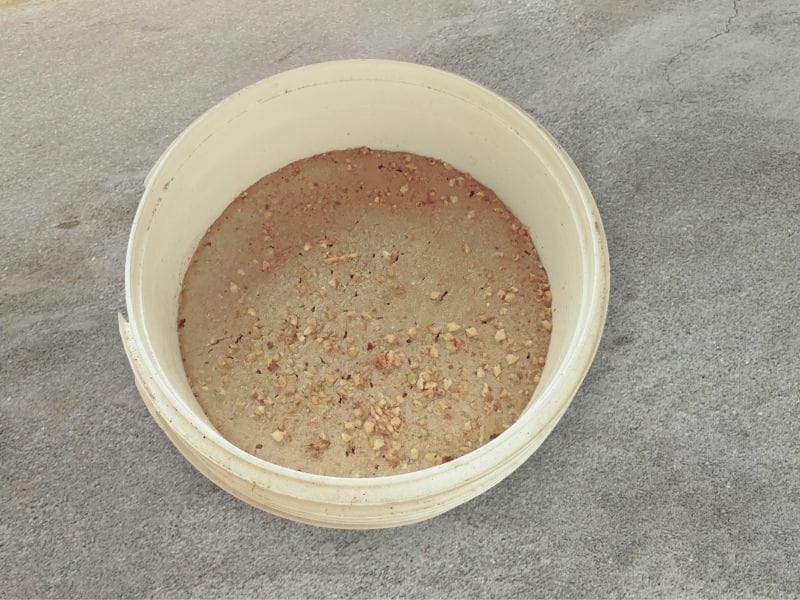
The base for fermented feed can be commercial pellets or crumbles, both of which provide a solid foundation for your flock’s dietary needs. From there, feel free to add grains, scratch, or scraps (no dairy or meat) to enhance the mix with variety and seasonal abundance. I aim for a 2:1 ratio of commercial feed to add-ins to ensure balanced nutrition, giving my birds the essential vitamins and minerals they require.
This ratio also makes it easier to experiment with different additions, such as cracked corn or field peas, while keeping the feed nutrient-dense and cost-effective. Adding diverse ingredients also helps to keep your chickens interested in their feed, reducing waste and encouraging them to consume the entire portion.
What You Need to Know About Fermenting
- Monitor the Smell: Properly fermented feed should smell sweet, like bread dough. If it smells rancid or sour, discard it and start over.
- Winter Adjustments: During colder months, fermenting can be tricky. I don’t ferment feed in winter because I don’t want buckets in my house, and the outdoor temperatures slow down the process.
- Ducklings Require Extra Care: If you have ducklings, add niacin to their diet. Sprinkle nutritional yeast over their feed before fermenting to ensure proper development.
Sometimes Fermenting is Messy
Fermenting isn’t always foolproof, and I’ve had my fair share of mishaps. Once, my buckets vacuum-sealed together, creating a frustrating scenario that left me elbow-deep in fermenting water, trying to scoop out feed one handful at a time. It was a messy and chaotic process, with water splashing everywhere and my patience running thin.
Moments like these can make it tempting to throw in the towel and switch back to the simplicity of dry feed.
However, when I see the healthier feathers, stronger eggshells, and lower feed costs, I’m reminded that these occasional hiccups are a small price to pay for the overall rewards of fermenting feed. It’s a learning curve, but one that pays off in the long run.
Tips for Easier Fermentation
- Use a Two-Bucket System: It makes draining simple and saves time, while keeping your fermentation process clean and efficient.
- Batch Ferment: If you have a large flock, ferment in bulk to minimize daily preparation and ensure a steady supply of feed.
- Experiment with Add-Ins: Seasonal grains or vegetables can add variety and nutrition to your flock’s diet, helping them thrive throughout the year.
Common Questions About Fermenting Chicken Feed
Pin now for healthier chickens and cost-effective feeding tips!

Fermenting chicken feed might seem like extra work, but the benefits for your flock’s health and your wallet make it worthwhile. Caring for a flock doesn’t have to break the bank. From creative feed savings to sprouting barley as fodder, there are plenty of ways to reduce costs while keeping your chickens healthy and happy. Curious about affordable nesting solutions or enrichment ideas to keep your birds entertained and stress-free? Explore these tips and strategies to level up your chicken-keeping game.
Have you tried fermenting feed for your birds? Share your experiences or tips in the comments below—I’d love to hear from you!


If the chooks aren’t eating the dry pellets I put out, would they be more likely to eat the pellets if they are fermented ?
I think that the reason why the birds eat less fermented feed is not due to the digestibility, but due to the high water content.
I’m confused about part of this process and leftovers. When you ferment the chicken feed in your two buckets (I do this with bokashi composting), after 3-5 days or once fermented, you strain the now fermented feed and drain the liquid off. But after you have taken enough fermented feed for the day to feed the flock, do you put the fermented feed back in the originally drained liquid, does the bucket of fermented feed just hang as is and dry out, or do you cover it with fresh water? Thinking that if I made a bucket of fermented feed, I would have too much fermented feed to give them all at once and will have leftover.
You take out what you need and then put the bucket back into the liquid bucket. You top with water as needed to keep the feed below the surface. As the levels of feed go down, you just add more and give it a stir.
I get buckets apart with compressed air. Stick the nozzle in between the buckets and let the air lift the bucket out of the other.
Do you ever feed your chickens fodder? I’m just starting my flock with 11 chicks and have just started raising fodder from oats to give them. I’ve read a lot about fermenting their feed also and am wondering if you can do both? Thanks for any advise you can give.
I have in the past, but my toddler has made growing anything indoors a challenge. I probably will again this summer when I can do it on the deck. It’s a great idea to do both because it offers a natural, well-balanced diet. Growing sprouts is also a nice healthy addition to your flock’s diet.
Thank you Jessica. My husband and I just bought our 5 acre farm that needs tons of work. I’m starting with chickens and quail, but by next year I want to add pheasants, ducks, and peacocks. I am finding lots of information on how to feed your chickens healthy and inexpensive, having a little more trouble with the quail. Do you have any experience with them? My daughter really wants quail. I thought I would ask, thank you for your awesome information.
I don’t know to much about fermenting feed for quail, so I did a bit of research. None of my quail-keeping friends ferment their quail’s feed, even those that do so for their chickens. I asked why and they all said they hadn’t considered it. None of the forums online provided much help either. I did find a research paper that stated that the benefits of fermented feed are similar with quail as they are with chickens. An increase in egg production, higher quality eggs, as well as a decrease in coli and other bacteria. I’m not sure how much help that is to you, but it seems to me that it would be worth a try.
I live in Nebraska and we have to watch that their water doesn’t freeze and I would assume that fermented feed would freeze too. Where do you live that you don’t have to worry about that? Should I just wait for the summer to come before trying this?
I have had the feed freeze a few times (though not as quickly as the water does), but the birds don’t seems to mind. It sort of turns into a flock block, keeping them busy as they peck away at it. Fermented feed does, however, need to be fermented indoors. It can be a bit challenging getting it to ferment with indoor temperature fluctuations. If you’re getting started, I suggest waiting until spring. That way you have some experience under your belt when you start dealing with winter.
What do you do if you go out of town? Will the chickens just go back to the dry feed? I want to ferment for health reasons, but I would like the ease of dry food when I have others watching over them. Also, I have 23 chickens…how much feed would I put out each day?
You should have no problem transitioning your birds to dry when you go on vacations. They won’t flock to it like they do fermented, but they’ll nibble through the day. As far how much to feed, there are so many numbers floating around and none were helpful when I got started. I would estimate that I serve my girls about 1/3 what I did when I fed dry feed. Even that figure changes seasonally. In the spring there would be some left in the dish, so I’d cut back a bit. In the fall, they’d seem still hungry and finish the dish quickly, so I’d add a bit more. It’s really trial and error at the start until you get a feel for it. I still keep a small dry feeder in the coop in case they are still hungry. It usually goes untouched.
I share 11 chickens with a friend at her 2 acre plot. I’m having a dilemma! My friend ONLY wants to feed them grain & mash that have been fermented. Whereas, I want to offer them a variety of dry and fermented. I have watched them turn up their noses at fermented food, and eat the dry like their starving. I’m wondering how to judge if the ferment has gone bad. Is there any way to tell? Whenever I put dry into their trough, my friend comes along and scoops it into the ferment. She doesn’t start new batches, just uses the one as a starter and adds to it. I’m concerned that it’s too cold out to force them to eat spoiled. Is there a definitive way to make ferment? HELP, need advice!
I feel for your plight. I don’t know I could share my chickens 🙂 The fact that the chickens aren’t eating the feed leads me to believe it’s gone south. Usually a bad batch has an off smell and the start of mold growth. Properly fermented feed should smell sweet and yeasty like bread dough. I am a fan of the recycled water method, but you do need to keep a very close eye on it. It may be time to start a new batch and hang a dry feed feeder just in case.
Do you add dry food as you scoop ff out or just let the bucket run out and then refil?
Many people refill as they go, but I wait until I get down near the bottom. When it seems like there might not be enough for the following day, I fill the bucket back up. It was just easier for me that way. I store the fermented feed right in the coop, but for space-saving purposes, the dry feed is stored in the garage. Laziness is the only reason for my method.
I’ve been fermenting feed for over a year and I am possibly a little sloppy about sealing the bucket. I seal it mainly to keep my dogs out. I don’t use two buckets because the chooks go through it fast enough. I agree with the money saving part but only slightly. I maybe cut down on purchasing feed by about 1/4-1/3 less. I use a commercial feed and then I mix with wheat berries, lentils and many other things on hand that I know the birds like. Too many black sunflower seeds can hurt the liver of the chickens from what I’ve heard so I feed those sparingly now even though they love them. I often sprout lentils for them in the winter too. Old bread goes into the bucket as well as oatmeal, whole oats. My mash is different depending on what I’ve purchased, what’s on sale etc. Chooks come looking for me when they want their mash, so yeah it’s like a treat.
I love two things about your comment. First, as you said, the mash is always different. I think that’s a great thing about fermented feed. It changes up their diet. No one likes eating the same thing every day. I also love that you mentioned sprouting. I’m hoping to do that as a post topic this fall as one of the ways to add greens during the winter.
So do you just keep the water above the feed level or do I need to also cover it?
I put a lid on lightly because otherwise bugs get in, but if you keep the water level higher than the feed it won’t spoil.
I am missing where the money saving part comes in…
I understand the health benefits cuz we ferment just about anything for the benefits of the probiotics. 🙂
I sprout organic grains and as the grains sprout they often double or triple in size but they are also growing which changes the composition of the grain and nutrient level as well. With pellets or crumbles that cant grow (just absorb water) I am missing the money saving part…
Kathy,
Thank you for calling me out there. I shouldn’t mention something without elaborating 🙂
You will see I edited the post to add why fermenting saves money. The big reason is that the probiotics that fermentation creates increases nutritional value and it also increases the ability to absorb nutrients (meaning the bird meets its requirements with less intake). A secondary money saver is that the birds are less likely to waste feed. My girls act like I’m giving them this special treat every morning. They don’t fling it all over the place or scratch it out of the dish like they did with dry feed.