Garden Supplies Worth Buying and What You Can Skip
A practical garden supplies list based on real use. Learn what tools are must-haves, what can wait, and what isn’t worth the money.
Gardening can be one of the most satisfying parts of homestead life. Or, if you’re using the wrong tools, it can feel like an all-day wrestling match with kinks, blisters, and broken handles. I’ve tried both, and I’m not interested in doing it the hard way anymore.
After years of gardening in Maine, on everything from small beds to rocky ground that fights back, I finally figured out that buying more tools didn’t fix anything. Buying better ones did. The goal here isn’t to convince you to buy more stuff. It’s to help you invest wisely, skip the gimmicks, and build a tool stash that’s worth the space it takes up.
I sort garden tools into three basic groups… must-haves, nice-to-haves, and tools that just aren’t worth the money. I’ll also share what I personally look for when buying tools, what I happily buy secondhand, and how I keep everything working season after season.
If you like having things laid out clearly, I’ve also created a printable garden supplies checklist so you don’t have to remember it all.
Must-Have Garden Supplies (The Tools I Actually Use)
These are the tools that handle almost everything I do in the garden. If you’re just getting started, this is where to focus first.
A Shovel That Fits You (Not Just the Job)
The biggest shovel on the rack is usually not your friend. I’ve learned this after fighting with oversized shovels that wore me out long before the work was done. I look for a smaller blade size (#0 or #1), a handle length that fits my height, and a wooden handle whenever possible. Wood can be repaired and replaced. Fiberglass usually can’t. For smaller gardens or raised beds, compact shovels are far more practical than full-sized scoops.
The Stirrup Hoe That Saves Your Back
If you don’t own a stirrup hoe yet, this might be the tool that changes how you feel about weeding. Instead of hacking at the soil, you push or pull to slice weeds just below the surface. It’s fast, efficient, and far easier on your body.
I use mine constantly between rows and around established plants. If you buy one good hoe, make it this one.
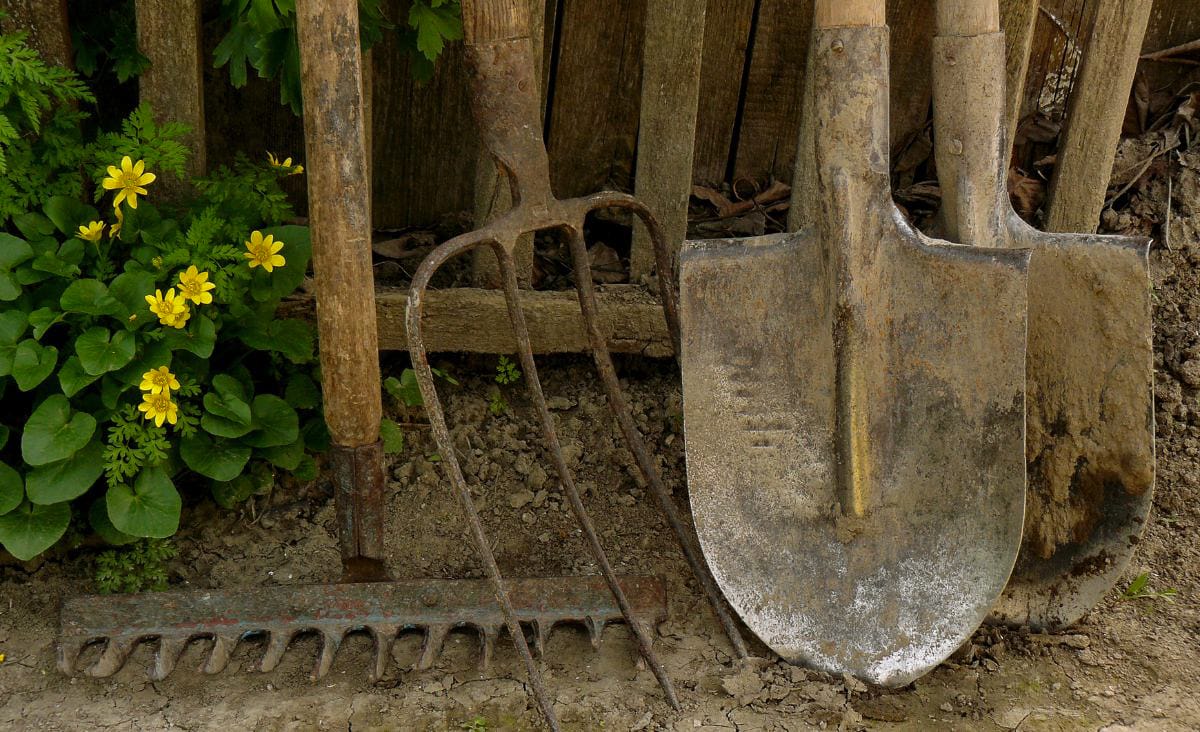
Two Rakes, Two Jobs
I used to think one rake was enough. It isn’t.
A small metal-tined garden rake is perfect for working beds, pulling debris, and smoothing soil. A wide plastic leaf rake handles paths, mulch, and general cleanup. Skip the expensive “ergonomic” versions unless you need them. This is not where I’d spend extra money.
A Wheelbarrow That Matches the Work
A good wheelbarrow gets used constantly, and I eventually learned there’s no single perfect one. I keep two: a sturdy steel barrow for heavy loads like compost and firewood, and a lighter two-wheel version for garden cleanup and mulch.
If you only buy one, choose stability over size. A barrow that’s too big becomes miserable when it’s full.
A Garden Hose That Doesn’t Make You Swear
I’ve never had a cheap hose last. They kink, crack, and somehow manage to turn a simple watering job into a less-than-lady-like rage session. I stopped buying based on price and started buying based on build.
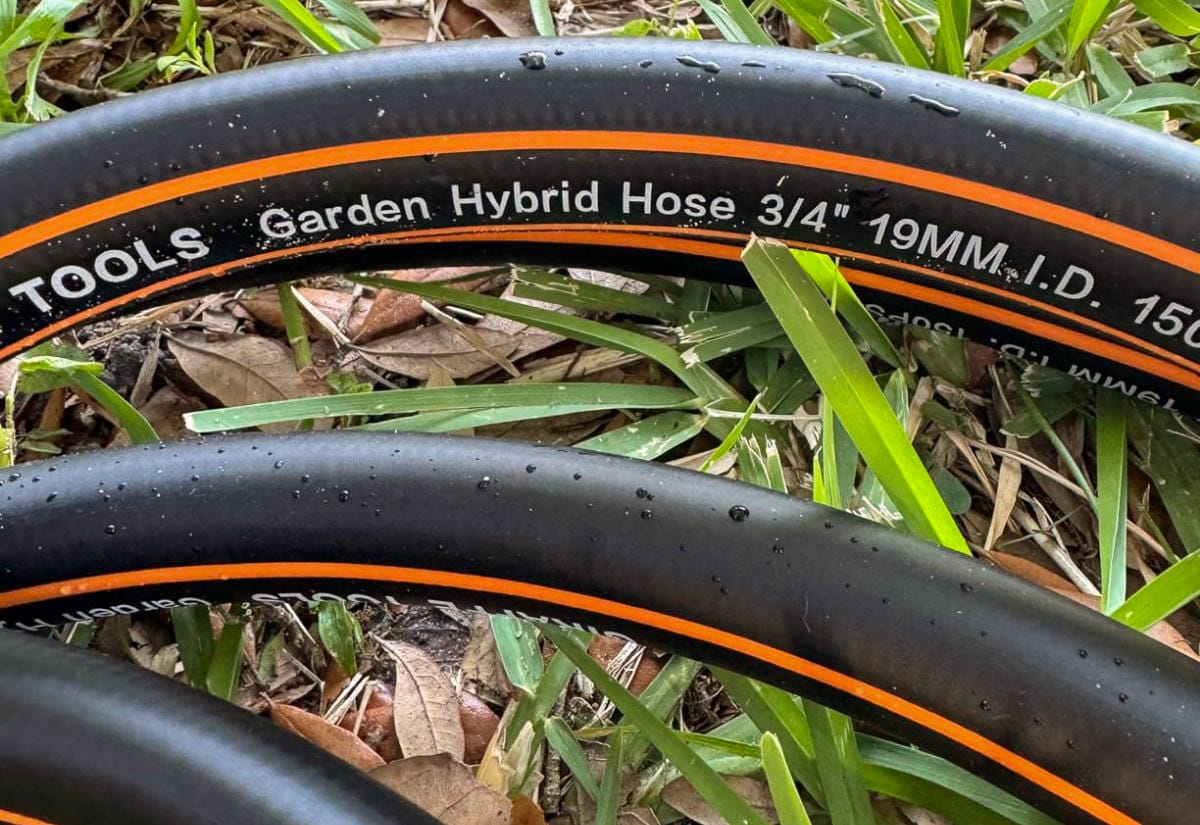
What’s worked best for me is a hybrid hose made from rubber and polymer. It has the durability of rubber but is noticeably lighter, which matters when you’re dragging it around beds all season. The one I use has crush-proof nickel fittings, male-to-female ends, and a swivel handle that helps prevent twisting and leaks. It’s flexible without being floppy and tough enough to handle real use.
Gloves You’ll Actually Wear
If gloves are uncomfortable, you won’t use them. I prefer lightweight gloves with a little waterproofing on the palms and enough stretch to still feel what I’m doing. Bulky gloves and novelty designs usually end up abandoned halfway through the season.
A Bucket That Does Everything
One of my most-used garden tools is a bright green plastic bucket I picked up on clearance at Walgreens. It holds weeds, tools, harvests, and whatever else I’m hauling that day. The color makes it easy to find when I inevitably set it down somewhere and forget.
Don’t spend a bunch. Dollar stores and seasonal aisles are your friend here.
A Trowel That Feels Right in Your Hand
I’m mostly a bare-handed gardener, but when I do grab a trowel, I want a curved blade that really holds soil and a handle that doesn’t rub blisters into my palm. Flat blades, folding designs, and serrated edges have never impressed me.
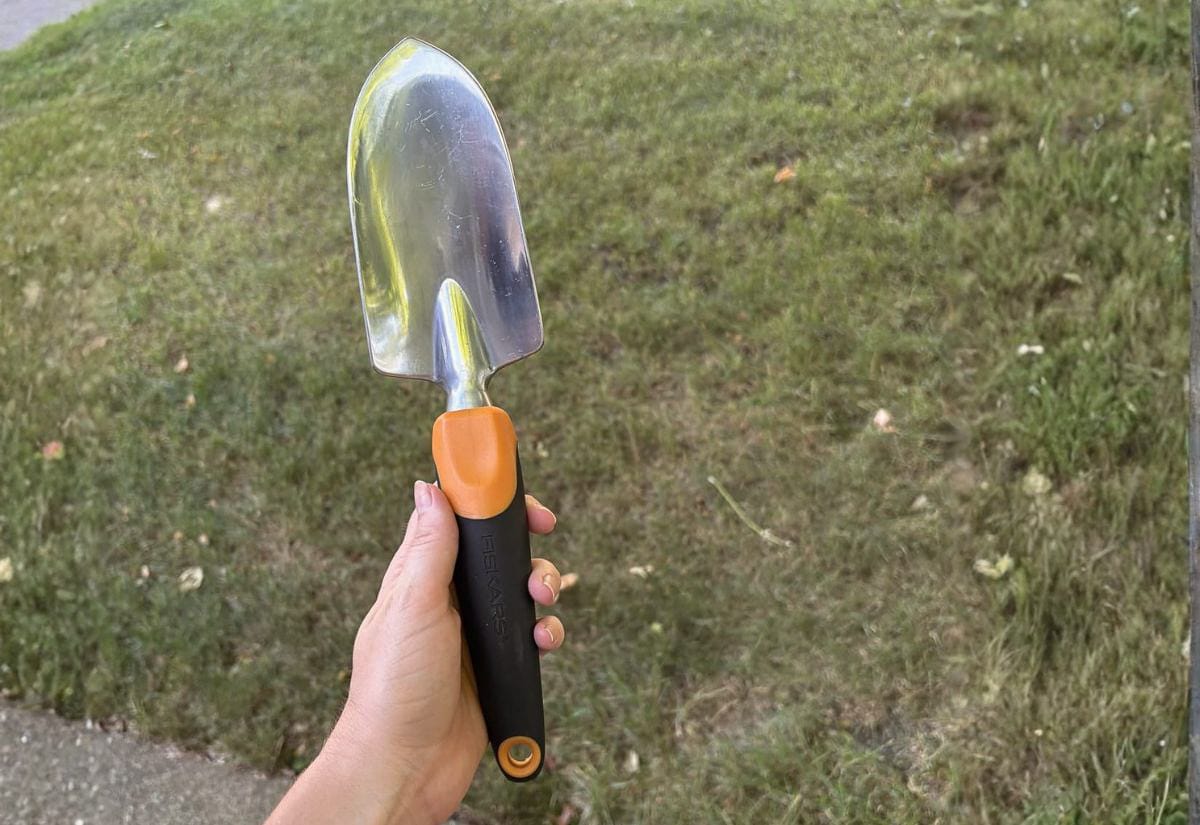
A basic trowel like this one has always worked just fine for me.
A Garden Planner That Keeps You From Overbuying
This isn’t a physical tool, but it’s just as important. Planning before buying saves money and frustration. I use The Homesteader’s Vegetable Garden Planner & Journal to map out beds, track what I’m growing, and make sure the tools I own match my plans.
Nice-to-Have Garden Supplies (Helpful, Not Required)
These are tools I’d call optional.
Rototillers (Sometimes Helpful, Sometimes Overkill)
I lean toward no-dig gardening, especially with the Back to Eden method, but I’ll admit that in rocky Maine soil, root crops sometimes benefit from light tilling. For existing beds, a small front-tine tiller is usually plenty. For new or compacted ground, heavier equipment makes sense.
Once I understood no-dig gardening, I stopped reaching for a tiller as often.
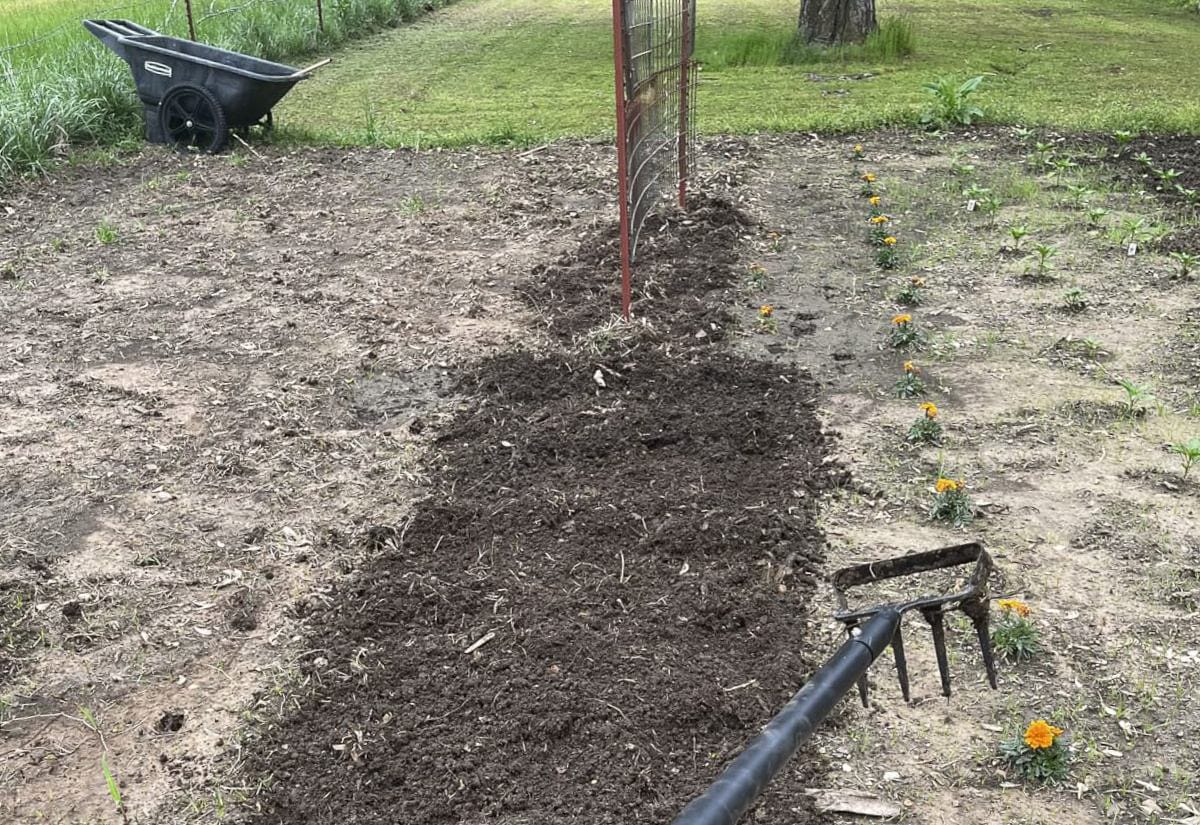
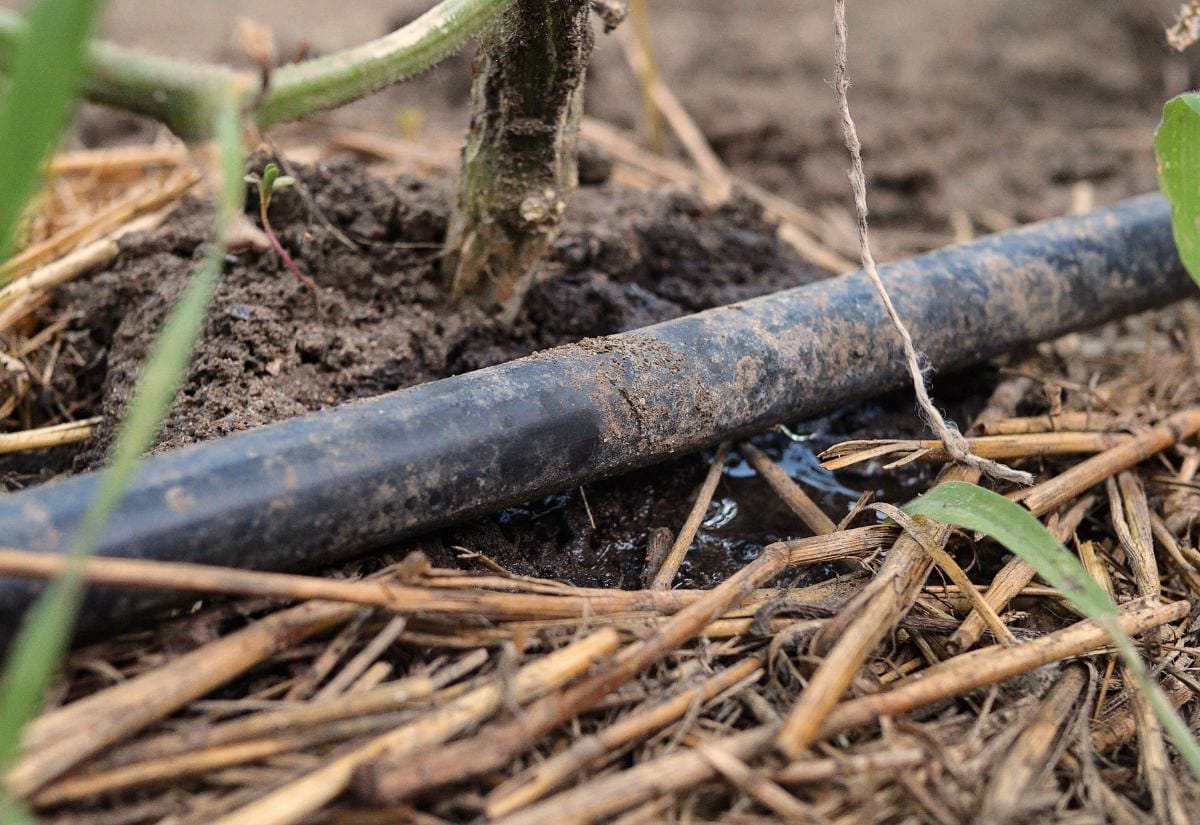
Drip Irrigation Systems
Drip irrigation saves water and time once it’s set up, but it does require planning and patience. If you like tinkering and tend to keep a consistent garden layout year to year, it can be a great upgrade. If not, hand watering may be less stressful.
Wheel Hoes (Only If You Use Them)
I ignored my wheel hoe for years until I finally learned how to use it properly. When it’s set up right, it’s excellent for weeding, loosening soil, and opening furrows. If you have long rows, it’s worth considering.
Compost Turners
Turning compost by hand works, but it isn’t fun. A crank-style compost turner makes the job quicker and less messy. If you’re just starting out, my composting guide for beginners walks through whether tools like this make sense for your setup.
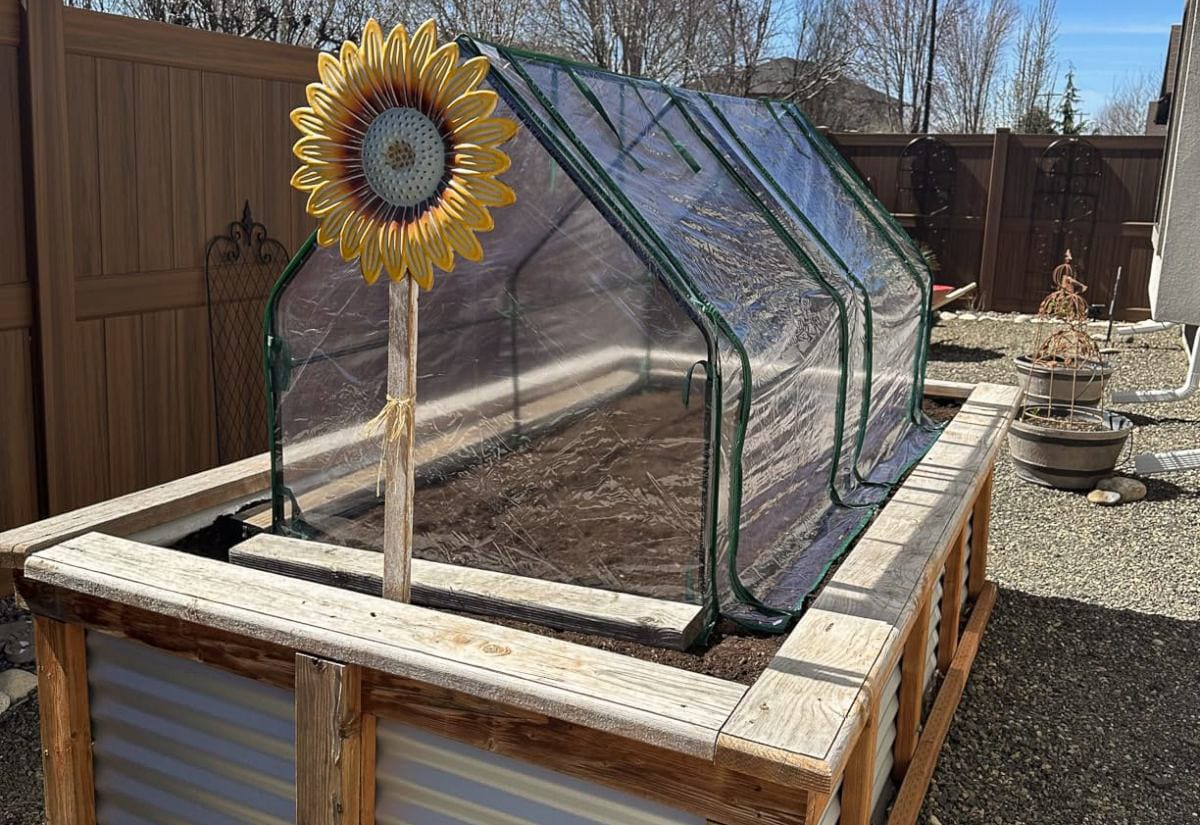
Greenhouses and Season Extension Tools
Greenhouses can be fantastic, but they’re a commitment. I’ve shared more about moving part of your garden south using season-extension structures if you’re curious about whether this step fits your goals.
Garden Tools That Aren’t Worth the Money (In My Experience)
This is where I’ve learned to say no.
Expandable hoses, novelty gloves, folding multitools, and ultra-specialized gadgets rarely earn their space. If a tool only does one tiny job and does it poorly, I skip it.
Caring for Your Garden Supplies So They Last
Most tools will last a long time if you treat them halfway decently.
I rinse tools after use, scrub and dry them before long-term storage, and add a drop of oil to moving parts. A whetstone like this one keeps edges sharp in spring and fall. Hanging tools instead of leaning them against a shed wall goes a long way toward preventing rust, even though I’ll admit I don’t always follow my own advice.
End-of-season cleanup is also the perfect time to take stock. I walk through the same steps I share in my fall garden prep checklist to clean, store, and repair tools before winter sets in.
Still Wondering What Garden Tools Are Worth It?
If you’re trying not to overdo it, these are some of the questions I hear most often.
Pin this so you’ve got the must-haves (and the skippable stuff) handy when you’re gearing up for garden season.
The goal isn’t a shed full of tools. It’s about having tools that work with you instead of against you. Start with the essentials, take care of them, and let your garden guide what you add next.
If you want an easy reference to keep handy, grab the printable garden supplies list and make it your own. What’s a tool you regret buying… or one you’d buy again in a heartbeat?
I Actually love gardening like activities with my father, He always used to do these kinds of activities , Thanks for sharing this information with us.
Your work is so full of useful information.
We open the end of our drip system and let the water drain from it. This way we don’t need to physically remove it. Have you ever tried 1/4 inch drip tubing? It’s much, much easier to work around.