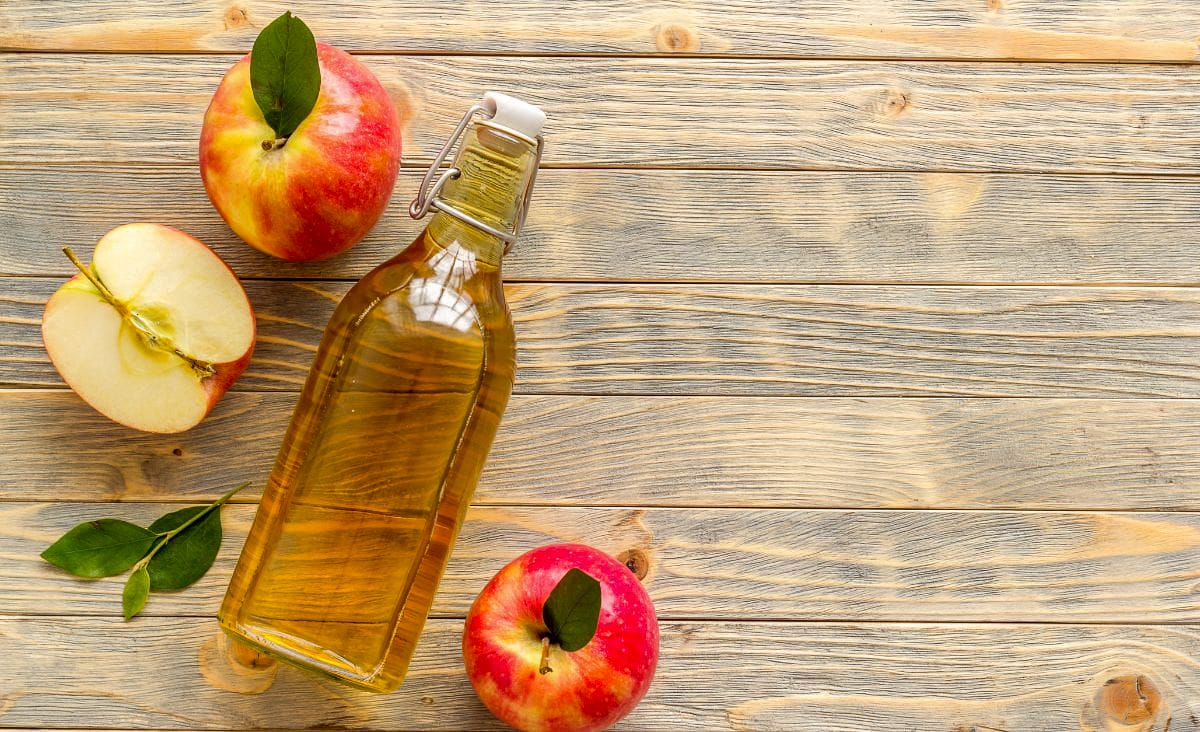
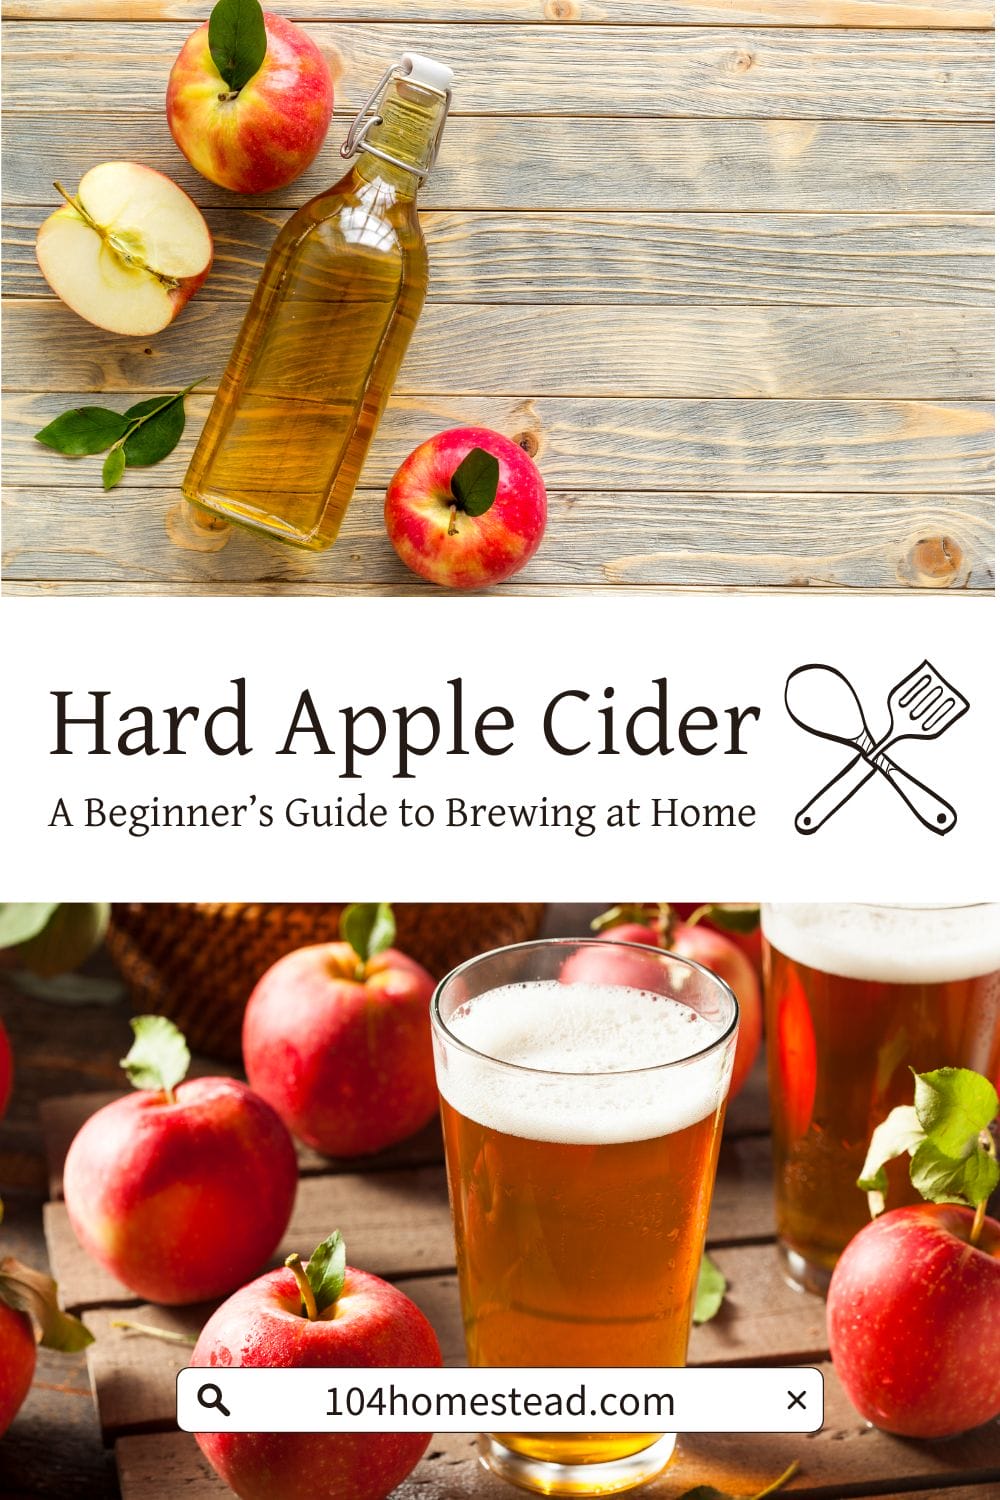
Make Your First Batch of Hard Apple Cider at Home
Learn how to make hard apple cider from scratch using fresh apples or juice. Step-by-step instructions for brewing, bottling, and avoiding mistakes.
My first attempt at homebrewing ended with a literal bang… and a mess I’ll never forget. I had just bottled my first batch of hard cider and decided to set the crate on top of the dishwasher, figuring it was out of the way. Later that evening, I ran a load of dishes, completely forgetting about the bottles.
Turns out, the steam vent on the dishwasher released enough heat to supercharge the pressure inside those freshly capped bottles. There was a bang like a gunshot, and I came running, positive one of the kids had just broken something. Instead, I found cider dripping from the ceiling, shards of glass embedded in the walls, and a whole lot of cleanup ahead. Lesson learned the hard way: don’t ever stash freshly bottled cider near heat. Definitely not on top of a running dishwasher.
But don’t let my disaster story scare you off. Homebrewed hard apple cider is simple, satisfying, and totally doable with the right tools, ingredients, and a little know-how. In this guide, I’ll walk you through everything you need to make a delicious batch from scratch (without blowing up your kitchen).
Essential Equipment for Brewing Hard Apple Cider
The good news is, once you’ve got the basics, you’ll use the same gear again and again. Here’s what you’ll need:
Fermenting Supplies
- 5-gallon carboy or food-grade bucket with lid
- Funnel
- Bung and airlock
- Bottle brush
Bottling Supplies
- A second 5-gallon container
- 3/8″ hose
- Saucepan
- Bottle capper and caps
- Clean bottles (repurposed is fine, just check the caps fit!)
Sanitizing Tools
- Food-safe sanitizer (or use bleach with extra rinsing)
- Bar rag or towel
Cleanliness is everything here. Any contamination can ruin your cider. Anything that touches your juice or cider needs to be sanitized. Buckets, bottle caps, all of it.
Choosing the Right Ingredients
Now that your tools are ready and sanitized, it’s time to pick the ingredients that will shape your cider’s flavor and strength. Each choice you make, from juice to yeast, affects the final product, so it’s worth doing right.
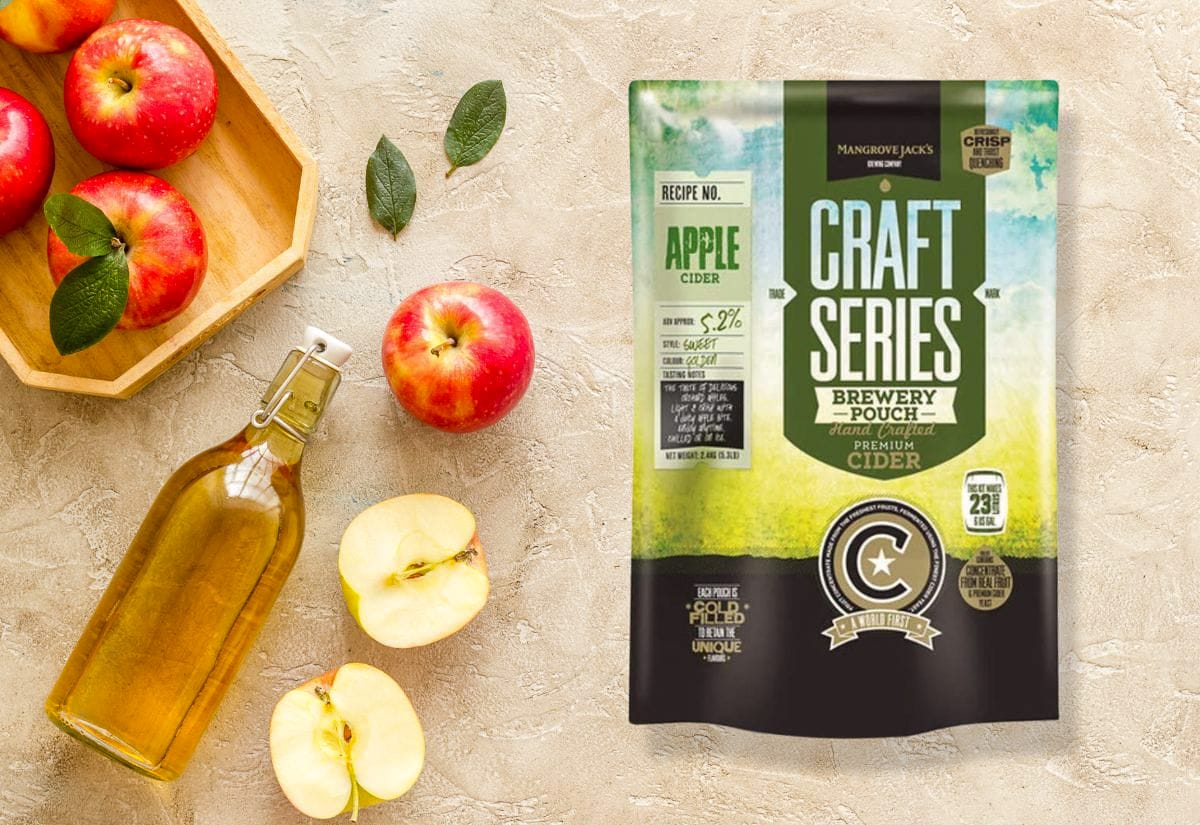
Apple Juice
If you’re aiming for the best flavor, fresh-pressed apple juice is the gold standard. Making your own lets you control the variety and freshness, which has a huge impact on the final taste. Not sure where to start? This guide from Alpha Foodie shows how to make apple juice with or without a juicer.
For a well-balanced cider, use a mix of apple types: sweet (like Fuji), sharp (like Granny Smith), and bittersweet (like Dabinett or similar heirloom varieties). Mixing apple types gives your cider more depth and personality.
Store-bought juice can work too, but make sure it’s 100% juice with no added preservatives, especially potassium sorbate, which will stop fermentation in its tracks. You’ll need 5 gallons of juice to yield about two cases of cider.
Sugar
You need about 2 pounds of sugar to kickstart fermentation and sweeten your cider. White sugar works well, brown sugar adds depth, and honey (if you have your own hive!) can offer complex flavors.
Yeast
Wine or champagne yeast is your best bet. I like Red Star Premier Classique, but Premier Blanc or Cuvée also work well. They’re affordable and widely available.
How to Brew Hard Apple Cider: Step-by-Step
Before you dive in, make sure everything is clean and ready to go. This first round of cleaning sets the stage for your whole batch. Don’t cut corners here.
Prep and Sanitize: Sanitize everything thoroughly. If you’re using bleach, rinse well. Residue can kill your yeast. Set aside 1 cup of sugar for bottling later.
Combine Ingredients: Use a funnel to pour most of the apple juice into your fermenting bucket or carboy (reserve about 1 quart). Add the sugar and shake well to dissolve. Add the yeast and rinse down the sides with the reserved juice. Install the airlock and place your fermenter in a dark, temperature-stable spot around 70ºF.
Ferment: Let your cider sit for 4 weeks, hands-off. You’ll see bubbles in the airlock. This means the yeast is converting sugar into alcohol. No bubbles after 48 hours? Toss in another packet of yeast.
Bottling Your Hard Apple Cider
Once fermentation is complete, it’s time to bottle your cider for carbonation and storage. Just like before, sanitation’s still key here. This step can make or break your batch.
Sanitize Everything: Your bottles, caps, siphon hose, and second bucket must be spotless.
Make Priming Syrup: Boil the 1 cup of sugar in 2 cups of water for 10 minutes. Cool completely, then pour into your second bucket.
Transfer the Cider: Siphon the cider into the priming bucket, leaving sediment behind. Gently mix with the priming syrup.
If you’re planning to brew often, a spigot for your second bucket makes life so much easier. It gives you better control, cuts down on spills, and makes bottling faster, especially if you’ve got a lot of bottles to fill.
Bottle and Cap: Siphon into bottles, leaving 1 inch of headspace. Wipe down bottles and use a capper to seal.
Don’t make my mistake. Keep those bottles away from heat.
Aging and Enjoying
With your cider bottled and sealed, patience pays off here. Here’s what happens next and when you can finally pop one open.
Carbonate and Rest: Let your bottles sit for 2 weeks to carbonate. Then chill, crack one open, and taste your success. Aging cider for 1–3 months mellows the flavors. That said, if you’re anything like me, you probably won’t wait that long.
Serving Suggestions:
- Chill well before serving.
- Try garnishing with a cinnamon stick or apple slice.
Looking for a fall dessert that goes perfectly with a glass of homemade cider? This quick and easy gluten-free apple crumble is packed with flavor and comes together in no time. Get the recipe here.
Storage Tips:
- Store bottles upright in a cool, dark place.
- Refrigerate once opened.
Troubleshooting Common Cider Issues
Even when you follow all the steps, fermentation can be a bit fussy. Here are some common problems and how to fix them if your batch isn’t turning out quite right.
Fermentation Doesn’t Start
- Cause: Your yeast might be past its prime, or the room is too cold for it to get going.
- Solution: Double-check that your yeast is fresh and the fermenting space is around 70ºF. If nothing’s happening after 48 hours, pitch a fresh packet and give it another shot.
Cider is Too Sweet
- Cause: Fermentation didn’t finish, or there was more sugar than your yeast could handle.
- Solution: Check if fermentation’s really done by testing if the specific gravity holds steady over a few days. If it’s stuck, make sure the temperature’s right and consider adding another dose of yeast to finish the job.
Cider is Too Dry
- Cause: The yeast ate up all the sugar.
- Solution: For future batches, stop fermentation early by chilling the cider when it hits your preferred sweetness. For this batch, you can back sweeten with a non-fermentable sweetener like erythritol or just stir in a little fresh apple juice before serving.
Cloudy Cider
- Cause: Yeast and tiny particles are still floating around.
- Solution: Let it sit. Time’s your best friend. Most cloudiness clears as things settle.
Funky Smalls or Off-Flavors
- Cause: Usually it’s stressed yeast, oxygen sneaking in, or something that didn’t get fully cleaned.
- Solution: Sanitize every single thing that touches your cider, use the right amount of yeast, and keep the fermentation temp stable. Use an airlock and siphon gently to keep oxygen out.
If your cider smells rotten, moldy, or just plain off (and especially if it tastes worse) don’t drink it. It’s better to toss a questionable batch than risk your health. Trust your nose. If you’re unsure, it’s better to dump it and start fresh.
Frequently Asked Questions About Hard Apple Cider
Before you dive into your first brew, here are a few things new cider makers often ask:
Want to try your hand at homebrewing? Pin this recipe so you can come back when you’re ready to ferment your first batch!
Making your own hard apple cider isn’t just a fun weekend project. It’s your gateway into the world of fermentation and seasonal flavors. Whether you’re bottling a batch for a backyard hangout or tucking it away for a chilly fall night, nothing beats sipping your own cider.
If you’re swimming in fresh apples this season, don’t stop at cider. Try your hand at making a rich, spreadable apple butter using wild or crab apples. My favorite small-batch recipe comes together in the slow cooker with almost no hands-on time. Check out the apple butter recipe here.
Have you tried brewing cider before? Let’s swap stories in the comments. I’d love to hear how yours turned out!

Hard Apple Cider Recipe
This post may contain paid links. If you make a purchase using the links in this recipe, I may earn a commission.
Equipment
- 2 5-gallon Carboys or food-grade bucket with lids
- 1 Airlock + Bung
- 1 3/8" Hose
- Bottle Capper and Caps
- Bottles
Ingredients
- 5 gallons Apple Juice preservative-free
- 2 lbs Sugar (1 cup reserved) table or brown
- 1 packet Wine or Champagne Yeast Red Star Premier Classique
- 1 cup Sugar
Instructions
- Sanitize all equipment thoroughly.
- Reserve 1 cup of sugar. Pour apple juice into the carboy, leaving out 1 quart. Add the remaining sugar and shake well.5 gallons Apple Juice, 2 lbs Sugar (1 cup reserved)
- Add yeast through the funnel. Use remaining juice to rinse any stuck yeast into the carboy. Attach the lid and airlock.1 packet Wine or Champagne Yeast
- Ferment in a dark place at 70ºF for 4 weeks.
- Boil the reserved sugar in 2 cups of water to make syrup. Cool and add to a second container. Siphon cider from the carboy, leaving sediment behind. Fill bottles, leaving 1″ of headspace. Cap the bottles.1 cup Sugar
- Age bottles in a cool, dark location for at least two weeks before enjoying.
Tried this last fall and the cinnamon stick during the secondary stage really did add depth. Tracking multiple batches got messy until I finally set up a proper home office L-shaped desk in the cellar — keeps my notes, timer, and the carboys all in reach without anything getting knocked over. Thanks for laying out the timing so clearly.
It really does. Thanks for sharing!
I am going to make a first attempt at making hard apple cider and have made many bottles of wine in the past. I am wondering if the cider could or should be filtered during the bottleing process as it is during the making of wine? That way it would remove most of the sediment. If using your own apples, during the pressing, would you filter the juice then before putting the juice in the carboy? I would appreciate any thoughts on the filtering. Thank you in advance. Rick Burns
Hi there Rick! If you’re after a clear cider, a little filtering can help, but it’s not required. I usually let mine settle naturally, then siphon carefully to leave the sediment behind. If you’re pressing your own apples, straining the juice through a mesh bag or fine sieve before fermentation is plenty. A bit of haze won’t hurt the flavor at all!
Hi we are about to start the recipe and we’re wondering if there is a time period between adding together the simple sugar and first fermentation, and the bottling stage? Do you let the first fermentation and simple sugar sit for a few days/weeks before bottling? Or mix it up and then bottle the same day? Thanks!!
i prefer mine fermented wild in the fridge in the mid 30sF. Fermentation takes several months this way, but the results are outstanding. The batches I’ve used commercial yeast in dry out way too fast, then for what I like it has to be stabilized and back sweetened. I’ve won a couple competitions that way, but I still think wild cold fermentation for cider Makes a far superior end product. Heat from a dishwasher or not, unless you’re very careful trying to referment code in bottles is risky and possibly very dangerous. Read a lot before you start and know what you’re doing!
You will get a better tasting product if you first kill the wild yeast (which is present in all fresh apple juice) with metabisulfite. Then after 24 hours add your wine yeast.
Thanks for the tip!
yeast-lavin-1118 is the best.
Thank you so much for this recipe, Jessica! My hubby and I have been looking for a easy to understand recipe for home brewing juice from our home grown apples. Only 1 1/2 years ago, at our retirement, we began our homestead. (Better late than never, eh?) Now we grow our own vegetables in 400 sq ft of ‘chicken wire lined’ raised beds as we discovered our land has way to many moles for standard beds. Upside to moles is there are no grubs as that’s what they eat. We planted a tenth of an acre in semi-dwarf apples, semi-dwarf pears, dwarf persimmons, pomegranates, blueberries and red raspberries. Strawberries were planted in raised beds. We’re now studying how to best add a hen house or tractor to our homestead next Spring. Your articles are pleasant to read and easily understandable for older ‘city folk.’ Keep up the good, honest, hard work!
I love hearing things like that!