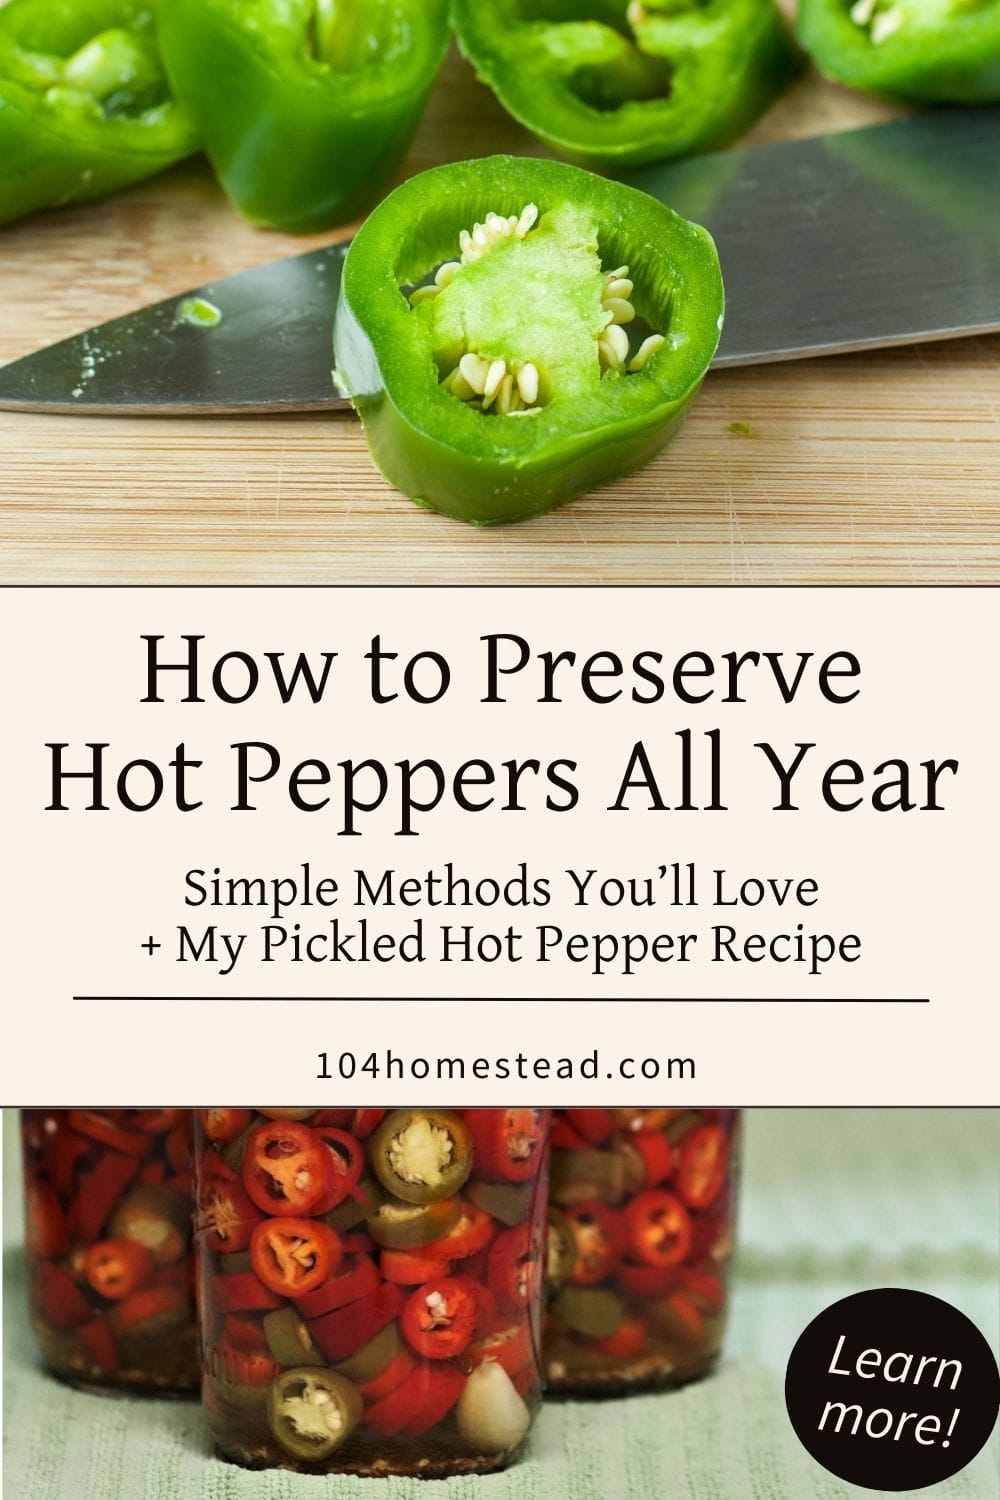
Easy Ways to Preserve Hot Peppers from the Garden
Too many hot peppers? Learn how to preserve hot peppers with drying, freezing, and pickling so you can enjoy bold flavor long after the harvest.
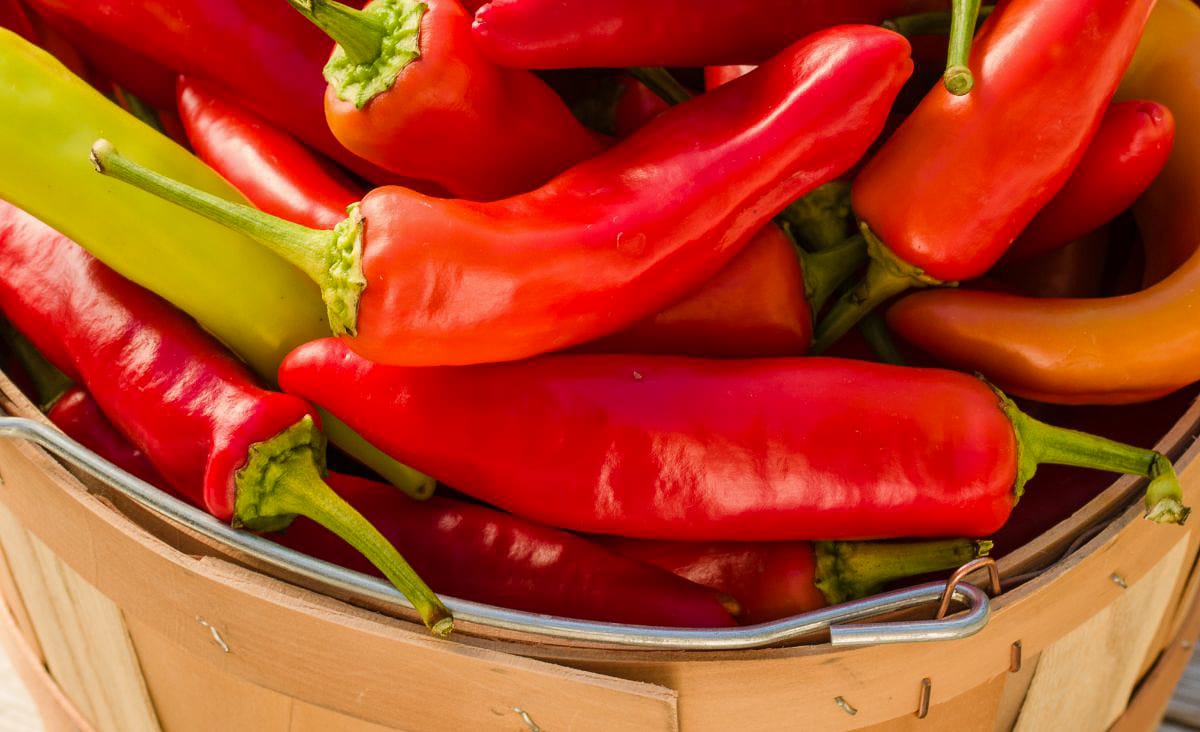
Every fall, I end up staring at a basket overflowing with hot peppers. You know the kind. The ones that all ripen at once and practically dare you to figure out what to do with them. Honestly, it used to overwhelm me. But after years of trial and error in my kitchen, I’ve figured out a few ways to put them up that not only save the harvest but also make it easy to add heat to meals in the dead of winter.
I’ll show you the best ways to preserve hot peppers, whether you want them ready for quick weeknight chili, tucked into jars of tangy pickles, or ground into flakes that live on your spice rack.
When to Harvest Hot Peppers for Best Flavor
Picking peppers at the right stage makes a big difference in flavor and heat. I’ve learned the hard way that grabbing them too soon leaves you with bland spice (or worse, mushy peppers if you wait too long).
How to know they’re ready:
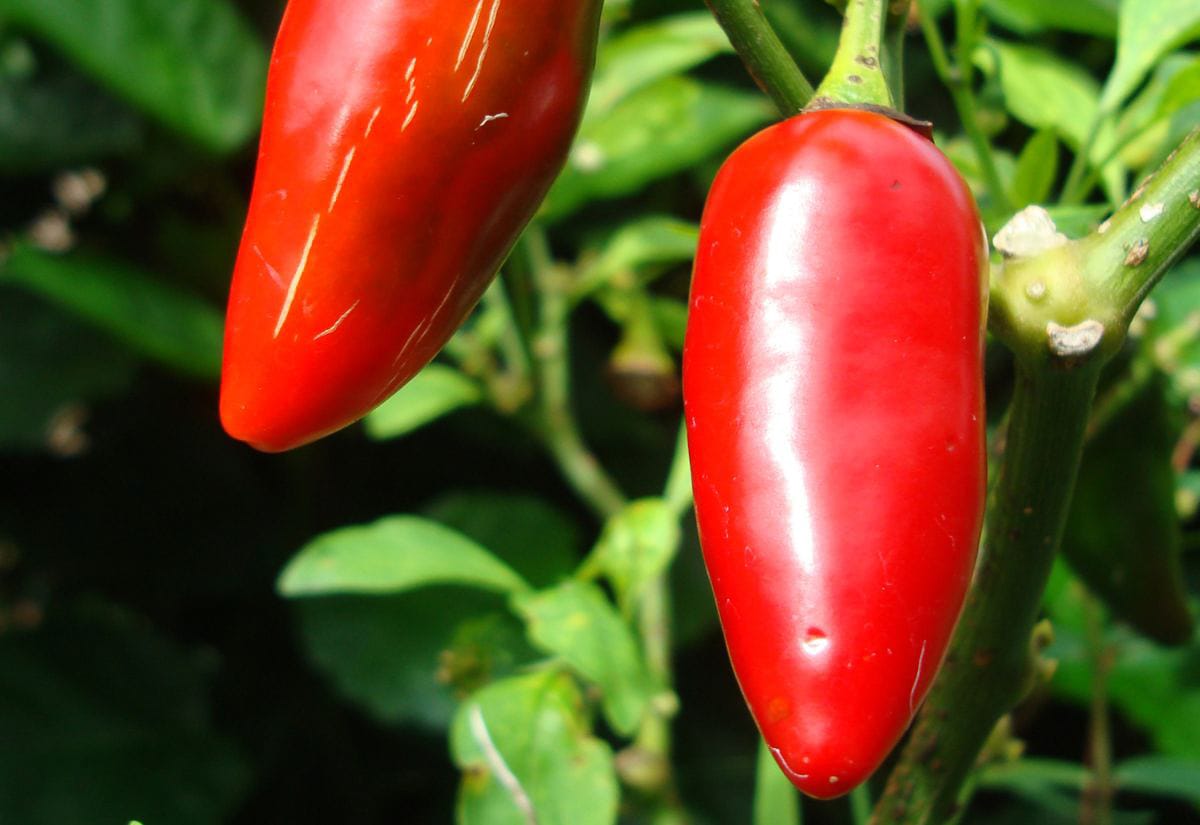
- Color: Most varieties shift from green to red, orange, yellow, or even purple. Pick once the mature color is solid across the pepper.
- Texture: Firm but not hard as a rock. If it feels soft or wrinkly, it’s overripe.
- Size: Each variety has a “full size.” If it looks the size it’s supposed to be and the color’s right, it’s ready.
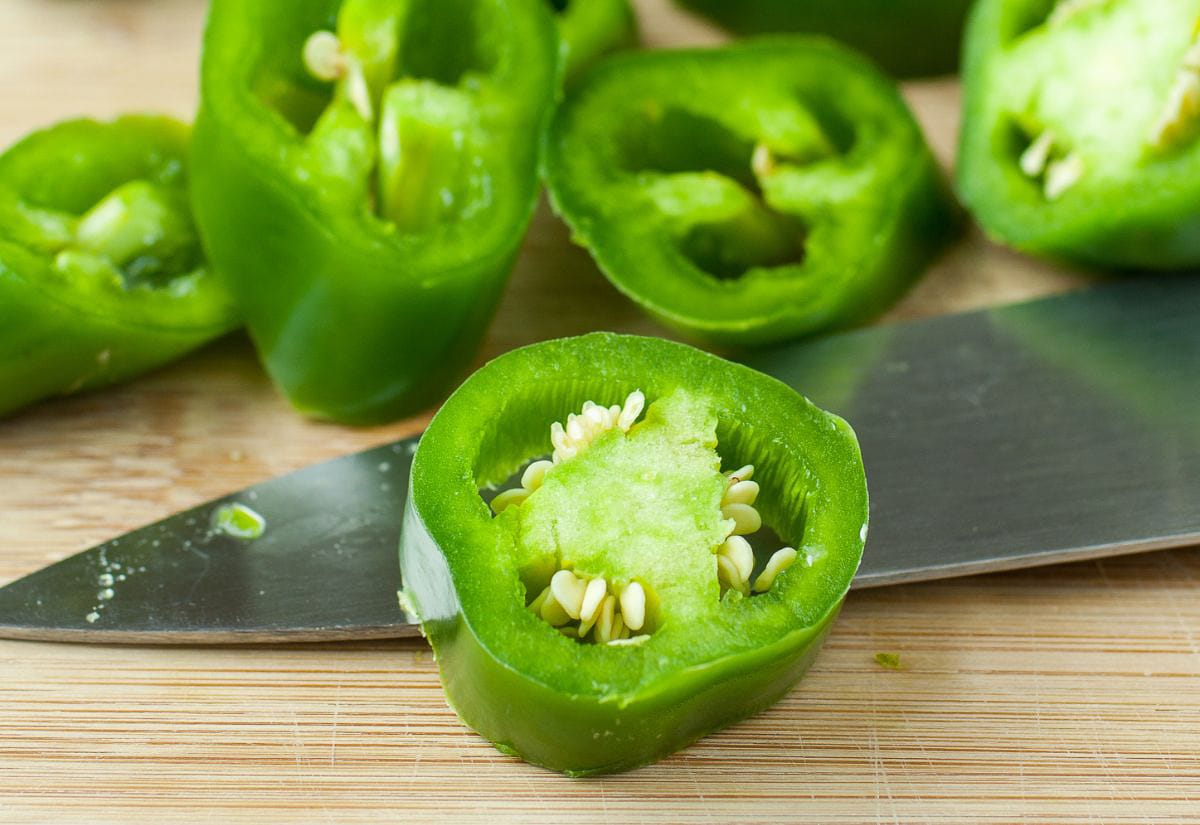
If your plants are still heavy with green peppers at frost time, you can pick them green. They won’t be as hot, but they’re still perfectly fine for freezing, pickling, or tossing into sauce. I almost always end up with a pile of green jalapeños at frost, and honestly, they pickle just fine.
If you’re still working on growing strong, productive plants, you’ll want to read my guide on how to grow peppers from seed and it’ll give you a head start on next season.
How to Store Hot Peppers Short-Term
Not every pepper needs to be preserved right away. If you just need to buy a little time before you dive into bigger projects:
- Countertop: Leave them at room temperature for 3–5 days if you plan to cook soon.
- Fridge: In a paper bag inside the crisper drawer, peppers usually last about 1–2 weeks.
- Don’t wash them before they go in the fridge: It just makes them spoil faster. Rinse when you’re ready to cook.
This trick’s fine if you’ve only got a few peppers hanging around. But if you’ve got a whole basket? Time to start preserving.
Drying Hot Peppers for Flakes or Powder
Drying concentrates both flavor and heat, and it’s probably my favorite way to stock the spice cabinet for the year.
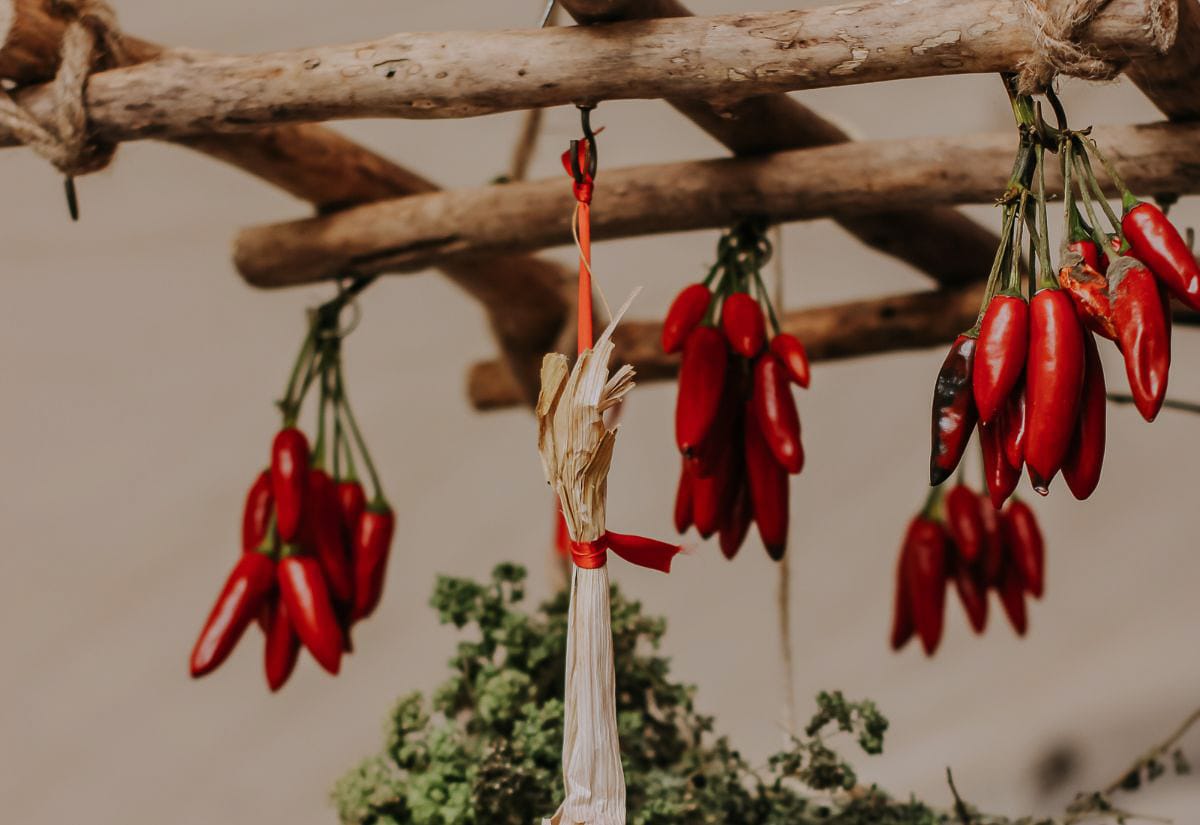
Air Drying
String whole peppers on twine and hang them in a warm, dry, well-ventilated spot. Works best for thin-skinned peppers.
Dehydrator or Oven
Slice peppers in half (remove seeds if you want less heat), place cut side down, and dry at 125–135°F. Ovens work too. Set to the lowest temp and prop the door slightly for airflow. I’ve tried every way of drying peppers—stringing them, laying them out in the oven, even just letting them shrivel on the counter. A food dehydrator wins every time. It’s faster, more consistent, and I don’t end up with half-dried peppers going moldy.
Once they’re brittle, I like to toast a few in a dry skillet before grinding. It adds a smoky kick you won’t get otherwise.
Store whole or grind into flakes or powder. Either way, keep them in airtight containers. Just like you can preserve garlic for long-term storage, dried peppers can stock your pantry for a full year if you store them properly.
Freezing Hot Peppers for Easy Meals
Freezing is the method I use most when I’m in a rush. It keeps peppers tasting almost as fresh as the day you picked them, and you don’t need any special equipment.
Here’s how I do it:
- Wash and dry your peppers thoroughly.
- Slice, chop, or leave them whole (I prep them how I’ll use them later). Sometimes I don’t even bother chopping. If I’m in a rush, I just toss whole peppers into a bag. It’s not pretty, but it works.
- Spread on a baking sheet and freeze until solid.
- Transfer to labeled freezer bags or containers. I like to use vacuum-seal bags or sturdy freezer-safe containers so the peppers don’t get freezer burn over the months.
No need to thaw before using. I toss frozen peppers straight into soups, stir-fries, or chili. The texture softens, but the flavor stays bold.
Pickling Hot Peppers for Tangy Flavor
Pickling tames the heat a bit and adds a tangy bite from the vinegar. I like having a jar on hand for sandwiches, tacos, and even cheese boards.
- Quick fridge pickles: Equal parts vinegar and water, with salt, garlic, and spices. Pour over sliced peppers in a jar, cool, and refrigerate. Ready in a couple of days.
- Shelf-stable pickles: I’ve included my go-to recipe just below. It’s simple, reliable, and the one I come back to every season because the peppers stay crisp and the flavor is just right.
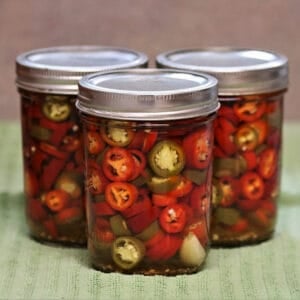
Pickled Hot Peppers for the Pantry
This post may contain paid links. If you make a purchase using the links in this recipe, I may earn a commission.
Equipment
- 6 Pint Wide-Mouth Mason Jars with new lids
- 1 Large Water Bath Canner with rack
Ingredients
- 3 lbs Hot Peppers jalapeños, banana peppers, or a mix—your choice
- 6 cups White Distilled Vinegar 5% acidity
- 2 cups Water
- 4 tsp Canning Salt
Instructions
- Wash jars, lids, and rings in hot soapy water. Rinse well and set aside to air dry.
- Rinse peppers in cool water. Slice into even rings or strips (wear gloves if handling very hot varieties).
- Pack sliced peppers tightly into jars, leaving ½ inch of space at the top.
- In a large pot, bring vinegar, water, and salt to a boil, stirring until the salt dissolves.
- Ladle the hot brine over the peppers in each jar, keeping ½ inch of headspace.
- Tap jars gently and run a plastic knife or bubble remover around the inside edges to release trapped air. Add more brine if needed.
- Wipe rims clean, place lids and rings, and tighten until fingertip tight.
- Place jars in a water bath canner with water covering them by at least 1 inch. Bring to a boil, cover, and process for 10 minutes (see elevation adjustments below).
- Remove jars and place on a towel. Let them cool undisturbed 12–24 hours. Check seals before storing.
Notes
- Once opened, store jars in the fridge. Use within 2–3 months.
-
Elevation adjustments for processing time:
- 1,001–3,000 ft → add 5 minutes
- 3,001–6,000 ft → add 10 minutes
- 6,001–8,000 ft → add 15 minutes
- 8,001–10,000 ft → add 20 minutes
Nutrition
The brine can cloud over time, especially if you skip blanching or use iodized salt. It’s totally harmless (just looks a little funky on the shelf).
Bonus: Jelly & Hot Sauce
If you’ve got more peppers than you know what to do with (or you like experimenting) here are two extras worth trying:
- Hot Pepper Jelly: Sweet, spicy, and surprisingly versatile. Spread over cream cheese, glaze meats, or spoon onto a charcuterie board. If you want to give it a try, I like this homemade hot pepper jelly recipe from A Fork’s Tale. It’s beginner-friendly and nails that sweet-and-spicy balance.
- Hot Sauce: Whether you ferment or simmer, bottling your own hot sauce is addictive. Just wear gloves and keep the kitchen ventilated… capsaicin burns are no joke. If you’re ready to bottle your own, I like this easy homemade hot sauce recipe from The Curious Chickpea and it’s a good base you can tweak with different peppers depending on how much heat you like.
FAQs About Preserving Hot Peppers
Still wondering about the details? Here are the questions I hear most:
Want to save this for later? Pin the image below so you’ll have it handy when the peppers pile up.
The best way to preserve hot peppers really depends on how you’ll use them later. Drying gives you a year’s worth of spice rack staples. Freezing is the easiest for quick meals. Pickling adds tang, and if you’re up for experimenting, jelly or hot sauce can be fun too.
Don’t feel like you have to do it all at once. Even tossing a few handfuls in the freezer now means you’ll thank yourself when the snow flies and you’re craving summer heat.
If your garden gave you more than just peppers, you might also like my step-by-step on how to harvest green beans and preserve them or storing cabbage for winter.
Ready to keep preserving? You might also like my guide on how to preserve tomatoes like a pro or ways to use kitchen scraps creatively.