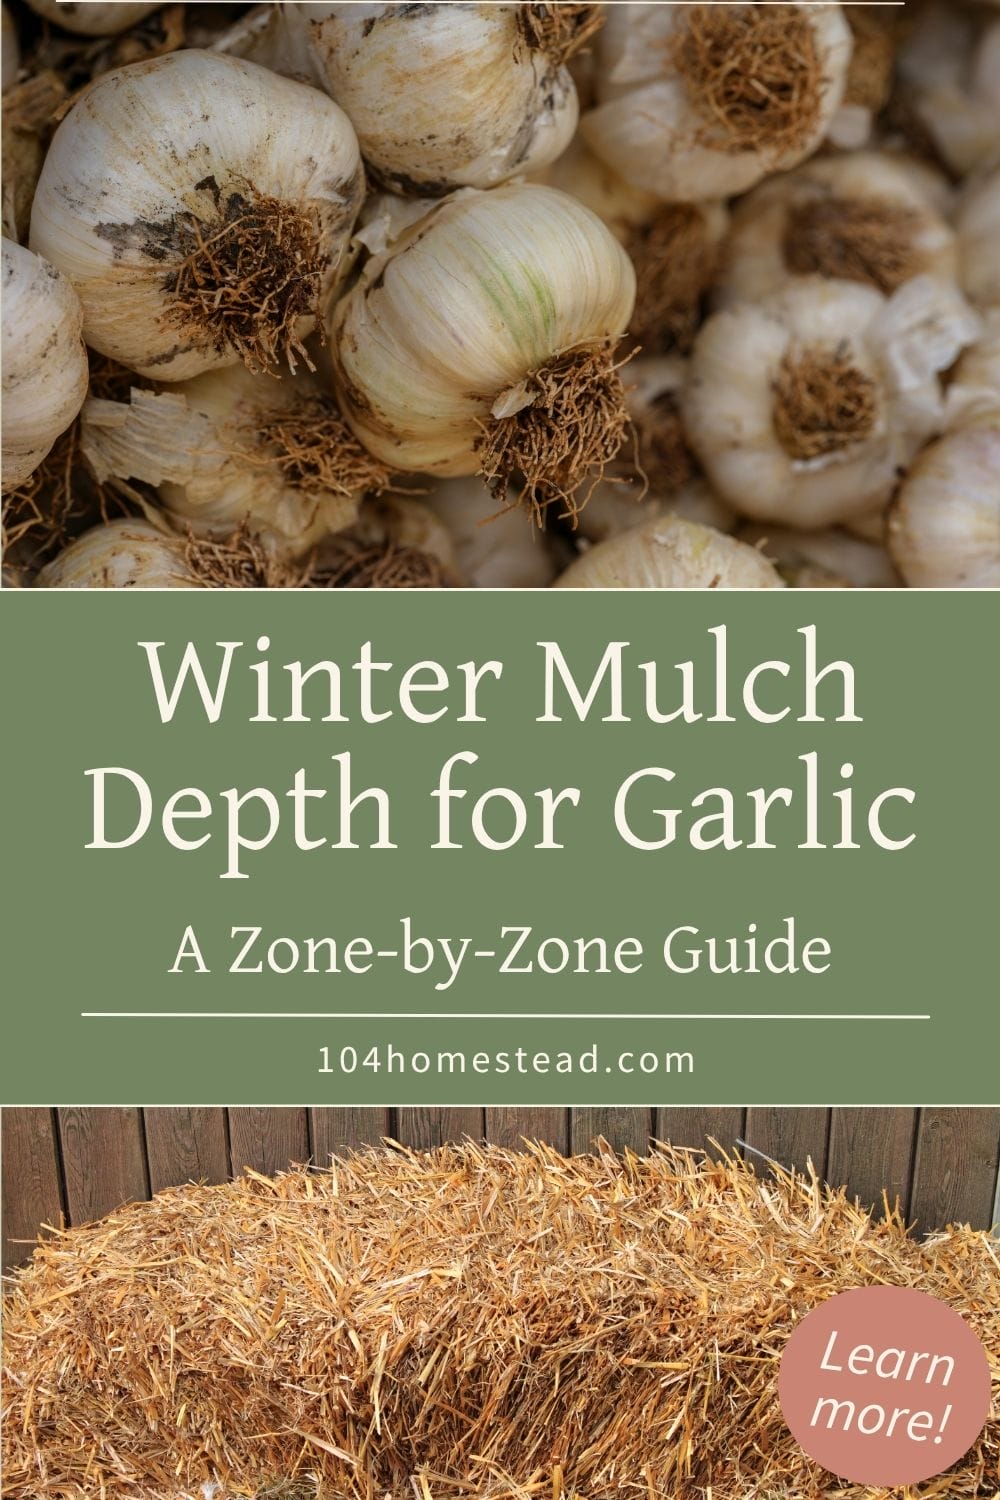
Winter Mulch Depth for Garlic: How I Protect My Beds in Cold Climates
Learn the best winter mulch depth for garlic, zone by zone. Practical tips from my zone 5 garden to help you protect your garlic all winter.
When you grow garlic in a cold climate, winter prep can make or break your garlic crop. I’ve had years in Maine where the snow piled higher than my boots and the freeze-thaw cycles were nonstop. The garlic survived, but only because I finally learned how deep to mulch and when to do it. Honestly, once you figure out your mulch depth, everything else falls right into place.
If you’ve ever stood over a garlic bed debating whether to toss on three inches or bury the whole thing under eight, I’ll show you what works, why it works, and how to tweak it based on where you live. I’ll share what I do here on my little farm in Maine, along with what I’ve learned from trial, error, and the occasional windstorm that carried half my mulch across the garden.
If you’re getting the rest of your garden tucked in for winter too, my guide on prepping the garden for winter pairs really well with this garlic bed work.
Why Winter Mulch Depth Matters for Garlic
If you’ve lost garlic to frost-heaving or spotty spring growth, mulch depth was probably part of the problem. Garlic wants cold, but it does not want wild temperature swings. That’s where mulch comes in.
How Mulch Protects Garlic Through Winter
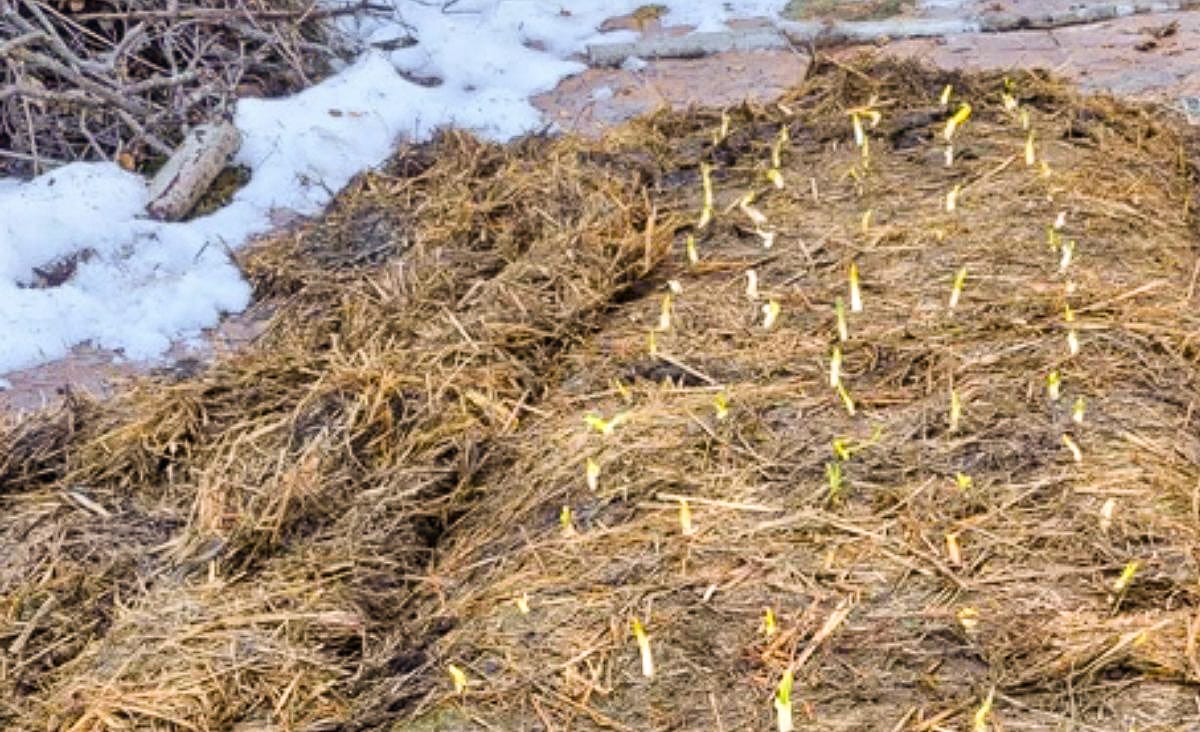
Garlic needs the soil to cool down and stay consistently cold. A steady freeze helps the cloves form roots and settle in for the season. Mulch locks in that consistency. Without it, a warm spell followed by a sudden freeze can heave cloves right out of the ground. I’ve dug up bulbs in spring that looked like they’d tried to escape.
Why Cold-Climate Gardeners Need More Protection
In Maine, we deal with heavy snow loads, icy winds, and long stretches below freezing. That kind of weather means you need a deeper mulch layer than most guides ever mention. If you’re in Zones 3–5, your garlic needs insulation that can handle real winter (not a mild dusting).
Other Benefits of Mulching in Winter
Mulch does more than protect from cold. It:
- Keeps moisture levels steady
- Prevents winter weeds
- Helps soil structure stay intact
- Speeds up spring growth once you pull it back a bit
What I Use to Mulch Garlic on My Maine Homestead
There are a few things you can use to mulch garlic… some better than others.
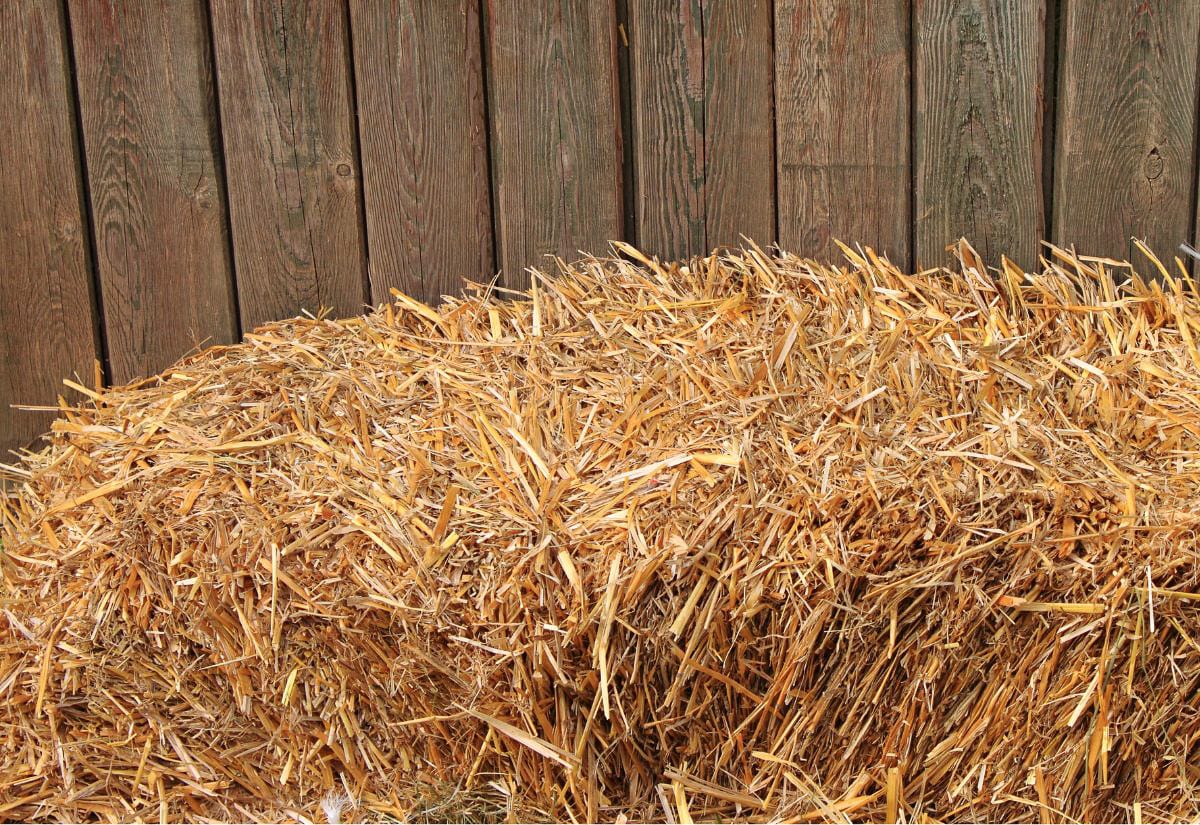
Straw (My Go-To)
Straw holds air pockets, doesn’t mat down, and gives just the right level of insulation. Around here, it’s easy to find from local farms, and one bale usually covers a full bed with room to spare. If you can’t source straw locally, a compressed bale like this one works well and fluffs up more than you’d expect once it’s opened.
Leaves (Shredded, Not Whole)
Whole leaves turn into a soggy blanket once the snow melts. Shredding keeps them fluffy enough to actually insulate. When I was lazy one year and tossed whole leaves on top, they froze into a mat and held too much moisture. Zero out of ten, do not recommend.
Another option is using leaf mold. Leaf mold is just old leaves that have broken down naturally into a soft, rich material. If you’ve got leaf mold on hand, it does the job.
What I Don’t Use
Wood chips and grass clippings. Wood chips hold too much water and don’t insulate evenly. If you’re using the back to eden gardening method, add leaves or straw on top of the wood chips. Grass clippings turn into a wet, moldy mess and mat down too tightly.
Winter Mulch Depth for Garlic by Zone
This is the part most guides gloss over. They give one recommendation and call it a day. But your zone, snowfall, wind exposure, and soil type all affect how much mulch your garlic needs.
Zone 3–4: Deep-Freeze Winters
Recommended depth: about 6–8 inches of straw
If you remember nothing else, remember this… shallow mulch won’t cut it in Zones 3 or 4. You need enough insulation to buffer deep cold, wide temperature swings, and snow melt that refreezes overnight. I aim for 6 inches right after the soil freezes, then add a couple more inches once the real cold sets in.
Zone 5 (Most of Maine)
Recommended depth: 5–6 inches
Zone 5 gardeners can usually get away with a little less, depending on your microclimate. My property sits in a bit of a bowl where cold air settles, so I stay closer to the higher end. If you garden in a spot that gets hit with winter wind, bump up to 6.
Zone 6: Mild-to-Cold Winters
Recommended depth: 3–4 inches
If you’re in a milder winter climate, your goal there is steady soil temps, not piling it on. Too much mulch here can warm things up too early and slow the garlic down.
Zone 7: Light Winter Protection Needed
Recommended depth: 2–3 inches
In Zone 7, mulch is mostly just keeping weeds down and moisture steady, but it still helps buffer those surprise cold snaps.
How to Mulch Your Garlic Bed Step-by-Step
This is how I do it every year on my homestead. If it works through a Maine winter, complete with ice storms, windstorms, and the occasional moose walking through the garden, it’ll hold up anywhere.
Wait for the soil to cool down. You want your garlic to root before winter, but not take off growing. I usually wait until the ground is just starting to freeze or we’ve had a few nights in the low 20s.
Spread mulch over the bed and fluff it as you go. I add it in layers so I can see how deep I’m getting instead of dumping a giant pile on top.
Leave it alone until spring (mostly). I keep an eye on the bed after major storms. If the wind strips the mulch, I add more.
In spring, pull mulch back from the shoots little by little. I pull mulch back from the crown but leave the rest in place to suppress weeds.
Troubleshooting Winter Mulch Issues
If something goes wrong (and it does now and then) here’s what to look for.
- If the mulch is too shallow: You might see cloves pushed up out of the soil come spring. Add mulch immediately if you catch it early.
- If the mulch is too deep: The soil stays cold and soggy in spring, and garlic hates that. Pull mulch back an inch or two.
- If you see mold: A bit of mold won’t hurt anything, but if your mulch is dripping-wet, fluff it up so it can dry out a bit.
How This Differs From Planting Garlic in Fall
Your fall planting guide covers spacing, planting depth, and timing. Winter mulch is its own thing. It’s the protection step, not part of planting. If you haven’t planted yet and need the basics, you’ll find them in my fall garlic guide.
Still Have Questions About Mulching Garlic for Winter?
Here are some of the questions I hear most when homesteaders are staring at a big pile of mulch and a bed full of garlic.
Getting your garlic tucked in for winter? Pin this guide so it’s right where you need it next season.
Mulching garlic for winter isn’t complicated, but getting the depth right made a huge difference for me. Once I started tailoring my mulch depth to my zone here in Maine, I stopped losing bulbs to frost-heaving and had much stronger spring growth. If you haven’t mulched yet, now’s the time to grab some straw, check your zone, and get that bed covered.
And once you start harvesting next summer, here’s how I keep my garlic lasting as long as possible with simple ways to preserve it.
If you’ve found something that works in your climate, I’d love to hear what you do.