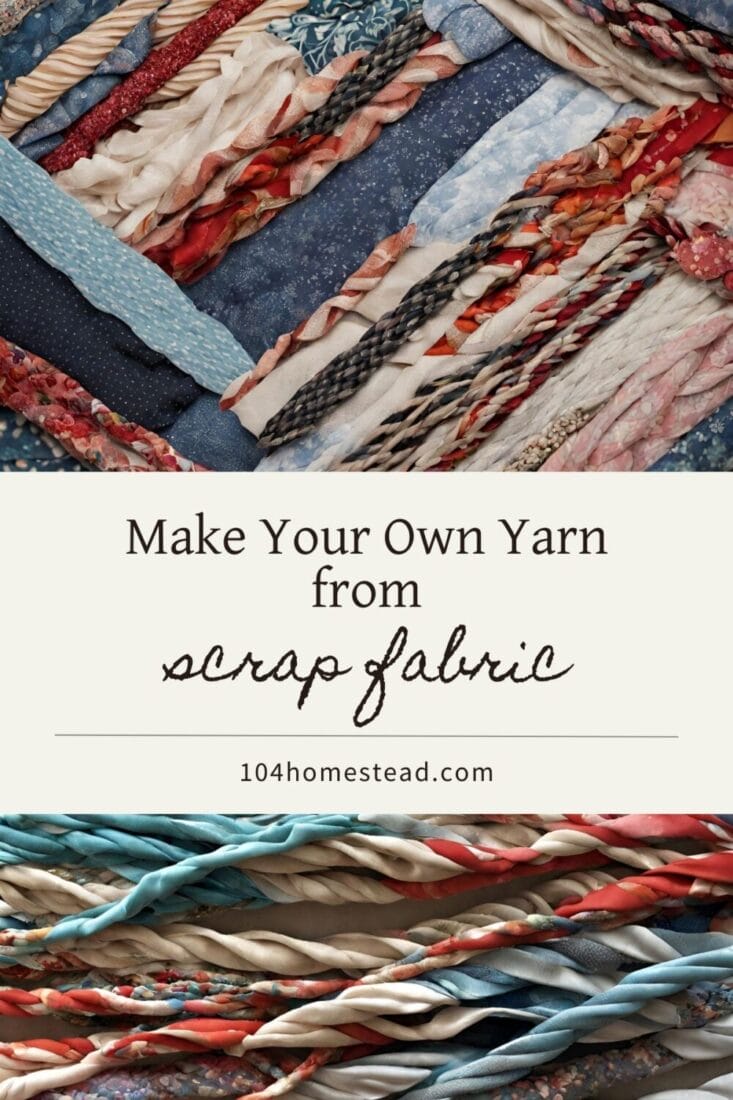
Creating Yarn from Your Beloved Scraps of Fabric
Transform forgotten fabric scraps into yarn! Learn the simple steps here. Perfect for knitting, crocheting, and sustainable homesteading.
Join me on this sustainable crafting journey, where we’ll joyfully rescue those overlooked fabric scraps and weave them into something uniquely yours—a personalized yarn that not only brings warmth to your creations but also aligns with the heart of homesteading. Embracing the art of upcycling is a key thread in the fabric of homesteading, transforming remnants into treasures, and our venture into crafting homemade yarn embodies the spirit of making the most of what we have.
This DIY adventure isn’t just about recycling; it’s a fun and creative way to breathe new life into old textiles that would have ended up just being thrown away. We’re not only repurposing, but we’re also unlocking a realm of artistic possibilities perfect for knitting, crocheting, and more.
So, grab your favorite scraps, and let’s embark on this crafty journey to transform forgotten fabrics into a colorful tapestry of handmade goodness!
How to Yarn from Scraps of Fabric
Making your own yarn from fabric you would otherwise throw away is as simple as six easy steps. It’s a great project to work on when you’re just hanging out with the family and watching a movie. It becomes mindless once you get the technique down.
Materials Needed:
- Scrap fabric (variety of colors and patterns)
- Scissors
- Rotary cutter and cutting mat (optional)
- Straight edge or ruler
- Clothespins or clips
- Cardboard or a recycled paper tube
- Water and fabric softener (optional)
Step 1: Gather an Assortment of Scrap Fabrics
Begin your crafting journey by collecting an array of scrap fabrics. Old T-shirts, bed sheets, or any cotton-based materials work well for this project. The beauty of this endeavor lies in the variety of colors and patterns you can incorporate, so let your creativity guide your selection.
Step 2: Cut Fabric Strips
Using scissors or a rotary cutter, cut the fabric into strips. The width of the strips determines the thickness of your yarn, offering endless possibilities for experimentation. I’ve found that 1″ strips are ideal for most projects. For a uniform look, aim for consistent widths; for a textured appearance, mix thin and thick strips.
Step 3: Connect Strips
To make large skeins, you’ll need to connect the strips of fabric together. Make a small hole at each end of two strips, feed one through the other, and cinch tight. This ensures a seamless transition between strips without the bulk of knots, creating an uninterrupted length of yarn.
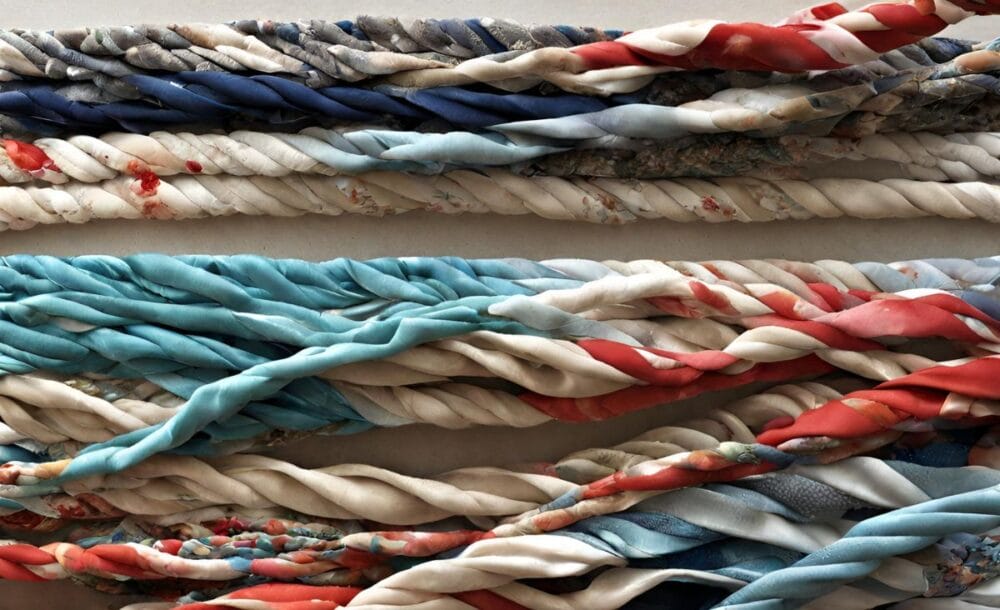
Step 4: Twist Your Yarn
Hold one end of the fabric strip and begin twisting it tightly. The more you twist, the tighter your yarn will be. For a traditional yarn appearance, twist until the fabric begins to curl on itself. Adjust the tightness to achieve your desired texture and thickness.
Step 5: Secure the Ends
Once you’ve twisted the entire length of your fabric strip, secure the ends with a knot. Alternatively, use clothespins or clips to prevent the twisted fabric from unraveling while you work on additional strips.
Step 6: Create a Yarn Skein
Wrap the twisted fabric around a piece of cardboard or a recycled paper tube to create a skein. This step ensures easy storage and use of your homemade yarn.
Optional Step: Add Color (For a Vibrant Twist)
For a vibrant twist, explore the world of natural dyes to add an array of colors to your completed yarn. Dive into this guide from Natural Dyes on using plant-based dyes for an eco-friendly and artistic way to infuse your fabric strips with personalized hues.
Frequently Asked Questions
Projects for Your Fabric Scrap Yarn
Unleash your creativity and explore a variety of ideas that turn your homemade yarn into cherished, handmade creations. From cozy blankets to stylish accessories, discover how your fabric scrap yarn can bring a touch of warmth and uniqueness to your home.
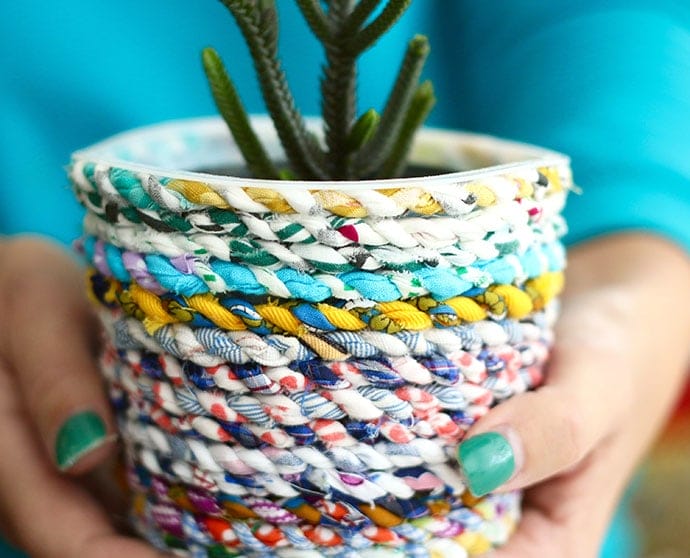
A Beautiful Planter from Yarn + Plastic Containers
Reuse your old plastic containers to make this attractive upcycled planter. It’s a great way to upcycle plastic plant pots or old food containers, and it also uses recycled scrap fabric as well!
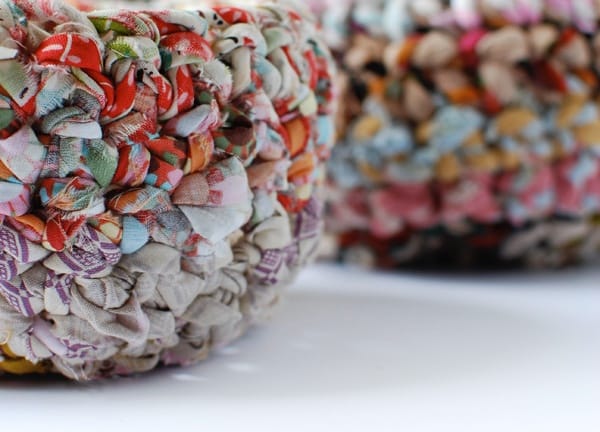
Fabric Baskets for Stashing Your Stuff
There’s only one crochet stitch to learn for this basket, and it’s a great craft to pick up when you have a spare minute. Perfect for in front of the TV or in the car when you’re waiting for the kids’ sport to finish. The chunky fabric yarn also means the baskets are fast to make.
Turn Your Rags into a Rug
If you’re a big fan of easy and satisfying crochet patterns, you’ll love this square/rectangle rug pattern! It’s all single crochet, and you can easily get this super bulky rug finished in one sitting. The creator uses traditional bulky yarn, but it can easily be made with homemade fabric yarn.
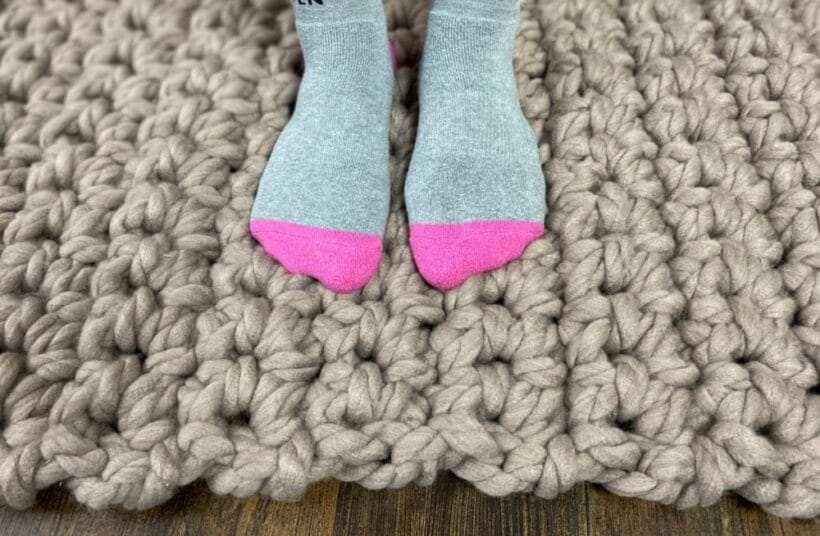
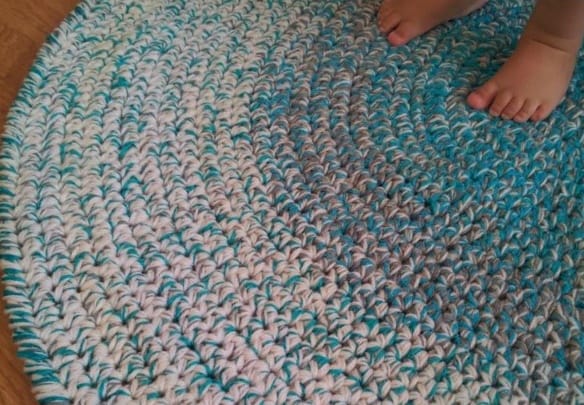
I’m personally in love with round rugs. This tutorial for a crochet round rug utilizes multiple strands of standard yarn, but like the one above, it can be made with fabric scrap yarn as well.
Embrace the spirit of upcycling in your crafting journey! Extend the eco-friendly creativity beyond fabric scraps by exploring other inventive projects. Learn how to transform pill bottles into practical organizers, repurpose bed sheets into stylish home essentials, and discover innovative ways to breathe new life into holiday greeting cards. Each endeavor adds a touch of sustainability to your crafting repertoire. Let your creativity soar as you weave a tapestry of upcycled wonders, connecting the threads of fabric scraps with the broader canvas of sustainable living.
If you’ve found value in this blog post and enjoyed reading it, why not share it with your Pinterest community? Pin the image below and spread the love!
Congratulations, you’ve successfully transformed your scrap fabric into a delightful array of handmade yarn! The beauty of this sustainable crafting endeavor lies not only in the upcycling of materials but also in the endless creative possibilities it opens up for your future projects.
Share your unique yarn creations and innovative color combinations in the comments below, inspiring others to embark on their own journey of turning fabric scraps into cherished stitches. Happy crafting!