The Ultimate Seed Saving Guide and Printable Seed Packets
Learn how to save, store, and organize seeds with this comprehensive seed saving guide. Keep your favorite varieties thriving year after year!
Imagine never having to rely on the store for your favorite tomato seeds or hunting down a variety that thrives in your garden. Seed saving is a skill that not only saves money but also ensures you maintain the best-performing plants year after year. Plus, it’s a step toward self-sufficiency that gives you complete control over your garden’s future.
If you’ve ever saved garlic cloves for replanting, you’re already practicing the basics of seed saving! Starting small by saving just one or two types of seeds each season helps you build confidence without getting overwhelmed. The more you practice, the more you’ll appreciate how much seed saving connects you to your garden.
The Brown Bagging Method for Seed Saving
One of the simplest ways to save seeds is the brown bagging method. This technique involves clipping flower heads or seed pods into a paper bag and allowing them to dry naturally. Once dried, shaking the bag helps separate the seeds from the plant debris. This low-maintenance approach works well for many herbs and flowers, as well as some vegetables like lettuce and arugula.
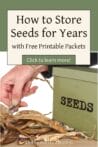
If you’re looking for an easy way to store these seeds, transferring them to labeled printable seed packets keeps them neat and organized for future planting.
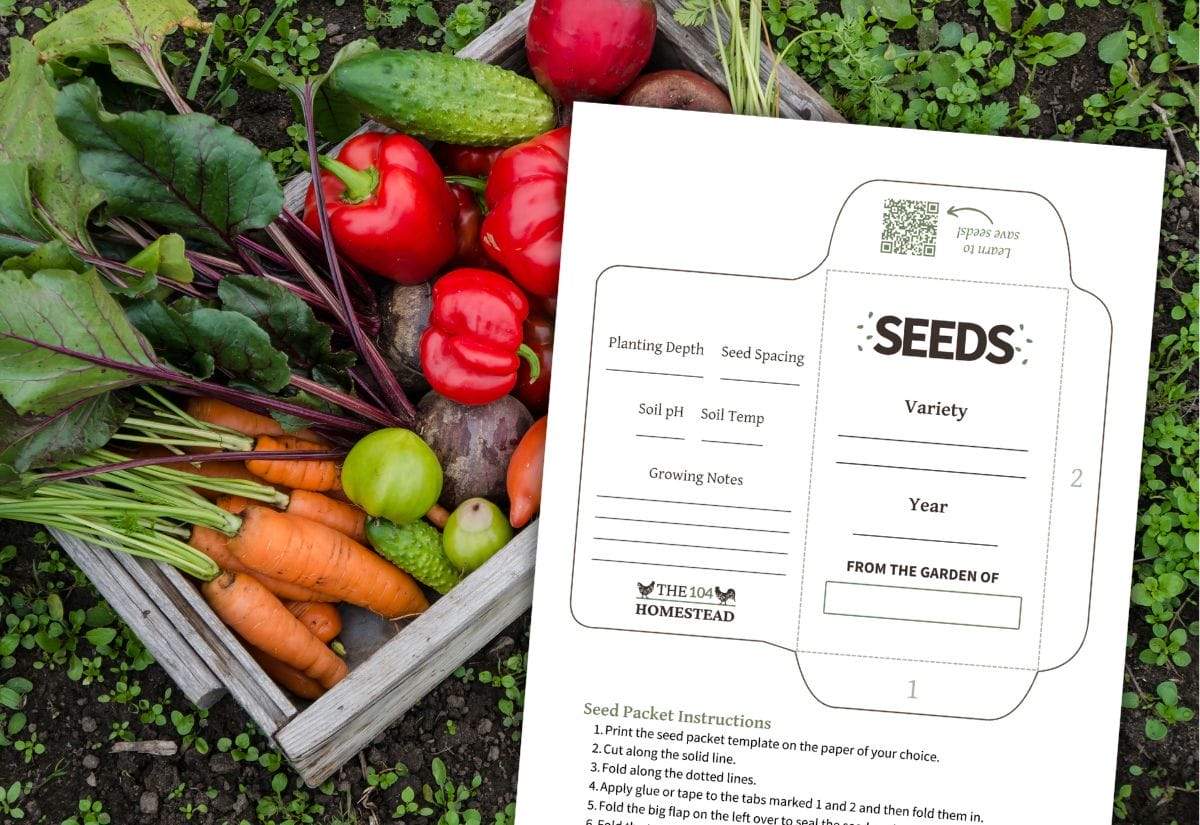
CLICK HERE TO DOWNLOAD
your printable seed packets
How to Store Your Saved Seeds
Proper storage is crucial for seed viability. Here’s how to keep your seeds fresh and ready for next season:
- Use Printable Seed Packets: Storing seeds in labeled envelopes helps keep them dry and organized. Download and print your own seed packets to make tracking your seeds easier.
- Keep Seeds Dry: Moisture is the enemy of seed longevity. Store packets in airtight containers (like old pill bottles) with a desiccant (like silica gel) to absorb excess moisture.
- Store in a Cool, Dark Place: Seeds last longer when stored in a dark, cool environment like a pantry, basement, or even the fridge.
- Label Everything: Always mark your packets with the seed type and date collected to avoid confusion next season.
Tip: For those in humid climates, adding silica gel packs to your storage container can extend seed life by preventing moisture buildup.
The Three Levels of Seed Saving
Some seeds are easier to save than others. Below is a categorized list to help you determine where to start.
Easy Seed Savers
These seeds are simple to collect and store, making them perfect for beginners.
- Arugula Saving Arugula Seeds from GardenNerd
- Beans How to Save Bean Seeds from The Prairie Homestead
- Endive Batavian Seed Saving from Smart Gardener
- Lettuce Saving Lettuce Seeds from Urban Food Garden
- Leeks Grow Leeks to Save Leek Seeds from Homestead Lady
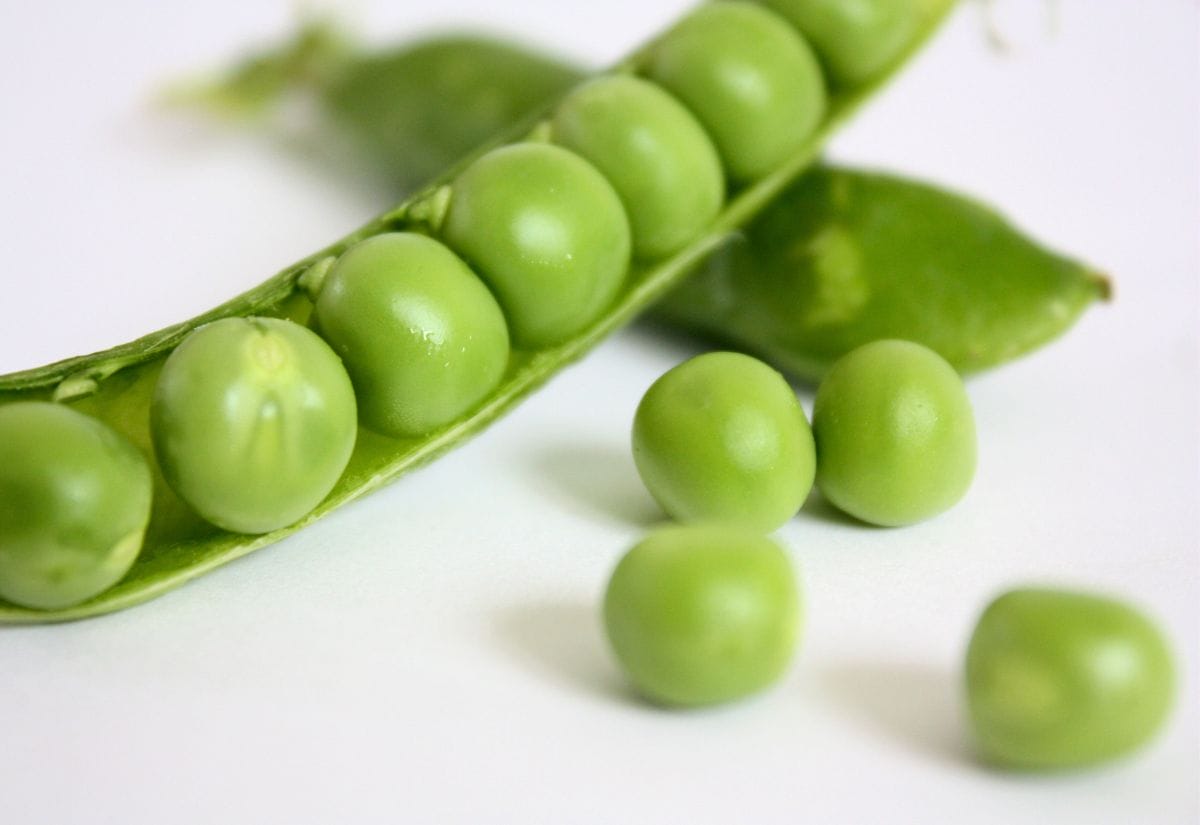
- Peas Saving Peas for Seed from Daughter of the Soil + Growing & Using Snow Peas from Homespun Seasonal Living
- Radishes Saving Seeds: Radish from Food Storage & Survival
- Tomatillos Saving Seed: Tomatillos from Cycle Farm
- Tomatoes How to Save Tomato Seeds from Homestead Lady
Intermediate Seed Savers
These seeds require more care, often needing two growing seasons or isolation to prevent cross-pollination.
- Asparagus Asparagus: The Garden Wonder from The Farmer’s Lamp
- Beets All About Growing Beets from Mother Earth News
- Bunching Onions Organic Bunching Onions – Growing and Seed Saving Info from High Mowing Organic Seeds
- Carrots How to Save Carrot Seeds from Food Storage & Survival
- Chard Organic Chard – Growing & Seed Saving Info from High Mowing Seeds
- Chili Peppers Saving Chili Pepper Seeds to Grow Again from The Chile Man
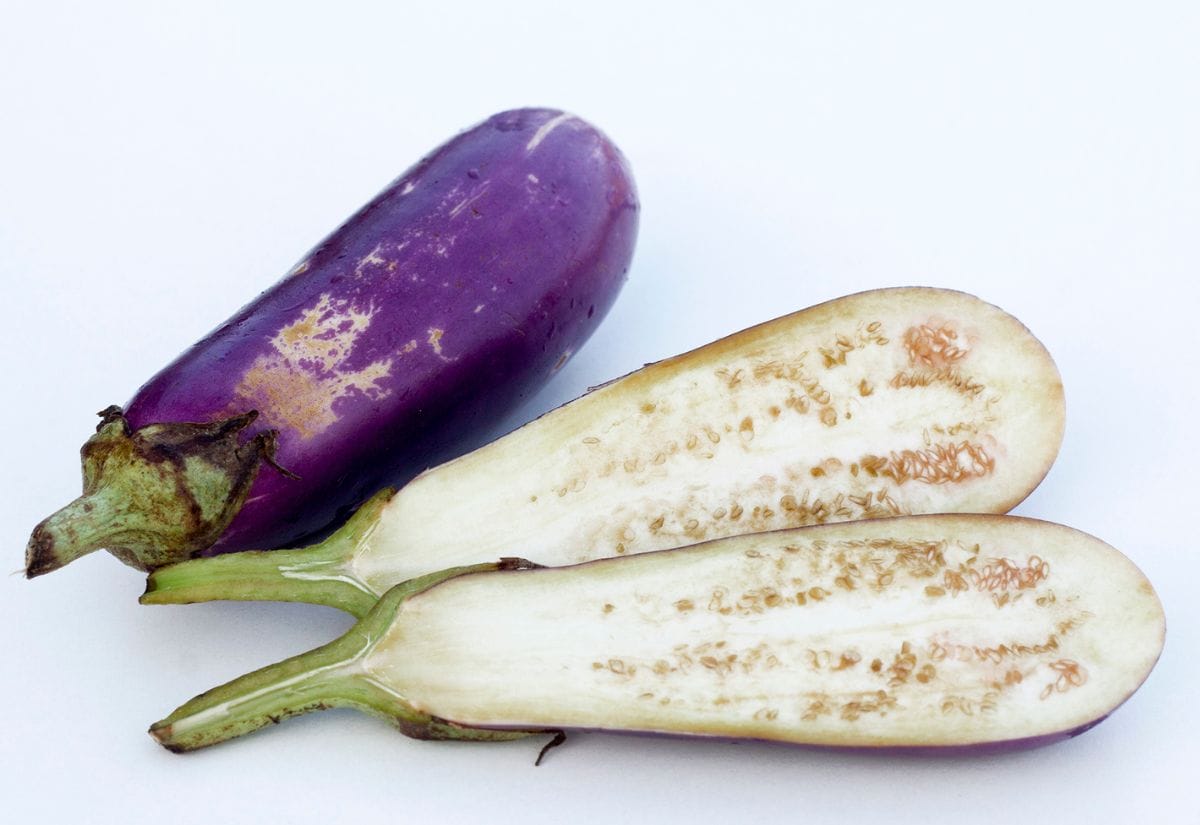
- Eggplant Saving Eggplant Seeds from The Southern Agrarian
- Parsnips All About Growing Parsnips from Mother Earth News
- Peppers Can You Use Seeds From a Bell Pepper to Plant? from HomeGuides
- Salsify Salsify Flower: Biennial Seed Saving Project from The Self-Sufficient HomeAcre
Hard Seed Savers
These seeds require more effort to avoid cross-pollination and maintain true-to-type varieties.
- Broccoli How To Save Broccoli Seeds In The Garden from Gardening Know How
- Brussel Sprouts Saving Brussel Sprout Seeds from Smart Gardener
- Cabbage Saving Cabbage Family Seeds from The Veggie Patch Reimagined
- Cauliflower Organic Cauliflower from High-Growing Seeds
- Corn How to Save Corn Seed from Weekend Gardener
- Cucumbers How to Save Cucumber Seeds from Your Garden from About Home
- Kale Saving Seeds from Kale from Wood Ridge Homestead
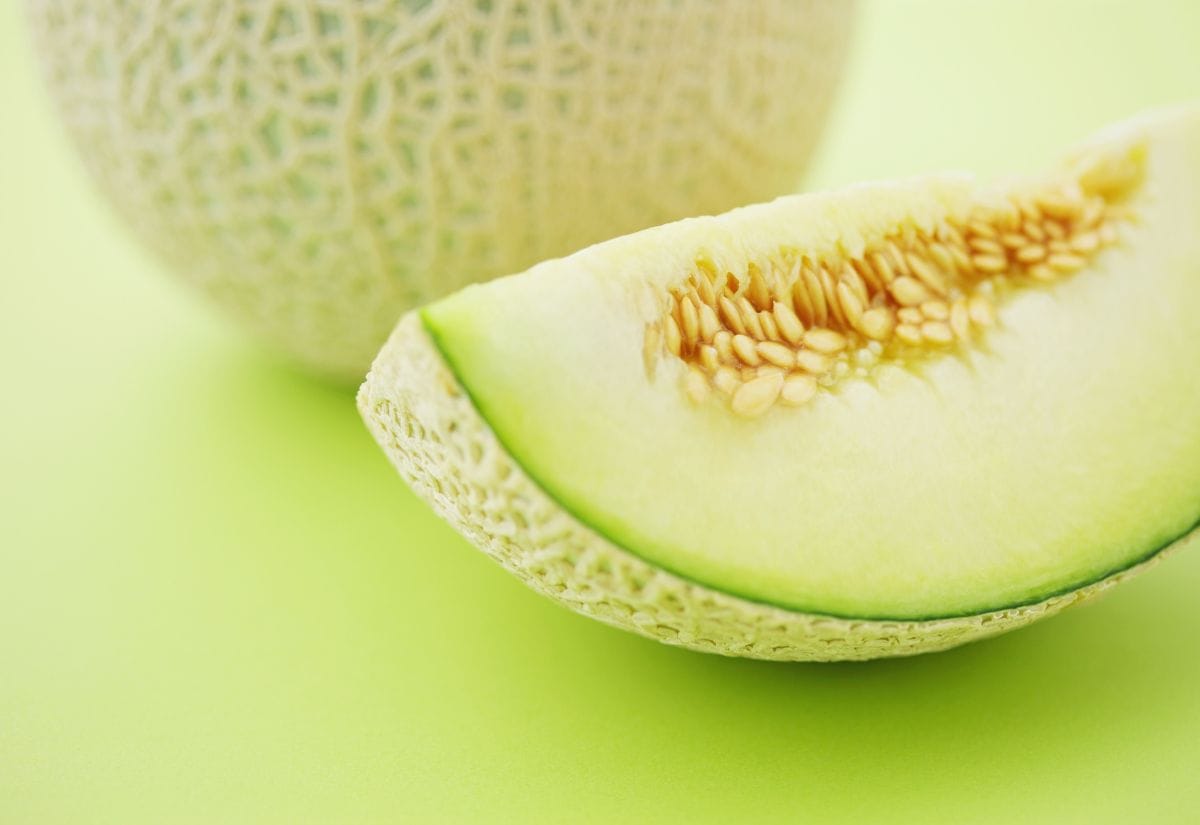
- Melons Saving Cantaloupe Seeds (applies to all melons) from Backyard Vegetable Gardening
- Pumpkins Raise Your Own Pumpkins from Farm Flavor
- Squash How to Save Squash Seeds from Capper’s Farmer
- Turnips Saving Turnip Seed from Going to Seed
Saving Herb and Flower Seeds
Saving herb and flower seeds is a simple way to preserve your favorite varieties and ensure a flourishing garden year after year. While most herb seeds are straightforward to collect, flower seeds can sometimes surprise you with unexpected cross-pollination results.
Herb Seeds
Herb seeds are usually easy to save using the brown bag method. These rarely cross-pollinate, making them a great choice for beginners.
- Basil How to Save Basil Seeds from The Dig In
- Chervil Herbs to Know: Chervil from Mother Earth Living
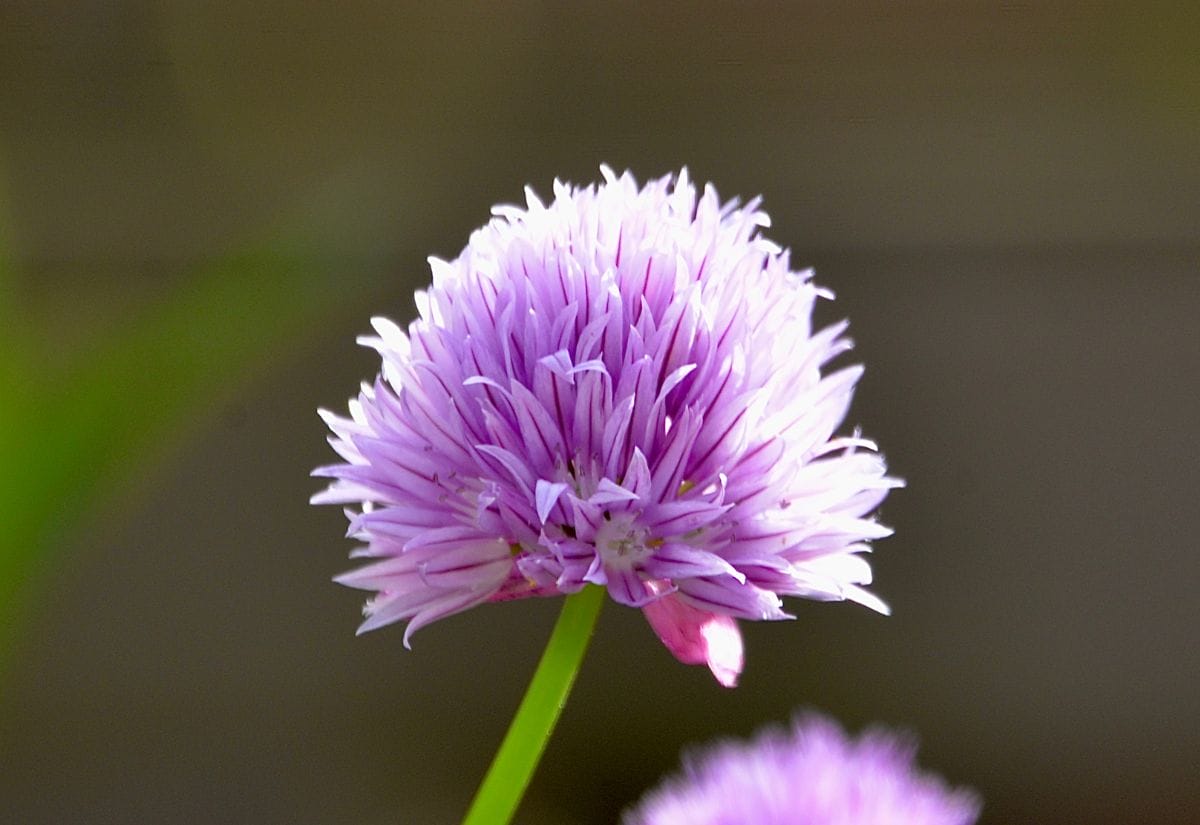
- Chives How to Save Chive Seeds from Mavis’ Garden Blog
- Cilantro/Coriander Harvesting Coriander Seeds from Vegetarian Times
- Dill Information on How to Harvest Dill from Gardening Know How
- Garlic Growing Garlic from Traditional Foods
- Lovage How to Grow Lovage from Plant Natural
- Marjoram How to Grow Marjoram from Heirloom Organics
- Oregano Oregano Plant Care from Folia
- Parsley Parsley Plant Guide from Smart Gardener
- Sage Saving Sage Seed from Growing Herbs for Beginners
- Salad Burnet How to Grow Salad Burnet from Gardening Know How
- Thyme Preserving Your Thyme Harvest from Preserving Your Harvest
Flower Seeds
Many flowers produce seeds that can be collected by bagging the flower heads before they dry. Others may cross-pollinate, but the resulting surprises are often beautiful!
- Bachelor Buttons How to Collect & Save Bachelor Button Seeds from Mr. Brown Thumb
- Calendula Calendula Seed Saving from Cedar Circle Farm
- Columbine Harvesting Columbine Seeds from In Bloom This Week
- Cleome Saving Seeds from Cleome from SFGate
- Lupines How to Save Lupine Seeds from eHow
- Marigolds How to Save Marigold Seed from Little *big* Harvest
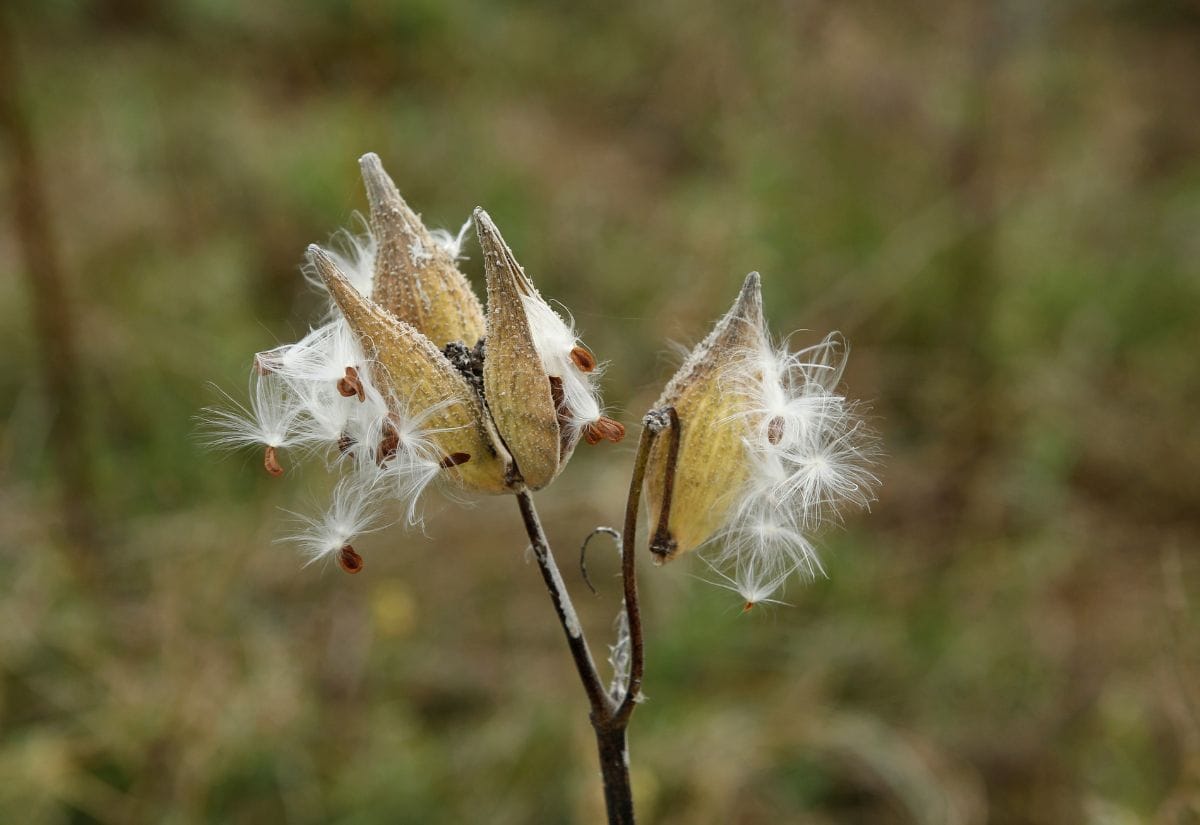
- Milkweed Propagating Milkweeds from Borderlands Restoration
- Morning Glory How to Collect Morning Glory Seeds from Mr. Brown Thumb
- Nasturtium Collecting Nasturtium Seeds from The Nerdy Gardener
- Poppy Harvesting Poppy Seeds from Sincerely, Emily
- Sunflowers How to Plant & Grow Sunflowers from The Old Farmer’s Almanac
- Yarrow Harvesting Yarrow Seed from Hudman Honey Farm
Troubleshooting & Tips for Saving Seeds
Keep this seed-saving resource handy—pin it now!

Seed saving is more than just a gardening skill—it’s a way to ensure the future of your favorite plants while embracing self-sufficiency. By learning to store seeds properly and choosing the right ones to save, you can build a diverse and resilient seed collection that will serve you for years to come.
Before you start saving and storing seeds, it’s important to choose varieties that will thrive in your growing zone and understand what’s on the seed packet. Some seeds require special treatment, like stratification or scarification, to ensure successful germination. And if you have older seeds on hand, testing their viability before planting can save you time and frustration. These guides will help you make the best decisions for your seed-saving and planting success.
Do you have a favorite seed-saving success story? Share your experiences and tips in the comments below!

Thank you for sharing your experience. Starting something of your own is never easy, no matter the size of your garden. It is necessary to understand all the features of sowing, seedlings and fertilizer. At one time, this blog https://gardeniaorganic.com/how-and-when-to-fertilize-your-vegetable-garden/ became a real discovery for me. He helped figure everything out.
Very good choice of the article for the modern-day perspective and it really informative.
allcigarshop.com
AM IN MY OFFICE RIGHT NOW READING THIS ARTICLE….
OMG.
I CAME TO YOUR POST JUST AT THE RIGHT TIME. THANKS A LOT AND PLEASE KEEP IT UP. CHEERS….
Awesome post – literally saved so many of these links for my own saving!!! 😀 Thank you Jessica~!~!
Great list!!! It’s nice to have it all in one post!
Keep checking back because I will be constantly adding to the list. If there are seeds you’re interested in saving that aren’t on the list, just let me know.
Great list!
Although I, me personally, I would put carrots in the tougher category. Only because it takes carrots up to two seasons to go to seed, so it will take some patience.
I’ll admit, I was on the fence about the placement of a few of these (carrots included). It’s rather subjective. I personally struggle with some “easy” ones and yet have no trouble with “hard” ones.