A Guide to Planting Potatoes in a Back to Eden Garden
You can get more potatoes and a cleaner harvest if you plant them in a Back to Eden garden. I’m going to show you how simple it is.
Welcome to the world of Back to Eden gardening, where nature’s wisdom takes center stage. By using natural and organic methods, we learn how to plant potatoes in a way that goes beyond the usual and follows the ideas of Back to Eden gardening.
Through this post, I will reveal the secrets and walk you through the steps of planting potatoes in your Back to Eden Garden. Prepare to enjoy a gardening method that brings together healthy soil, long-term growth, and a plentiful harvest in a lovely way. Let’s dig in!
Why BTE Planting is Different
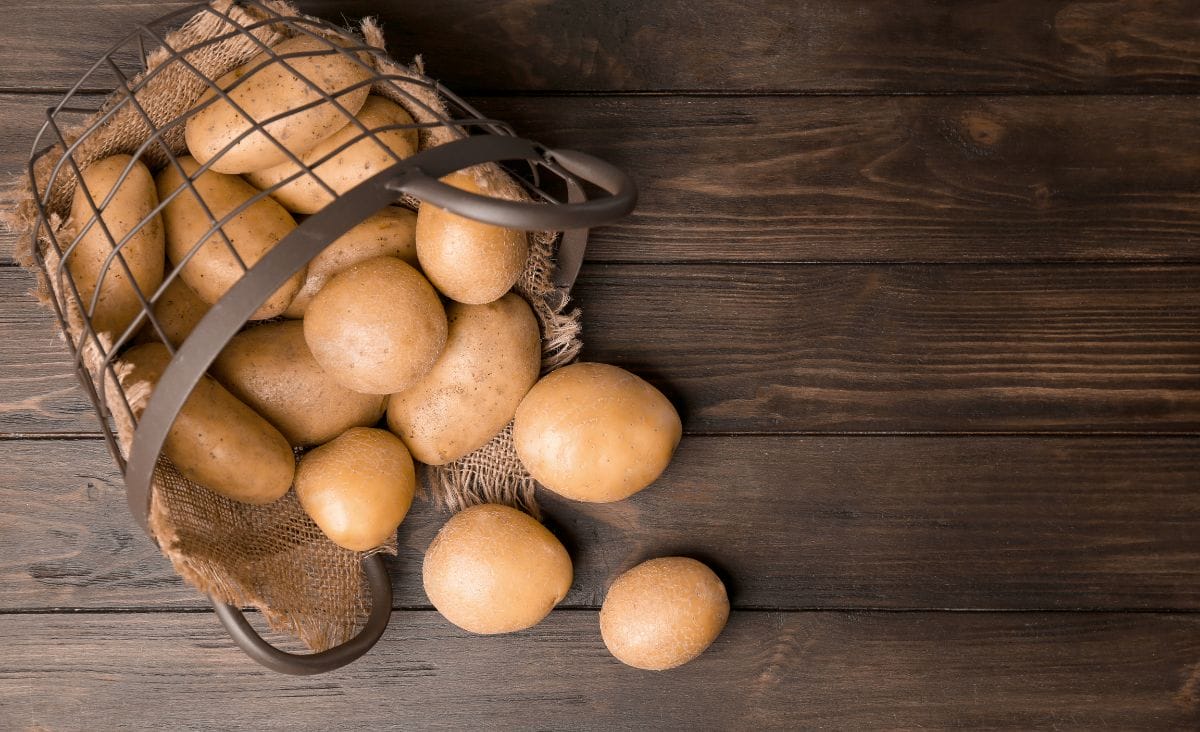
I have heard marvelous things not only about the yield of potatoes that come from a Back to Eden Garden but the cleanliness of the potatoes as well. Being a Mainer, it is my duty to plant and harvest great potatoes. Our state produces 1.5 billion pounds of the US’s potatoes each year!
Planting potatoes is one of the only times you break the “Back to Eden” rules. When planting in a Back to Eden Garden, it is crucial that you plant in the soil, not in the wood chips.
Today, we’re breaking that rule.
If you are just joining our Back to Eden adventures, be sure to check out The Theory Behind Back to Eden Gardening.
Should You Cut Your Potatoes?
When you start planting potatoes, you follow the same steps you would in any other gardening style. You can plant a whole, intact potato, or you can cut the potato into pieces, with each piece containing one or two eyes. We cut our potatoes this year, but from here on out, I’ll be taking a page from Paul’s book.
Paul is the creator of the Back to Eden gardening style. He harvests and plants at the same time by picking out the largest potato from the harvest and placing it right back in the ground. Yup, no crop rotation is required with Back to Eden potatoes.
How to Cut the Potatoes
If you plan to cut your potatoes, be sure that each piece is at least 1″ in diameter and that you allow the potato to scab over for a day or two before planting. It is important to only plant certified seed potatoes. Grocery store potatoes will often grow, as you’ve probably noticed if you ever forget a bag in the pantry, but they may contain diseases that you can’t see until the plant begins to grow. Also, seed potatoes purchased at your local farm supply or garden center are often well-suited to your climate, whereas your grocery store potatoes might not even be from this country.
Planting Potatoes BTE-Style
To plant your potatoes in your Back to Eden garden, start by pushing back your wood chips in the area you intend to plant.
Choosing the Right Wood Chips
If you remember from our Theory Behind Back to Eden Gardening post, our first delivery of chips contained large amounts of juglone-producing walnut trees. Although Paul says that you can use any wood chips except eucalyptus, walnut wood chips come with many warnings regarding potatoes.
I chose not to apply the walnut chips in the area where I intended to plant my potatoes. Instead, I waited for my fabulous tree guy, Eli of Hutch’s Tree, to deliver a nice hardwood mix.
Planting in the Wood Chips and Adding Compost
After you have cleared your area, place your potatoes on top of the soil. This is where we are breaking the rules. The potatoes will gain their nutrients from the soil—you may want to add a bit of completed compost while you’ve got the soil exposed—but the potatoes will grow in the wood chips.
Cover your exposed potatoes in 6–8 inches of wood chips, and be sure to mark your bed. I went with canning lids to mark my garden plots. I got that idea from a fun post from Homespun Seasonal Living.
The Harvesting Technique
Harvesting your potatoes from a Back to Eden garden couldn’t be easier. The plant pulls right up, and most of the potatoes will still be attached. There is no digging with a fork with these guys, which is great since I inevitably spear the prize-winning potato. To find any that came off the plant, just shuffle through the wood chips with your hands.
Selecting Potatoes for Replanting
As I said earlier, Paul plants at the same time he harvests. He chooses the best of the best potatoes from his harvest and places them back on the soil, covering them with wood chips for the next year.
Two quick things to add to the video: First, don’t feed your chickens potato plants. It’s on the list of poisonous plants, and even the smartest of chickens would probably peck at it enough for bad results. Even I, the chicken compost queen, wouldn’t risk it. Second, the plants will be removed more easily if you wiggle them a bit rather than just tugging. Otherwise, the video is a good one.
Frequently Asked Questions
Recipes Featuring Homegrown Potatoes
Be sure to enjoy these delicious recipes that star your homegrown potatoes:
Potato Pancakes Made in Minutes
By making crispy potato pancakes with this recipe for potato pancakes, you can use up leftover mashed potatoes in an easy and tasty way. You can make this dish fit your tastes by adding different toppings or sides to it. It is a great choice for any meal.
Homemade Hearty Potato Bread from Scratch
With mashed potatoes mixed into the dough, this recipe for potato bread shows you how to make homemade potato bread that is moist, tender, and full of flavor. If you like soft bread with a hint of sweetness, this is it. You can use it for sandwiches or just eat it plain with a little butter.
Easy 5-Ingredient Potato Soup: Freezer-Friendly & Gluten-Free
This hearty and comforting potato soup is made to freeze well so it is easy to reheat when needed. Perfect for making a healthy meal ahead of time, you always have a tasty option on hand that can be heated up quickly for a satisfying meal whenever you want.
If you’ve found value in this blog post and enjoyed reading it, why not share it with your Pinterest community? Pin the image below and spread the love!
So there you have it—a crash course in planting potatoes in your Back to Eden garden!
Gardening in Back to Eden is all about dancing to the beat of nature. You are ready for a harvest that is not just about the end result but also about the journey of getting those potatoes from the ground to the table. So, grab your shovel, embrace the dirt under your nails, and revel in the spud-tacular adventure that is Back to Eden potato planting.
What’s your favorite tip or trick for planting potatoes in a Back to Eden garden? Share your green-thumb wisdom in the comments below—I’d love to hear about your spud success stories!
Jessica, How deep was your mulch when you first planted potatoes in BTE garden? This will be our second year and we started with about 6-8 inches of mulch last year. Just wondering how deep the mulch needs to be for the potatoes to grow. Do the potatoes spread out a lot under to mulch?
Are there any good books on the BTE method?
Paul Gautschi lives not far from me. I’ll have to visit his garden this summer.
I would love to get that opportunity.
Yes I have bought the book ‘Back to Eden gardening’ from Amamzon on Kindle Unlimited! Its very good but I think watching the full documentary is as beneficial!
https://www.youtube.com/watch?v=6rPPUmStKQ4&t=193s
I hope this helps, the more people that start to do this, even on a small scale will make a difference 🙂
I’ve planted grocery store potatoes (well…produce stand, but not local or organic, and I’m not sure what they had been sprayed with) potatoes with great success! I did it as an experiment when they started growing in the compost pile. I had about 10 potatoes in a 7-gallon bucket after cutting and planting them. I’ve done the same with onions and cabbage. We call them compost veggies because we throw them out when they’ve gone bad and they come back to produce more.
Hi, nice article. Is this the first year you’ve used this technique for your potatoes, or have you been doing this for a while? I’m trying to find people who have been doing the Back To Eden plan for more than just one or two years. I’m starting, too, but would really like to get a glimpse of what others, with a few years or experience, have experienced. Thanks!
This is my first year, but thankfully I have friends that have been doing it for several years who are happy to share their wisdom. If you enjoy videos, J&J Acres on YouTube has been doing BTE gardening for 2 or 3 years now.
What do I do if I don’t have wood chips? I wouldn’t even know where to find them in west Texas.
Almost any organic material can be used for Back to Eden Gardening and Paul encourages people to use what is locally available. This can include hay or straw, or even rocks. Wood chips are most often mentioned because they are available almost anywhere and last a while. You can contact local tree trimmers or landscaping companies to see if they have any.
I’m making beds with brown leaves, (which I got free on the corners in my neighborhood on garbage day) goat poo from my goat raising friend, straw $7.50 a bale at the Farmer’s Coop, and woodchips(free) on top. I also put straw on top sometimes, because we have evil Bermuda grass. With the straw, the Bermuda can’t get a grip and lock down. You can just pull it easily out if it gets into the straw. Each of these mulch items has it’s advantages. I use them all.
I have pill bugs eating the leaves of my potatoes, and my strawberries in another box. Any idea how to get rid of them naturally?
Those guys are tough to deter with companion planting. My advice would be to sprinkle diatomaceous earth on the plant and mulch around the plants with black plastic. If you live in a very hot climate, a course mulch (like wood chips *wink*) might be a better option because the plastic might cook the roots of the plant.
I am under the impression that pill bugs are good for the soil. One thing they do is clean heavy metals from the soil.
Why don’t you do crop rotation in Back to Eden gardening? Won’t planting the potatoes in same area draw more pests?
Crop rotation is typically done because plants feed heavily, depleting the soil of the nutrients they need the most. In the case of our potatoes, they are grown in the wood chips and don’t rob the soil of the nutrients, so they can be grown in the same spot next year. For pests, companion planting can eliminate many problems.
Great! Will share on our facebook page! My milk carton experiment did really bad however. I don’t know what I did wrong. They sprouted up and then within a couple weeks wilted and died. we had a bit of a cold spell and I think that did them in. Luckily, I sprouted others in trays. I will try it again next year.
I’m so sorry the milk cartons didn’t work for you. What garden zone are you?
Love the whole Back to Edan idea. I have planted about 20 potatoes and every one is on there way up. Some further along than some, but they are there. I had opened a bag given to me at Easter, and they were full of eyes. There was no way I could eat them. Dug the holes a bit, put them in, layer of compost, then mulch.I am shocked on how those two make such a difference in the garden. Everything stays moist with the mulch, compost makes it so green and healthy. It was money very well invested.