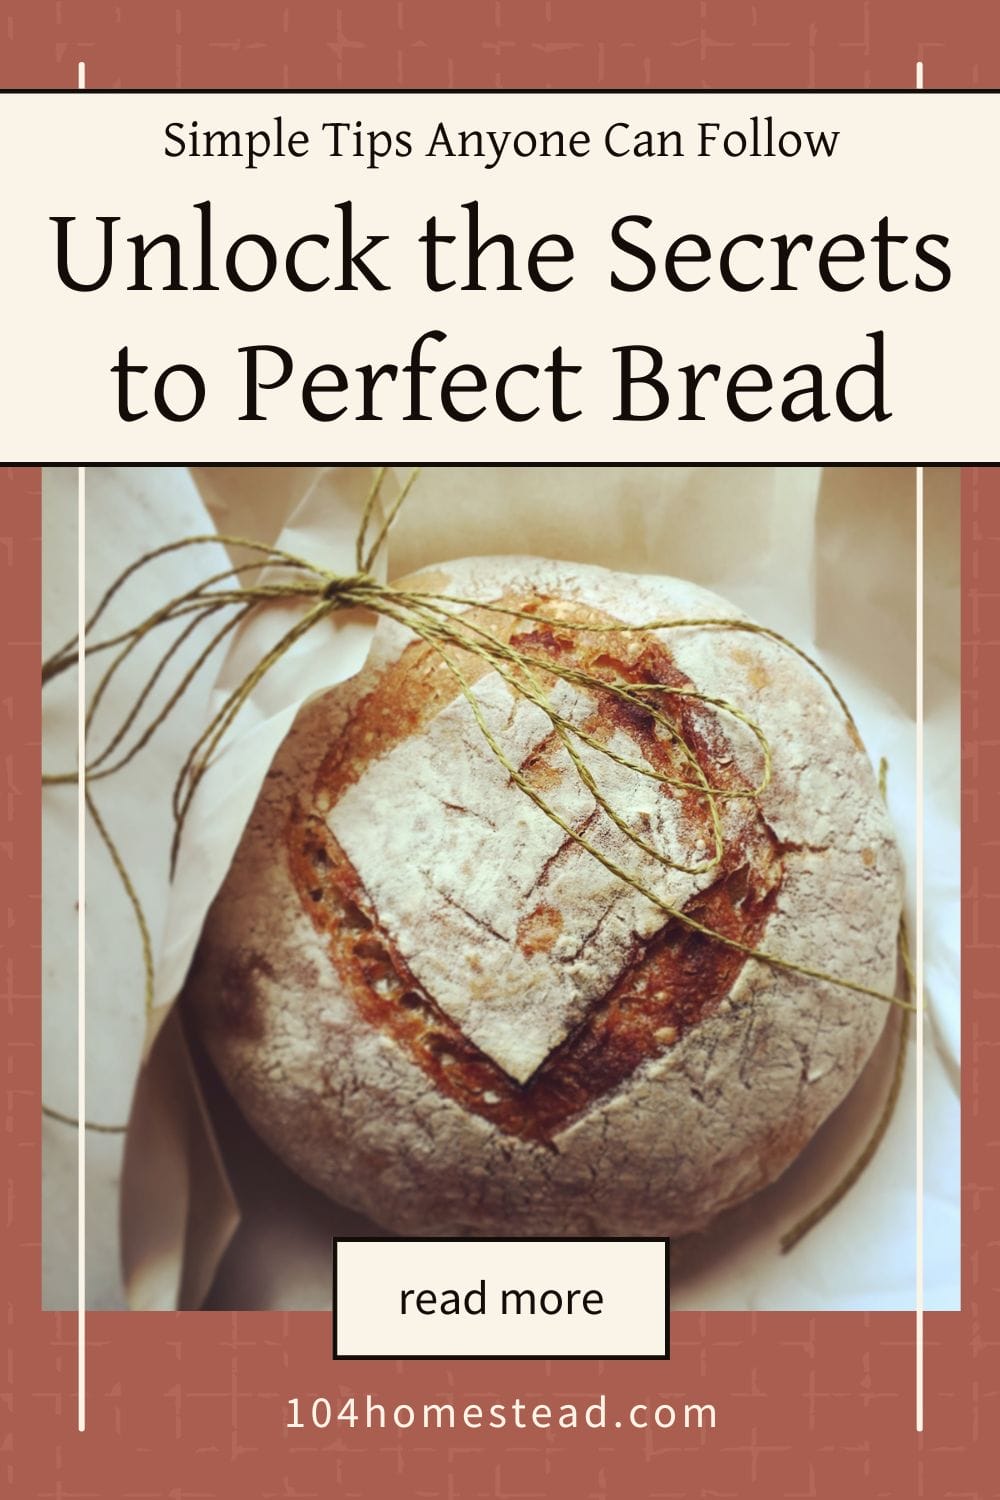
12 Bread Baking Tips That Make Homemade Bread Better
Learn practical bread baking tips that help homemade loaves rise better, bake evenly, and develop great texture every time you bake.
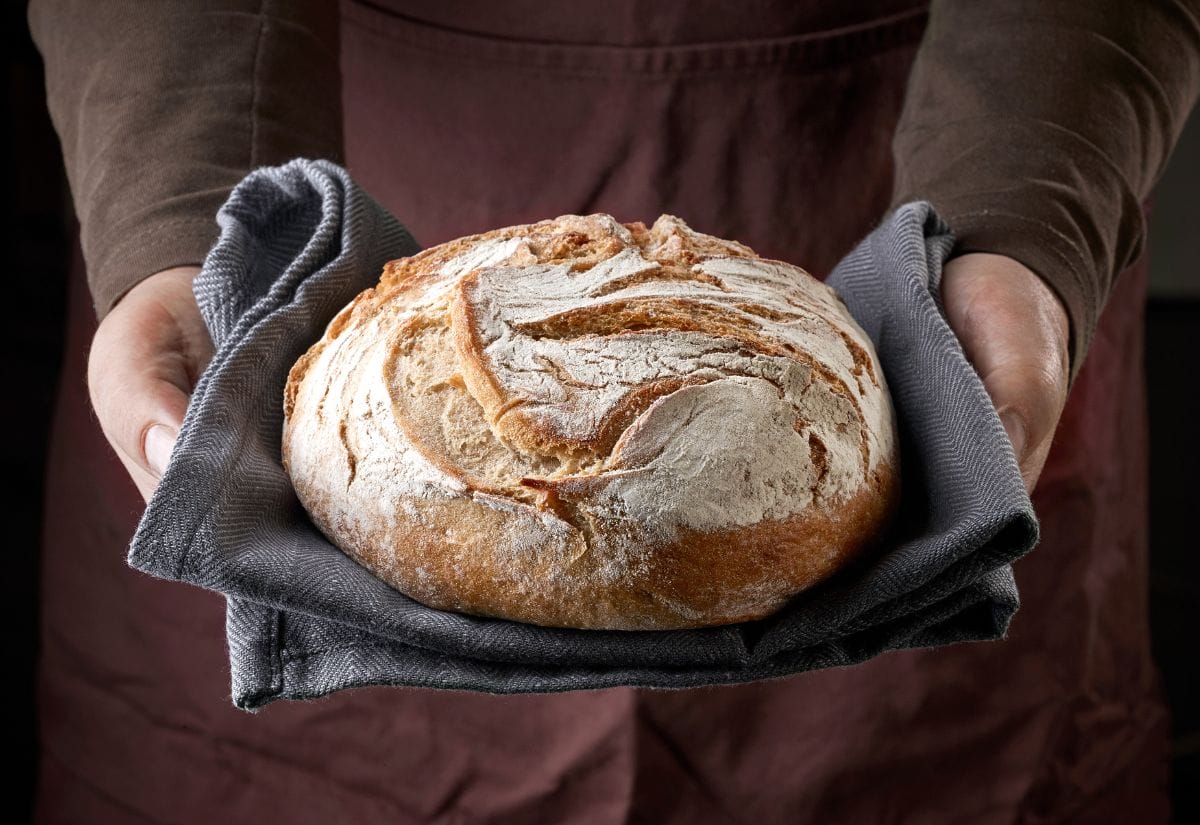
There was a time when my homemade bread was so dense and dry that even the dog wouldn’t touch it. I know the frustration of learning bread baking. I’ve had plenty of flops and more than a few kitchen disasters. Over time I picked up a handful of things that made a big difference in how my bread turns out.
Here are the things that helped me the most when I was learning to bake bread. Most bread problems come down to yeast, dough feel, or timing. Once those click, everything gets easier.
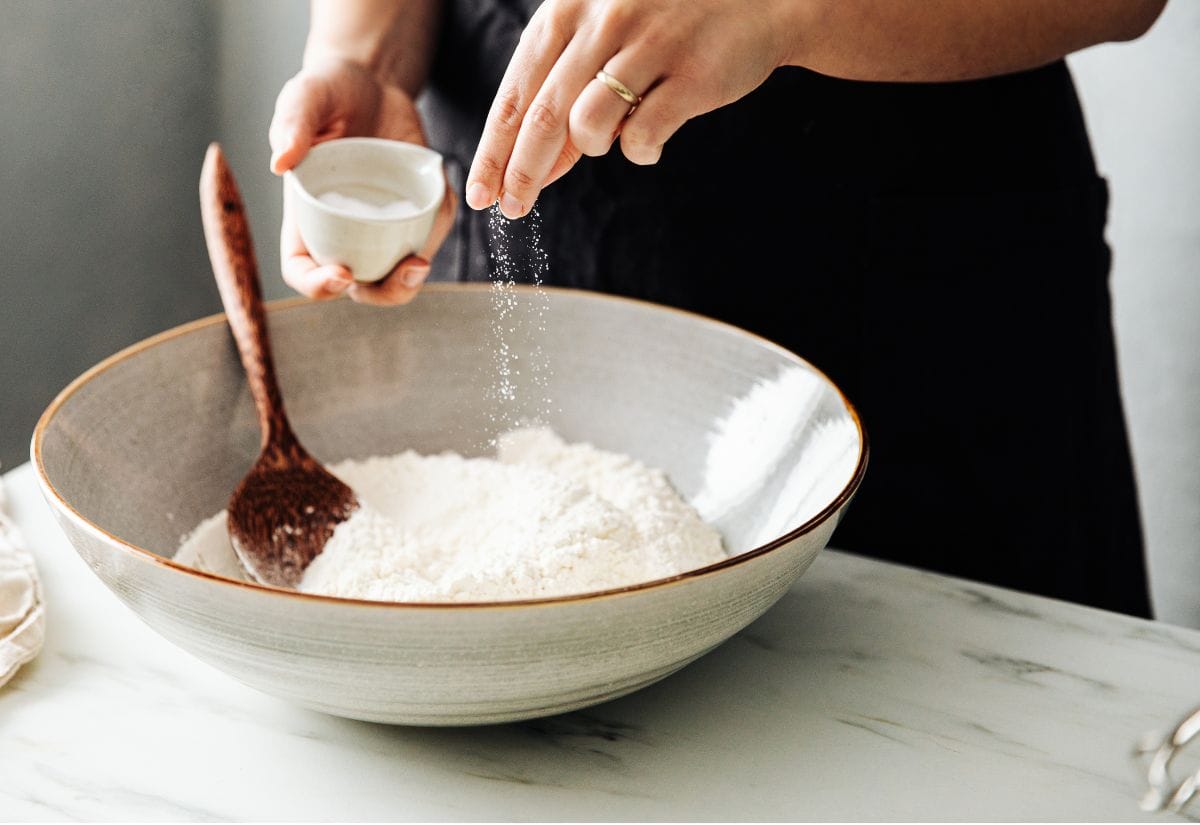
Keep Yeast and Salt Separate
When mixing dry ingredients, always keep yeast and salt apart. Salt can kill or slow down yeast activity, preventing your dough from rising properly. I usually add salt to the flour and place the yeast on the opposite side of the bowl before mixing. This ensures the yeast activates as it should, leading to better rise and texture.
Choose the Right Yeast
Different yeast works a little differently, and that matters when you’re baking bread. I swear by SAF Instant Yeast because it’s consistent and doesn’t require proofing. Plus, storing it in the freezer keeps it fresh for months. Active dry yeast works too, but it needs to be dissolved in warm water (proofed) first.
Use a Dough Enhancer
A dough enhancer, like powdered milk, vital wheat gluten, or even a splash of lemon juice, can improve your bread’s texture. These ingredients help create a lighter, fluffier loaf, especially when baking with whole wheat flour. You can also make a homemade dough enhancer by combining just a few simple ingredients.
Be Flexible with Flour Amounts
Recipes give you a starting point, but flour almost always needs adjusting. Weather, humidity, and altitude can all affect how much flour your dough needs. Start with a cup less than the recipe suggests and slowly add more until the dough pulls away from the bowl and feels slightly tacky but not sticky. Trust your hands more than the recipe.
Measure Flour Correctly
This is one of the easiest ways to accidentally ruin a loaf. Never scoop flour directly from the bag. It compacts the flour and leads to dry, dense bread. Instead, spoon the flour into your measuring cup and level it with a knife. If you want to be really consistent, a kitchen scale helps.
Always Use Fresh Ingredients
Expired yeast or baking powder can ruin your bread. Always check expiration dates, especially on yeast. If you’re unsure about your yeast, dissolve a teaspoon in warm water with a bit of sugar. If it doesn’t foam after 5-10 minutes, it’s time for fresh yeast.
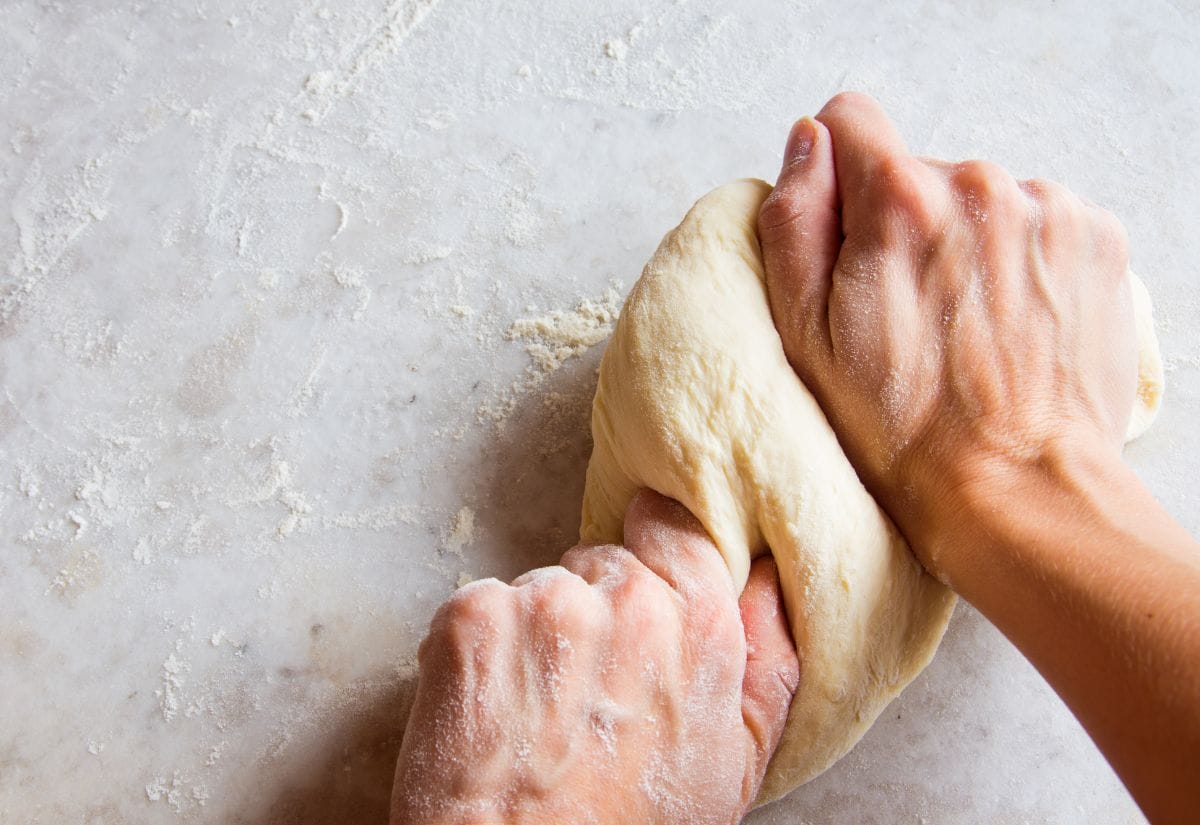
Use Oil Instead of Flour for Kneading
Too much flour during kneading can make some bread dry. If I’m working on a traditionally dry dough, I lightly oil my hands and countertop instead. It keeps the dough moist and prevents sticking. Olive oil or vegetable oil works great and can even add a subtle flavor to the bread. If you are using flour, less is more.
Create the Perfect Rising Environment
If your kitchen runs chilly, rising bread can take forever. I preheat my oven to 170°F for a few minutes, turn it off, and place the dough inside. Alternatively, cover your dough and place it near a warm appliance or in a proofing box to create the perfect rising environment.

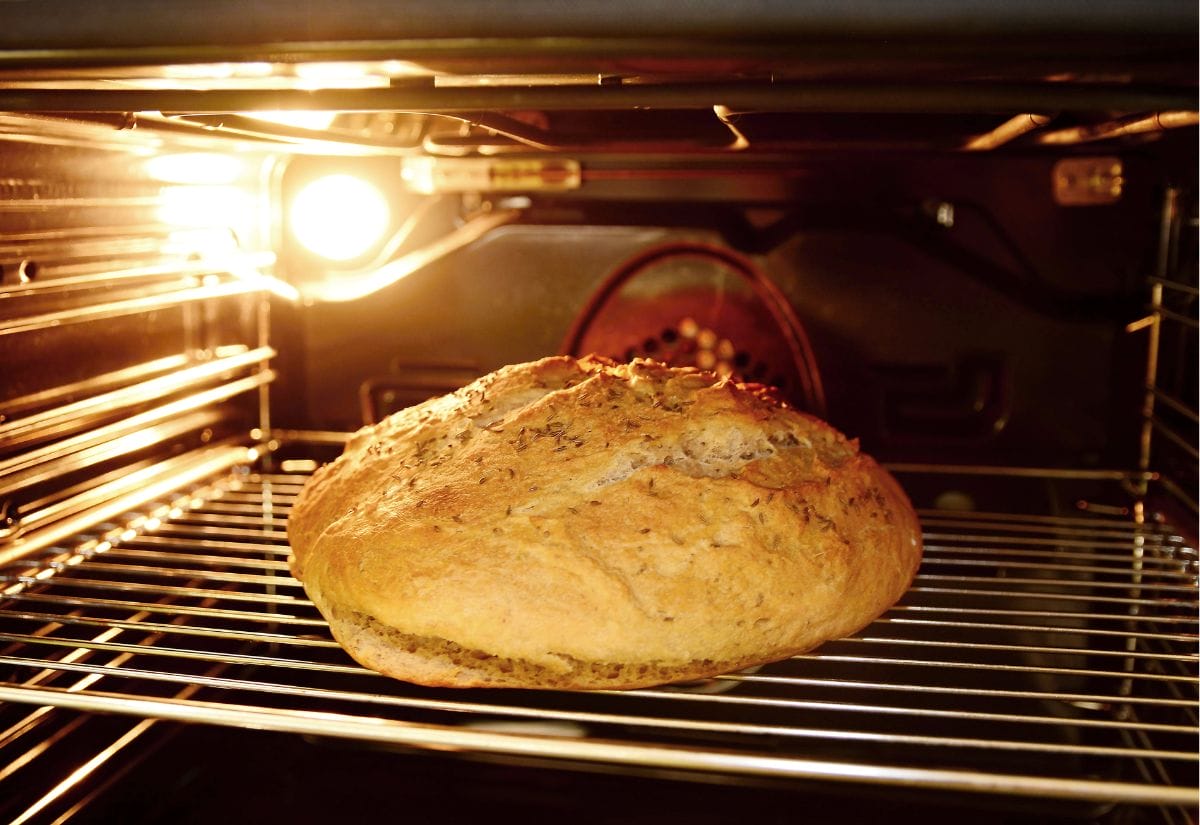
Add Steam for a Crispy Crust
If you want a better crust, steam helps. Place a metal pan on the bottom rack of your oven while preheating. When you put the bread in, pour boiling water into the pan to create steam. This keeps the crust soft while the bread rises and then crisps it up beautifully.
Don’t Rush the Process
Good bread usually can’t be rushed. Letting the dough rise fully develops flavor and texture. Resist the urge to speed up rising with too much heat or by skipping rest times. Give your dough the time it needs. It’s worth it.
Score Your Dough Before Baking
Scoring dough isn’t just decorative. It controls how the bread expands. Use a sharp knife or bread lame to make quick, clean cuts on top of the dough. It guides the way the loaf expands in the oven.
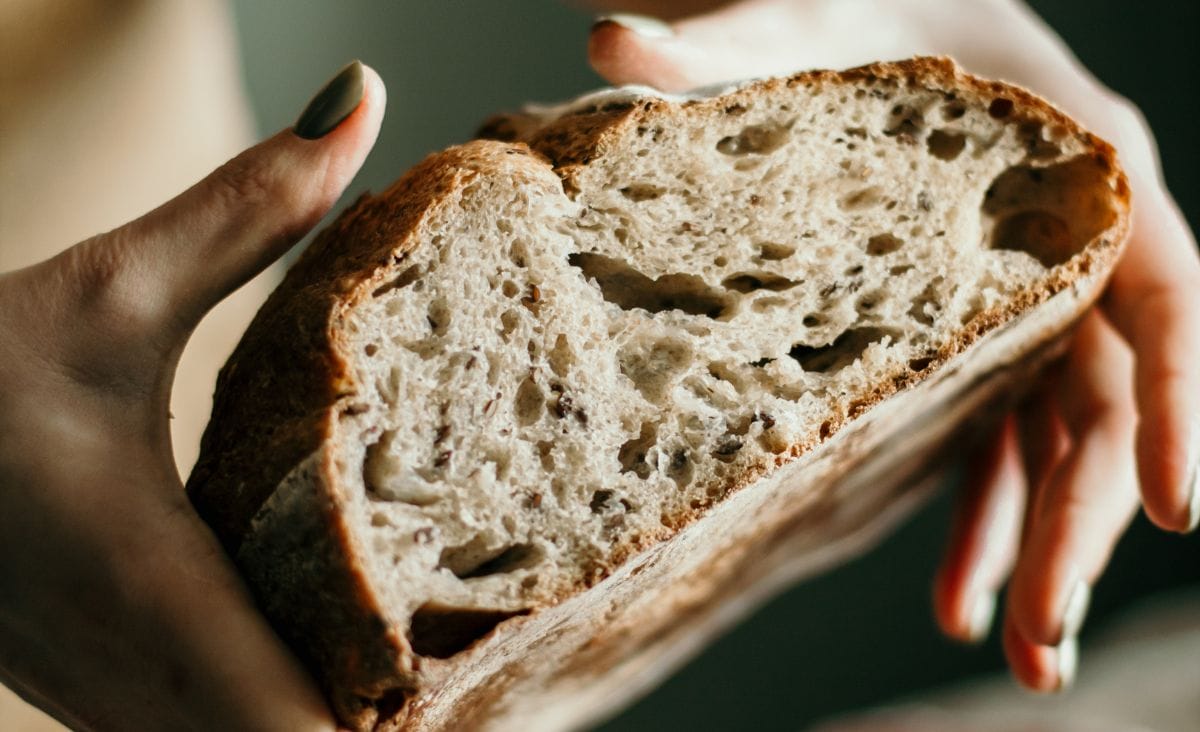
Let Bread Cool Before Slicing
Freshly baked bread smells amazing, but slicing too soon can make it gummy. Let it cool for at least 30 minutes. This allows the crumb to set properly and gives you cleaner slices with better texture.
Troubleshooting Common Bread Baking Problems
If something keeps going wrong with your bread, start here.
Pin this so you have these bread baking tips handy the next time you’re mixing up a loaf.
Bread baking feels complicated at first, but it gets easier with practice. Before long you’ll start seeing much better loaves coming out of your oven.
If you’re looking for something to try next, here are a few breads I like making at home. For a soft and classic loaf, try making a simple homemade white bread that’s perfect for sandwiches or toast. If you want something heartier, potato bread is a good one to try. If you’ve been curious about sourdough, I’ve also gathered a few beginner recipes that make the process a lot less intimidating.
Have a favorite bread-making trick? Share it in the comments.


All my loaves split across the top right under the crust when slicing. I can’t figure out if it’s a proving issue, shaping issue?
Every loaf does it.
That usually points to slightly underproofed bread. If the crumb is still a bit tight and the crust pulls away when slicing, it can cause that split. I’d try letting it proof just a little longer and see if that helps.
These bread baking tips are so amazing , some of them i know but others are new for me. Thanks for sharing these bread baking tips .
Vinegar helps bread rise (a natural dough conditioner) and is also a natural preservative which prevents mold before loaf is used up. Use 1 teaspoon vinegar to each 3 cups of flour (1 standard loaf). A sure way to tell when bread is done insert an instant read thermometer into the center of the loaf. It should read about 200°F. These are two tips that have improved my bread baking experience.
I am kind of a beginner bread maker, which means I’ve made it here and there. I really enjoyed reading your tips on making bread. Not only will it save me some disappointments, but I also enjoyed the way you write.