Do-it-Yourself Chicken Egg Incubator Ideas for Less Than $50
If you’re looking for a do-it-yourself egg incubator idea that costs less than $50, this is the place for you to find inspiration.
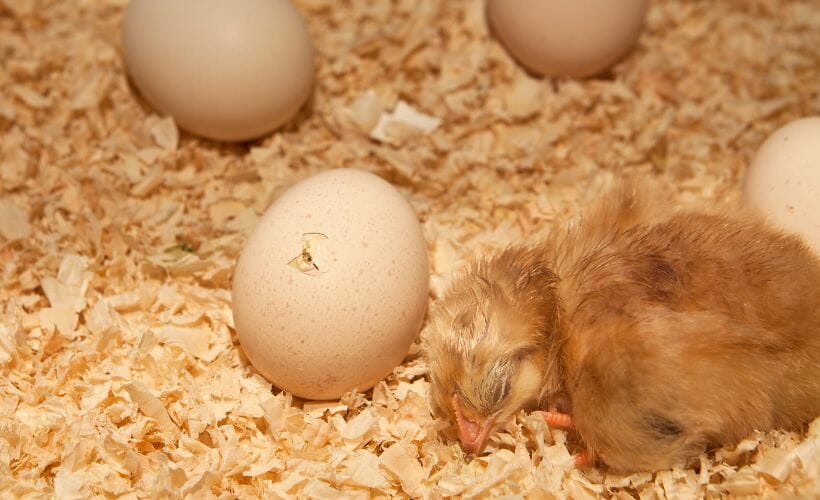
As the promise of spring is creeping around the corner, some poultry lovers are ordering their chicks, poults, and ducklings online from hatcheries, contacting breeders, or (like me) calling all farm supply stores to find out when their first chick delivery is. Other poultry lovers are filling their incubators to hatch out their new spring flock.
Incubators can be very pricey and once you figure in all of the add-ons, it can really strike the pocket hard. Wouldn’t you rather spend your $$$ on eggs?
My Favorite DIY Incubator Ideas
I have been perusing Pinterest for some great DIY/Homemade incubators and I thought I would share some of my thrifty favorites.
Rubbermaid Tote
The plastic material of a Rubbermaid tote is perfect for cleaning and sanitizing between hatches. The plastic cuts fairly easily with an Exacto knife. See how to make one and what supplies you’d need to do it in the video below.
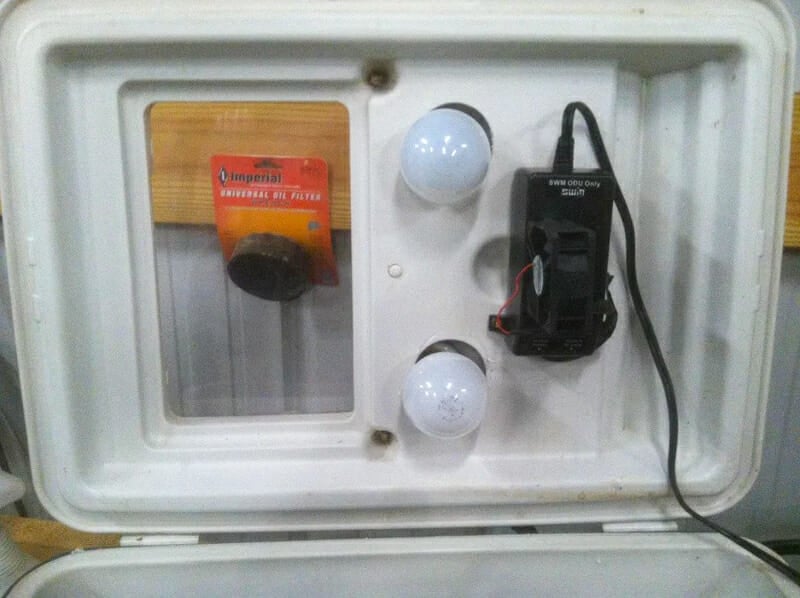
Igloo Cooler
Coolers are great for maintaining temperatures throughout the incubation. Temperature fluctuations during incubation can be lethal to the embryos. They’re also often free on the side of the road. That’s a price you can’t beat. Learn how to make a plastic cooler incubator on Instructables.
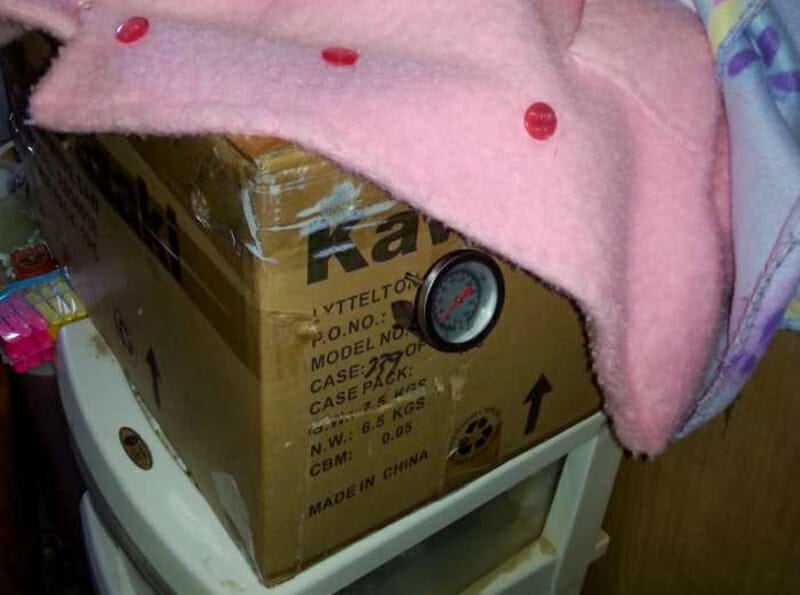
Double Cardboard Box
It doesn’t get cheaper than two cardboard boxes when it comes to making an incubator. Fantail Valley Homestead shares the ups and downs while perfecting her cardboard incubator design.
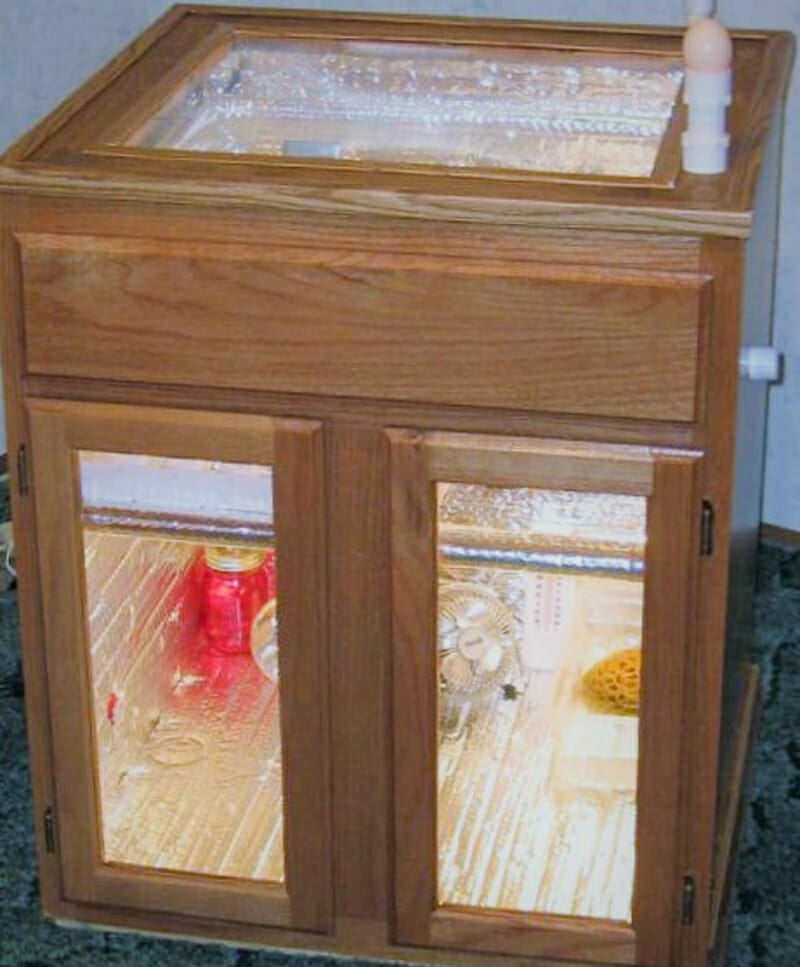
Kitchen Cabinet
Structurally sturdy and with a large capacity, an old kitchen cabinet can become the ultimate hatching machine. This particular incubator holds a whopping 200 eggs. I hope they have a big brooder! Get details on constructing an incubator from a kitchen cabinet unit at Types of Chickens.
Fish Tank/Aquarium
This aquarium can quickly be transformed into an incubator for really cheap. The creator of this incubator spent only $27! See how they insulated it with rice husks in the video below.
Styrofoam Cooler
This homemade incubator seems to have everything you could want. The styrofoam is very easy to cut. It’s watertight and well-insulated. It even has a decent capacity. CyberQuail used it for quail eggs, but it works for chicken eggs as well. See the instructions here.
With each of these styles, there are a wide variety of ways to assemble it. Hopefully, these incubators will inspire you.
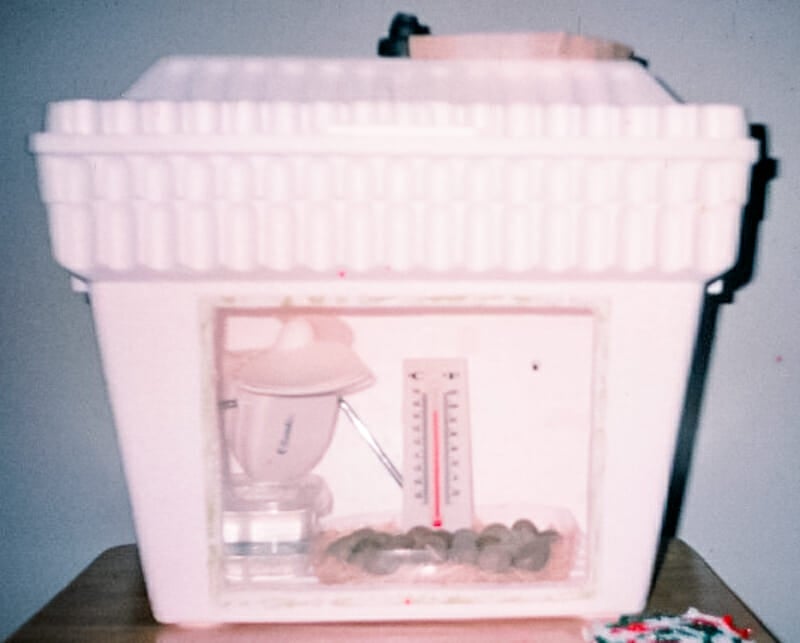
My DIY Incubator
My new incubator (my last one was rushed together and had many flaws) is a 10-gallon aquarium lined with those puzzle floor mats for kids’ rooms. The lighting unit was stolen from an ugly lamp in the basement, held in place with a piece of coat hanger. A computer fan will be added as soon as I get the pictures off my old computer.
Look around your home for things that can be repurposed and you might get away with only buying a thermometer and humidity sensor. I got this combo unit and it’s worked great through three hatches so far.
Pearls of Wisdom
The important thing about creating a homemade incubator is that it needs to be able to control temperature and humidity. That is really all. It seems simple to do that, but lockdown (like in my case) can do you in if you haven’t figured out how to increase the humidity without altering the temperature.
To keep the temperature down I had various openings in my incubator. When I needed to get the humidity up and the sponges weren’t enough, I tried closing a few of the openings. The temperatures skyrocketed, so I opened them back up. We lost one of our chicks because the humidity was too low and she got “stuck”.
This isn’t to scare you out of creating your own incubator. I l learned a lot from my cardboard/glass incubator that didn’t work. I simply stress to you that you want to do a test run not only of the incubation period but also the lockdown procedure so you know what you need to do and how your incubator will respond. Make sure you have this all worked out before you get your eggs.
Make a DIY Egg Turner Too!
Turning eggs as often as they should be turned is a colossal pain in the butt. This egg turner is really easy to assemble and will save you so much time during the hatching process.
For more incubating tips and information I recommend you check out BackyardChickens.com There are some really creative people out there that can help you design as well as pros who can help you solve the problems you’re having getting things right. Really an awesome group to belong to.
If you decide DIY isn’t for you, a complete kit can be purchased for about $160. I really like the Manna Pro Harris Farms Nurture Right Incubator. It has an automatic egg turner and it holds 22 chicken eggs.
Have you made your own incubator before? How did it go?
If you’ve found value in this blog post and enjoyed reading it, why not share it with your Pinterest community? Pin the image below and spread the love!
wow amazing
Great tips, but I am using this branded Brinsea incubators from this website at an affordable cost which costs me similar to these DIY things, you can check them here https://www.littlefieldsfarm.com/poultry/egg-incubators
Hello,
I love the blog article is expensive and fantastic.
Thank you for share us
It is not expensive!
Hello,
I like the blog, it is very unique.
Thank you for share us
You can better control the temperature with a thermostat. Pet shops sell them in the reptile section. You plug your heating device into the thermostat, and put the probe with the eggs. Set the temp and it will cut the lamp off when it gets too hot and it will turn it back on when it starts to get too cold.
Looks interesting.
Congratulations for having a go! I think we would all benefit from spending a little less and thinking a bit more how we can re-use resources at hand.
There’s an explosion of people here in the UK right now looking to keep livestock and grow their own food, I think we’re all a bit fed up with high prices and monopolies from supermarkets.
Keep up the good work!
2 month of electric bills,no chicks. cheaper to buy chicks,imo.
innovation is the key to success.
I just wanted to say fantastic blog!