Hatch Day for Chicks: What to Expect and How to Troubleshoot
Are you nervous about hatch day with your chicks? Discover what the hatching process looks like and learn how to deal with the unexpected.
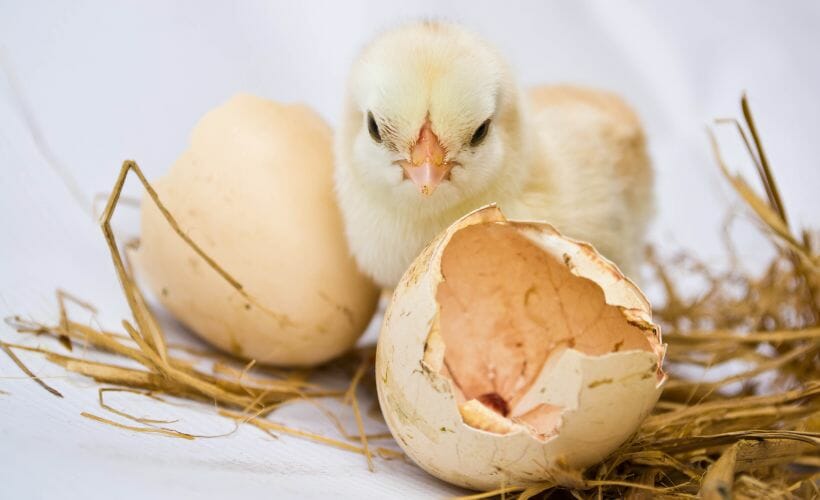
It’s the day we’ve all been waiting for: Hatch Day! For twenty-one days, you’ve been peeking and listening. You’ve had chicks on the brain. Now you finally get to see those fluffy faces. So what can you expect? What does a successful hatch look like? When should you intervene? How do you troubleshoot what might have gone wrong?
If you are hatching ducklings or quail, their requirements are a bit different. Check out my posts, How to Achieve High Hatch Rates with Duck Eggs in Your Incubator, for duckling-specific information, and How to Incubate Quail Eggs & Brood Quail Chicks Like a Pro, for information on hatching quail.
What to Expect During the Hatching Process
First and foremost, 21 days of incubation are not definite. Please do not start panicking when day twenty-one comes along and nothing has happened. More harm comes from over-eager hatchers than from chicks dying from getting stuck. The chick will decide on its own timetable when it should come.
If you haven’t done it yet, make sure your brooder is set up and you’re in lockdown mode.
Pipping, Zipping & Chick Hatching
On hatch day or the days leading up to it, the chick will peck with its egg tooth, located on the end of its beak, until it breaks through the inner membrane (the part that separates the air cell from the chick). This is the gap you’ve seen when you’re candling the eggs. This is called internal pipping. At this time, you might hear them cheeping away.
After that, the chick will make a small hole in the outside of the egg. This hole is called the external pip. Many chicks take a long break at this point, so don’t worry if the egg stops rocking, chirping, and/or progressing.
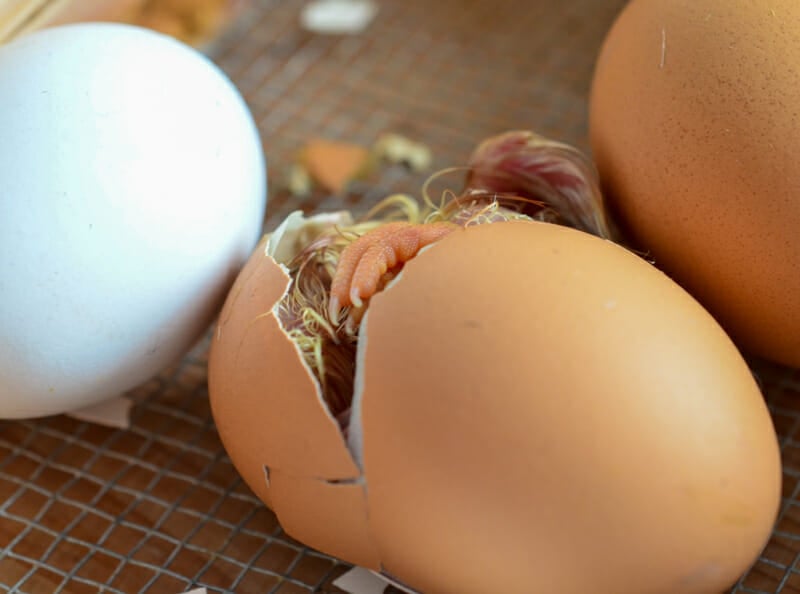
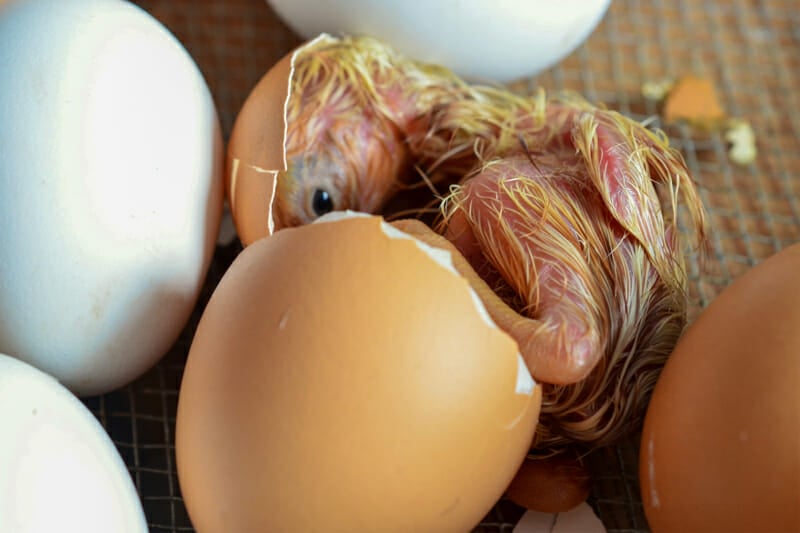
Once it has dozed a bit, the chick will start to unzip the egg. Moving in a circle, they will create a little line in the egg until enough has separated that they can push themselves out. Then you are blessed with a hideously ugly, wet, and nearly bald chick.
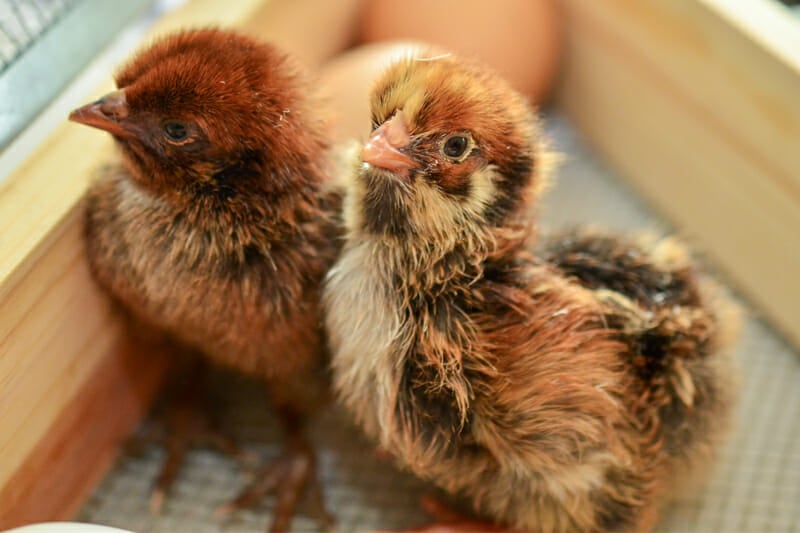
Not what you were expecting? That’s okay! In an hour or two, it will be the cute, fluffy chick you’ve been imagining.
Removing Hatched Chicks
Some words of wisdom: Do not open the incubator to remove chicks unless you are dealing with one of two things. Either all of the chicks have hatched and are fluffy, or it has been 48 hours since the first chick hatched. In that case, grab out all the chicks that are dry and fluffy, and then close the lid quickly.
If an unhatched egg has pipped internally, it can get trapped due to the decrease in humidity, which happens quickly.
Intervening in a Hatch
If you feel you must intervene at some point in the hatching process, please read this very helpful post from Backyard Chickens. The author not only tells you when to assist and when to wait, but she also has a great guide on how to assist and give your chick the best odds.
I recommend reading before starting a hatch so you are prepared for the worst-case scenario. Please be forewarned that some photos may be hard for some to see, and she doesn’t sugarcoat.
Why Some Eggs Don’t Hatch
Even with the best of care, some chicks just don’t make it. That’s true even when you let a hen hatch your eggs. It’s a sad thing, but knowing what happened and why it may happen can at least turn a loss into a learning experience. Here are a few things that may happen during incubation (as well as ways to prevent them):
Clear/Infertile Eggs
Caused by a variety of things, including unhealthy males or females, seasonal fertility decline, eggs damaged by the environment (too hot or too cold), and incorrectly stored eggs.
To avoid clear/infertile eggs, make sure your breeders are healthy with a balanced diet, use younger roosters, collect eggs frequently, and be sure to store eggs at 50-60°F and 60% relative humidity for no more than 7 days.
Blood Rings (bacteria inside the egg)
Caused by improper storage, improper incubator temperatures, and unclean storage, handling, and incubating.
To avoid blood rings, do not attempt to hatch very dirty eggs; check your incubator temperatures; run a test run for several days before setting eggs; and make sure that all things the eggs come into contact with are clean.
Early Quitters (chicks lost in the first week)
Caused by improper incubator temperatures (usually too high), not turning the eggs, poor ventilation, or disease in the flock.
To avoid having early losses, again, do a test run so you know your incubator is running at the proper temperature, turn eggs at least 3 or 5 times a day (always in odd numbers), make sure that you have proper ventilation while avoiding drafts, and always hatch eggs from a healthy flock. I’ve had great luck calibrating my Brinsea Mini Advanced Incubator, but I know that this particular incubator is a decent-sized financial investment.
Pipped Without Hatching
Caused by low humidity, lack of ventilation, or malpositioned chicks. To avoid the chick’s body getting stuck in the egg, make sure your humidity levels are around 40-45% for the first 18 days and 60-65% during lockdown (unless you are doing a dry hatch), make sure there is adequate airflow in the incubator, and be sure to turn eggs up until lockdown and then hands off.
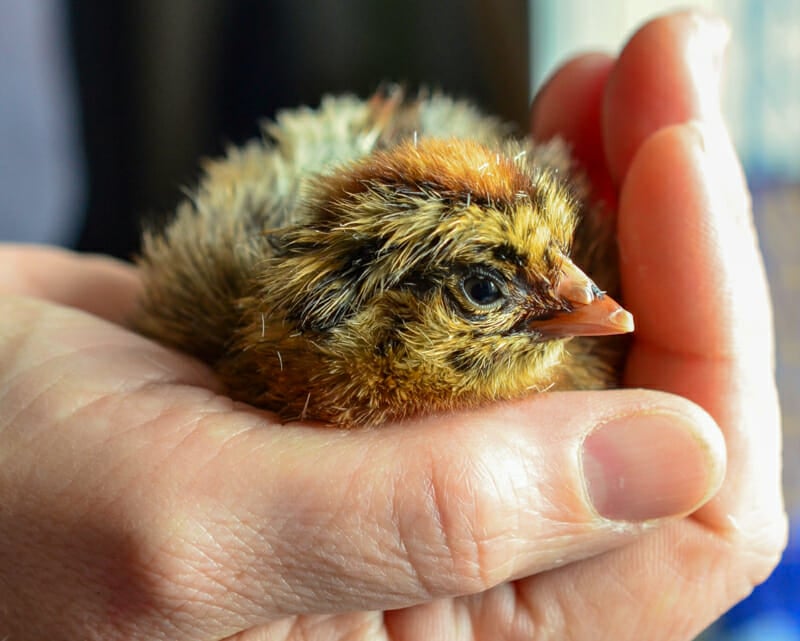
Not all losses are from human error. Sometimes you can do everything right and still have losses. Rarely do people get a 100% hatch success rate. We had one infertile egg, one blood ring, two early quitters, and one chick we lost at the hatch. I consider thirteen out of eighteen a successful hatch.
Frequently Asked Questions
Need some help raising those fluffy chicks?
Check out these guides for raising chicken chicks:
- How To Care For Laying Hens: A Beginner’s Guide to Everything
- Easily Fix Spraddle Leg/Splayed Legs with a Drinking Glass
- When to Switch Your Poultry’s Feed
- 5 Easy DIY Chick Brooders You Can Make from The Prairie Homestead
- Backyard Chickens 101 – Chick Care from Ever Growing Farm
- 5 Things Baby Chicks Need from A Farmish Kind of Life
If you’ve found value in this blog post and enjoyed reading it, why not share it with your Pinterest community? Pin the image below and spread the love!
For anyone who loves chickens, hatching day is an exciting event that marks the end of weeks of careful planning and waiting. Even though the hatching process is not always predictable, knowing what to expect and how to get ready can greatly improve your chances of a successful hatch. Always keep in mind that the best way to let nature run its course is to be patient and not get in the way. If you know what to do and get ready, you can look forward to adding new fluffy chicks to your flock.
Have you ever had to intervene during a hatch? Share your story and any tips you have for first-time hatchers navigating this delicate process.
Happy hatching everyone!

