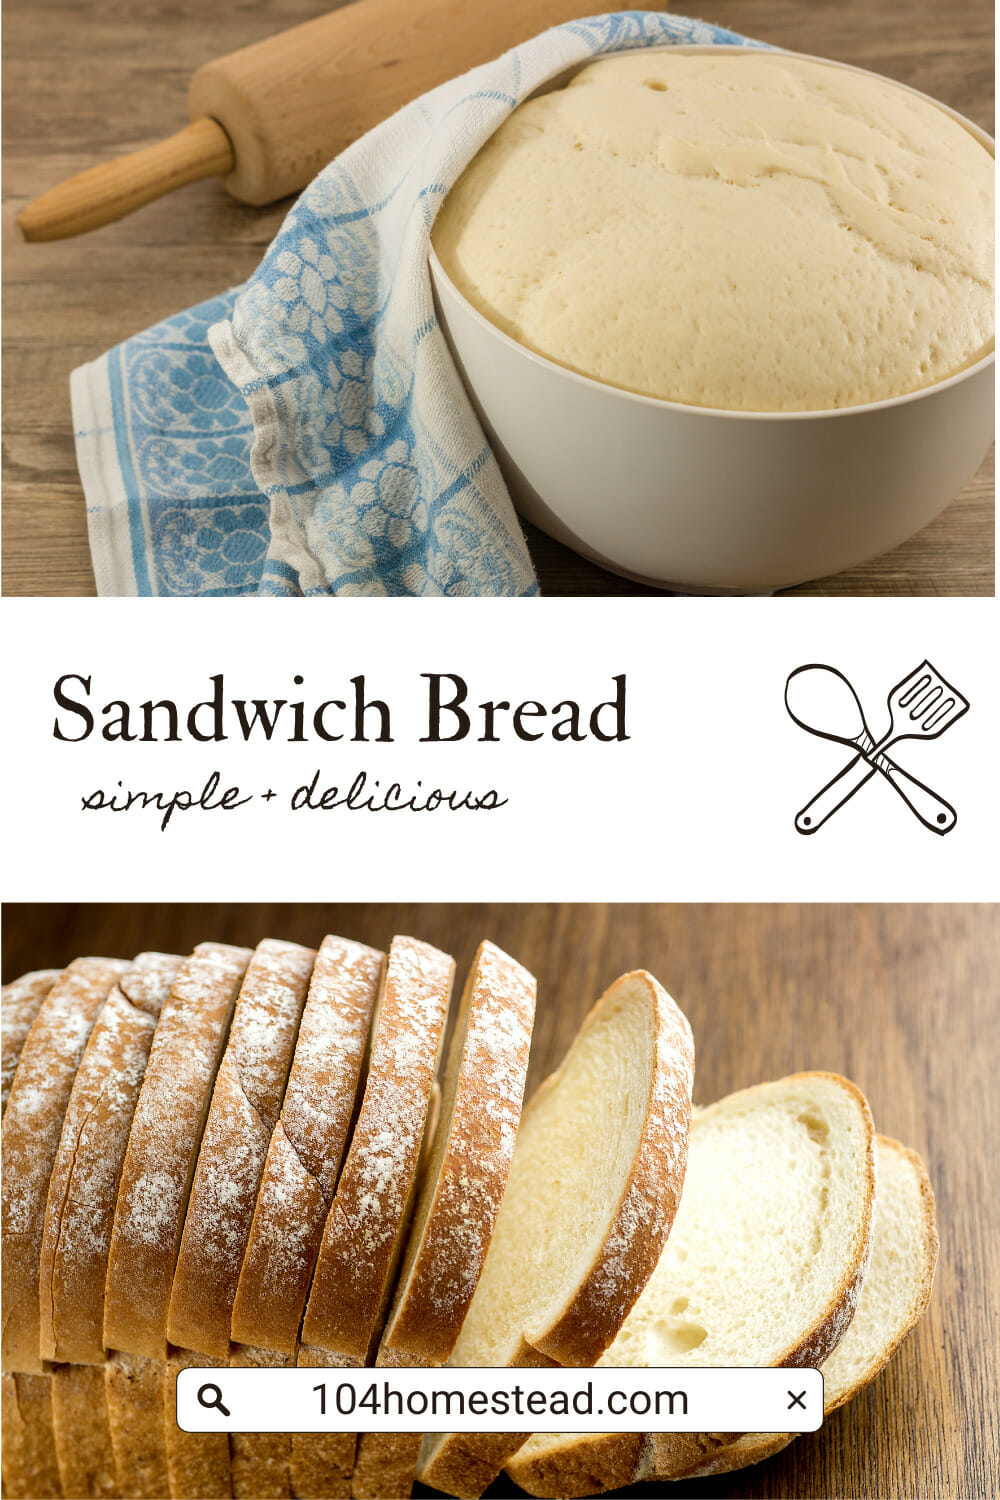
Unleash Your Inner Baker: The Ultimate White Bread Recipe
Want to bake your own sandwich bread? Here’s a homemade white bread recipe that’s delicious and easy to make. Perfect for PB&Js!
Are you tired of settling for bland, mass-produced bread from the store? Well, it’s time to take matters into your own hands and unleash your inner baker. I will share with you a simple white bread recipe that will have your taste buds dancing with delight. No fancy equipment is required, just a little time and a lot of enthusiasm.
Imagine sinking your teeth into a freshly baked slice of bread, warm from the oven, with a golden crust and a pillowy, soft interior. The aroma fills your kitchen, enticing everyone in the house. It’s the kind of bread that transforms an ordinary sandwich into a gourmet masterpiece.
But don’t worry. You don’t need to be a professional baker to achieve these results. I will guide you through each process step, from gathering your ingredients to enjoying the final product. It’s a straightforward recipe that has been kid-tested and approved.
Homemade White Bread Recipe
So, if you’re ready to elevate your sandwich game and bid farewell to mediocre store-bought bread, join me on this culinary adventure. Let’s dive into the world of bread-making and unleash your inner baker. It’s time to create fresh, fluffy, and flavorful sandwich bread that will make your taste buds sing. Get your apron on because we’re about to embark on a journey to revolutionize your sandwich experience. Let’s start baking today!
Before we begin with this white bread recipe, you should take a moment to read 9 Secrets to Successful Bread Making.
Gather Your Ingredients
The first step is to gather all the necessary ingredients to kick off your bread-making journey. So, what exactly do you need for this white bread recipe? Let’s start with the basics: flour, milk, water, sugar, butter, salt, and instant yeast.
All-purpose flour and bread flour both contain the right amount of protein to create light and airy bread, so you can choose whichever you prefer.
The sugar will provide food for the yeast, aiding its activation and ensuring a good rise. On the other hand, salt enhances the taste and helps regulate the fermentation process. Salted butter is used in this recipe. Water should be lukewarm as it helps activate the yeast without killing it. The addition of milk makes the bread softer and sweeter.
Combine and Knead the Dough
Combining the ingredients is where the magic of bread-making truly begins. Start by pouring your measured warm water into a large mixing bowl. The water’s warmth will activate the yeast, helping it thrive and create the desired rise in your bread.
Next, add the sugar and yeast to the warm water. Sugar acts as fuel for the yeast, ensuring it ferments and releases carbon dioxide, which helps the bread rise. Allow the yeast mixture to sit for a few minutes, allowing the yeast to activate and bubble up. This foamy concoction is a sign that your yeast is alive and ready to work its magic.
Once the yeast has bloomed, it’s time to add the melted butter, milk, and salt. Begin by gradually incorporating the flour into the yeast mixture, stirring it with a sturdy wooden spoon. As the mixture thickens, use your hands to bring the dough together. Add flour until the dough pulls away from the bowl’s sides, forming a sticky mass.
Now comes the satisfying part – kneading the dough. Turn the dough out onto a lightly floured surface and start pressing down on it with the heels of your hands, pushing forward and folding it over itself. Repeat this process for about 8-10 minutes or until the dough becomes smooth, elastic, and springy to the touch. Add additional flour (1 tbsp at a time) if the dough seems too sticky.
Once the dough has been thoroughly kneaded, gather it into a ball and place it back into the mixing bowl. Cover the bowl with a clean kitchen towel or plastic wrap, and let the dough rise until it has doubled in size. This process typically takes about one hour but depends on the room temperature and the activity of your yeast.
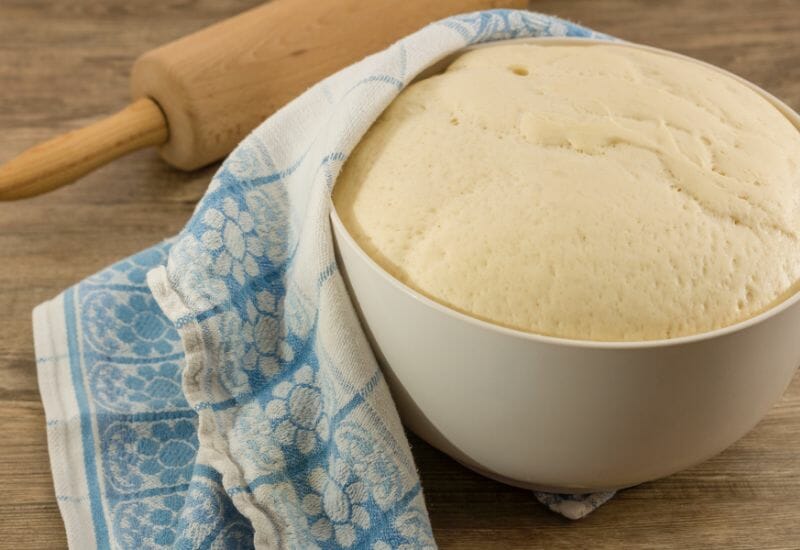
Let the Dough Rise
Letting the dough rise is a crucial step in the bread-making process. As the yeast in the dough consumes the sugars and produces carbon dioxide, it creates tiny air bubbles that cause the dough to expand. This process not only gives the bread its light and airy texture but also develops its full flavor.
It’s important to remember that patience is key. Rushing this process can result in a dense and uneven loaf, so waiting for the dough to reach its full potential is worth waiting for.
Shape & Bake the Bread
Gently remove the risen dough from the bowl. As you handle the dough, be careful not to deflate it too much, as this will affect the final texture of your bread. Divide the dough into two and form both sections into balls. Allow balls to rest for 10 minutes. Grease two standard-size loaf pans with non-stick spray or olive oil.
Using your hands, shape both balls into smooth loaf shapes. To do this, tuck the edges of the dough underneath itself, rotating it as you go. The dough will become firmer and hold its shape better as you work. This process helps create a tight gluten structure, contributing to a light and airy loaf.
Once you’ve achieved a standard loaf shape, transfer the dough into the two greased loaf pans. At this point, you can make slashes on the surface of the dough using a sharp knife or razor blade. These slashes add visual appeal and allow for controlled expansion during baking.
Cover the loaf pans loosely with a kitchen towel or plastic wrap and let it rest for about 30 minutes. This short rest period, also known as proofing, allows the dough to relax and rise slightly, further enhancing its texture and flavor development.
In the meantime, preheat your oven to 425°F to ensure it reaches the desired temperature by the time your bread is ready to be baked. This initial burst of heat helps create a crisp and golden crust.
Place the bread in the preheated oven when the proofing time is up. Immediately reduce the heat to 375°F. For an extra moisture boost, add a pan of hot water to the bottom rack of the oven. This steam creates a humid environment and promotes a glossy crust.
Bake the bread for approximately 30 to 35 minutes, or until the crust turns a deep golden brown and sounds hollow when tapped on the bottom. Keep a close eye on it during the last few minutes to avoid over-browning.
Once baked, carefully transfer the loaves of bread onto a wire rack to cool completely. Digging in immediately is tempting, but allowing the bread to cool will help the interior finish setting and prevent it from becoming gummy.
Enjoy Your Homemade White Bread
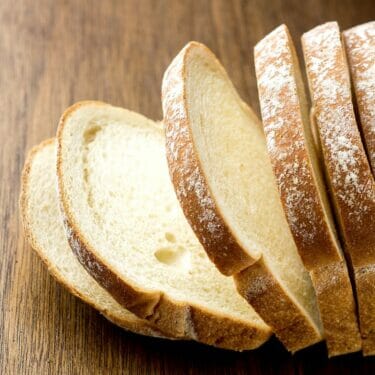
Once your bread is cool to the touch, it’s time to savor the moment. Gently slice through the crust, revealing the soft and tender interior.
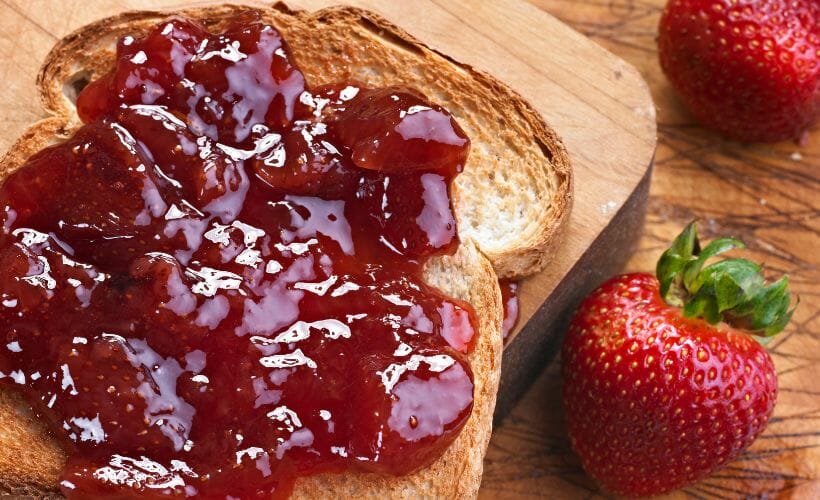
Spread butter on a slice or perhaps a dollop of your favorite jam. Or enjoy it as French toast (it holds up better than its commercial counterparts). Whichever way you choose to savor your homemade white bread, the experience is guaranteed to be delightful.
If you’ve found value in this blog post and enjoyed reading it, why not share it with your Pinterest community? Pin the image below and spread the love!
Say farewell to bland store-bought bread and indulge in your homemade masterpiece’s fluffy, flavorful goodness. So, what are you waiting for? Get your apron on, preheat that oven, and elevate your sandwich game today. As you savor that first bite, you’ll realize that the joy of homemade goodness is worth the effort. Maybe you’ll try Potato Bread next!
What’s your favorite memory associated with the smell of freshly baked bread? Share your stories and let’s celebrate the joy of homemade goodness together!
Delicious Homemade White Bread Recipe
This post may contain paid links. If you make a purchase using the links in this recipe, I may earn a commission.
Equipment
- 2 9" x 5" Loaf Pans
Ingredients
- 5 ½ c. All-Purpose Flour or bread flour
- 1 c. Milk
- 1 c. Water lukewarm
- 2 tbsp. Sugar
- 2 tbsp. Butter melted
- 1 tbsp. Salt
- 2 ¼ tsp. Instant Yeast or 1 packet
Instructions
- Start by pouring your measured warm water into a large mixing bowl. Next, add the sugar and yeast to the warm water. Allow the yeast mixture to sit for a few minutes, allowing the yeast to activate and bubble up.1 c. Water, 2 tbsp. Sugar, 2 1/4 tsp. Instant Yeast
- Once the yeast has bloomed, it’s time to add the melted butter, milk, and salt.1 c. Milk, 2 tbsp. Butter, 1 tbsp. Salt
- Gradually incorporate the flour into the yeast mixture, stirring it with a sturdy wooden spoon. As the mixture thickens, use your hands to bring the dough together. Add flour until the dough pulls away from the bowl’s sides, forming a sticky mass.5 1/2 c. All-Purpose Flour
- Turn the dough out onto a lightly floured surface and knead for about 8-10 minutes or until the dough becomes smooth, elastic, and springy to the touch. Add additional flour (1 tbsp at a time) if the dough seems too sticky.
- Gather the dough into a ball and place it back into the mixing bowl. Cover the bowl with a clean kitchen towel or plastic wrap, and let the dough rise until it has doubled in size.
- Divide the dough into two and form both sections into two balls. Allow balls to rest for 10 minutes.
- Grease two standard-size loaf pans with non-stick spray or olive oil.
- Shape both balls into smooth loaf shapes and transfer them into the two greased loaf pans. Slash the tops of the loaves.
- Cover the loaf pans loosely with a kitchen towel or plastic wrap and let it rest for about 30 minutes. In the meantime, preheat your oven to 425°F.
- Place the bread in the preheated oven when the proofing time is up. Immediately reduce the heat to 375°F. Bake the bread for approximately 30 to 35 minutes, or until the crust turns a deep golden brown and sounds hollow when tapped on the bottom.
- Once baked, carefully transfer the loaves of bread onto a wire rack to cool completely.
Hi! Love your blog! Just a quick question about the bread… I grind my own wheat, and the texture is a bit different than any bread flour you will buy. Do you think it will yield a similar result? Also, can I cheat and use my bread machine? Lol.
Can this be changed into a bread mach He recipe?
Ugh, if only I found your site prior to this, it would have saved me a lot of work and frustration where homemade bread is concerned!!! THIS is exactly the taste I’ve been striving for!! Now though I need to work on the process of rising the dough, I am so elated to have found this recipe!!!
I am so happy to hear this! Did you see my post, Secrets to Successful Bread? There are a lot of tips that might help with your rising problems.
Jessica, I’m glad you found just the recipe to please your family. There’s nothing like homemade bread. I have a food processor and a stand mixer, and I can tell you how to make bread with them; but I prefer making it by hand. Kneading bread dough is positively therapeutic! 😀 I’ve been making bread since I was a young girl and I make bread twice a week. Haven’t bought a loaf at the store since I don’t know when.
I wish pages that offered recipes would have a PRINT option.. some do but many do not..
I am planning to do just that here on The 104 Homestead. I completely agree with you.
Talk about a non-traditional homesteader…. I run an eBay and internet business! When not in cyber space, I care for my lil old house, garden, heat as much as I can with our wood stove, enjoy our tiny 3 hen flock of chickens and bake my own bread. Oh, and by the way, melting the butter to make this bread recipe in a rinsed out yogurt cup is not saving resources, but it will provide a bit of drama when the cup catches fire in the microwave!
~Christina
Oh no! Please be safe when baking your bread 🙂
Once finishing kneading I would put it straight into the bread tins, as it doesn’t rise at all the second time.
I’m not sure why you wouldn’t get a second rise from the bread. Maybe the room isn’t warm enough? You certainly can pop it right in the oven, but I find without the second rise, the bread tends to be a bit more dense.
I made this bread today. It is Delicious and I am so happy to have found it.
My DH also loves it and he says it is the best bread I have ever made and I tell you that I have made a lot of homemade bread in our lifetime together.
Thanks again for this wonderful and easy recipe.
I am so glad to hear that! My poor family had to suffer through a lot of trial end error until I found just the right recipe for us.