How to Get a Broody Hen to Adopt Chicks (Even If They Aren’t Hers)
Learn how to introduce chicks to a broody hen, troubleshoot if she rejects them, and give your flock the best chance at a smooth adoption.
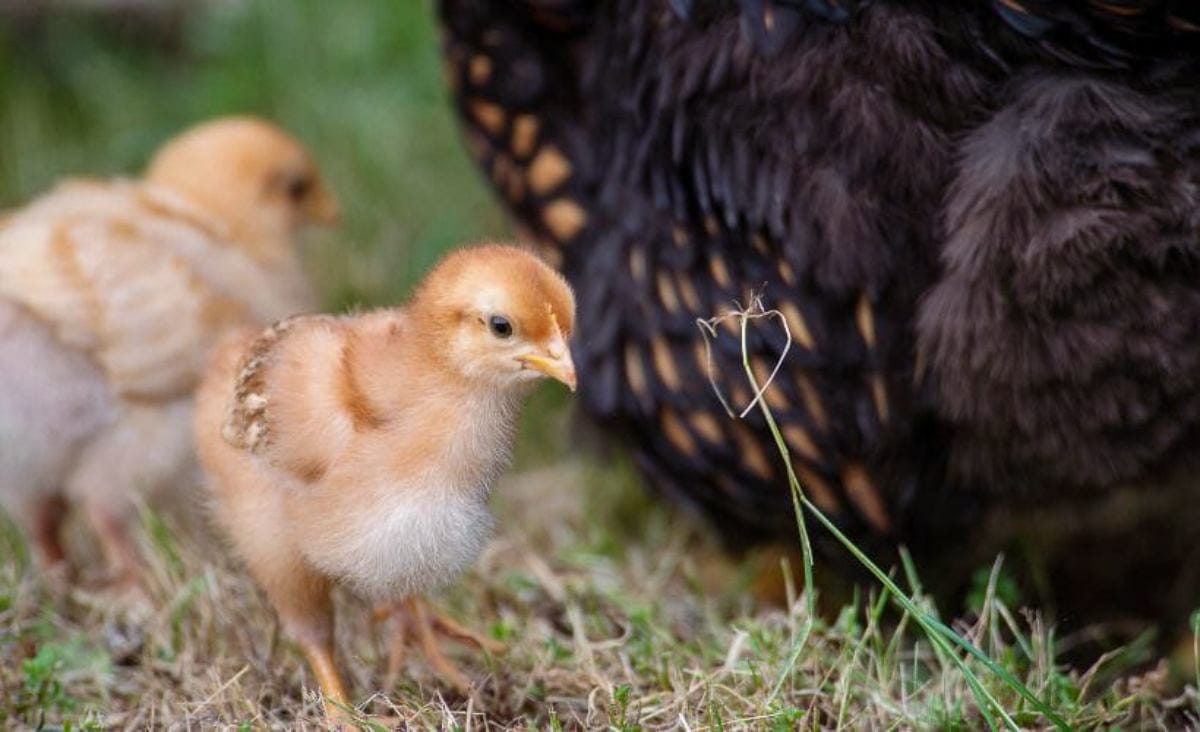
There’s something magical about watching a mama hen puff up her feathers, cluck to her babies, and tuck them safely under her wings. If you’ve got a broody hen, you might be tempted to let her do the hard work of raising chicks for you. No heat lamps, no stinky brooder, no stressing over when to integrate them into the flock. It sounds pretty dreamy, right?
But here’s the kicker: not every hen is a natural at adoption. Some hens take to chicks instantly. Others… not so much. I’ve had near-perfect success rates getting hens to accept chicks, but I’ll admit there have been a couple of times when it didn’t go as planned. That’s why I always go in with a game plan (and a backup plan) because hens don’t always cooperate the way you hope they will.
I’ll walk you through the steps I take when introducing day-old chicks to a broody hen, what to do if she rejects them, and a few FAQs I hear often. By the end, you’ll feel confident giving your hen a chance to mother chicks, even if they aren’t hers.
Why Let a Broody Hen Adopt Chicks
The big win here is simple: you don’t have to brood them indoors. No lamps, no daily cleanouts, no awkward teenage chicks in your mudroom. The hen does all of that for you. She also:
- Keeps them warm and safe from predators.
- Teaches them how to eat, drink, and scratch.
- Integrates them into the flock naturally.
Honestly, it’s about as hands-off as chicken-keeping gets. That said, hens aren’t robots. Some are incredible mothers, while others simply don’t take to the role, especially if you’re trying to graft chicks onto them instead of letting them hatch their own.
If you’re weighing your options, you might also want to read about hatching chicks with a broody hen or incubator so you can decide which route makes the most sense for your flock.
How I Get a Broody Hen to Accept Chicks
If you’ve got a broody hen ready to mother, the next part is all about setting her (and the chicks) up for success. Here’s exactly how I go about it, step by step.
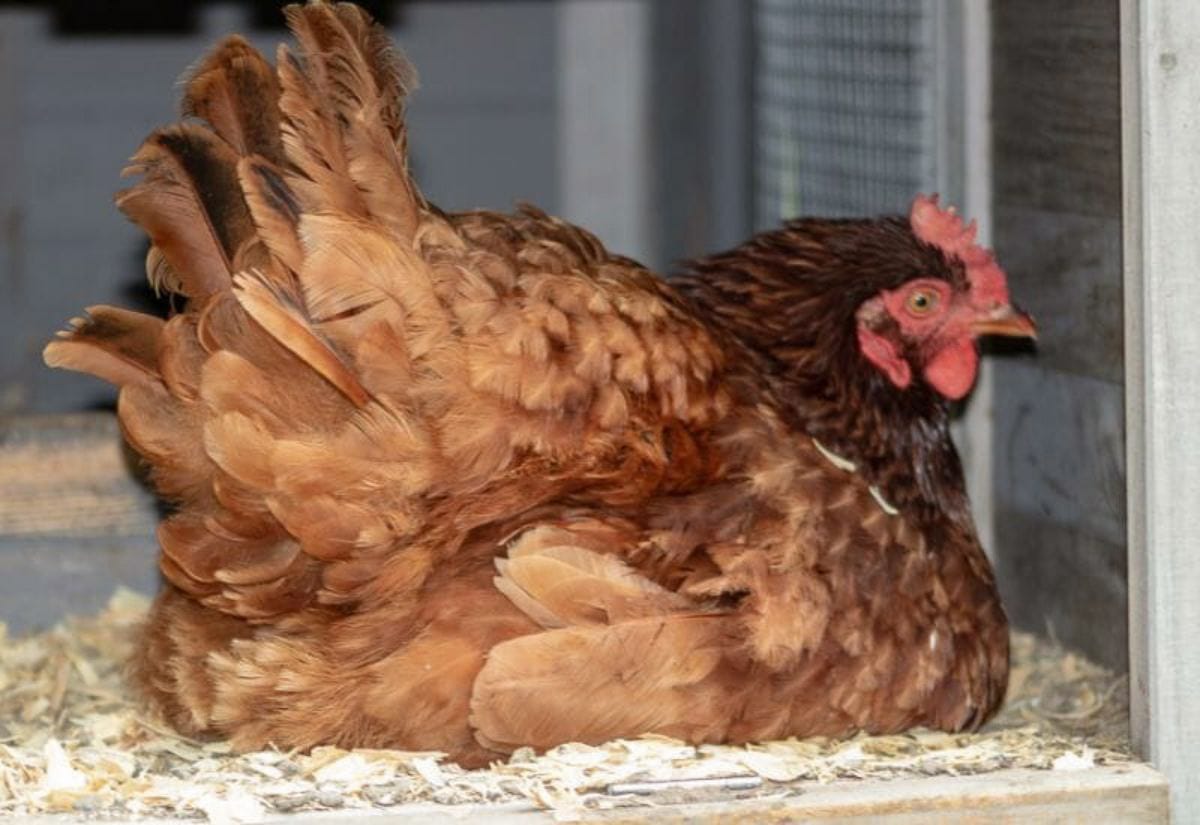
Step 1: Make Sure She’s Truly Broody
Here’s where people trip up. Not every hen who lingers in the nest box is broody. You want one that’s been glued to her nest for at least 2 weeks. She should show signs like:
- Growling, puffing up, or pecking when you reach for eggs.
- Bare chest and belly feathers (she plucks them for skin-to-egg contact).
- Only leaving the nest once or twice a day to eat and drink.
- Flattened, “pancake” posture over her nest.
If she’s not displaying these signs, don’t waste your chicks on her. She won’t stick with the job.
I always give my broody hens a few dummy eggs to sit on before I even think about giving them chicks. It sets her into full-on mama mode.
If you’re still learning the ropes of chicken care, my guide on how to care for laying hens covers all the basics of keeping your flock healthy and productive.
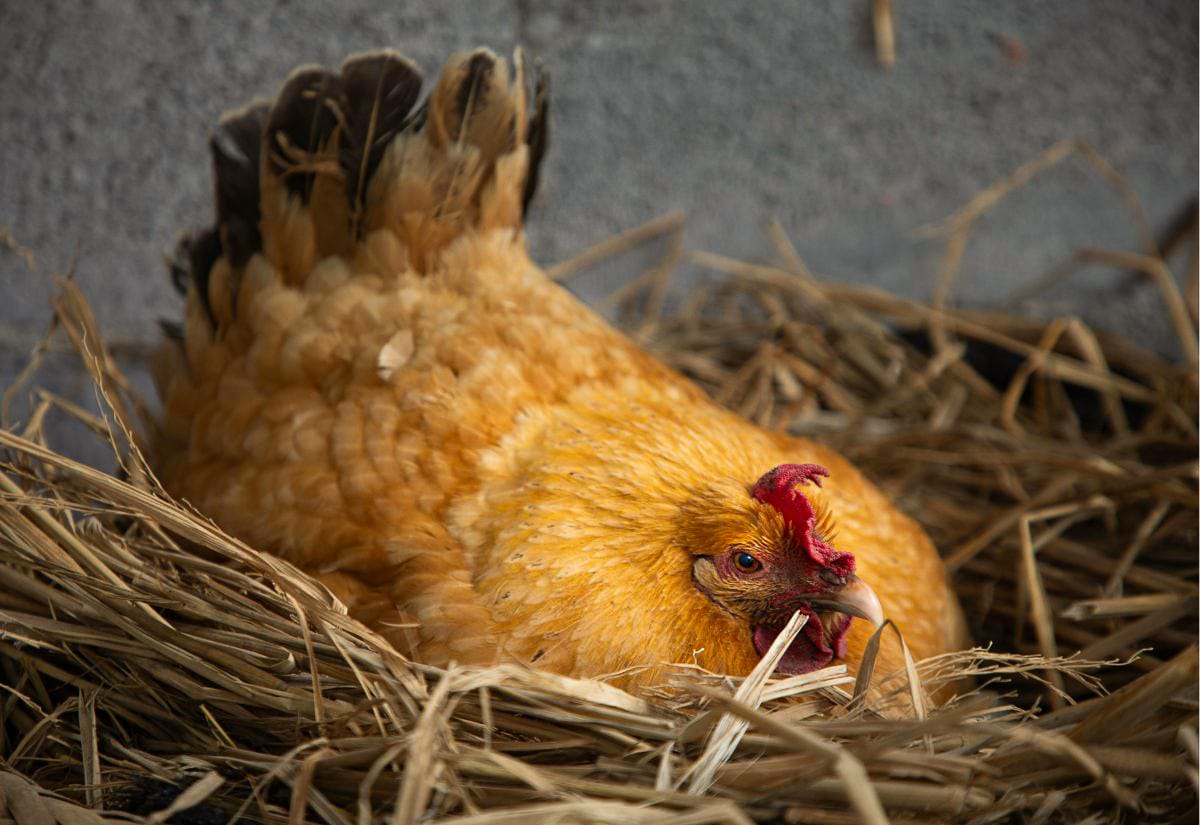
Step 2: Prep the Nesting Area
I’ve had hens fail at the job just because their spot was too noisy or crowded. Here’s what I do:
- Separate but visible: I like a broody box or corner of the coop where the hen can see the flock but isn’t being harassed.
- Cozy nest: Straw or hay works fine. Keep it clean and well-ventilated.
- Low traffic: A quiet, dim spot helps her relax.
If she’s in a high-traffic area of the coop, she may get distracted or stressed and be less likely to accept chicks.
Step 3: Timing the Introduction
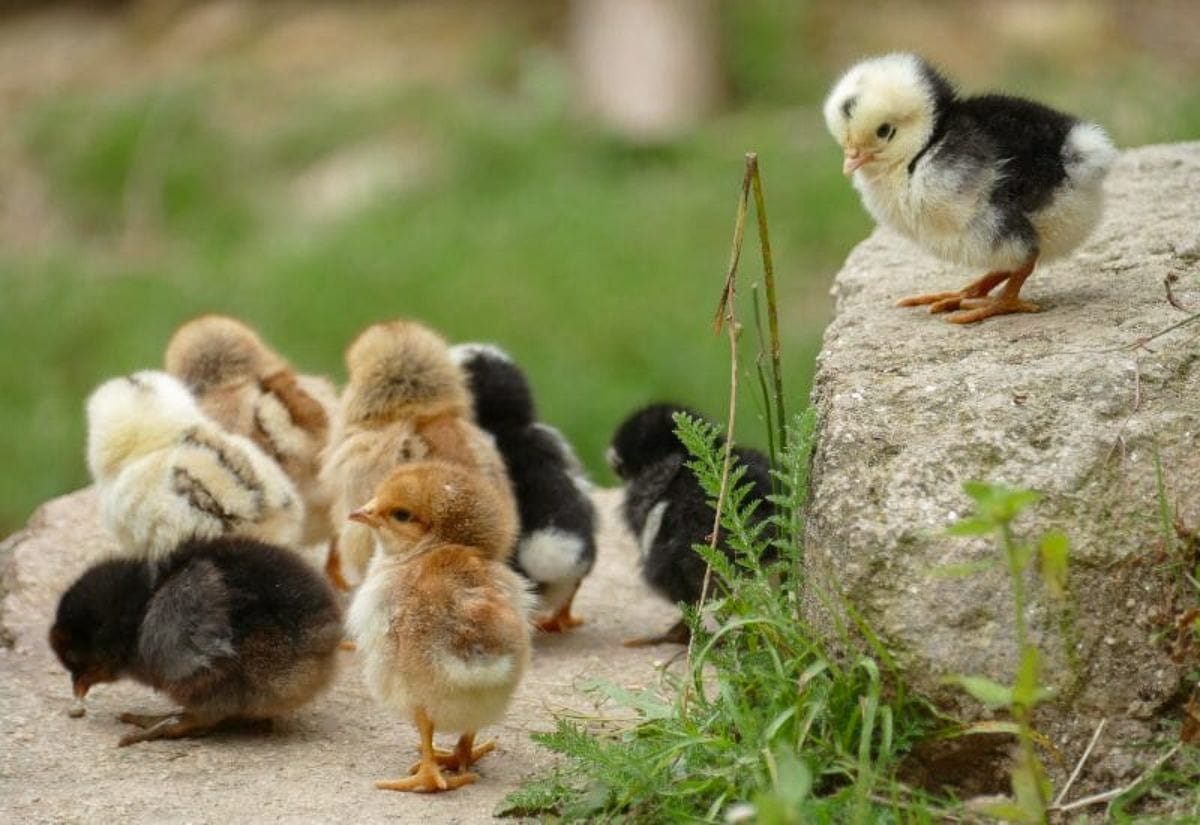
This is the step that really decides whether it works or not. Nighttime is your best friend. Wait until she’s been on eggs for 2–3 weeks, then after dark, slip the chicks under her. She’s half-asleep, her hormones are in full swing, and those little peeps usually kick her mothering instincts into gear.
You don’t have to use only day-olds, but chicks should be less than a week old. The younger, the better. Older chicks move differently and hens can sense the mismatch.
When I tried slipping in week-old chicks once, the hen wasn’t convinced. Lesson learned: stick to the younger ones.
Step 4: Watch and Troubleshoot
When she first notices the chicks, expect curiosity: clucking, bobbing her head, maybe puffing up. Within minutes, she should hunker down and start tucking them under her. That’s when you know she’s claimed them as hers.
But sometimes things go sideways. A hen might peck, shove, or outright ignore the chicks. If you see forceful pecking or hear distressed cheeping that doesn’t stop, it’s time to step in. Don’t just hope it’ll work itself out. Tiny chicks just can’t take that kind of risk.
What to Do If She Rejects the Chicks
This is the part most blogs gloss over, but it’s exactly what people search for when they type “broody hen not accepting chicks.”
If your hen says “no thanks”:
- Pull the chicks immediately. Don’t wait and see.
- Try again later that night with the same hen (sometimes she just needs a second introduction).
- Test with another broody hen if you have one.
- Time to move them into the brooder if no hens will take them. Always have one ready. You’ll kick yourself if you don’t.
And honestly, some hens just aren’t into it. Doesn’t mean they won’t make great mamas next time, but forcing it isn’t worth the stress.
Questions About Broody Hen Chick Adoption
Not sure if your hen’s cut out for adoption? Here are a few of the questions I hear most often
Thinking about letting a hen raise your chicks? Keep this guide handy by saving it to your chicken-keeping board.
Getting a broody hen to adopt chicks can be one of the most stressful (but most satisfying) ways to add to your flock. When it works, you get happy chicks, a fulfilled mama, and a whole lot less work for you. But I’ll be honest, it doesn’t always go smoothly. That’s why the best advice I can give is to prepare your hen, introduce chicks at night, and always have a brooder ready just in case.
And if you’d rather skip the brooding process altogether, you can always look into started pullets. They’ll get you to fresh eggs faster without raising chicks from scratch.
Have you ever tried giving chicks to a broody hen? I’d love to hear how it went for you. Drop a comment below.