12 Bread Baking Tips & Tricks for Perfect Homemade Loaves
Master homemade bread with these 12 bread baking tips and tricks! Learn how to bake soft, fluffy, and flavorful loaves every time.
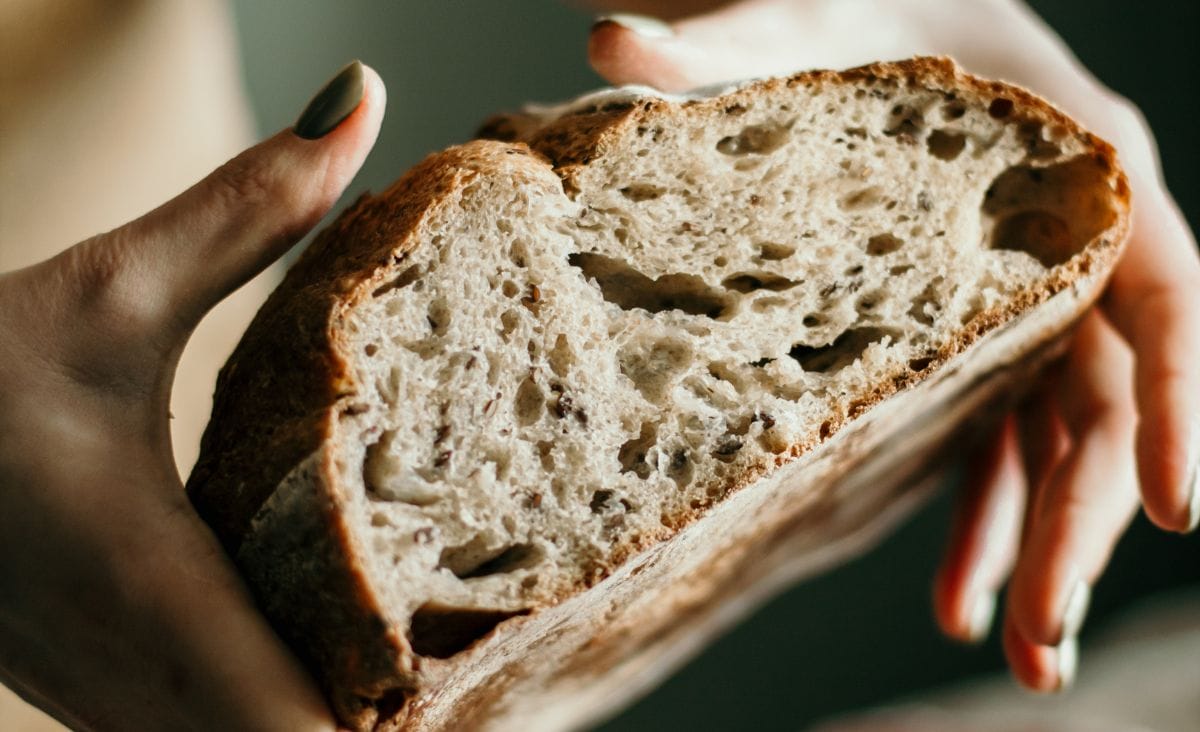
There was a time when my homemade bread was so dense and dry that even the dog wouldn’t touch it. Trust me, I know the struggle of mastering bread baking—the frustration, the flops, and the kitchen disasters. But after countless trials and errors, I’ve learned some game-changing tips that transformed my bread from brick-like loaves to soft, fluffy perfection.
In this guide, I’m sharing my best bread baking tips and tricks to help you avoid common mistakes and bake delicious, homemade bread every time. From understanding how yeast works to mastering dough handling, these bread-making secrets will take your baking skills to the next level. Plus, I’ll share some of my favorite bread recipes to get you started.
1. Keep Yeast and Salt Separate
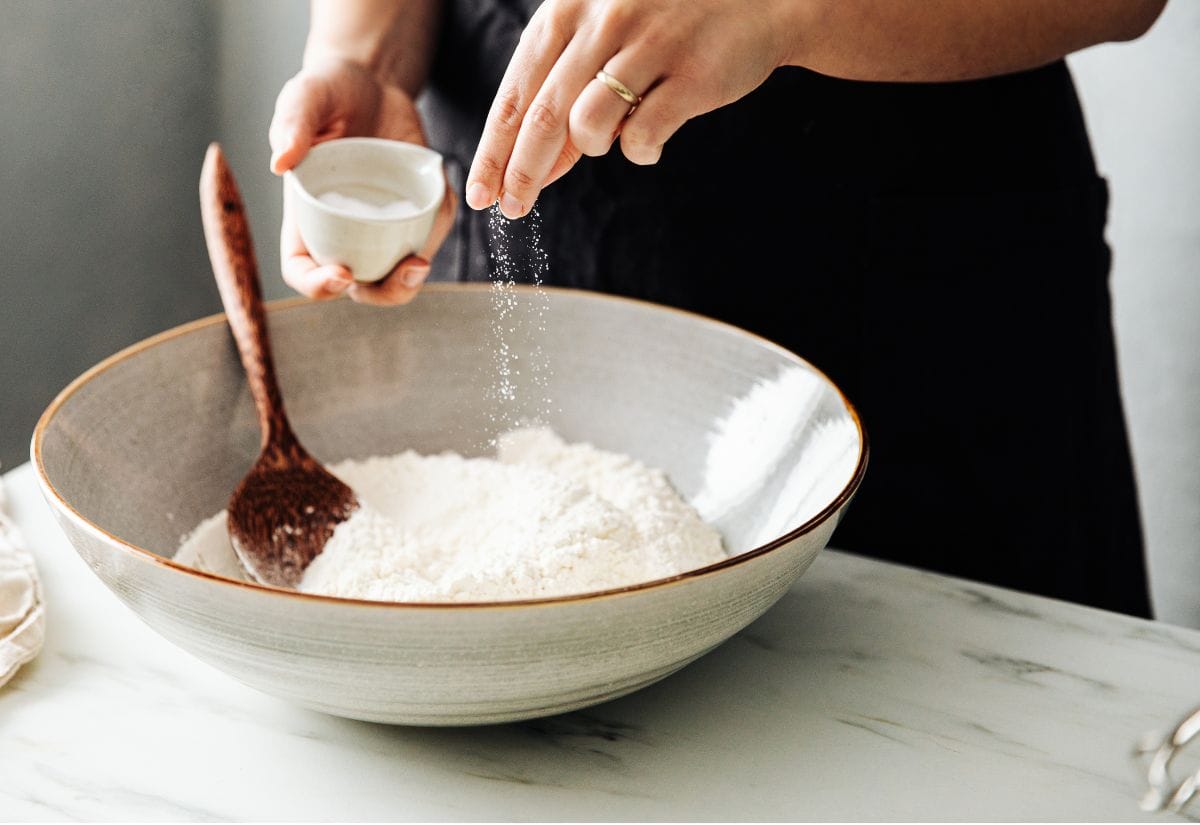
When mixing dry ingredients, always keep yeast and salt apart. Salt can kill or slow down yeast activity, preventing your dough from rising properly. I usually add salt to the flour and place the yeast on the opposite side of the bowl before mixing. This ensures the yeast activates as it should, leading to better rise and texture.
2. Choose the Right Yeast
Using the right yeast makes all the difference. I swear by SAF Instant Yeast because it’s consistent and doesn’t require proofing. Plus, storing it in the freezer keeps it fresh for months. Active dry yeast works too, but it needs to be dissolved in warm water first. Pick the yeast that fits your baking style and storage habits.
3. Use a Dough Enhancer
A dough enhancer, like powdered milk, vital wheat gluten, or even a splash of lemon juice, can improve your bread’s texture. These ingredients help create a lighter, fluffier loaf, especially when baking with whole wheat flour. You can also make a homemade dough enhancer by combining just a few simple ingrediets.
4. Be Flexible with Flour Amounts
Flour isn’t a one-size-fits-all measurement. Weather, humidity, and altitude can all affect how much flour your dough needs. Start with a cup less than the recipe suggests and slowly add more until the dough pulls away from the bowl and feels slightly tacky but not sticky. Trust your hands more than the recipe.
5. Measure Flour Correctly
Incorrectly measuring flour is a common mistake. Never scoop directly from the bag—it compacts the flour and leads to dry, dense bread. Instead, spoon the flour into your measuring cup and level it with a knife. Better yet, use a kitchen scale for precision.
6. Always Use Fresh Ingredients
Expired yeast or baking powder can ruin your bread. Always check expiration dates, especially on yeast. If you’re unsure about your yeast, dissolve a teaspoon in warm water with a bit of sugar. If it doesn’t foam after 5-10 minutes, it’s time for fresh yeast.
7. Use Oil Instead of Flour for Kneading
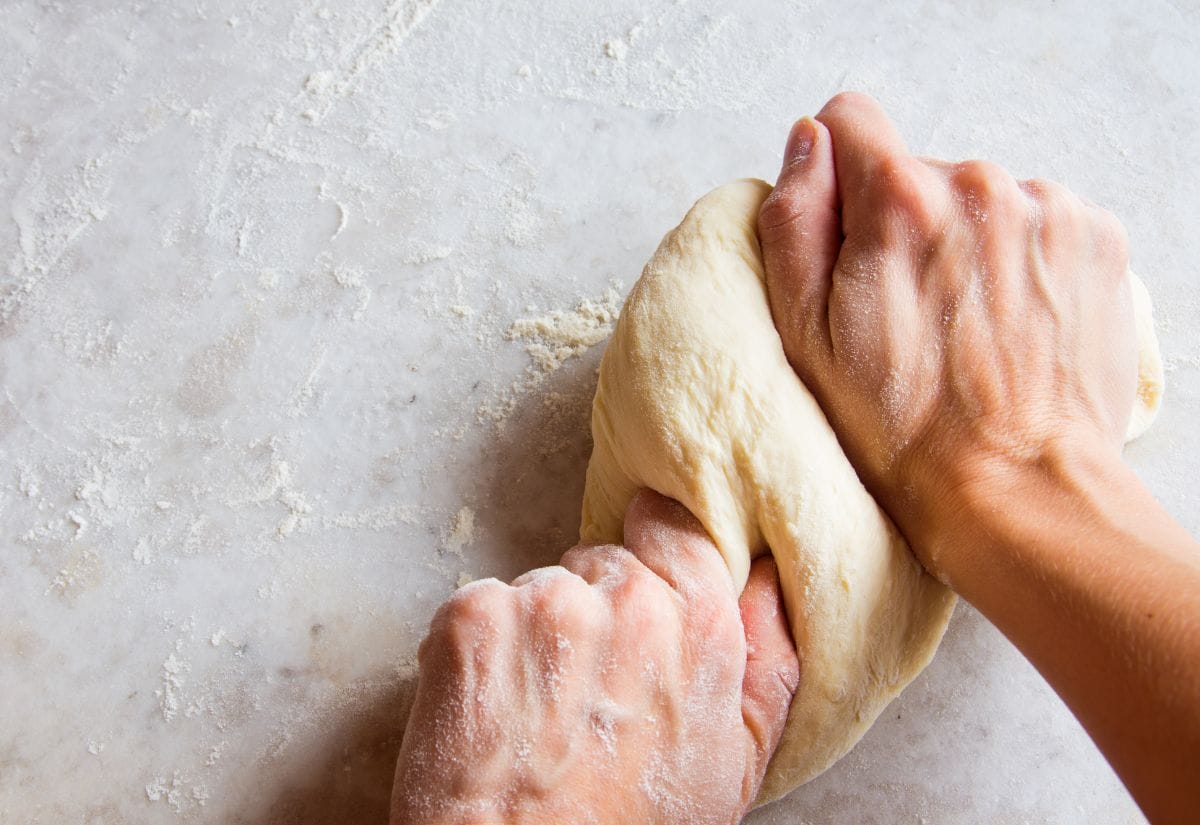
Too much flour during kneading can make some bread dry. If I’m working on a traditionally dry dough, I lightly oil my hands and countertop instead—it keeps the dough moist and prevents sticking. Olive oil or vegetable oil works great and can even add a subtle flavor to the bread. If you are using flour, less is more.
8. Create the Perfect Rising Environment
Cold, drafty kitchens can sabotage rising dough. I preheat my oven to 170°F for a few minutes, turn it off, and place the dough inside. Alternatively, cover your dough and place it near a warm appliance or in a proofing box to create the perfect rising environment.

9. Add Steam for a Crispy Crust
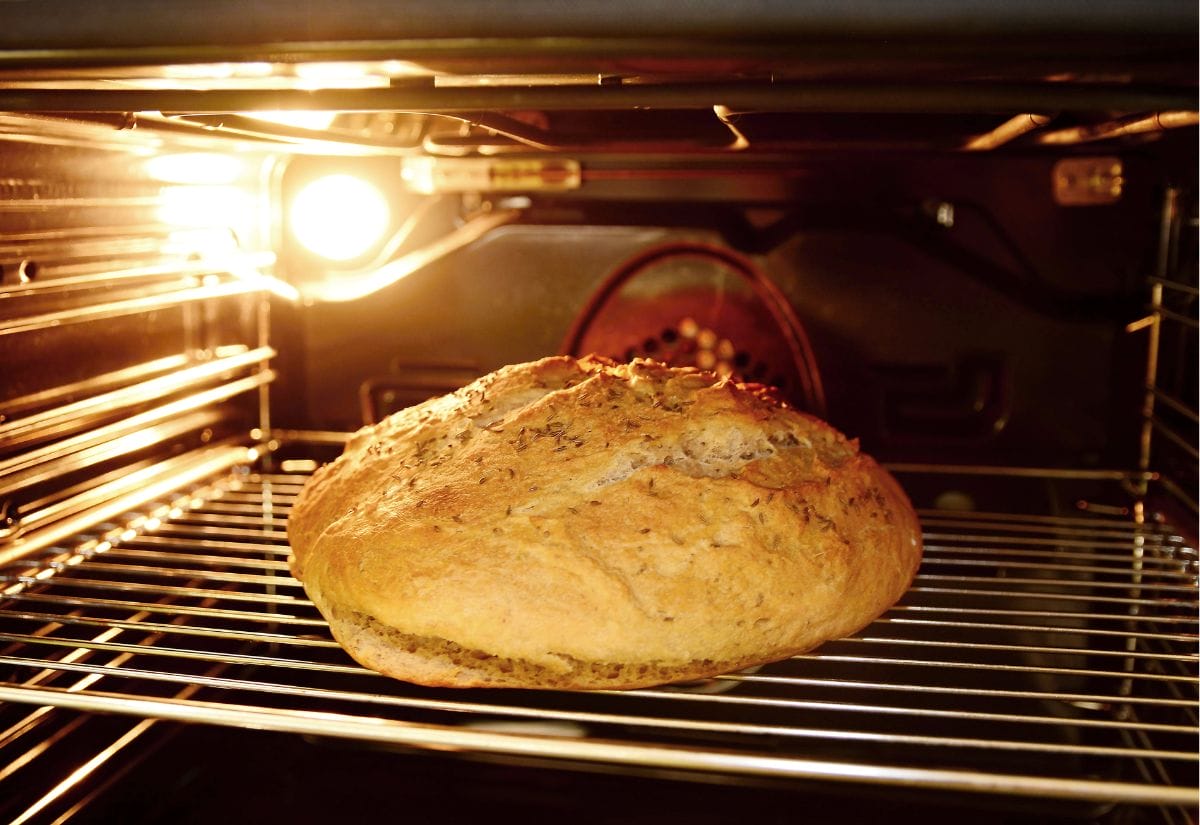
For that golden, artisan-style crust, steam is key. Place a metal pan on the bottom rack of your oven while preheating. When you put the bread in, pour boiling water into the pan to create steam. This keeps the crust soft while the bread rises and then crisps it up beautifully.
10. Don’t Rush the Process
Bread baking is a slow art. Letting the dough rise fully develops flavor and texture. Resist the urge to speed up rising with too much heat or by skipping rest times. Give your dough the time it needs—it’s worth it!
11. Score Your Dough Before Baking
Scoring dough isn’t just decorative—it controls how the bread expands. Use a sharp knife or bread lame to make quick, clean cuts on top of the dough. This prevents random splitting and gives your bread that beautiful, professional look.
12. Let Bread Cool Before Slicing
Freshly baked bread smells amazing, but slicing too soon can make it gummy. Let it cool for at least 30 minutes. This allows the crumb to set properly and gives you cleaner slices with better texture.
Baking Bread: Answers to Your Top Questions
Recipes to Try
Ready to put these tips into practice? Below are some of my favorite tried-and-true bread recipes that are perfect for bakers of all skill levels. Whether you’re looking for a soft sandwich loaf or a rustic artisan bread, these recipes will help you bake with confidence!
- Honey-Wheat Oatmeal Bread & Amish White Bread by Runamuk Acres
- Simply Perfect Homemade Cheese Bread by Seasons & Suppers
- No Knead Simple Whole Grain Bread by Northern Homestead
- 1 Hour French Bread by This Pilgrim Life
Ready to bake better bread? Don’t forget to pin this!
Baking bread doesn’t have to be intimidating. With these bread baking tips and a little patience, you’ll be serving up soft, flavorful homemade loaves in no time.
If you’re ready to expand your bread-baking skills, I’ve got you covered! For a soft and classic loaf, try making a simple homemade white bread that’s perfect for sandwiches or toast. Looking for something heartier? Dive into the rich, fluffy goodness of homemade potato bread—it’s comfort food at its finest. And if you’re feeling adventurous, explore the world of sourdough with an easy collection of starter-friendly recipes that’ll have you baking like a pro in no time!
Have a favorite bread-making trick? Share it in the comments—let’s learn from each other and bake better bread together!


I am not good in spelling and grammar but after fifty years in the kitchen I know a lot about baking and cooking.
The artisan bread ? I make a lot and always have a dough raising twice. My dough is on the soft sticky side. By doing this my bread is very nice looking and tasting even better. Raising twice I have use it with some other breads and it was good method
One of my favorite recipe is Irish Potato Bread. For the quick bread solution. It’s without yeast and instead with baking soda and baking powder. Recepie is on Pinterest. Just make sure it is the one with cooked and raw grated potatoes in the dough.
As goes salt, so too is sugar too much and retards the yeast bloom. So to counter this in “sweet bread” dough recipes like Brioche, Massa Souvada, Challah etc. make sure to use a Osmotolerant yeast like Le Saffre “Gold Label” Instant yeast.
I have made bread for years. Now that I am older with no kids at home, I have gone back to making bread. These are my tips. I keep my yeast in the freezer, it never goes bad. I use warm water to soften the yeast. Not to hot, like a baby bottle temperature. When the weather is wet and rainy you will use more flour. When kneading the bread, I use oil on the counter. I also smack that bread on the counter to relax it. That makes it so nice and soft. When it comes from the oven turn it to cool on all three sides every few minutes. By the way I never use a mixer to make bread, it is all by hand.
Sugar feeds the yeast, thats why you add it to yeast and luke warm water about a cup . If it foams up in about 10 mins its good if not yeast is too old .After the dough is formed into ball ,grease bowl and put in oven to rise add cake pan of boiled water to bottom of oven ,this is what the bakers used to do .Also important turn on the oven light before hand as this will give you enough heat for first rise and second as well.Replace boiled water for second rise this is what is called proofing.The bread will rise in about half the time. Use an box cutter if you want cuts in the bread , sharp.
1. Use Kosher salt for breadmaking
2. Honey instead of sugar in bread receipe. Slightly more flour may be required.
3. Oil instead of solid shortening in recipe
4. Oil surface of bread dough ball before rising. Prevents crust from forming
Mix on low only the flour yeast and water until everything just begins to encorporate. Allow to rest in the bowl for a half hour to autolayse. Then add the salt and mix for around 5 min on low. This will cut your rise time and give you a stronger gluten development.
My mother taught me to make bread many, many years ago. She always said to loosen the flour by “fluffing it up” before measuring. I measure out the amount the receipe calls for in a separate bowl and use a little of that flour for kneeding.
My father in law told me to proof the yeast by adding 1/4 tsp.sugar to the mix. Great for me because I’ve never used a thermometer. One less item to wash!
Thank you for all the hints. This old cook learned a few things.
Salt kills yeast.
I wish I could get some tips for baking gluten free bread. These tips are great but gluten free bread is really awful. I miss bread.
I’ll see what I can come up with in the future. I’m still working out the kinks of gluten free baking.
See ‘The New Artisan Bread in Five Minutes a Day’ book for great gluten free breads.
I’ve been doing gluten free for over 15 years for my celiac family. Dont let the dough get past cookie dough constancy. Put directly in the loaf pan and only do one rise.
My wife is handicapped (cancer/w/chemo) an can no longer cook or bake. So I have taken over the homemaking chores, I love the smell of bread baking, but the taste or texture does not always come out the way I expected . I so much appreciate all the cooking tips that you post. I need all the help I can get. Thank you so very much. My wife also thanks you. After all. she has to eat what I make an effort to prepare.
I am so glad I can be of help.
I started making w/wheat bread for my husband because he had problems with his stomach. I now know the better the flour, the better the bread. Same goes for yeast. Also salt. Non-iodineized salt is best.
Thanks for the great tips. I didn’t know about the oil. I have to put the dough in the oven in this old house as well. There’s nothing like the smell of homemade bread.
I found this tip when making doughnuts: make a roux of 25g flour and 125ml water, stir constantly to a temp of 165f. It will turn gelatinous. Let cool and add half to your heated liquid prior to adding to flour. This is a tangzhong and will make your loaves lighter and fresher longer. The remainder of the roux can be refrigerated and kept for a few days.
Great advice!
I have learned a couple things too.
-I put my dough in the micro (not on) door closed turn the light on. The heat from the light warms it to the prefect temp for dough to rise.
-after all the flour has mixed in I add 1 tbls olive oil, even when recipe doesn’t call for it. It makes the bread crispy on the outside.
U can use lemon juice for a dough enhancer
I’ve never heard of doing that.
Hi, How much lemon juice do you use? Can it be pre-squeezed or does it have to be fresh?
Thanks,
MM
You’ve got some beautiful loaves, Jess! Salt kills yeast, that’s why you should keep them separate. And it is best to add it after the yeast is completely incorporated. I don’t add salt to my breads until they’ve been in the stand mixer for 2 minutes, or if I were hand kneading it would be after three minutes.
Thanks for the tip Jennifer!
Mix on low only the flour yeast and water until everything just begins to encorporate. Allow to rest in the bowl for a half hour to autolayse. Then add the salt and mix for around 5 min on low. This will cut your rise time and give you a stronger gluten development.
Thanks for the tips! My husband is the bread maker, but these are good for me to know if I ever need to.
You are so lucky. My husband is the pancake man.
How Beautiful! Thanks for these tips!
How fun! I love the way homemade bread smells when it’s baking. Thanks for sharing these helpful tips.
What a wonderful resource for anyone wanting to make their own bread.
Love these tips! Especially the yeast and salt tip!
Thank you Linda!
That bread looks lovely! Wonderful and helpful tips! Thank you!
Thank you so much.
These are really great suggestions! I had no idea about the salt and yeast, and totally agree on limiting the amount of flour you use, both in the bowl and when you’re kneading on the counter. I learned the boiling water trick when I worked at an Italian bistro– we bought our loaves of ciabatta par-cooked and then finished them off in our oven with hot water in a pan below. Your loaves look beautiful!
It took a lot of dry loaves to catch on to that problem 🙂
These are all so important and easy to slack on! I am guilty of measuring wrong too – probably why a batch of cookies I made last week turned out totally flat 🙂
i am a bit guilty since measuring ing., is not my priority. Luckily, it turned ok with the family. I dont know if youre familiar with the bread maker machine, convection cooker like, I was able to baked easily with little effort, I feel like i could bake bread everyday.
Jessica, you had me laughing out loud with your husbands “Just relax, I’ll pick up a loaf on the way home.” He must be a very sweet and tactful man! I’ve been making bread since I was a teenager, and #4 is THE most important. I flour my hands and countertop for kneading without ever adding too much flour because I count the flour used that way toward the amount of flour in the recipe. And I write my recipes in that way so that my readers won’t forget and end up making a brick!
Great tips, I’ll have to try the boiling water one. Instead of cooking spray, you can try olive oil. Works great!