How to Cure Sweet Potatoes for Storage (Without Them Rotting)
Learn how to cure sweet potatoes for storage with simple, real-life methods. Keep your harvest sweet, firm, and rot-free all winter.

The first year I grew sweet potatoes, I was so proud of my harvest that I rinsed every single one. They were spotless, beautiful… and rotted within two weeks. I thought I’d done everything right. Lesson learned: they’re not ready for storage the second you dig them up.
If you want your harvest to last all winter (and taste sweeter too), it needs a little TLC first. Here’s how I cure sweet potatoes, even without that so-called ‘perfect’ 85°F and 90% humidity setup everyone always talk about. I’ll walk you through spotting rot early, setting up a simple curing space, and what long-term storage really looks like at home.
Why Curing Matters (and Why You Shouldn’t Skip It)
Curing isn’t just about drying them off. It’s about healing. Freshly dug sweet potatoes are covered in tiny scuffs and nicks from harvest. Curing lets them toughen up, forming a corky layer that keeps bacteria and mold out.
Meanwhile, starches turn to sugars. Give them a couple weeks and they taste noticeably sweeter. Store them too cold and they never get that chance. Hello, bland and disappointing. Skip curing (or cut it short) and you’ll see soft spots, weeping ends, or mold before Thanksgiving.

The Gold Standard
If you’re lucky enough to have a warm, humid basement or climate-controlled shed, here’s the baseline the extension folks recommend:
- Temperature: 80–85°F (27–29°C)
- Humidity: 85–90%
- Duration: 7–10 days
- Airflow: Gentle circulation (enough to prevent condensation, not enough to dry them out)
After curing, stash them somewhere cool, dark, and dry. Ideally 55–60°F with moderate humidity (60–70%). Under those conditions, they’ll easily keep six months or more.
That’s the textbook version. But let’s be real, most of us don’t have a humidity-controlled curing room sitting next to the root cellar. So let’s talk about how to make it work in the real world.
How to Cure Sweet Potatoes Without Ideal Conditions
When I first started growing sweet potatoes here in Maine, October weather couldn’t make up its mind. Some years I had 80-degree days, others I was pulling tubers in a sweatshirt and gloves. I learned to get creative.
Here are a few setups that worked for me (and a couple that didn’t):
The Plastic-Bin-in-a-Closet Method
Line the bottom of a large plastic tote (or whatever you’ve got handy) with a towel or a bit of cardboard. Pile your sweet potatoes in (unwashed, just brushed clean), then loosely drape another towel over the top. Set a small seedling heat mat (the same kind you’d use for starting seeds in spring) under the bin to keep it warm, and crack the lid just enough for airflow. You don’t want condensation building up.
If your air runs dry, tuck a damp sponge or a little bowl of water in the corner to bump humidity.
The Bathroom Spa Treatment
If you have a small bathroom you can spare for a week, it’s surprisingly effective. Keep the door closed, the lights on (they add warmth), and hang damp towels from a drying rack. A small space heater on low helps you hit temp without cooking the room.
Sweet potatoes give off a surprising amount of moisture as they cure. Crack a window for a few minutes each day to vent humidity and keep mold in check.
The Warm Kitchen Shelf
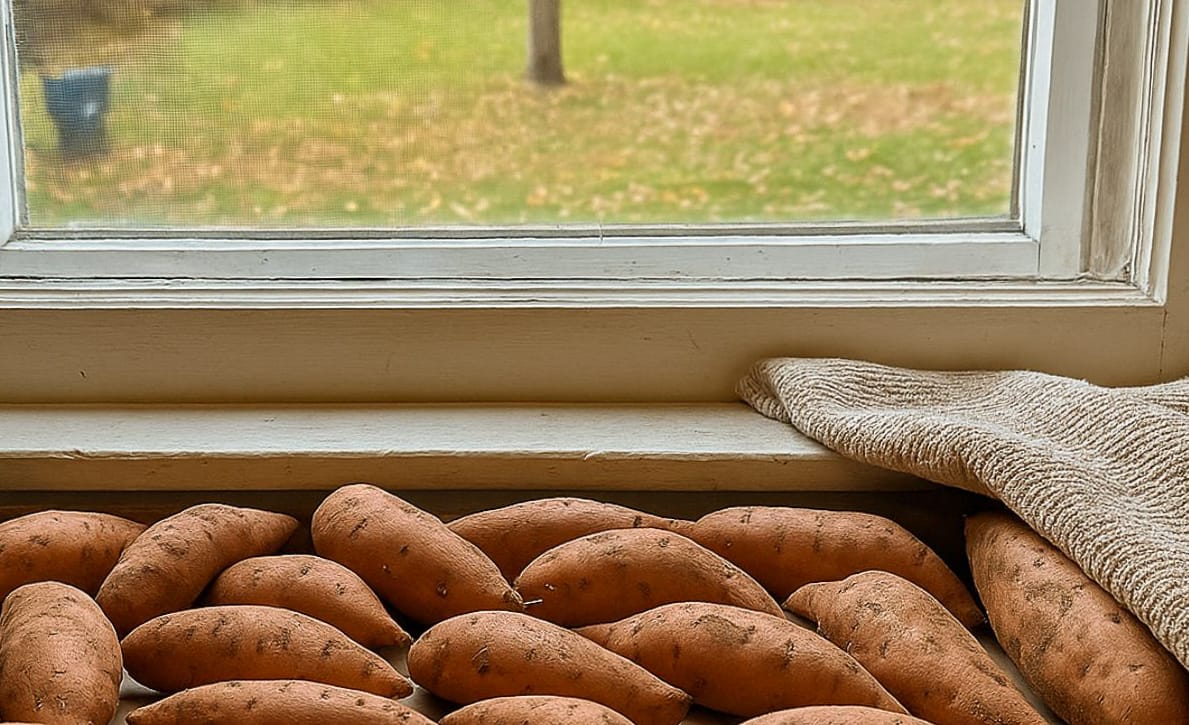
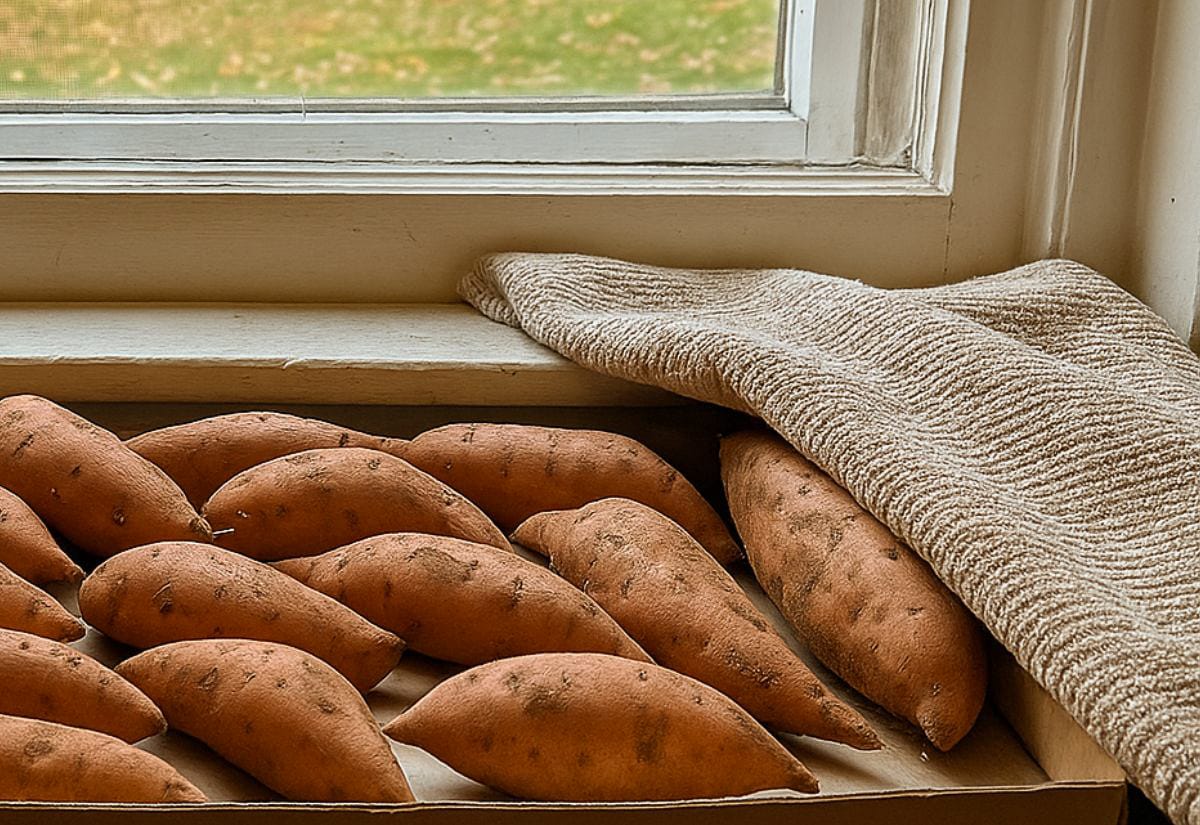
During a mild fall, a warm kitchen corner above the fridge or near the woodstove can do the trick. Spread sweet potatoes out in a single layer in cardboard boxes or crates, cover them with a light towel, and let them sit for about two weeks.
It’s not perfect, but plenty of mine made it through winter just fine this way.

What Doesn’t Work
Here’s what to avoid if you want your sweet potatoes to actually cure instead of rot:
- Closed plastic bags or airtight containers: They trap too much moisture.
- Unheated basements: Usually too cool to trigger curing.
- Direct sunlight: Cooks the skins instead of healing them.
Step-by-Step: How to Cure Sweet Potatoes for Storage
Here’s how I handle it now, step by step:
1. Harvest Gently
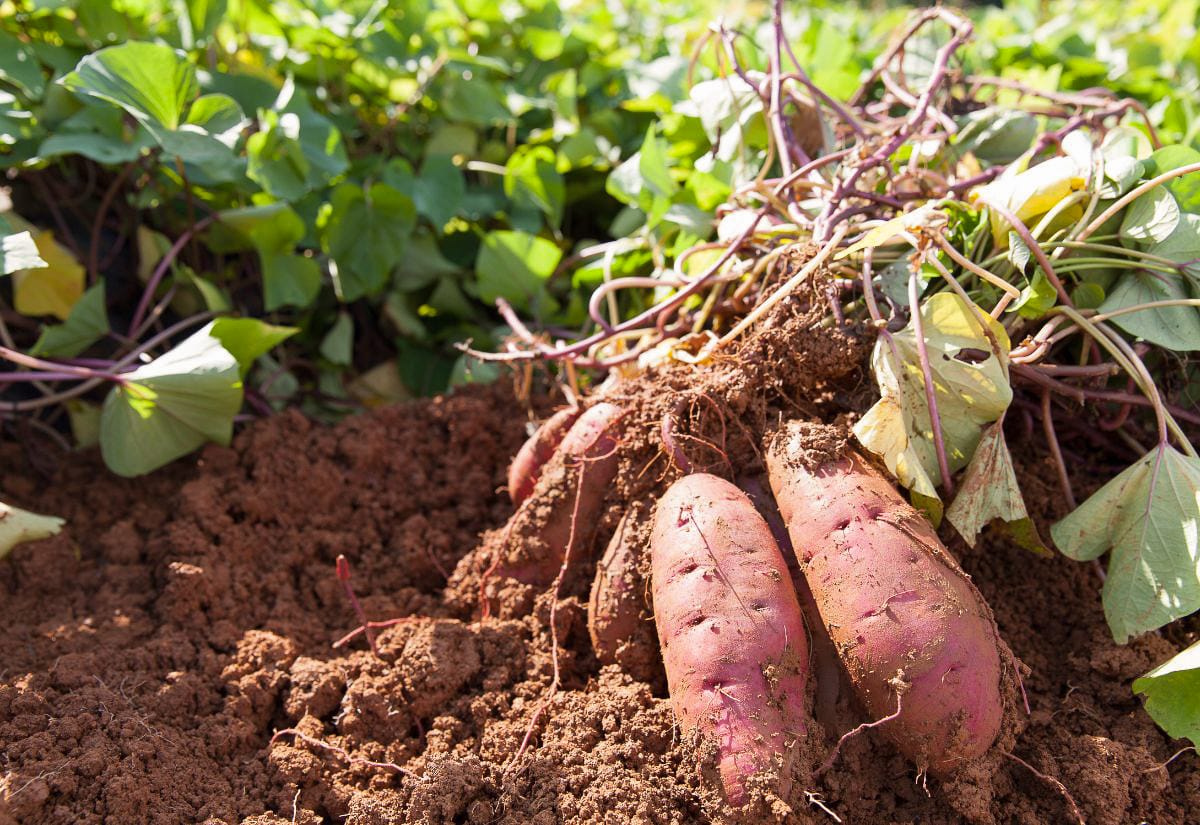
Wait until at least 100 days after planting, and dig on a dry day before frost. Use a fork, not a shovel (ask me how I know—you’ll bruise the heck out of them). Lift from underneath, give them a gentle shake, and don’t wash them.
If you’re planning a big harvest day, make sure you’ve got a sturdy gathering apron. My DIY harvest apron tutorial walks you through sewing one sturdy enough for armloads of sweet potatoes or whatever else you’re hauling in.
2. Sort Right Away
Separate out any with cuts or broken ends. Those are your “eat first” potatoes; they’ll never store long-term. Set the rest aside to cure.
3. Cure for 7–14 Days
Set your sweet potatoes in whatever setup you’re using (closet, bin, warm room). Turn them once or twice during curing to prevent damp spots. If your space runs cooler (below 75°F), add a few extra days.
You’ll know they’re done when the skins feel tougher and those little scratches look dry and corky, almost like a callus.

4. Transition to Storage
Move your cured sweet potatoes to a ventilated box or basket lined with newspaper. Avoid plastic bags or sealed bins. Keep them in a cool (55–60°F), dark spot. Basements, pantries, or even a closet near an exterior wall often work.
I keep mine in plastic storage crates on a wooden shelf in the basement and give them a once-a-month check. The few that start to soften or sprout get roasted that week.
What to Do If Your Sweet Potatoes Start to Rot
Rot usually starts as soft, wet spots or a sour smell. You’ll smell it before you see it. Once it spreads, that batch is a goner. Here’s what to watch for and how to stop it before it spreads:
- Too much moisture → Improve airflow. Open bins or reduce humidity.
- Too cool → Chilling injury can look like rot. Nudge them a bit warmer.
- Damaged roots → Eat these early. They don’t heal well even with curing.
- Mold on skins → Wipe with a dry cloth and monitor closely.
Make a habit of checking them now and then. One bad potato can take out half a crate if ignored for a few weeks.
Long-Term Storage Tips That Actually Work
After plenty of trial and error (and a few mushy losses), here’s what really keeps my sweet potatoes firm and flavorful for months:
- Keep light and airflow balanced (dark but not sealed tight).
- Avoid storing near apples, bananas, or onions (they emit ethylene gas that shortens shelf life).
- If humidity drops too low, lightly mist newspaper liners once a month.
- Rotate older sweet potatoes to the front of your storage bins.
- Track which varieties hold up best. Beauregard lasts longer for me than Garnet.
Properly cured and stored, they’ll last well into spring (and keep sweetening). I’ve eaten the last of mine in May, still perfectly firm and sweet.

If you want the rest of your pantry goods to last longer too, take a look at my post on storing food for optimal freshness. It covers everything from pantry staples to produce that spoils faster than you think.
Still Sorting Out Sweet Potato Storage?
Here are a few questions that come up every season:
Pin this so you’ve got it handy when it’s time to cure your next sweet potato haul.

Curing sweet potatoes isn’t complicated. It just takes a little patience and the right environment. Once you’ve done it successfully, you’ll never go back to skipping this step. The payoff is worth it: sweet, flavorful roots that last all winter long.
Once your sweet potatoes are cured and ready, try them in my roast chicken with apple-cranberry stuffing. It’s one of my favorite fall dinners.
If you’ve found a curing trick that works in your setup, I’d love to hear it. Drop it in the comments so we can all give it a try.
