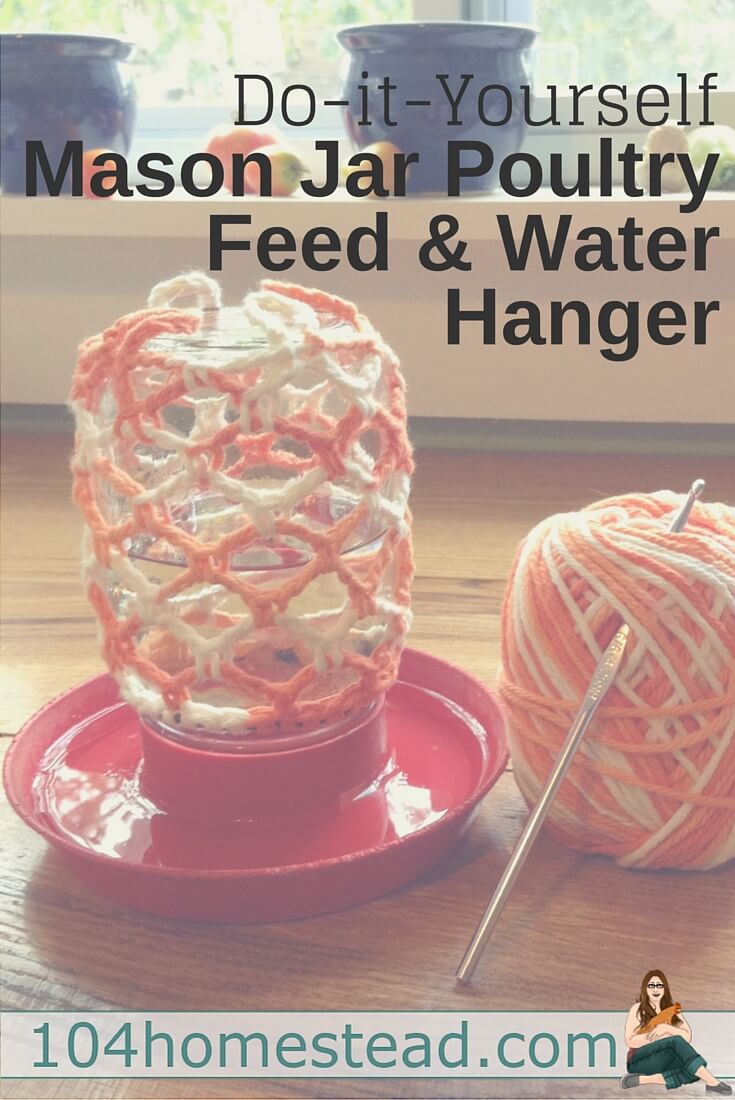
DIY Poultry Feed & Water Hanger
Mason jar feeders and waterers are great, but they can be hard to hang. Here is an easy crochet holder that will keep your feeder/waterer off the ground.
I am in love with mason jar feeders and waterers. They work for all ages and sizes in the flock and if you’re like me and have hundreds of jars laying around, it’s a dirt cheap way to go. The only flaw to them is they can be very challenging to hang. When left on the ground, they quickly fill with bedding and droppings. With a little crochet knowledge and some yarn or even twine, you can make a hanger in a matter of minutes.
If you don’t know how to crochet, don’t be dissuaded from trying this project. You only need to know how to do these three things (links to YouTube tutorials): Slip Stitch (instead of going through a loop in the yarn, we are going through the hair elastic), and Chain/Single Crochet. After a few of these mason jar hangers, maybe you can make some dish cloths with me.
Supplies
- G-size Crochet Hook (4.25 mm)
- Thick Hair Elastic (trapped hair optional)
- Yarn, Cotton Cord or Twine
- Quart or Pint Size Mason Jar
- Mason Jar Water Base (plastic or metal)
- And/Or Mason Jar Feed Base (plastic or metal)
Mason Jar Hanger Pattern
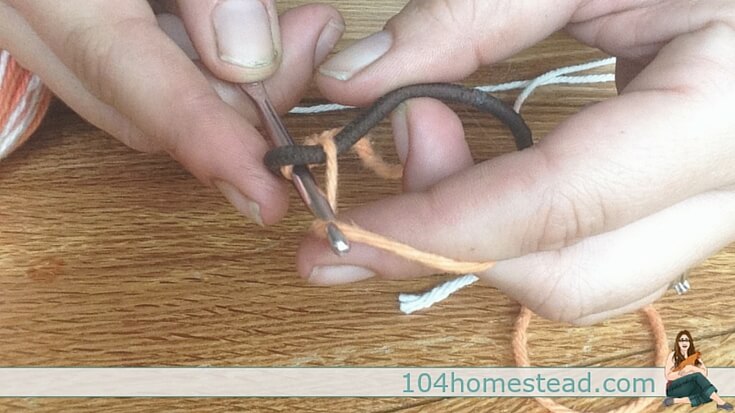
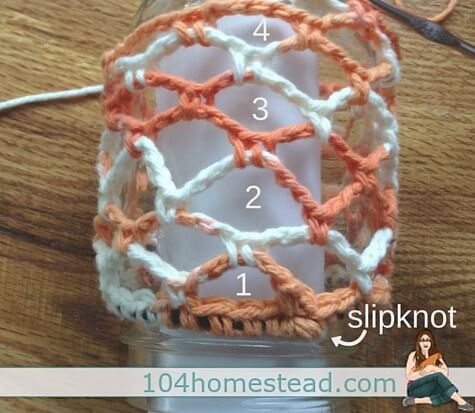
To start, create a slipknot on your hook. Put your hook through the elastic and make a slip stitch so it is around the elastic.
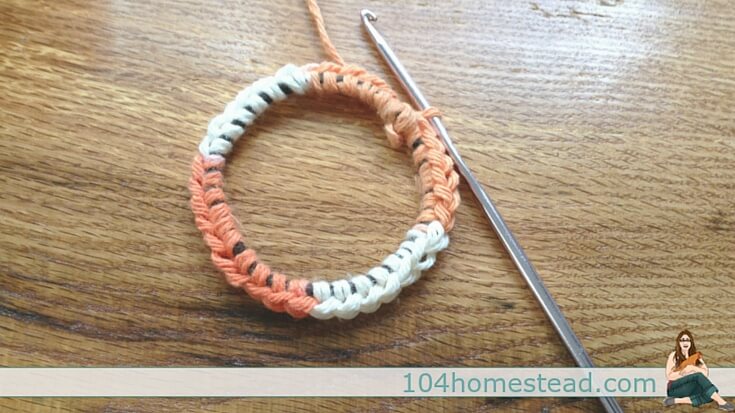
Chain 1 and create 36 single crochets around the elastic. Don’t worry too much about spacing because when you stretch out the elastic at the end it will “space” the stitches.
Slip stitch into the first single crochet to join.
*_____* means to repeat the series
*Chain 5, skip 3 stitches, single crochet in the 4th stitch * until you have three stitches remaining.
Chain 3 and single crochet into the “loop” created in your first row.
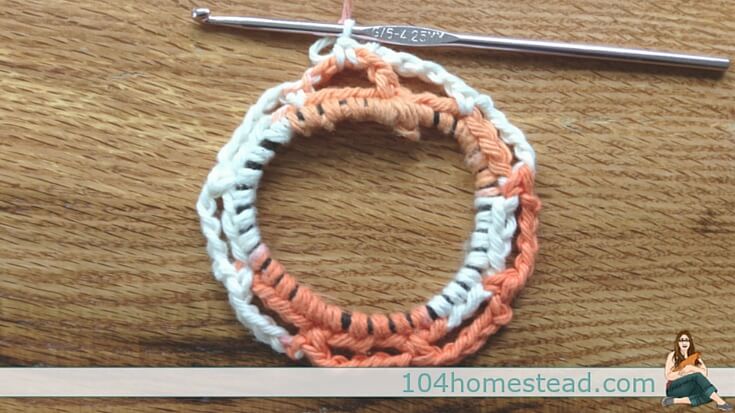
*Chain 5 and single crochet in the next loop* until you’ve reached the height you need. A pint sized mason jar is being used in this tutorial. You may need to do more rows if you are using a quart sized jar.
When you’ve reached your desired height *chain 10, single crochet in the same loop, chain 3, single crochet in the next loop, chain 3, single crochet in the next loop* so that you end up with four long loops evenly spaced.
Slip stitch and fasten off. Tie in all of your ends and you are ready to go.
I had originally made a crochet chain to hang it off, but I found it was inconvenient for switching out the water. Instead I have two setups. The first is a cup hook that I simply slip the loops on. I use this for a low area the big girls can’t reach so the chicks can get to water away from them. The second setup is a rope hanging from the ceiling with an S-hook at the end. I just slip the loops onto the S-hook.
These hanging feeders and waterers are great for quail, ducklings, and chicks.
Thank you for this! Simple and cute!
Genius!!! Thank you so much!
This is so clever. Thanks for all your great ideas.
Such a smart idea! I just made one – hopefully it will keep my chickies from knocking over the water every night!
I’m glad to have found this post. I’m going to make one and maybe I can keep the shavings out of the waterer. Thanks.
I can’t guarantee that it will eliminate the problem, but it certainly will help.