Irresistible Crème Brûlée Dessert: A Foolproof Recipe
Make an easy crème brûlée at home with this delightful recipe. No torch needed; achieve perfect caramelization in the broiler.
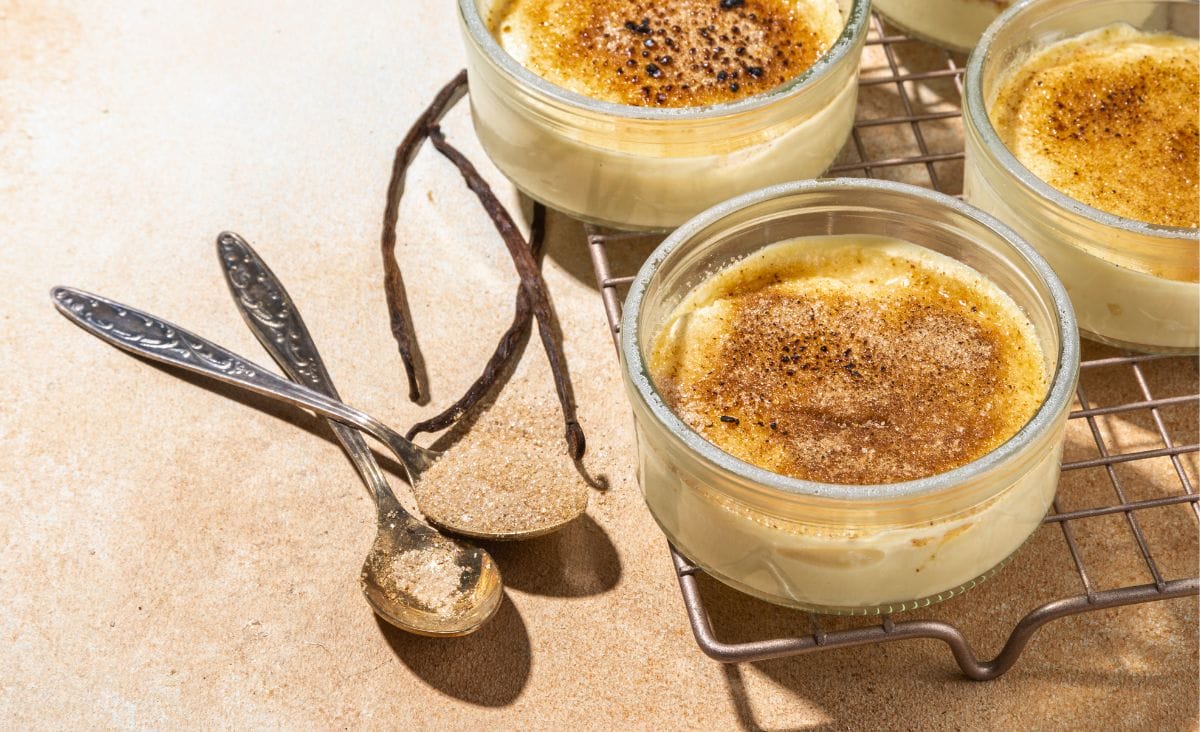
Although it sounds fancy and therefore difficult, crème brûlée is easy to make. It is the perfect dessert to follow a Valentine’s dinner. Heck, you can skip dinner all together and just have the crème brûlée. I won’t judge. It has milk (dairy), vanilla beans (bean = vegetable), and fruit zest. A well-rounded meal in my book.
Crème brûlée holds a special place in my heart, embodying both elegance and simplicity.
This recipe is for people who love the way creamy custard and caramelized sugar taste together, making a dessert that is sweeter than usual. The perfect dessert for a romantic dinner or a treat for oneself, crème brûlée can make any event more special.
With simple steps and no need for a torch, this recipe makes it possible for both new and experienced bakers to learn how to make this classic treat at home. The caramelized topping’s deep flavors and satisfying crackle make it a great way to end a meal or enjoy it on its own.
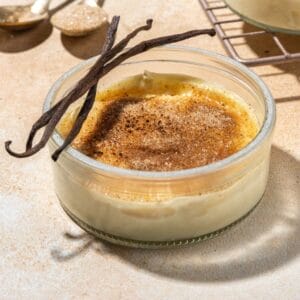
To make crème brûlée, you need special cups called ramekins. These cups are flameproof and are the correct size for proper cooking. These are the ramekins I have. A torch isn’t necessary. We are going to caramelize these babies in the broiler.
My Recipe for Crème Brûlée
Ingredients
- 3 cups of milk
- ¾ cup of white sugar
- 3 eggs and 3 additional yolks
- ¼ teaspoon of salt
- 1 vanilla bean, split
- 4 strips of orange zest (3″ x 1/2″)
- 3 strips of lemon zest (2″ x 1/2″)
- 3 strips of lime zest (2″ x 1/2″)
Set six of your ramekins on a folded towel in a large baking pan.
In a medium saucepan (stainless steel is a great choice), combine the milk, 1/4 cup of the sugar, the vanilla bean, zests, and salt. Bring to a simmer, then remove from heat. Cover it and let it stand for 30 minutes.
Preheat the oven to 325°F.
In a large bowl, whisk together the eggs, egg yolks, salt, and remaining sugar. Whisk until just blended. Whisk in the milk mixture (pour the mixture through a sieve to remove the vanilla and zest bits). Continue whisking until well-blended.
Spoon the custard evenly into ramekins. Pour enough water into the baking pan to come halfway up the sides of the ramekins. Bake uncovered for 45 minutes (or until a knife inserted in the middle comes out clean). Remove the ramekins from the baking pan and transfer them to a cooling rack.
The Art of Crème Brûlée Topping
Part of the magic of this decadent dessert is the caramelization on top of the custard. Usually this is done with a torch, but we are going to do it in the oven by utilizing the broiler.
Sprinkle 3/4 cup of firmly packed light brown sugar evenly between the ramekins. Place the ramekins in the broiler 6–8 inches from the coils and broil until they are caramelized. Don’t take your eyes off them because it happens quickly (about 45 seconds). Let them cool on a wire rack again and serve when they get to room temperature.
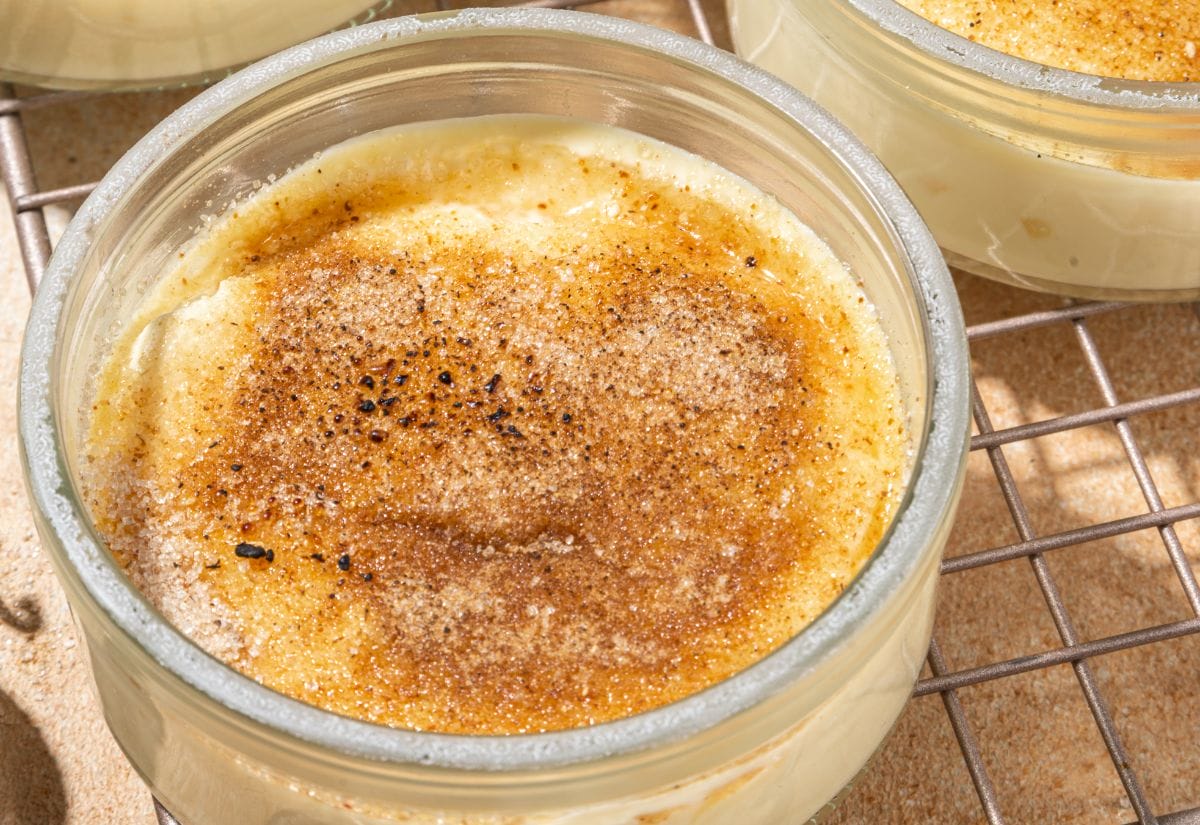
Voilà, you’ve made crème brûlée!
Recipe Variations and Substitutions
Flavor Infusions: Experiment with flavor infusions in the custard. Add a hint of espresso, lavender, or citrus zest to create unique variations.
Alcohol Enhancements: For an adult twist, infuse the custard with a touch of your favorite liqueur, such as Grand Marnier, Bourbon, or Chambord.
Nutty Crunch: Add chopped nuts like pistachios, almonds, or hazelnuts to the caramelized topping for a delightful crunch.
Spice it Up: Introduce warm spices like cinnamon, nutmeg, or cardamom to the custard mixture for a comforting and aromatic twist.
Dairy Alternatives: Explore dairy alternatives like coconut milk or almond milk for a lactose-free version with a distinct flavor profile.
Sweetener Swap: Experiment with alternative sweeteners like honey, maple syrup, or agave nectar for a unique taste.
Fruit Compote: Serve the crème brûlée with a side of fruit compote, such as raspberry or passion fruit, to balance the richness.
Chocolate Infusion: Incorporate melted chocolate into the custard mixture for a decadent chocolate crème brûlée experience.
Vegan Adaptation: Explore vegan alternatives by using coconut cream, tofu, or plant-based milk substitutes for a cruelty-free version.
Decorative Garnishes: Elevate presentation with edible flowers, mint leaves, or a dusting of cocoa powder for a visually appealing finish.
Tips and FAQs
If you are a huge crème brûlée fan, you should check out this recipe from Shugary Sweets for crème brûlée coffee creamer. For more dessert ideas, you’re sure to enjoy my 22+ Quick & Easy Dessert Ideas that can be made in an hour or less, my decadent triple chocolate brownies recipe, or this delicious pudding pie that includes homemade whipped cream.
How to Store Your Crème Brûlée
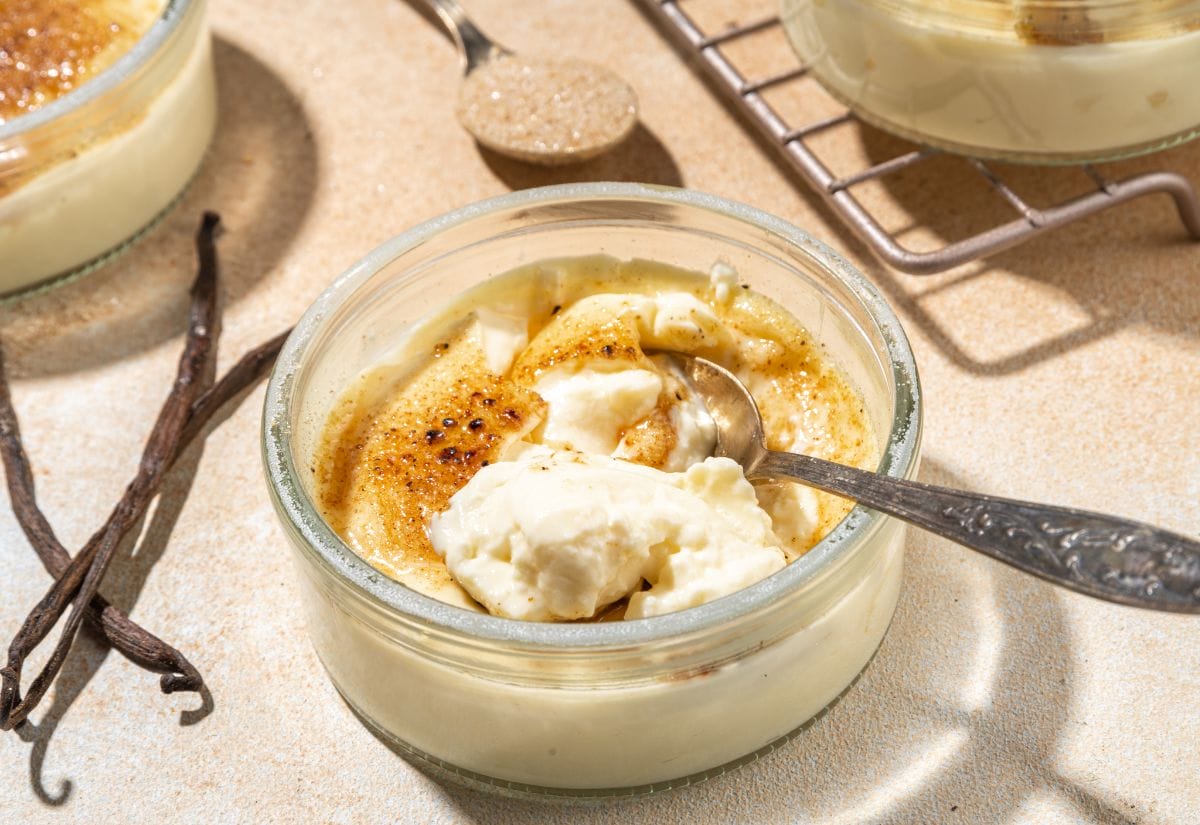
Store leftover crème brûlée in the refrigerator for optimal freshness. Cover each ramekin with plastic wrap or transfer the custards to an airtight container. Consume within 2–3 days for the best taste and texture. It’s worth noting that the caramelized topping may lose some of its crispiness over time, but the custard will remain delicious.
If you’re planning to serve it later, wait to caramelize the topping until just before serving for the perfect finish.
If you’ve found value in this blog post and enjoyed reading it, why not share it with your Pinterest community? Pin the image below and spread the love!
Anyone can learn how to make the perfect crème brûlée dessert. This recipe comes together beautifully, with a rich custard and a perfectly caramelized topping. It is perfect for a special occasion or just as a treat for yourself. Put on your apron and enjoy the magic of making a dessert that people will remember forever.
Have you tried making crème brûlée at home? Share your experiences, favorite flavor variations, or any tips you have for perfecting this classic dessert. I’d love to hear about your delicious kitchen adventures!
A Homemade Crème Brûlée Delight
This post may contain paid links. If you make a purchase using the links in this recipe, I may earn a commission.
Equipment
- 6 Ramekins 4-ounce
Ingredients
- 3 c. Milk
- ¾ c. White Sugar
- 3 Eggs + 3 Additional Yolks
- ¼ tsp. Salt
- 1 Vanilla Bean split
- 4 Orange Zest 3″ x 1/2″ strips
- 3 Lemon Zest 2″ x 1/2″ strips
- 3 Lime Zest 2″ x 1/2″ strips
- ¾ c. Light Brown Sugar
Instructions
Preparing the Custard
- Set six of your ramekins on a folded towel in a large baking pan.
- In a medium saucepan, combine the milk, 1/4 cup of the sugar, the vanilla bean, zests, and salt. Bring to a simmer, then remove from heat. Cover the saucepan and let it stand for 30 minutes.3 c. Milk, 3/4 c. White Sugar, 1 Vanilla Bean, 4 Orange Zest, 3 Lemon Zest, 3 Lime Zest
- Preheat the oven to 325°F.
- In a large bowl, whisk together the eggs, egg yolks, salt, and remaining sugar. Whisk until just blended. Whisk in the milk mixture (pour the mixture through a sieve to remove the vanilla and zest bits). Continue whisking until well-blended.3/4 c. White Sugar, 3 Eggs + 3 Additional Yolks, 1/4 tsp. Salt
- Spoon the custard evenly into ramekins. Pour enough water into the baking pan to come halfway up the sides of the ramekins.
- Bake uncovered for 45 minutes (or until a knife inserted in the middle comes out clean).
- Remove the ramekins from the baking pan and transfer them to a cooling rack.
Caramelizing
- Sprinkle 3/4 cup of firmly packed light brown sugar evenly between the ramekins.3/4 c. Light Brown Sugar
- Place the ramekins in the broiler 6-8″ from the coils and broil until they are caramelized. Don’t take your eyes off of them because it happens quickly (about 45 seconds).
- Let them cool on a wire rack again and serve when they get to room temperature.

Hi there! How long can I keep these in the fridge?
Hi,
Do you have a printable version?
Thank you
I’m sorry, I don’t. I’m working on a way to do it. All those fancy recipe card gadgets make the website slow down. I’m still looking for a good solution.