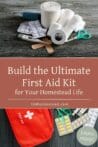
A Practical Homestead First Aid Kit for Everyday Emergencies
Be ready for cuts, stings, and scrapes on the homestead. Here’s exactly what to stock in your farm first aid kit.
Homesteading comes with its fair share of bumps and bruises. I’ve had my shins bruised hauling firewood, singed my arm on the woodstove, and lost count of the splinters from fencing and garden work. Accidents never happen when it’s easy. And when the nearest Walgreens feels like it’s on the other side of the state, you’ll be glad you’ve got a kit stashed nearby.
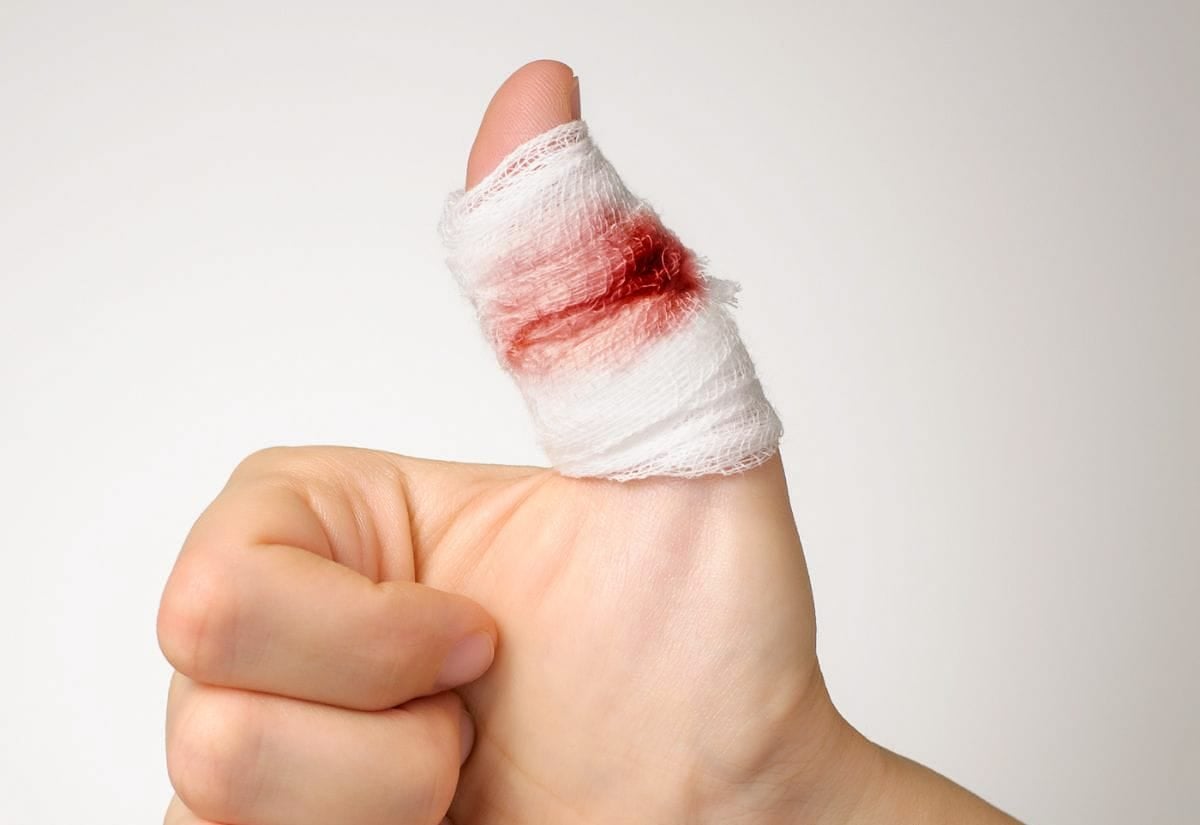
One spring, I slipped with a pair of wire cutters while building a quail pen and sliced my finger open. Not deep enough for stitches, but it bled like crazy. I cleaned it up with what I had on hand, glued it shut, wrapped it, and was back outside before the chickens even noticed I’d paused. That was the day I realized my first aid kit wasn’t just nice to have… it was non-negotiable.
In this guide, I’ll walk you through what to include in a realistic, useful first aid kit for your homestead—plus tips for organizing it, updating it, and actually using it when the time comes.
Why Every Homesteader Needs a Customized First Aid Kit
When you spend your days working with animals, tools, or hot stoves, little injuries just come with the territory. And if you live out of town like I do, “running to urgent care” isn’t always an option. And let’s be honest: most of us don’t want to run to urgent care unless we absolutely have to. A good kit gives you the peace of mind to handle the little stuff yourself—without packing everyone into the car for a trip to urgent care.
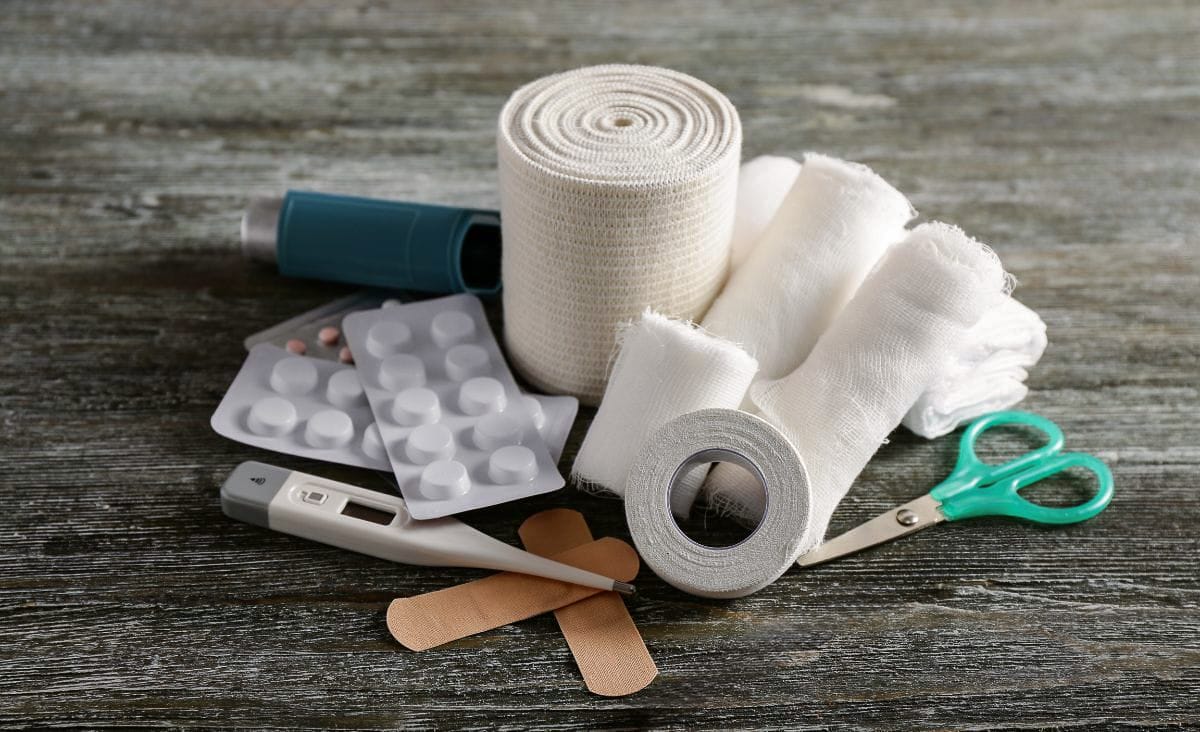
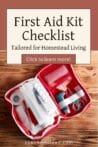
What to Include in a Homestead First Aid Kit
If your “first aid kit” is just a box of Band-Aids and a half-dried alcohol wipe, you’re going to be frustrated fast. Here’s what I keep in mine, and I promise every single thing on this list has earned its spot the hard way.
Basic Essentials (Core Supplies)
These cover the most common issues—think cuts, splinters, burns, and strains.
- Sterile bandages (variety of sizes)
- Gauze pads and rolls
- Adhesive medical tape
- Antiseptic wipes or spray
- Antibiotic ointment (like Neosporin) (because cuts and dirt are a daily combo out here)
- Non-latex gloves (I keep a few pairs stuffed in different spots because they always go missing when I need them)
- Scissors
- Tweezers (because splinters love me and ticks are a fact of life in Maine)
- Thermometer
- One-way CPR barrier
- Instant cold packs (I keep extras—kids are magnets for bumps)
- Ibuprofen, acetaminophen, or other OTC pain relievers (whatever your household actually uses)
Check expiration dates every six months and restock items that run low.
Homestead-Specific Additions
These items come in handy more often than you might think.
- Super glue: For sealing small, clean cuts in a pinch (I’ve used this more than once).
- Vitamin E capsules: Poke with a needle and apply to minor burns or blisters.
- Moleskin: A must if you spend long hours in muck boots.
- Aloe vera gel or plant: Great for stove burns, welding sparks, or sunburn.
Optional Homeopathic Additions
If these are your thing, they can be handy. If not, skip ’em. Your kit will still work just fine.
- Chamomilla 30c: For teething, tension, or mild pain
- Belladonna 30c: For sudden fevers
- Sepia 30c: For stress headaches or hormonal shifts
If you’ve ever thought about making your own natural remedies, here are the top reasons to start crafting your own herbal medicine at home. If you’re curious about adding handmade remedies to your kit, learn what a salve is and how to make your own for minor cuts, scrapes, and dry skin.
Rural or Remote Add-Ons
Depending on your climate and how isolated you are, you might want to include:
- Snake bite kit (if snakes are a concern where you live)
- Suture kit and instructions (only if you’ve been trained)
- Burn cream or silver gel
- Hot water bottle or instant heat packs
- Activated charcoal (good for accidental poisoning, but do your homework before you toss it in the kit)
- Emergency blankets (I toss one in the truck too—it weighs nothing and could be a lifesaver)
- Flashlight or headlamp with spare batteries (because emergencies never happen at noon on a sunny day)
If you raise animals, keep vet-safe antiseptics and syringes in a separate animal first aid kit.
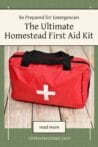
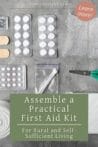
How to Organize Your Kit
Once you’ve gathered all the essentials, it’s time to think about how you’ll actually store and access them. A well-organized kit saves you precious minutes. Trust me… you don’t want to be elbow-deep in a pile of gauze and tape when someone’s bleeding. I’ll show you how I set mine up so I can actually find what I need when I need it.
Choose a Durable Container
When it comes to storage, durability matters. A hard-sided, waterproof case protects your supplies from the elements, spills, and accidental drops—especially important if your kit lives in a barn or workshop. I’ve seen folks use everything from fishing tackle boxes to repurposed ammo cans, and they all work great as long as they seal well and can take a beating.
Group Items by Use
The box is only half the battle. If you’re digging through a mess of gauze and tape while someone’s bleeding, you’ll wish you’d sorted it ahead of time. Group your supplies into clear categories like bandaging, medications, wound cleaning, and tools so you can grab exactly what you need without thinking twice. I use color-coded pouches to make it even easier to tell things apart in a hurry.
Include Instructions
Even when you think you’ll remember what to do, your brain can go blank. I froze the day my toddler spilled hot soup on himself. Years of medical experience went out the window for a second. Now I keep a printed sheet tucked right in the lid. It’s not fancy, but it reminds me what to do when my brain blanks.
Store It Somewhere Obvious
In an emergency, seconds matter. Your main first aid kit should be stored somewhere obvious and easy to reach—no digging through closets or storage bins. Mount it on a wall, stash it near the back door, or label it clearly in your mudroom so everyone in the household knows where to find it fast.
Make smaller mini-kits for the barn, the tractor, or the kitchen drawer. Emergencies don’t wait until you’re near the “good” kit.
My Go-To First Aid Tips
Being prepared goes beyond the gear. The tools in your kit are only as useful as your ability to use them confidently. Here are the things I’ve learned that make a bigger difference than any fancy gadget. The best thing in your kit isn’t the gauze or the meds. It’s knowing how to use them.
- Take a Class: Hands-on training builds real confidence. I took a wilderness first aid course and learned so much I now use weekly.
- Practice Staying Calm: Deep breaths help you think clearly—especially when someone else is panicking.
- Try Remedies Before You Actually Need Them: The middle of an emergency is not the time to wonder if that salve stings or whether the tincture should be swallowed or sipped. Learn ahead of time how to take herbal remedies in the most effective form for your needs.
- Label Everything: If you’re the only one who knows what things are, your kit won’t help anyone else.
FAQs About Homestead First Aid Kits
Still have a few things you’re unsure about? You’re not alone. These are some of the most common questions I hear from fellow homesteaders who are just starting to build their kits—or looking to improve what they already have.
Don’t get caught unprepared—save this guide so your homestead first aid kit is always ready when it matters most.
Being prepared doesn’t have to be complicated, but it does require a little thought. Having a kit means you’re not scrambling when someone gets hurt. You’ve got what you need, right when you need it.
Start with the basics, add the oddball stuff you know your family actually needs, and for the love of all things holy—don’t forget to toss the expired meds. You don’t have to be a medic—just prepared enough to handle whatever the homestead throws at you.
What’s in your homestead first aid kit? I’d love to hear your must-haves in the comments.
Love this! It makes it easy to put together a kit.
Thanx Jessica, I always enjoy your posts & feel that you are
teaching important things. The natural remedies recipes, etc.
are great !
Thank you Ruth 🙂
Hi, I have been on a hunt for a very good first aid kit for a long time. I’m not looking for the items to put in it but rather the kit, bag or container itself. I came across your article via Pinterest and I am interested in this first aid kit bag in your pictures. Could I please inquire where you found such a bag?
I greatly appreciate your help, and I also enjoyed your article!
Thank you!
Heather
It’s actually just a carry on luggage bag.