Fire Cider Recipe: My Go-To Winter Tonic for Cold Season
Make your own fire cider with simple, affordable ingredients. This easy recipe includes tips, variations, and storage guidance for cold season.
Winter has a way of catching me off guard here in Maine. One week I’m picking the last stragglers off the tomato plants, and the next I’m digging out scarves and reminding myself to stay ahead of whatever cold is going around. Last year, when I was dealing with a sinus mess that hung around way too long, a friend at our local health food store handed me a sample of her homemade fire cider and said, “Trust me.”
Honestly, I didn’t expect much. Fire cider has a bit of a reputation, and for good reason. It’s strong, spicy, and not exactly gentle. But I took one spoonful, and my sinuses cleared before I even got back out to the parking lot. By the next morning, I felt better than I had in days. I wanted to buy a bottle on the spot, but I’ll admit, the price tag made me pause.
So I made my own. And now I always have a jar steeping through the colder months, right next to the other herbal staples I’ve learned to make myself.
If you’ve been curious about making a batch yourself, here’s the fire cider recipe I rely on, plus tips, variations, storage guidance, and everything I’ve learned along the way.
Why Fire Cider Has Such a Devoted Following
If you haven’t tried it before, fire cider is basically raw apple cider vinegar infused with roots, herbs, and peppers. Some people swear by it for cold season, others use it for digestion or circulation. I’m not here to make medical claims, but I can tell you it’s become part of my winter routine.
Fire cider works because of the ingredients. Fresh roots, plenty of onion and garlic, the citrus, even a little honey (if you use it). They all bring something to the jar. It’s simple, affordable, and honestly a lot more customizable than anything you’d buy pre-made.
Why I Prefer Homemade Fire Cider
Store-bought versions can be good, nothing wrong with them. But making your own lets you:
- Tailor the heat level
- Choose your favorite roots and herbs
- Skip ingredients you don’t love (like if horseradish is just not your thing)
- And you can make way more of it without spending much
Every winter I tweak the flavors a little… more ginger one year, more garlic the next. Once you get the hang of it, it becomes one of those “set it and forget it” staples.
My Homemade Fire Cider Recipe
This is the version I make every fall as soon as the nights turn chilly. It’s flexible, forgiving, and easy to adjust depending on what you have on hand.
Why These Simple Ingredients Pack Such a Punch
Here’s why these simple ingredients work so well together:
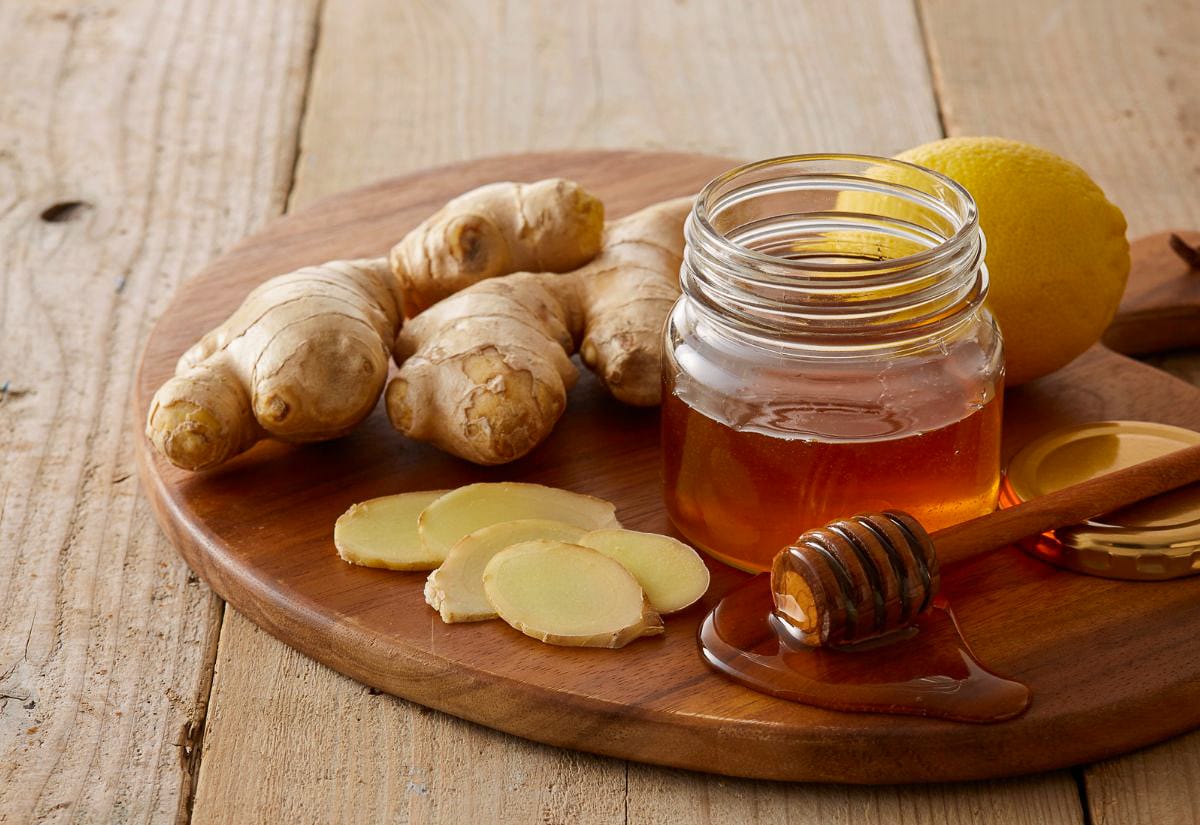
- Ginger: Warming, zesty, and widely used to support digestion and circulation.
- Turmeric: Earthy and vibrant. Many people use it for inflammation or general immune support.
- Horseradish: This is the sinus warrior. It brings that unmistakable burn that helps clear congestion.
- Garlic and Onion: Classic, pungent aromatics that have been used in traditional remedies for centuries.
- Hot Peppers: Bring the heat and help get things moving in the body.
- Lemon: Brightens the flavor and adds that hit of citrus people love in winter tonics.
- Raw Honey (optional): Softens the vinegar’s sharpness and adds its own gentle properties.
Here’s How to Put It Together
Prep the fresh ingredients: Give everything a quick wash and chop everything into small pieces so the vinegar can pull the good stuff out. Fresh turmeric and horseradish can be messy, but they’re worth it for that potency. I’ve tried powdered versions when I couldn’t find fresh, and while they’ll do in a pinch, the flavor just isn’t the same.
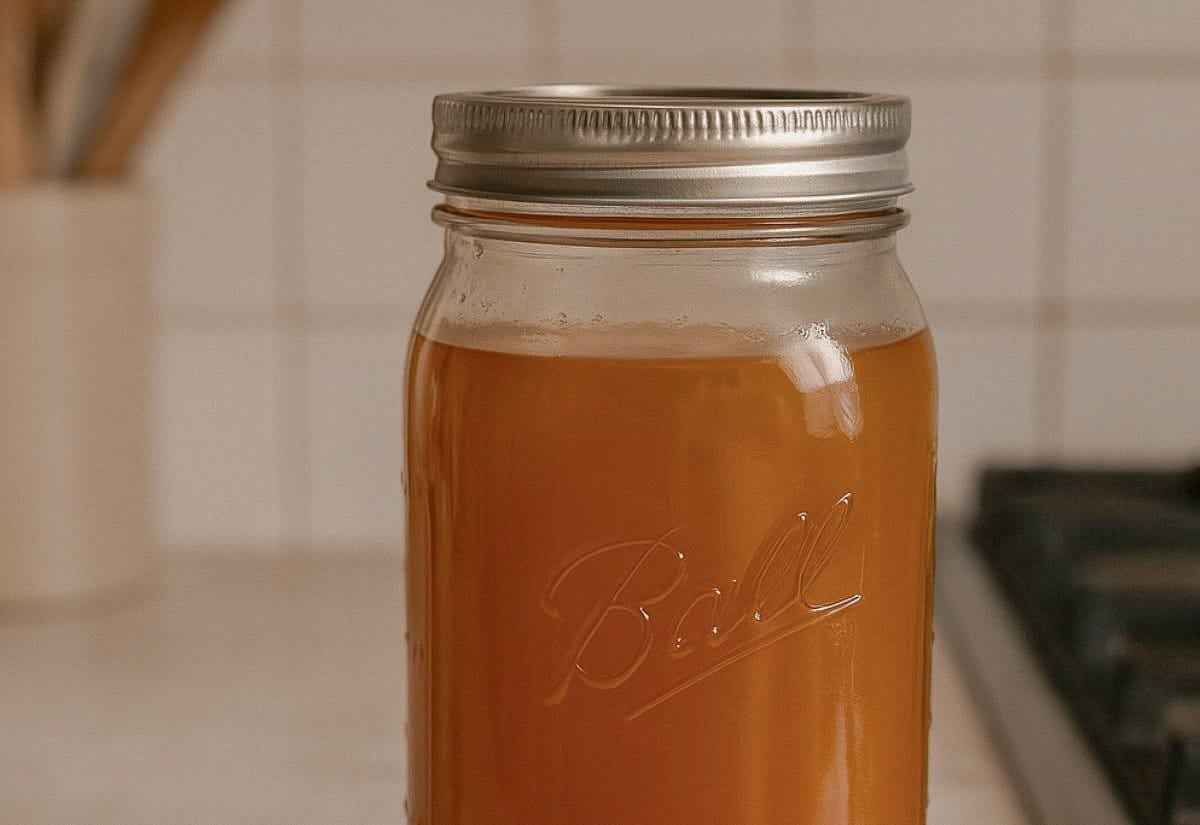
Pack the jar: Use a clean quart-sized glass jar. Layer in all the chopped ingredients until the jar is comfortably full but not jammed. Leave a little room at the top so the vinegar has space to move around.
Cover with raw apple cider vinegar: Pour the vinegar over everything until all the solids are submerged. This matters. Anything sticking out above the vinegar can spoil.
Seal and steep: If your lid is metal, place a piece of parchment under it so the vinegar doesn’t corrode it. Then tuck the jar somewhere dark and cool. Mine lives at the back of a pantry shelf. Give it a shake once a day, or honestly whenever it crosses your mind for 3–4 weeks.
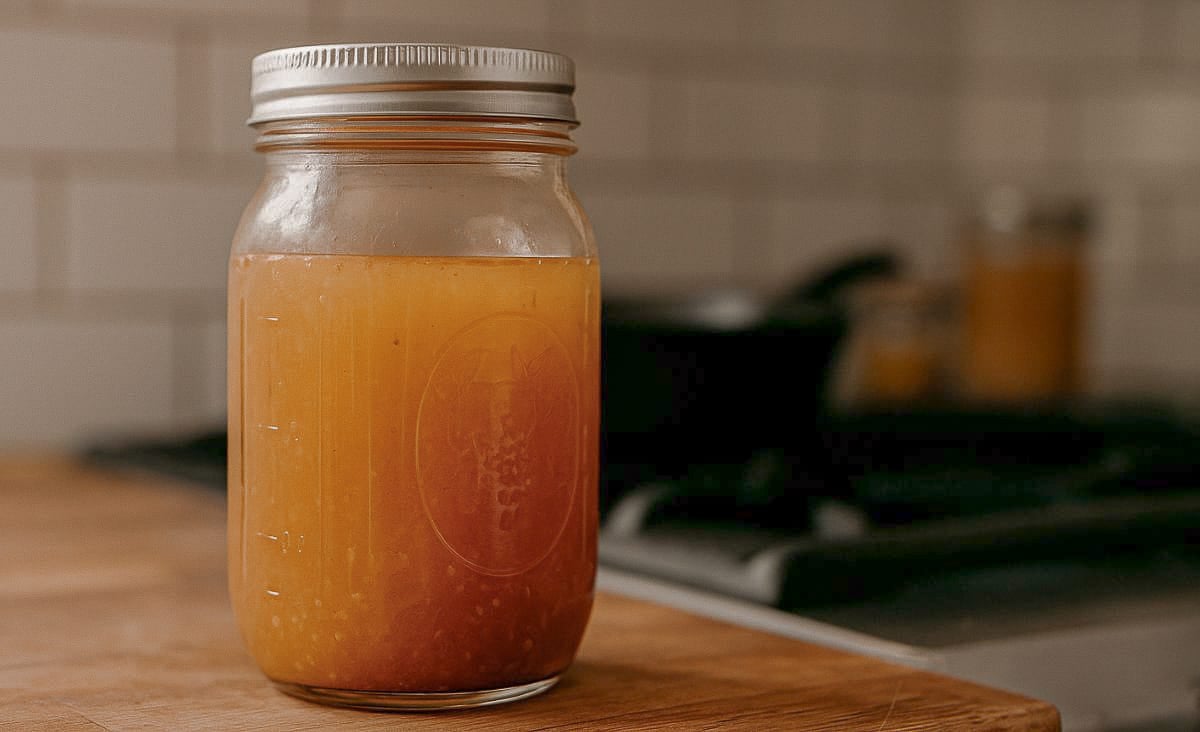
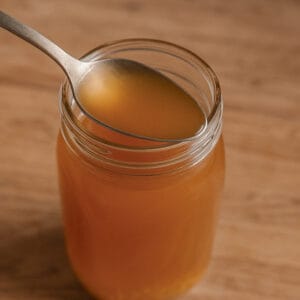
Strain and sweeten if you want: After the steeping period, strain out the solids using a mesh strainer or cheesecloth. Stir in raw honey if you want a little sweetness or a bit of throat soothing.
Store it for the season: Keep your finished fire cider in a tightly sealed glass bottle. I store mine in the fridge or a cool cabinet. It lasts a long time thanks to the vinegar base (more on that below).
How to Use Fire Cider (And What Works for Me)
I take a tablespoon straight when I feel something coming on. If that feels like too much, mix it into warm water or tea. You can also:
- Drizzle it over salads
- Stir it into broths or soups
- Mix it with honey for a quick spoonful when your throat feels scratchy
Some people take a spoonful every day in cold season. Others use it only when symptoms start. I’m more of a “use it when I need it” person, but do what feels right for you.
Fire Cider Variations
Once you’ve made your first batch, try experimenting. Here are a few simple variations:
Want a no-horseradish version? Skip the horseradish and add extra ginger or hot pepper to keep the heat balanced.
Milder fire cider? Swap hot peppers for jalapeño or use fewer cloves of garlic.
Like it hotter? Add habanero, Thai chili, or a little more horseradish.
Need a quick fire cider because you’re sick right now? Mix apple cider vinegar with ginger, garlic, honey, and cayenne for a 24-hour “emergency” infusion. Not as complex but better than nothing when you’re in a pinch.
Tips & Troubleshooting
Here are a few things I’ve learned along the way:
- If your cider tastes weak, next time chop ingredients smaller or steep longer.
- If it’s too strong, dilute your dose with warm water.
- If you see sediment at the bottom, that’s usually from the turmeric (totally normal).
- If there’s anything fuzzy or floating, toss it and start fresh (it’s rare, but it can happen if ingredients weren’t fully submerged).
- If the lid rusts (it happens), switch to a plastic lid or keep using parchment under metal lids.
Your Fire Cider Questions, Answered
Still have questions? Here are the ones that come up the most once homesteaders make their first batch.
Want to keep this fire cider recipe handy for later? Pin it now and you’ll have it ready when you need a quick homemade remedy.

If you make a batch of this, let me know how you customize it. I’m always curious what other homesteaders toss into their jars—extra citrus, a different kind of pepper, or whatever root or herb happens to be ready in the garden that week. Once you make your first jar, you’ll start to notice how easy it is to adjust the flavor to what you like best.
If you want a few more homemade remedies for when cold season starts up, you might also like my guide to making homemade cough medicine with pantry staples, or try making your own elderberry syrup for immune support all season long. For respiratory relief, my tutorial on how to make vapor rub with essential oils walks you through a gentle, DIY version that actually works. And if you’re new to herbal remedies in general, this post breaks down the differences in a way that makes it easy to choose what’s right for you.
Give this recipe a try, make it your own, and keep a jar on hand when the sniffles start making their rounds.
Easy Homemade Fire Cider
This post may contain paid links. If you make a purchase using the links in this recipe, I may earn a commission.
Equipment
- 1 Quart-sized glass jar with a lid with a plastic or rubber coating (or use parchment paper with a metal lid to prevent corrosion)
- 1 Microplane or grater
- 1 Strainer for straining after infusion
Ingredients
Instructions
- Wash and chop all fresh ingredients.1/2 cup Fresh Ginger Root, 1/2 cup Fresh Turmeric Root, 1/2 cup Fresh Horseradish Root, 1 medium Onion, 8-10 cloves Garlic, 1-2 Hot Peppers
- Place all chopped ingredients, lemon juice, and lemon zest into a clean quart-sized glass jar. Pack them in tightly but leave a little room at the top.1 Lemon
- Pour raw apple cider vinegar over the ingredients until they are fully submerged.Raw Apple Cider Vinegar
- Close the jar tightly, and if using a metal lid, place a piece of parchment paper between the jar and lid to prevent corrosion.
- Store the jar in a cool, dark place for 3-4 weeks, shaking it daily to help infuse the flavors.
- After 3-4 weeks, strain out the solids and pour the liquid into a clean glass bottle. Add honey to taste if desired and stir well.1-2 tablespoons Raw Honey
Notes
- Use raw, unfiltered apple cider vinegar for the best flavor and benefits.
- Store your fire cider in the fridge for long-lasting freshness.
- You can adjust the heat level by adding more or fewer peppers.
I made this last year and once strained I froze into ice tray. when we are sick I pop a cube into a tea cup, add some honey and cover with hot water. works beautifully during sick season.
Oh I love that idea! Having it ready to drop into a cup with honey and hot water makes it so easy to use when you need it. Thanks for sharing that tip!
Is this something that can be “canned” like homemade soup? I’d love to be able to seal it up in a mason jar. I water bath can, I don’t pressure can.
I’m not confident in my canning abilities to say for sure. There is a Facebook group that has a lot of my canning friends in it. They might be worth asking. https://www.facebook.com/groups/HomesteadCookingAndCanning/
Hi,
Did you add orange pieces back into the Fire Cider because your picture doesn’t look like it’s strained.
No, it’s not strained. I used zest so it’s tiny bits that tend to break down quite a bit because of the acidity.
I am allergic to raw onion and garlic. Are they still effective if slightly cooked before putting in the mix?
That should be fine, but be careful that it doesn’t go rancid due to oils used during the cooking process. I’d lean towards boiling if you can so.
Add the herbs, spices & orange zest after placing the roots & veggies in the glass jar. What happen to the juice of the orange. It mentions to zest & juice the orange. But i don’t see any juice added into the jar. Please comment. Because I’m going to made this Fire Cider today. I have rosemary and sage plant. Can I use the sage as one of the herb. I only know sage is used for chicken & turkey.
I’m sorry, I edited the recipe above. The juice goes in at the start with the herbs and zest.
One to 3 months curing time seems a bit vague. How do you know when it’s ready.
Curing really is just to blend the flavors. You can drink it immediately, but it’s more effective (and tastes slightly better) when it’s been given a few months to blend.
How much do you add to your tea?
Just a splash (unless I’m so congested that I can’t taste anything – then I’m more adventurous lol).
I am allergic to garlic (believe me, I’m sadder than you about that). Do you think if I left it out, it would still be useful?
I can’t even imagine the heartache that comes with being allergic to garlic (100 clove garlic soup is my all-time favorite soup). You can certainly leave it out. The garlic helps with circulation, but it will work without it.
Hi, you didn’t say when to add the cayenne; does it go in at the beginning, or when you add the honey after it has “cured”?
So sorry for the long delay. We’ve had technical issues and I am just now able to get back into our site.
I add the cayenne at the beginning. I’ll make sure to update the post so there is no more confusion.
how much do you take and how often
I try to take a “shot” each day during cold and flu season. If I get sick, I do a shot every three hours until I feel better.
Wow! I’ve never heard of this before, but all of the ingreedients make perfect sense! Thank you so much for sharing the recipe! Pinning and making soon!