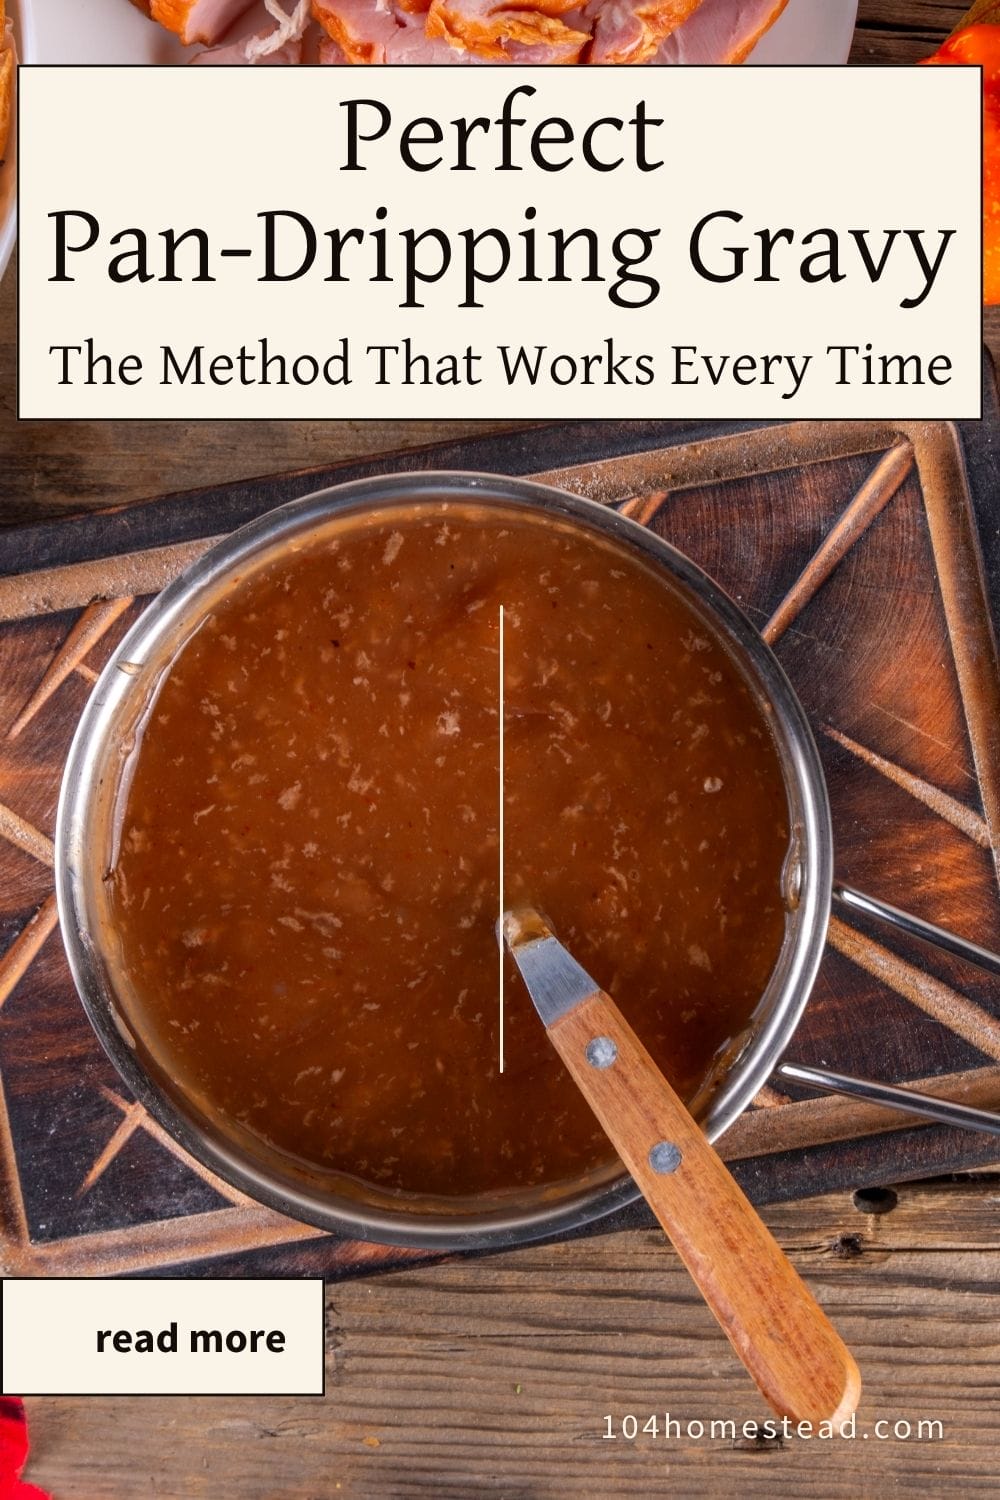
How to Make Smooth Gravy from Pan Drippings
Learn how to make gravy from pan drippings with simple steps for skimming fat, thickening, freezing, and reheating without separation.
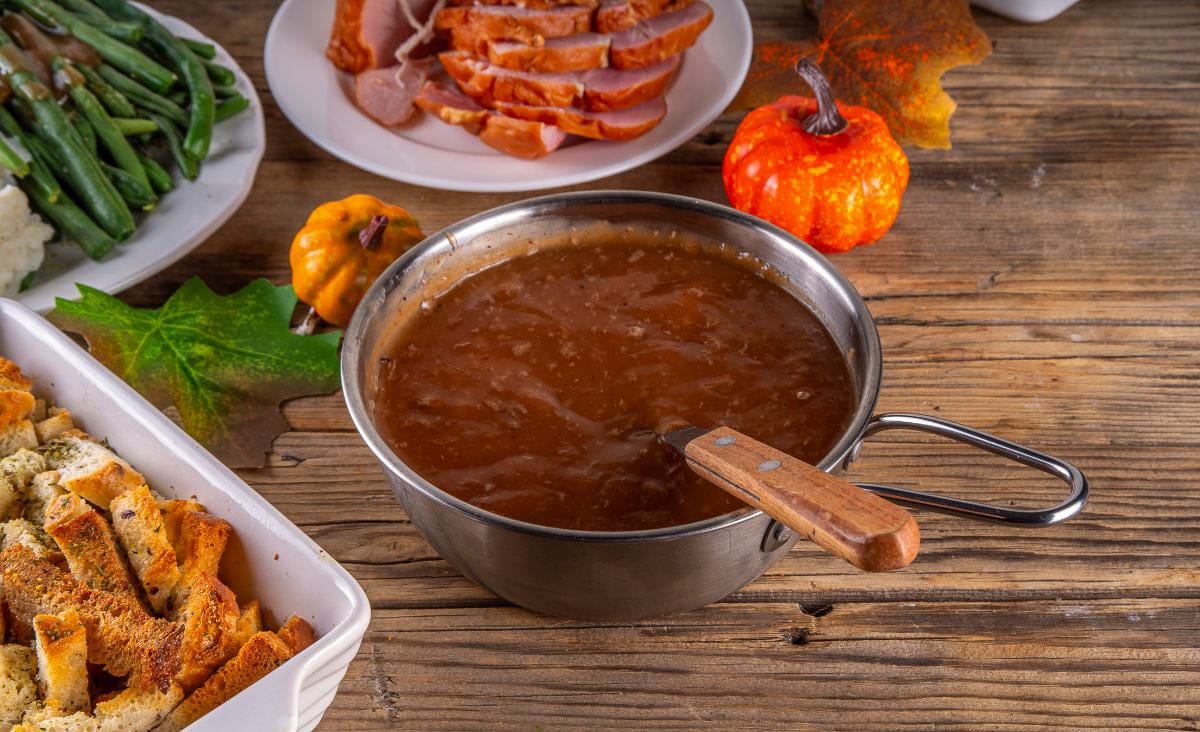
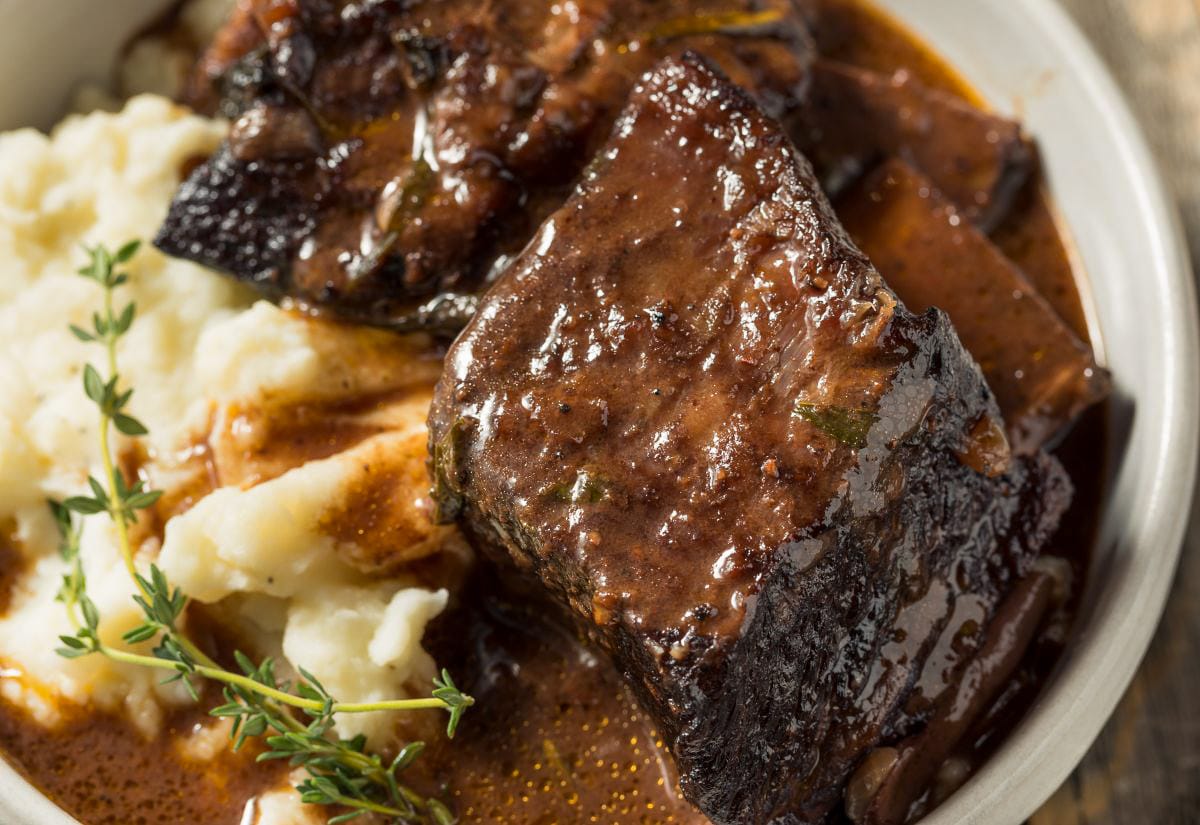
There’s just something about pulling a roast out of the oven and seeing all that browned goodness pooling at the bottom of the pan. For years, I wanted that silky, rich gravy… I just didn’t want to be the one who ruined dinner five minutes before it hit the table. And honestly, I’ve had my share of gloopy, greasy, what-happened-here batches.
The good news? Making gravy from pan drippings isn’t complicated once you know what’s going on in that pan. It’s just fat, flour, stock, and some patience. Once I figured out how to skim the fat, thicken it right, freeze it, and bring it back to life without it breaking, it became something I could do even on chaotic holiday mornings.
If you’re planning ahead for the holiday, my make-ahead Thanksgiving guide breaks everything down into simple daily steps so gravy isn’t the last-minute stressor.
Let me walk you through the way I do it these days. You’ll learn how to get clean, really flavorful drippings, how to fix gravy that’s too thin or too thick, how to freeze it without separation, and how to reheat it so it comes back to life every single time.
Why Pan Drippings Make the Best Gravy
Pan drippings aren’t just melted fat. It’s the browned bits stuck to the pan, the tiny scraps of meat and caramelized juices, and everything that dripped down during roasting. When you whisk those into a roux or slurry, you get a gravy that tastes like it simmered all afternoon.
Why Defatting Matters
Here’s something I learned the hard way: keeping all the fat makes greasy gravy that separates as soon as it cools. Removing some fat keeps the gravy rich without turning it oily. You want just enough fat to make a small roux (usually a couple tablespoons).
Why Gravy Breaks
If your gravy separates, it’s almost always one of three things:
- Too much fat
- Not enough thickener
- High heat during reheating
Once you’ve watched it fall apart a few times, it’s pretty easy to spot the problem.
What You Need for This Method
I’ve made perfect gravy with nothing but a whisk and a saucepan, but here’s what helps:
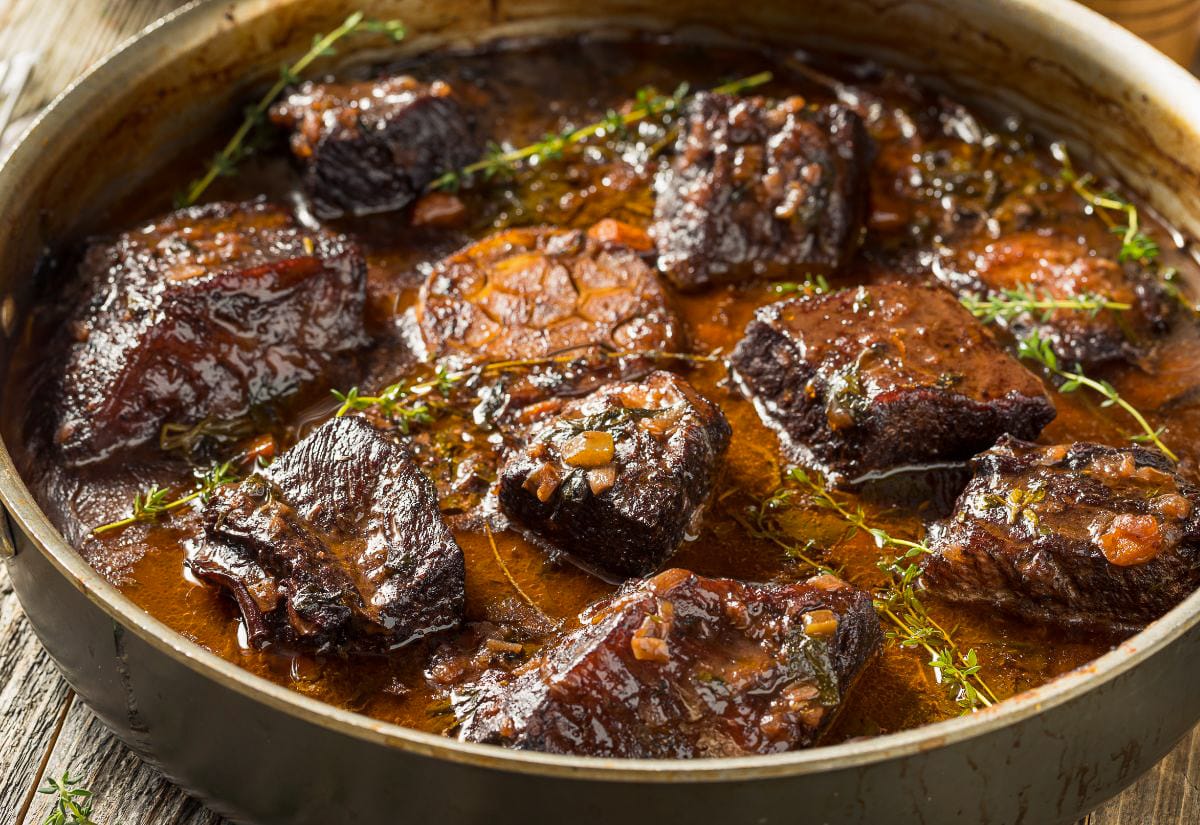
The Drippings: Turkey, chicken, pork, or beef drippings all work great. Even veggie-roast drippings will give you a good starting point if you’re skipping meats.
Stock: It doesn’t matter whether it’s homemade or store-bought; you just want something that complements your roast. I keep homemade stock on hand because it gives the gravy extra depth, but use what you’ve got.
A Whisk and a Fat Separator: The whisk keeps everything smooth. A fat separator just makes the job of skimming easier.
Step-by-Step: How to Make Gravy from Pan Drippings
Let’s walk through it the same way I make it here on a Sunday roast night.
Collect and Defat the Drippings
Once your roast is out of the oven, pour everything (fat, juices, browned bits) into a heat-safe measuring cup or fat separator. Let it sit for a minute so the fat rises. If you don’t have a separator, spoon the fat off the top until you’ve removed enough to prevent greasiness. I like leaving about 2–3 tablespoons of fat to help build the roux.
If you’ve got barely any drippings (it happens), no big deal. Use whatever you have and supplement with a tablespoon of butter or a splash of stock.
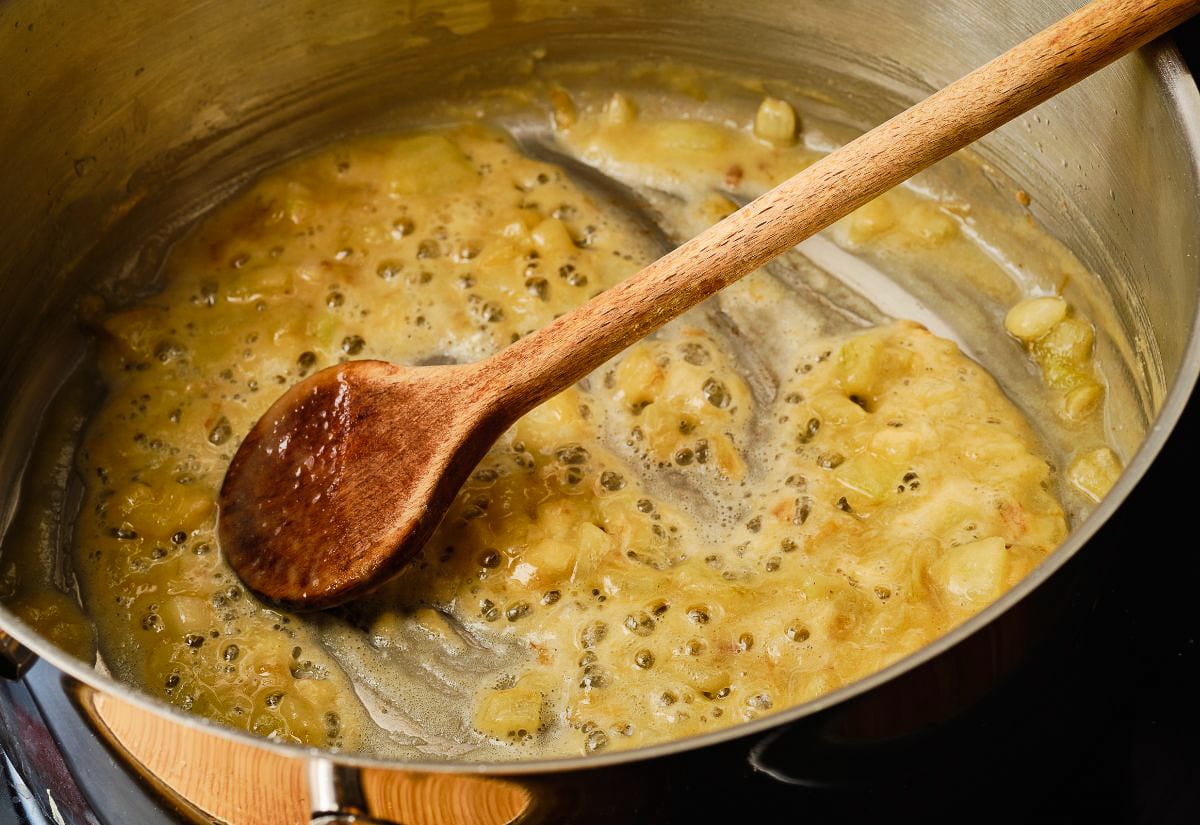
Make a Roux (or Slurry)
A roux (just fat and flour) gives you that smooth, traditional gravy. A cornstarch slurry is the quick, lighter option when you don’t have enough fat or want something gluten-free. Don’t use both. That’s how you end up with gluey gravy.
- For a roux: Return the fat to a saucepan over medium heat. Sprinkle in an equal amount of flour. Whisk until smooth and lightly golden.
- For a cornstarch slurry: Whisk cold stock with cornstarch in a separate bowl until lump-free.
Add Stock Slowly
Pour in warm stock a little at a time, whisking constantly so the roux absorbs it without clumping. Add your defatted drippings as you go. Keep whisking until it looks glossy and smooth. If it thickens too fast, splash in a little more stock.
Simmer and Adjust
Let the gravy simmer gently for 3–4 minutes. This cooks out the raw flour taste and lets everything tighten up. Give it a taste and adjust as you go.
- Add salt or pepper
- Add a splash of white wine if you want a little lift
- Add herbs like thyme or sage if you want something more Thanksgiving-forward
I’m picky about salt levels, so I’ll admit I adjust three or four times until it tastes just right.
Serve or Cool for Later
You can serve right away, or cool the gravy for freezing or reheating. More on that below.
How to Freeze Gravy Without It Separating
Gravy made with flour freezes better. Slurry-thickened gravy can get a little… gelatinous.
This is the part most posts skip, and it really matters if you want to get ahead for the holidays. Let your gravy cool completely before freezing. Warm gravy traps steam in your containers, and steam leads to separation or ice crystals. Let it cool until just slightly warm before transferring.
Use whatever containers you’ve got, but smaller portions freeze and thaw a lot more evenly. I like freezing gravy in:
- Shallow, wide-mouth jars
- Silicone freezer trays (½-cup portions thaw beautifully)
- Small deli containers
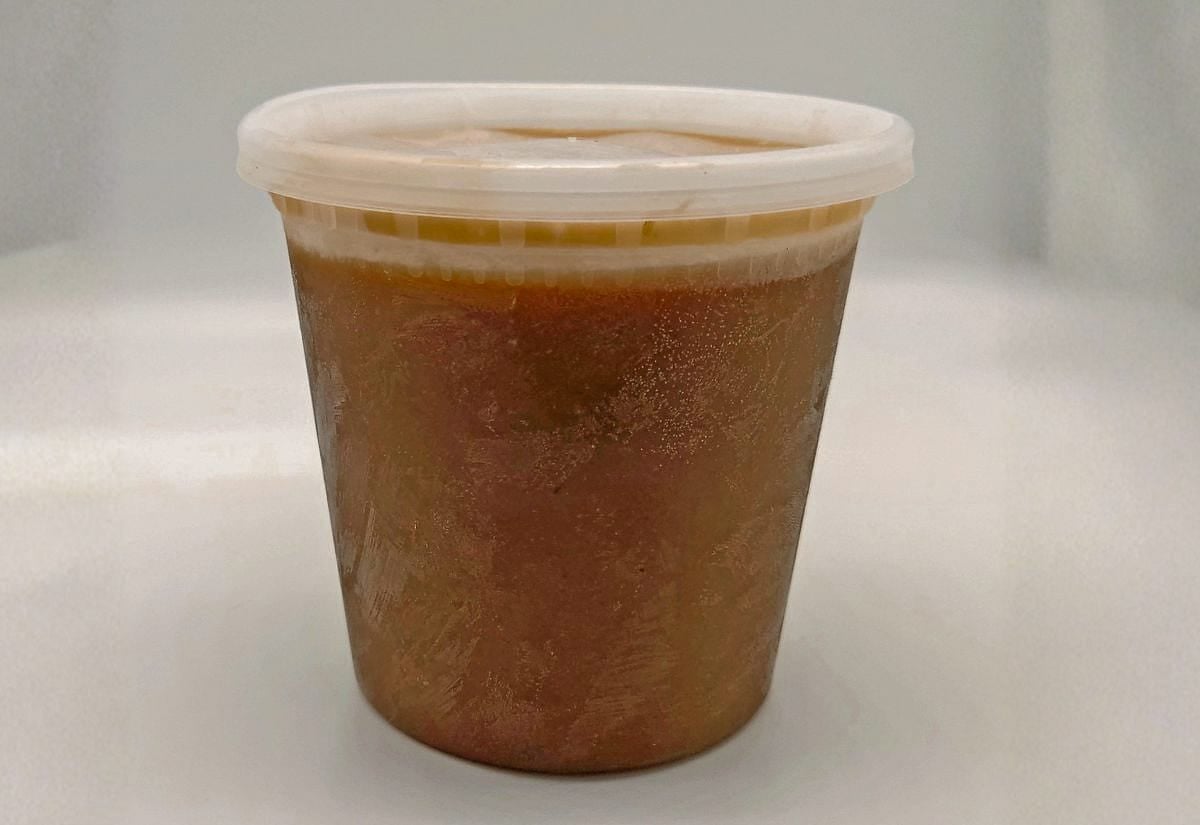
Frozen gravy is good for up to three months.
If you want a few smart ways to put leftover gravy to work the next day, you’ll love my go-to leftover ideas. They turn Thanksgiving odds and ends into hands-off slow cooker meals.
How to Reheat Gravy So It Stays Smooth
Reheating is all about low and slow. Put the frozen (or thawed) gravy in a saucepan over low heat. If it’s very thick, add a splash of stock or water to loosen it. Whisking helps pull everything back together. Whatever you do, don’t crank the heat. That’s how you end up with oily gravy (ask me how I know).
If your gravy does separate:
- Take it off the heat.
- Whisk in a teaspoon of cold stock.
- If it’s still being stubborn, whisk in a tiny bit of flour with stock. That usually does the trick.
Troubleshooting Common Gravy Issues
No judgment here. I’ve ruined enough gravy over the years to know exactly what can go wrong.
Too Thin: Simmer it longer, or whisk in a little slurry (stock + flour or stock + cornstarch).
Too Thick: Add warm stock a splash at a time until it loosens.
Tastes Flat: That’s usually a stock issue. A splash of Worcestershire sauce, a pinch of salt, or a squeeze of lemon brings it back to life.
Too Salty: Dilute with unsalted stock or water, then thicken again if needed.
Common Questions About Pan-Dripping Gravy
Here are a few common questions that come up when people start making gravy from pan drippings.
If this is a recipe you’ll want handy for the holidays, go ahead and pin it to Pinterest.
Once you understand the balance of fat, flour, and stock, making gravy from pan drippings becomes second nature. And knowing how to freeze and reheat it without separation means you can get ahead on holiday cooking without sacrificing flavor. Give it a go next time you’ve got a roast in the oven.
If you want something hearty on the table with your gravy, my sweet potato stuffing recipe is a favorite around here.
If you’ve got a gravy mystery you’re still wrestling with, drop it in the comments. I bet we can troubleshoot it together.
Pan-Dripping Gravy (Simple, Foolproof, and Make-Ahead Friendly)
This post may contain paid links. If you make a purchase using the links in this recipe, I may earn a commission.
Equipment
- Fat Separator optional
Ingredients
- 2-3 tbsp Pan Drippings
- 2-3 tbsp All-Purpose Flour or 1–2 tablespoons cornstarch mixed with cold stock for a slurry
- 1-2 cups Stock turkey, chicken, beef, pork, or vegetable
- Salt and Pepper to taste
Instructions
- Pour the drippings from your roasting pan into a heat-safe cup or fat separator. Let the fat rise to the top. Spoon off excess fat until you have about 2–3 tablespoons left to make your roux.2-3 tbsp Pan Drippings
- For a roux, add the fat to a saucepan over medium heat. Whisk in an equal amount of flour and cook until smooth and lightly golden. For a slurry, mix cornstarch with cold stock in a small bowl until lump-free.2-3 tbsp All-Purpose Flour
- Whisk warm stock into the roux a little at a time. Add the skimmed drippings and browned bits. Keep whisking until the gravy looks smooth and glossy.1-2 cups Stock
- Let the gravy simmer for 3–4 minutes so it thickens and the flour cooks out. Taste and season with salt, pepper, and any optional herbs or wine.Salt and Pepper
- Serve immediately, or cool completely if freezing or making ahead.
Notes
- Too thick? Add more stock a splash at a time.
- Too thin? Whisk in a little slurry or simmer longer.
- Gravy separated? Remove from heat and whisk in a teaspoon of cold stock.
- Freezing: Freeze in small containers or silicone trays for up to 3 months.
- Reheating: Warm low and slow, whisking as you go. Don’t boil.