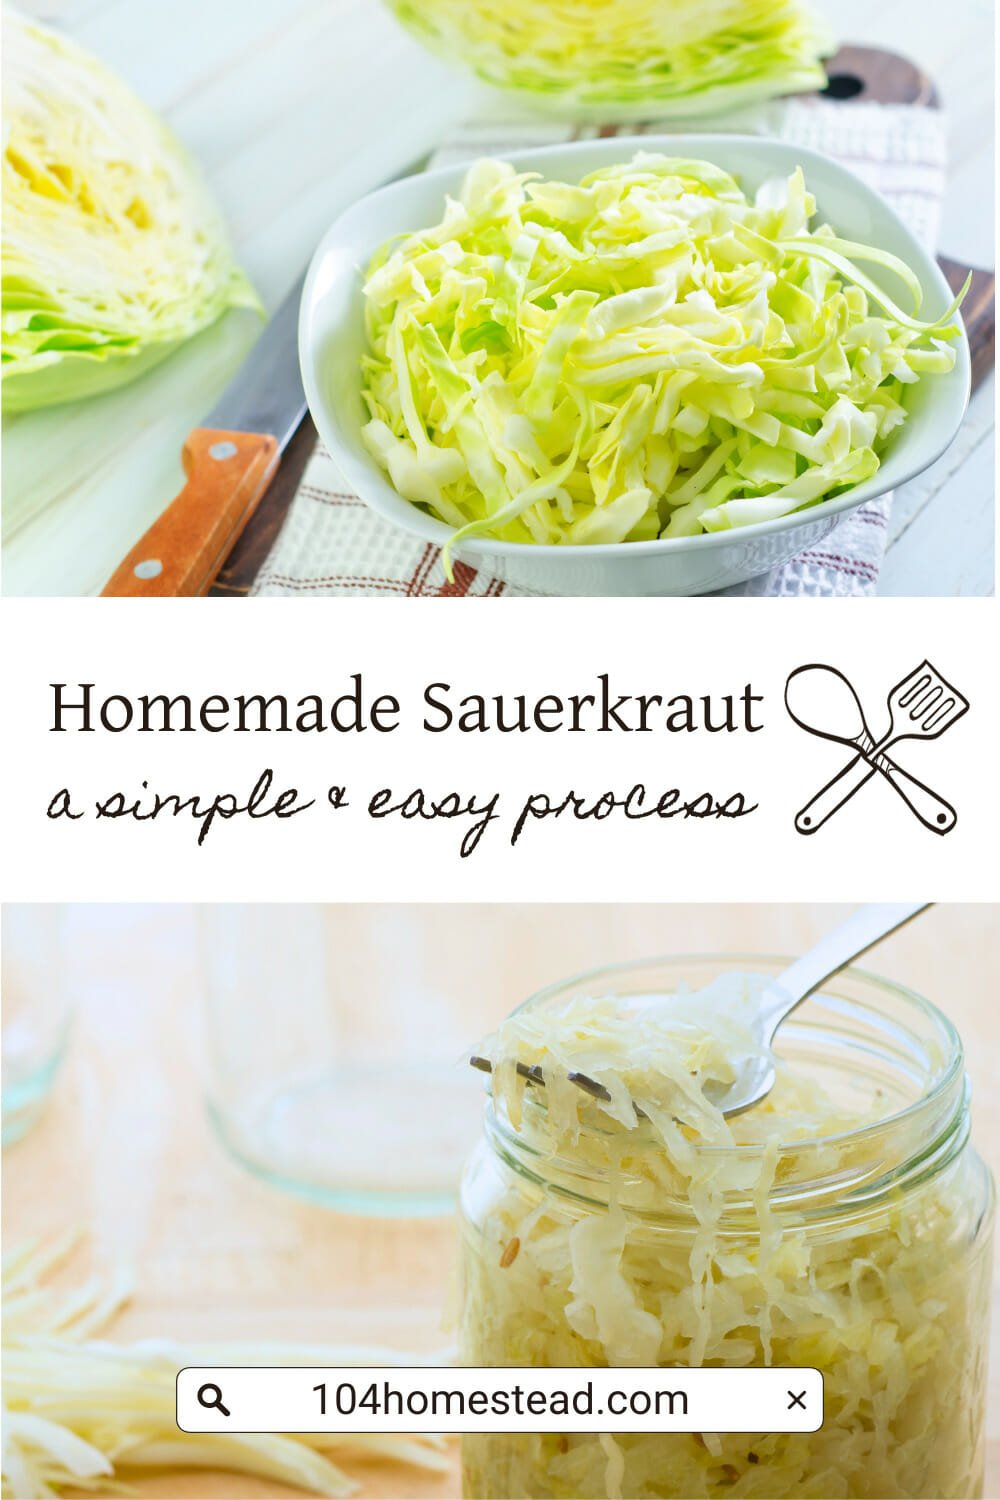
Homemade Sauerkraut Recipe (Simple Steps, No Fancy Tools)
Learn how to make homemade sauerkraut with just cabbage and salt. This easy, beginner-friendly recipe walks you through every step with confidence.
Making your own sauerkraut might sound intimidating at first, but it’s surprisingly simple—and incredibly rewarding. With just cabbage, salt, and a mason jar, you can create a probiotic-rich food that’s been a kitchen staple for generations.
If you’ve been putting off making your own sauerkraut because it sounds intimidating, you’re not alone. Fermentation feels mysterious the first time you try it. But I promise, sauerkraut is one of the easiest ferments to master—and it only takes two ingredients.
Once you understand the process, you’ll wonder why you ever thought this belonged in the “advanced homesteading skills” category. This is beginner-friendly, low-risk, and frankly, a little bit magic.
Why I Think Homemade Sauerkraut Is Worth It
Store-bought kraut often skips the live fermentation process or is pasteurized for shelf stability, which kills off the probiotics you’re probably hoping to get from it in the first place. When you make it at home, you’re creating a probiotic-rich, gut-friendly food that’s alive, vibrant, and fully customizable.
Beyond the health benefits, homemade sauerkraut is frugal and reduces waste. It’s a fantastic way to preserve a surplus harvest or take advantage of seasonal sales on cabbage. A head of cabbage and a little salt can stretch into months of flavor.
If you’ve got more cabbage than you can use right away, here’s how to store fresh cabbage for winter so nothing goes to waste.
What Makes This Recipe Different
You’ll find a lot of sauerkraut recipes out there. What makes this one worth saving?
- No complicated tools or equipment
- A small-batch approach that works for beginners
- Simple, clear steps with explanations (no mystery science here)
- A printable recipe card below so you can work at your own pace
How Homemade Sauerkraut Comes Together
The process is simple, but understanding why each step matters helps build confidence. That’s why I like to walk you through it in detail here—then you can reference the printable recipe card below when you’re ready to get started.
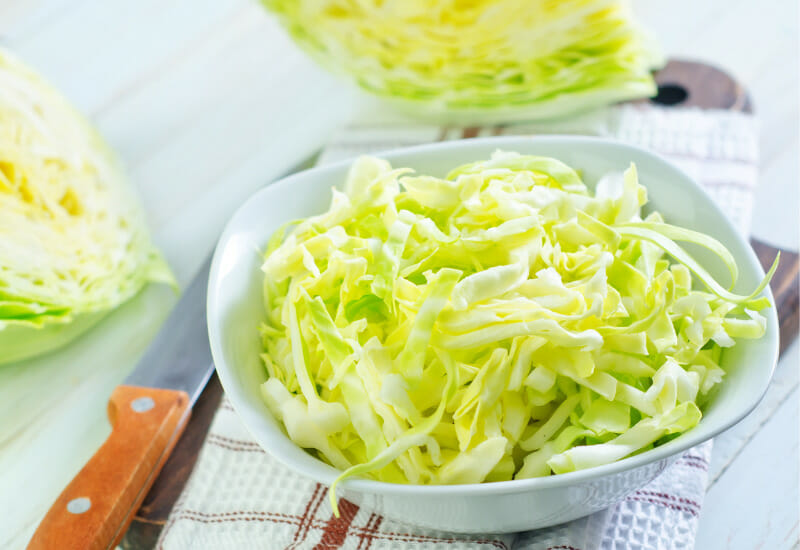
Step 1: Preparing the Cabbage
Start by removing any tough outer leaves. Slice your cabbage as thinly as you prefer. The thinner the slices, the faster the fermentation tends to happen.
Step 2: Drawing Out the Liquid
Massaging salt into the cabbage breaks down its cell walls, releasing liquid that will become your brine. Don’t rush this step—it’s key to getting enough natural brine without having to add water.
Step 3: Packing the Jar Tightly
The goal here is to press out air pockets and make sure the cabbage is fully submerged beneath its own brine. Exposure to air encourages mold, so keep things packed down tight.
Step 4: Weighing Down the Cabbage
You don’t need fancy fermentation weights. A small jar inside your larger jar works perfectly to keep the cabbage submerged where it belongs.
Step 5: Patience During Fermentation
Leave the jar at room temperature and out of direct sunlight. Sauerkraut doesn’t ferment in hours—it takes days or even a few weeks, depending on your home’s temperature and how tangy you want it. Expect bubbles, a little smell, and some natural scum on top. All normal.
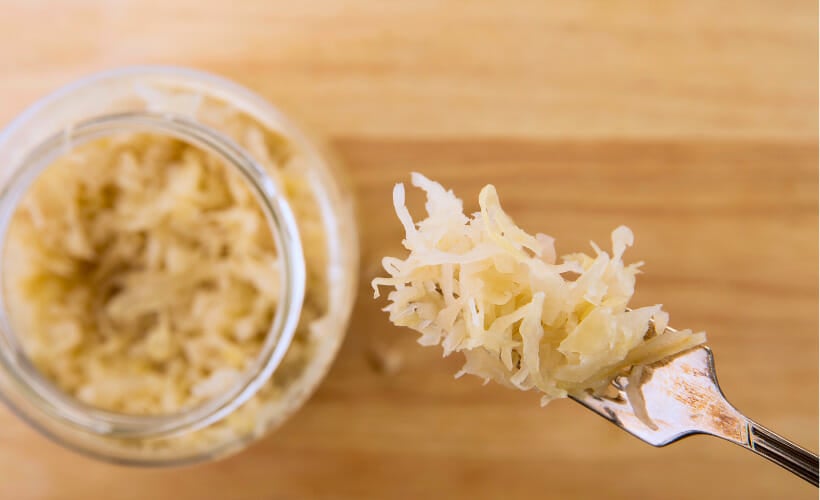
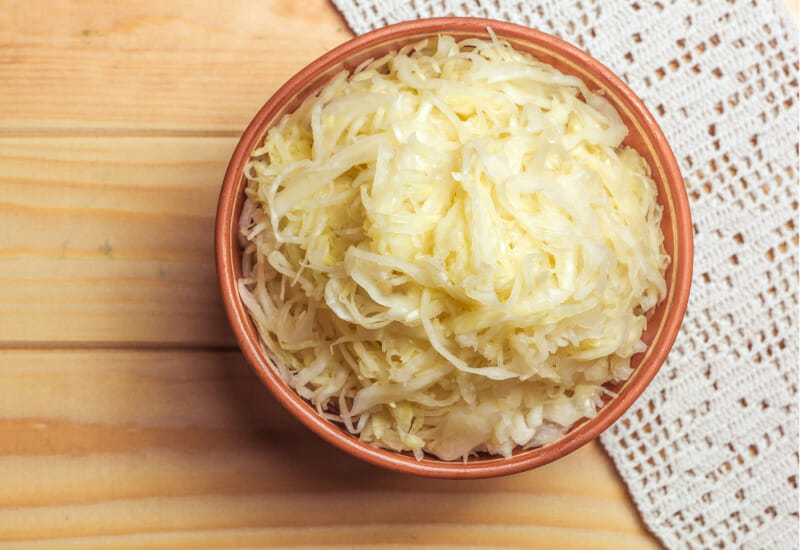
How to Store and Enjoy Your Sauerkraut
Once it reaches the flavor you like, screw on a lid and pop it in the fridge. Cold slows the fermentation almost to a halt, keeping your kraut crisp and tangy for months.
If you’re new to fermenting, you might wonder how to actually use your homemade sauerkraut beyond plopping it next to a bratwurst. Here are a few of my favorite ways:
Simple Ways to Use Sauerkraut
- As a Topping: On sandwiches, burgers, or avocado toast
- With Eggs: Toss a little on scrambled eggs or an omelet
- In Bowls: Add to grain bowls or salads for a tangy bite
- As a Side: Serve with pork, sausage, or roasted root vegetables
- Straight from the Jar: A forkful a day keeps the gut happy

Common Questions About Making Sauerkraut
Even with how simple this process is, I know a few questions usually pop up—especially if you’re new to fermenting or just want to make sure you’re on the right track. Here are some of the most common ones I get asked about making homemade sauerkraut.
Want to remember this recipe when cabbage season rolls around? Pin this post to keep it handy.
Homemade sauerkraut isn’t just a recipe—it’s a small way to reclaim a traditional skill, reduce waste, and nourish your body. Once you see how easy it is, it might just become a regular part of your kitchen rhythm.
Ready to give it a try? The printable recipe card below walks you through each step, so you’ll know exactly what to do—no second-guessing needed.

How To Make Homemade Sauerkraut in a Mason Jar
This post may contain paid links. If you make a purchase using the links in this recipe, I may earn a commission.
Equipment
- 1 Mason Jar quart-size
Instructions
- Wash your cabbage, weigh it, and jot down the weight for reference.1 Cabbage
- Remove and discard any damaged outer leaves. Cut out the core and set aside one clean outer leaf for later.
- Sprinkle salt over the shredded cabbage (see recipe note below) and let it rest for about 15 minutes.3-4 tsp Salt
- Massage the cabbage with clean hands for 5-10 minutes until it softens and releases its liquid to create a natural brine.
- Pack the cabbage tightly into a clean mason jar, pressing it down firmly as you go to eliminate air pockets.
- Pour any remaining liquid from the bowl into the jar, ensuring the cabbage is fully submerged under the brine.
- Cut a circle from the reserved cabbage leaf to fit the opening of the jar and place it on top of the packed cabbage to help keep it submerged.
- Place a fermenting weight on top of the cabbage leaf and make sure everything stays beneath the liquid. Secure the lid loosely.
- Store the jar at room temperature (70-75°F) for 3 to 4 weeks. Check periodically to ensure the cabbage remains submerged.
- Once fermented to your liking, remove the weight and cabbage leaf, seal the jar with a tight-fitting lid, and transfer it to the refrigerator.
Notes
Nutrition
If you’re like me and enjoy these simple, old-fashioned kitchen projects, you’ll probably love this recipe for easy homemade crockpot applesauce—another satisfying way to preserve the harvest.
Thanks for spending a little time here with me today. I hope this post gave you the confidence to give homemade sauerkraut a try—it really is one of those simple, old-fashioned skills that’s worth having in your back pocket.
From my homestead to yours,
Jessica