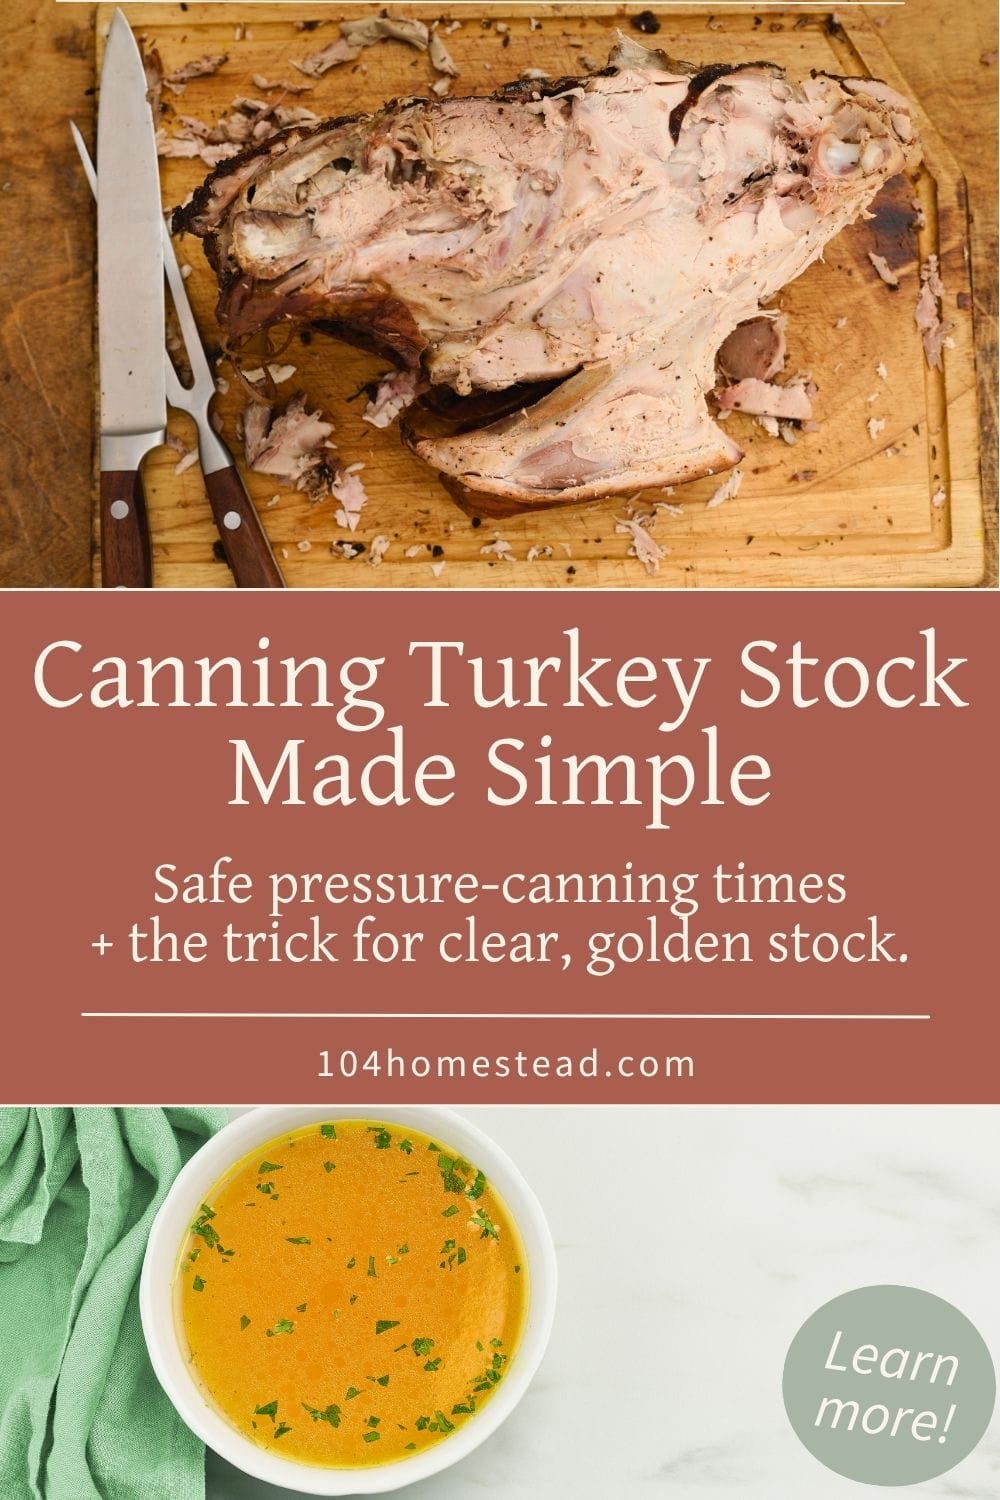
Turning a Turkey Carcass into Shelf-Stable Broth with Pressure Canning
Turn a leftover turkey carcass into golden, shelf-stable broth. Learn safe pressure-canning times, jar sizes, and tricks for clear, rich stock.
After every Thanksgiving, I stare at that picked-over turkey carcass and think, “There’s no way I’m throwing this away.” It’s liquid gold, plain and simple. Around here, broth isn’t just a way to stretch leftovers. It’s what gets us through soup season (which, in Maine, feels like half the year).
Over the years, I’ve learned that a few extra steps (straining carefully, skimming regularly, and pressure canning properly) can turn that pile of bones into jars of broth that look beautiful and taste better than anything store-bought.
I’ll walk you through exactly how I do it, including weights, jar sizes, processing times, and the little trick I use to keep it clear and golden.
Why I Pressure Can Turkey Stock (and You Should Too)
Homemade broth is great. Pressure-canned broth is better. Freezer stock works fine for a few months, but space is limited, and it’s easy to lose track of those mystery containers buried behind bags of peas. Shelf-stable jars sit on the shelf, ready for last-minute soup or gravy.
Pressure canning is what makes your broth shelf-stable and safe. Poultry stock has to be pressure canned because it’s low acid. The right time and pressure keeps it safe without messing up the flavor. If you’re new to pressure canning (or it’s been a while) grab my printable pressure-canning charts. They make it easy to quickly double-check times without digging through a manual.
Ingredients and Tools You’ll Need
Before you get that carcass bubbling, grab what you’ll need.
Ingredients
- 1 roasted turkey carcass (from a 12–16 lb bird works best)
- 2 – 3 gallons of cold water
- 2 medium onions, quartered
- 2 carrots, cut into chunks
- 2 celery stalks, cut into chunks
- 2 tsp salt (optional: add lightly if you plan to cook with it later)
- A few peppercorns, bay leaves, or herbs if you like
Go light on seasoning. It’ll taste richer and work in more recipes later.
Tools
- Large stockpot (at least 12 qt capacity)
- Fine mesh strainer or cheesecloth
- Pressure canner (tested and with venting instructions from your manual)
- Canning jars, lids, and bands (pints or quarts)
- Jar lifter, funnel, and clean towels
I use an All American 921. It keeps a steady pressure, even on my older stove. A smaller, budget-friendly option is the Presto 23-quart canner.
Step-by-Step from Carcass to Clear Broth
Here’s how I take that picked-over bird and turn it into jars of rich, clear stock.
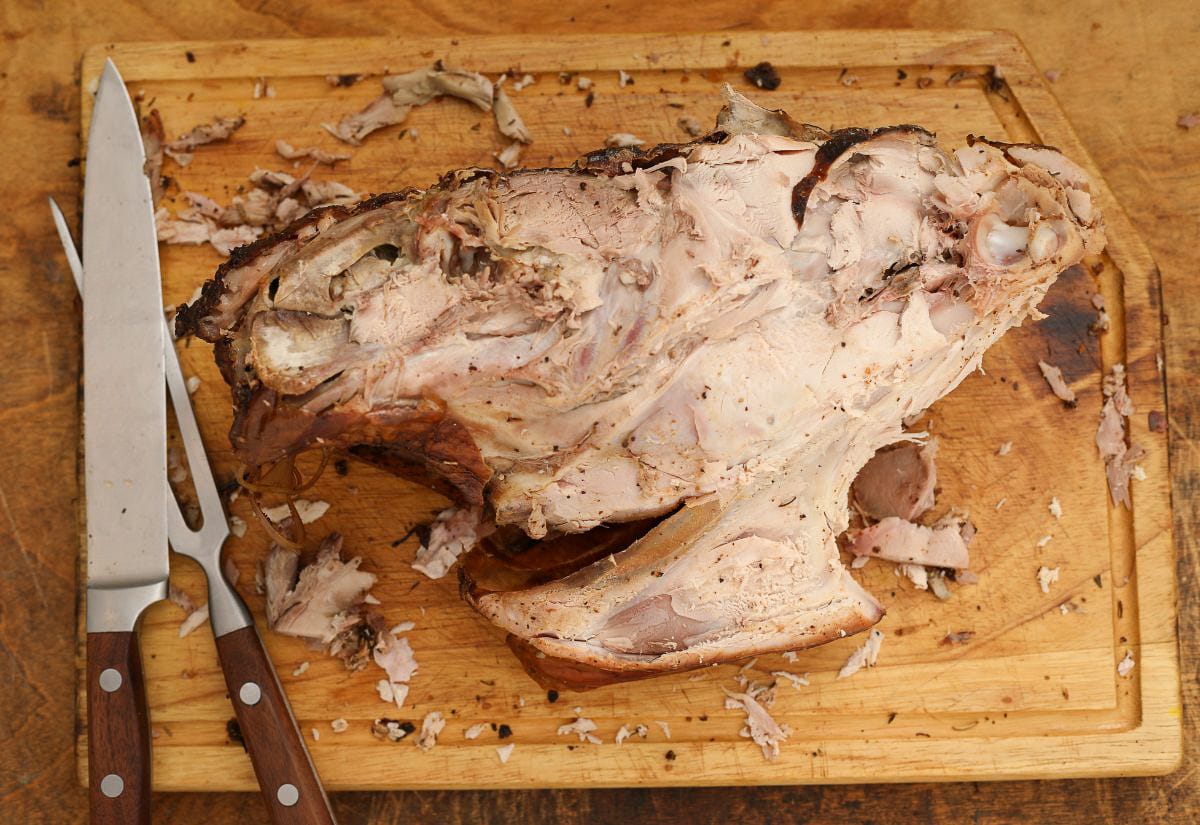
Break Down and Simmer
Break the carcass into pieces so it fits comfortably in your pot. Add cold water until everything’s covered by 2 inches. Bring it to a gentle simmer (no rolling boil). A hard boil breaks up fat and protein and clouds the broth fast. Keep it at a simmer for 3–4 hours, occasionally skimming any foam that rises. A stainless-steel skimmer or fat-separator ladle like this one makes it easy to keep the surface clean without losing flavor.
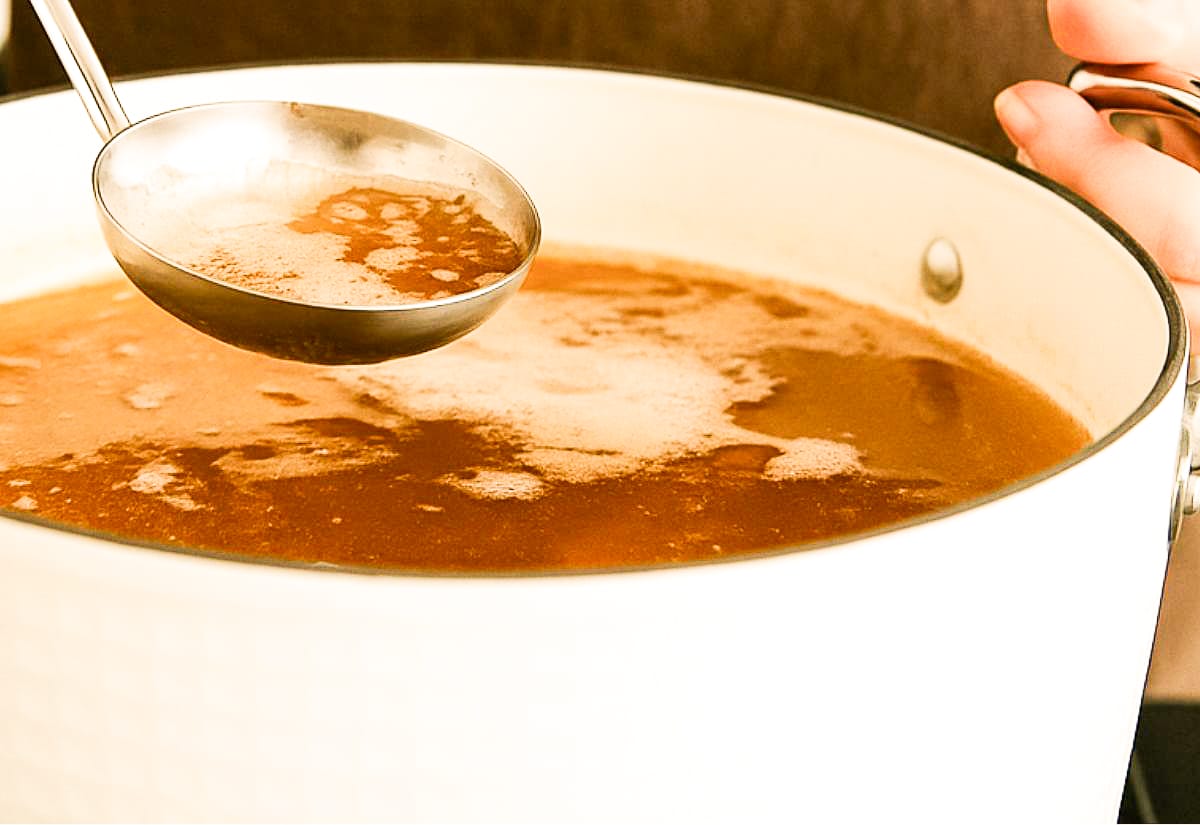
When I first started making stock, I’d crank the heat to hurry things along. The result looked more like turkey gravy than broth. Lesson learned… patience makes it pretty.
Strain and Chill Overnight
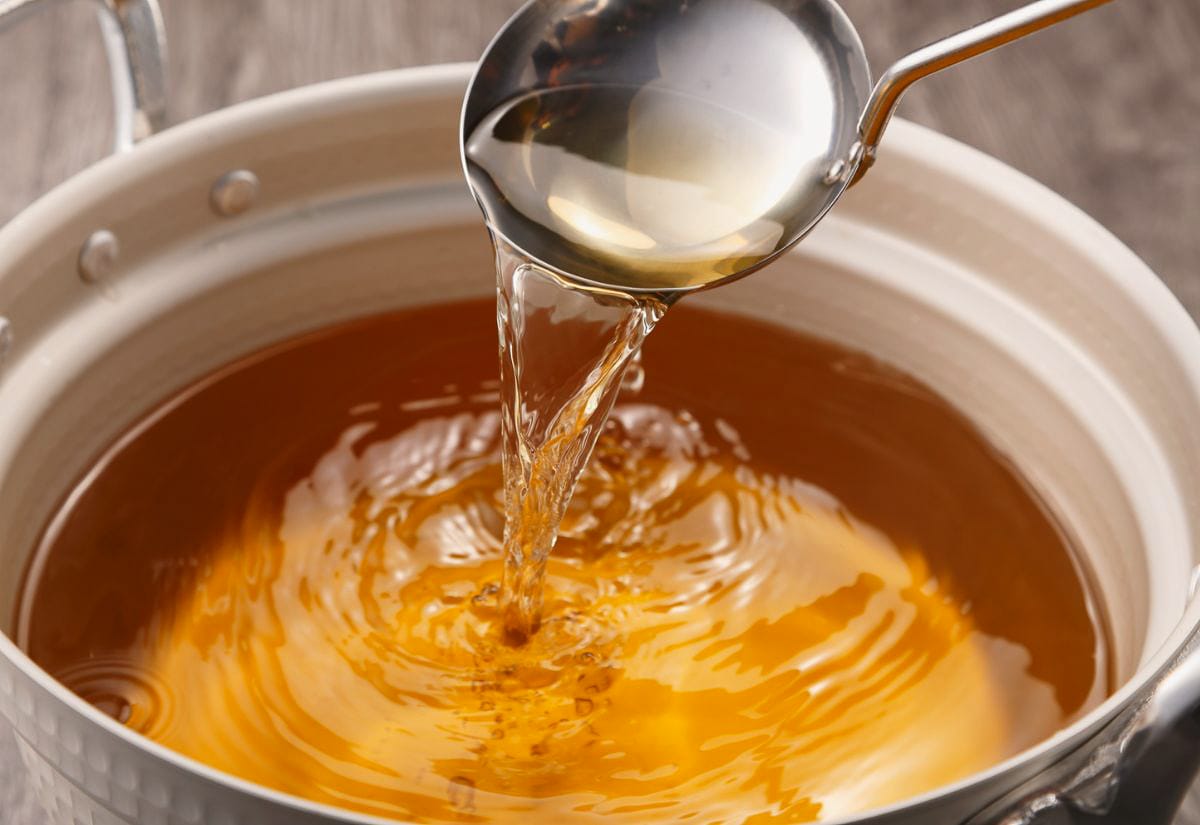
Carefully ladle the broth through a fine mesh strainer (or double-layer of cheesecloth) into another pot or large bowl. Discard the bones and vegetables. Refrigerate the strained broth overnight. By morning, the fat will form a solid layer on top. Lift it off with a spoon and discard. That’s the trick to getting clear stock instead of that greasy layer floating on top.
Reheat Before Canning
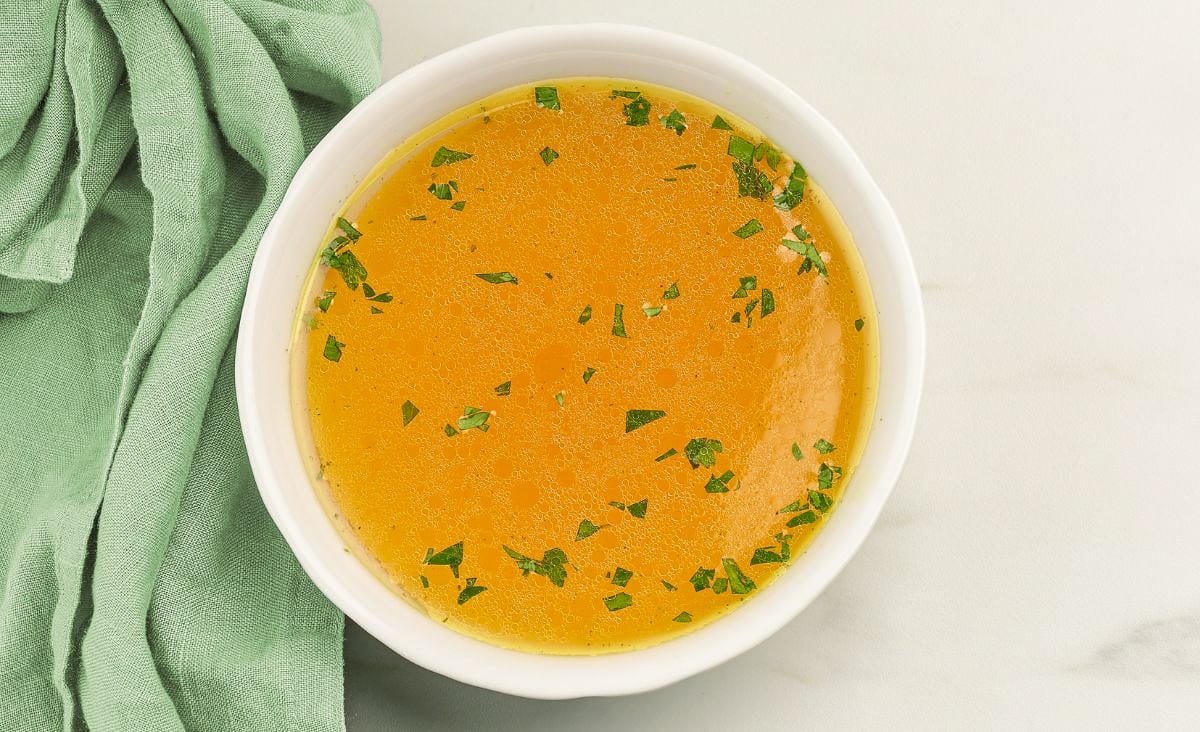
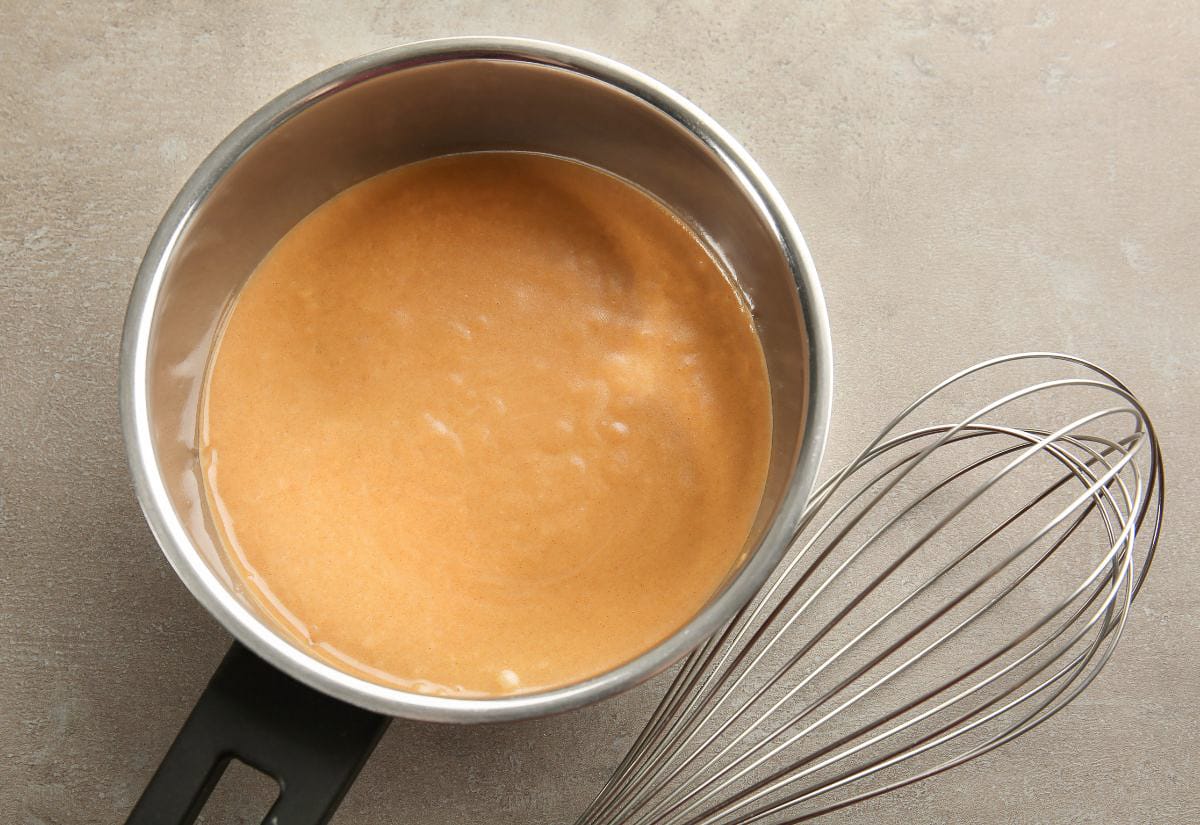
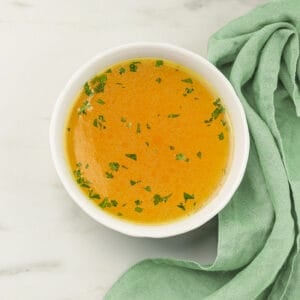
Reheat the broth to a gentle simmer before filling jars. Hot broth into hot jars prevents cracks and helps it process evenly. If you notice any stray bits at the bottom, pour the last inch through cheesecloth again. Aim for golden, see-through liquid.
Canning Turkey Stock: Safe Times and Pressures
Here’s the safety part you don’t skip. These numbers come from the National Center for Home Food Preservation, adapted for turkey or chicken stock.
| Jar Size | Processing Time | Dial-Gauge Pressure (0-2000 ft) | Weighted-Gauge Pressure (0-1000 ft) |
|---|---|---|---|
| Pints | 20 minutes | 11 lb | 10 lb |
| Quarts | 25 minutes | 11 lb | 10 lb |
Adjust for altitude:
- 2,001–4,000 ft = 12 lb dial / 15 lb weighted
- 4,001–6,000 ft = 13 lb dial
- 6,001–8,000 ft = 14 lb dial
Headspace: Leave 1 inch at the top of each jar.
Yield: From a 14 lb turkey carcass, I typically get about 6 quarts or 12 pints of finished stock. You may get a little more or less, depending on simmer time and how much water you used.
My Best Tricks for Crystal-Clear Stock
If you’re after that see-through, golden stock, keep these things in mind while you cook.
- Start cold, stay gentle. Proteins release slowly and trap less sediment.
- Don’t stir. It’s tempting, but stirring kicks up particles that make broth cloudy.
- Cool completely before removing fat. The solid fat disc lifts off cleanly when cold.
- Ladle, don’t pour. It keeps the bottom settled.
- Reheat only once. Every reheat adds risk of emulsifying fats again.
If you like putting every bit of your harvest to good use, here’s how I keep my garden produce fresh through the winter.
How to Store and Use Your Shelf-Stable Broth
Once your jars are processed and cooled, remove the bands, wipe the rims, and label with the date so you know what’s what later. Store in a cool, dark place. I aim to use my broth within a year, but I’ve opened jars at 18 months that were still perfect.
Use your stock for:
- Soups and stews (obviously)
- Gravy or pan sauces
- Cooking grains or beans for extra flavor
- Gift a jar to a homesteading friend (they’ll love it)
Why Your Broth Might Turn Cloudy (and How to Fix It)
If your broth looks a little cloudy, don’t stress. It’s still safe. It just means it boiled a bit too hard or didn’t get skimmed enough. Next time, try the gentle simmer and overnight chill. Once canned, it still tastes great, even if the jar looks a little foggy.
Still Wondering About Pressure-Canning Turkey Stock?
These are the ones I get right after Thanksgiving when everyone’s eyeing the carcass.
If you want to remember this for next Thanksgiving, pin it now so you’ll have the steps handy when the carcass hits the cutting board.
Turning a turkey carcass into shelf-stable broth is one of those satisfying habits that connects the seasons. You’ll save freezer space, reduce waste, and have something genuinely nourishing ready to go on your shelf.
If you give it a try, I’d love to hear how many jars you end up with or how clear you managed to get your stock this time around. And if you’re stocking your pantry for the season, don’t miss my guide on preserving garlic for long-term storage. It’s another easy win that keeps your ingredients homegrown and handy all winter.
Pressure-Canned Turkey Stock
This post may contain paid links. If you make a purchase using the links in this recipe, I may earn a commission.
Equipment
- Large Stockpot at least 12 qt capacity
- Fine Mesh Strainer or cheesecloth
- Pressure canner
- Canning jars, lids, and bands pints or quarts
Ingredients
Instructions
- Add the turkey carcass, vegetables, and seasoning to a large stockpot and cover with cold water by about 2 inches. Bring to a gentle simmer (no rolling boil) or it’ll turn cloudy.1 Roasted Turkey Carcass, 2-3 gallons Water, 2 medium Onions, 2 Carrots, 2 Celery Stalks, 2 tsp Salt, A few peppercorns, bay leaves, or herbs
- Simmer 3–4 hours, skimming off foam now and then to keep the broth clear.
- Pour the broth through a fine mesh strainer or cheesecloth into a clean pot or bowl. Discard the solids.
- Refrigerate overnight. By morning, lift off the solid fat layer and toss it.
- Warm the strained broth back to a gentle simmer.
- Fill hot jars with hot broth, leaving 1 inch of headspace.
- Process in a pressure canner: 25 minutes for quarts or 20 minutes for pints at 10–11 lbs (adjust for altitude).
Notes
- Always pressure can (never water-bath) poultry stock.
- Store sealed jars in a cool, dark spot. Best used within a year, but still fine longer if the seal is tight.
- This same method works perfectly for chicken or duck stock, too.
Nutrition
If you find yourself double-checking processing times or altitude adjustments while pressure canning, I put together a printable pressure canning times chart that keeps everything in one place so you’re not flipping between tabs or books mid-session.