Winter Food Storage for Homegrown Produce
Learn simple winter food storage methods that keep vegetables and fruit fresh for months. Practical tips from real homestead experience.
There’s something pretty satisfying about grabbing a crisp apple or a firm carrot in the dead of winter and knowing it didn’t come from a truck that crisscrossed the country. When the garden shuts down here in Maine, I still like to have fresh produce on hand and after years of trial and error, I’ve figured out how to make winter food storage work without the kind of root cellar you only see in old farmhouses (though I am lucky enough to have one).
Honestly, winter storage is one of those skills you get better at every year. You learn what holds up, what goes bad quickly, and which vegetables you should’ve checked on before they sprouted tentacles. I’ll walk you through what works for keeping vegetables and fruit fresh through the colder months, how to create “cold storage” conditions at home, and how different fruits and veggies behave once they’re packed away.
How Winter Food Storage Really Works
inter storage isn’t hard, I promise. It basically comes down to three things: cool temperatures, the right amount of humidity, and steady airflow. If you get these right, you slow down ripening and decay, so things stay crisp instead of turning to mush.
Why Temperature Matters So Much
Most storage vegetables want a steady range between 32–50°F, depending on the crop. The biggest enemy? Temperature swings. If you’re using an unheated room, porch, or garage, you’ll probably end up shuffling things around as temps swing.
Humidity Keeps Your Roots from Drying Out
High humidity helps root crops stay firm, but too much leads to mold. If you’ve only ever stored store-bought carrots in the fridge drawer, you might be caught off guard by this. Homegrown ones just don’t act like store-bought at all.
Give Your Produce a Little Breathing Room
Some produce naturally releases ethylene gas, which accelerates ripening. Keep the gassy fruits separate from anything that bruises easily.
The Vegetables That Store Best Through Winter
If you’re just starting out, these veggies tend to hold up the best in storage. I’ve included notes on what’s worked well for me over the years, especially through Maine winters, which are… unpredictable.
Potatoes
Potatoes prefer cool, dark, and slightly humid conditions. Store them in cardboard boxes or breathable sacks and keep them away from onions. Mine keep anywhere from 4–6 months when temps stay steady.
If sweet potatoes are part of your winter pantry, make sure you cure them or they’ don’t’ll rot on you later. A simple warm-up period makes all the difference.
Carrots, Beets & Parsnips
These hold beautifully when packed into damp sand, sawdust, or peat moss. The moisture keeps them crisp, almost like they’re still in the ground. I’ve pulled carrots out in February that tasted as fresh as harvest day.
Cabbage
While I have an entire post dedicated to how to store cabbage for winter, here’s the quick version: store whole heads in a cool, humid spot and avoid trimming the outer leaves. Cabbage stays good for 2–3 months, sometimes longer, depending on the type.
Onions & Garlic
These need dry air, not humidity. Hang them in mesh bags or braid them for easy air circulation. They’ll keep 4–8 months if cured well before storage. If you want more options, I’ve got a post with six ways to preserve garlic.
Winter Squash
These prefer dry, cooler-than-room-temperature air. A single layer works best. I use the thinner-skinned varieties first and save the thick-skinned ones (like butternuts) for later. If you grow spaghetti squash and prefer freezing it, I’ll show you how to prep and store it so it stays firm instead of turning soggy.
The Places That Work Best for Winter Storage
Winter food storage doesn’t require a traditional root cellar. Most of us make do with whatever space we have, and it’s mostly about figuring out which spot suits which veggie.
Root Cellars or Cool Basements: If your basement stays cool without freezing, it can function like a root cellar. Areas with natural darkness and moderate humidity are ideal for potatoes, beets, carrots, and cabbage.
Unheated Garages or Porches: These work beautifully as long as temps don’t dip below freezing. I’ve used coolers in my garage to create mini-storage zones, adding blankets on colder nights.
Closets, Pantry Floors, or Mudrooms: These are great for squash, onions, and garlic. Anything that prefers low humidity.
Sand or Sawdust Bins: It’s basically giving them a little ‘fake garden’ to sit in. I keep a few small bins of sand in my basement for root vegetables. They barely lose any moisture this way.
If you’re using a basement or garage, keep an eye on the temperature swings. A small digital thermometer and hygrometer takes the guesswork out of knowing whether your storage spot is staying in the right range.
Storing Produce in the Refrigerator
Some produce simply keeps best in the fridge.
Leafy Greens: Wrap them in damp paper towels and tuck them into a loose, breathable bag. That keeps them fresh for a week or two, sometimes longer.
Cruciferous Vegetables: Broccoli and cauliflower appreciate slightly humid conditions. A perforated bag is perfect.
Carrots, Beets & Parsnips: If you don’t have space for a sand bin, the crisper drawer works fine. Use perforated bags and check them periodically for condensation.
Wrapping celery in foil is one of those small habits that saves a ton of food waste. It keeps it crisp for weeks.
Storing Fruits for Winter
Fruit actually lasts a good while, but that ripening gas (ethylene) can mess things up fast if you’re not careful.
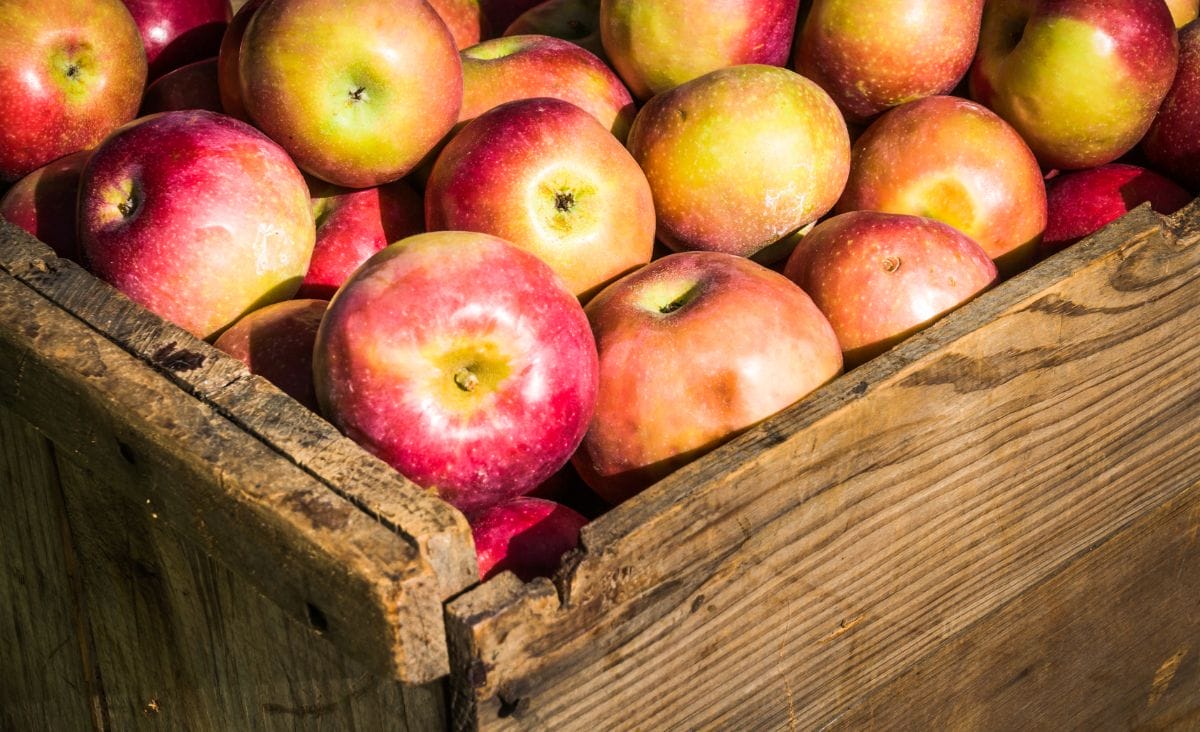
Ethylene Producers: Apples, pears, peaches, tomatoes, and plums. These should be stored separately so they don’t ripen everything else prematurely.
Ethylene Sensitive Fruits & Veggies: Cucumbers, broccoli, leafy greens, potatoes, peppers.
Best Fruits for Long-Term Storage
- Apples: Cool, humid environment. Mine last 3–4 months easily.
- Pears: Store them cool, and check often. They go from firm to overripe quickly.
- Citrus: Not true storage fruit, but they keep for 2–3 weeks in the fridge.
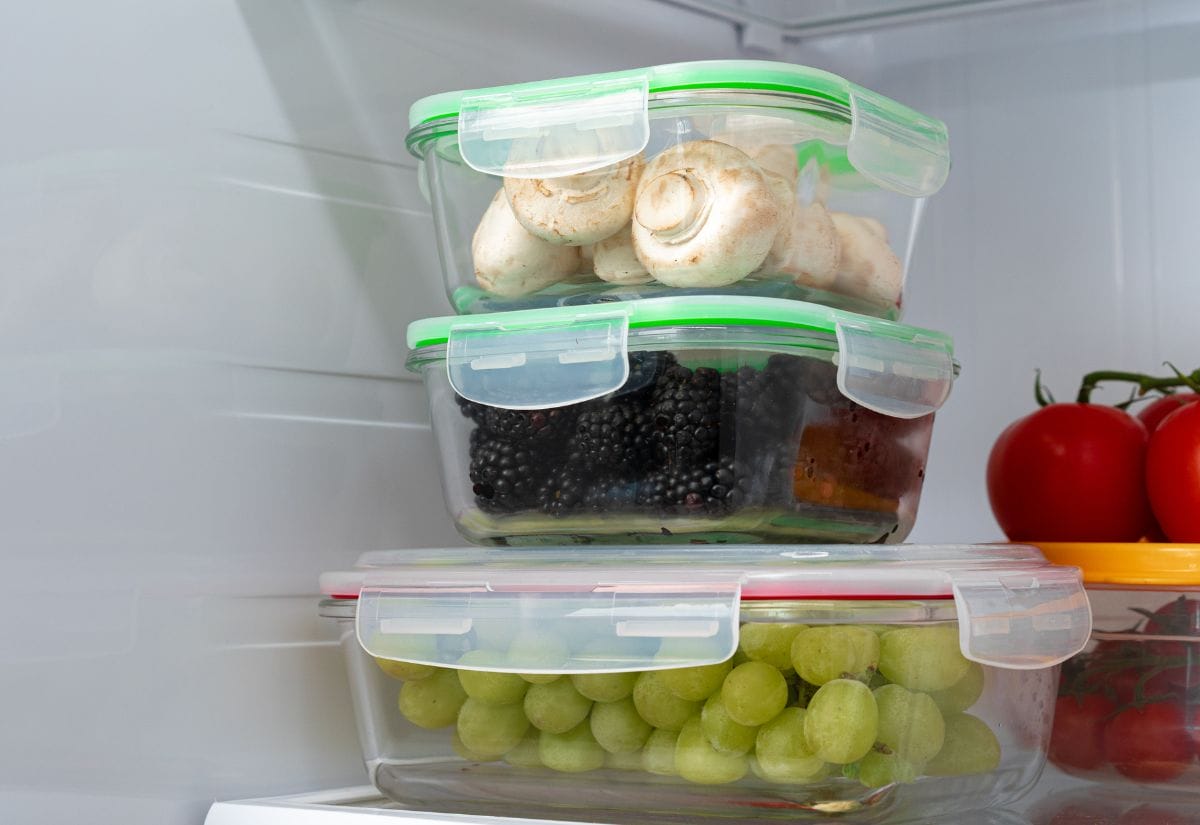
If you’re tired of berries spoiling too fast, produce storage containers that regulate airflow and humidity can give you a lot more time before things spoil.
Creative Alternatives If You Don’t Have Storage Space
Because not everyone has a basement that naturally sits at 40°F.
- Coolers in Cold Spots: A cooler in a cold garage can mimic root cellar temps. Just remember to check for freeze warnings.
- Cardboard Boxes with Ventilation: Great for things like squash and cabbage.
- Cloth Produce Bags: Great for apples, onions, and garlic in drier spaces.
Vacuum sealing can be a game-changer for freezing or storing extra produce long-term. A decent vacuum sealer (and bags that don’t bust in the freezer) make this way easier.
Troubleshooting Winter Storage Problems
One of the biggest mistakes I made early on was assuming everything “just sits there.” Winter storage needs a little checking on. Here’s what to watch for:
- Mold: Usually caused by too much humidity or not enough airflow. Remove affected produce immediately.
- Shriveling: Roots are drying out. Add a little moisture. Sand or sawdust helps tremendously.
- Sprouting Potatoes: They’re either too warm or too close to apples.
- Squash Rot: This usually starts from invisible harvest wounds. Handle gently and space them out so air can move freely.
- Frozen Produce: If you’re storing things in an unheated space, keep a small thermometer nearby. A few nights of freezing temps can ruin months of effort.
Common Questions About Storing Produce in Winter
These are the things people most often wonder about when they start storing produce through winter.
Pin this so you can come back to it when you’re packing up the garden for winter.

Winter food storage doesn’t need to be complicated or high-tech. Once you know what each vegetable prefers (a little humidity here, a drier shelf there) the whole system starts to feel pretty doable. I’ve learned to check things weekly, rotate what I’m using, and match the right storage spot to the right crop. It’s simple, real-life homesteading, and it works.
A little prep now and your winter produce will go a lot further, even when the garden is sleeping. If you’ve got a winter storage trick that works for you, tell me in the comments.
test
I found a perfect easy way to store carrots that will last until next years are ready. I don’t pull them from the garden until it has froze a few nights. Then I pull them, cut the tops off them, throw them in the gentle cycle of my washing machine with a cold water wash and a few old towels for them to swish with. Pull them out of the washing machine and bag them loosely with grocery store plastic bags, tied loosely. Then I pile them in a fridge I have for that purpose only. I have used this method for years! But not sure how this will work in a front load washer. I just bought a commercial top load washer and this is ONE of the reasons I did! (I use way too many carrots for the pail method). And I never buy carrots from the grocery store. Now does anyone have any ideas for turnips?
Wow! I’ve never heard of that technique. Thanks for sharing!
Great tips! I think I’m going to try the sand method this year for my carrots.
You post was chosen as the featured post this week at Green Thumb Thursday. Stop by and check it out and thanks for linking up!
Lisa
Great tips! Last year I stocked up at our CSA’s end of the season sale and stored as much as I could. I got some new helpful hints here though. Thank you! So glad you shared it with us at #FoodieFriDIY this week. I’ll be sharing it on my Facebook page tomorrow. Hope you can stop by!
Timely! This will come in handy for potatoes in a few months, hopefully! 🙂