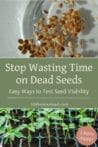
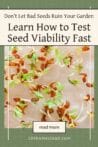
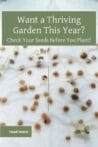
Testing Old Vegetable Seeds for Viability Before Planting
Ensure your garden thrives by testing seed viability before planting. Save time, money, and effort with simple, effective methods!
Have you ever planted seeds in your garden only to find that nothing sprouts? It’s frustrating and can delay your entire growing season. The good news is that you can avoid this disappointment by testing your seeds for viability before planting. This simple step ensures you’re working with seeds that will actually grow, saving you time, effort, and resources.
Whether you’re using seeds from last year or ones you’ve stored for a while, not all seeds stay viable indefinitely. In this post, I’ll walk you through why seed viability testing is crucial and how to easily check if your garden seeds are still good to plant. You’ll be ready to start your gardening season with confidence, knowing your seeds are set up for success.
What is Seed Viability?
Seed viability refers to a seed’s ability to germinate and grow into a healthy plant. Over time, seeds naturally lose their viability due to age, improper storage, or damage. Testing seeds for viability helps you determine whether they are worth planting or need replacing.
Why Should You Test Seeds Before Planting?
- Saves Time: No need to waste weeks waiting for non-viable seeds to sprout.
- Saves Money: Avoid buying new seeds if your existing ones are still viable.
- Maximizes Space: Ensures you’re planting seeds that will grow, making the most of your garden beds.
- Prevents Wasted Effort: Planting viable seeds gives you the best return on your gardening work.
Simple Methods for Testing Seed Viability
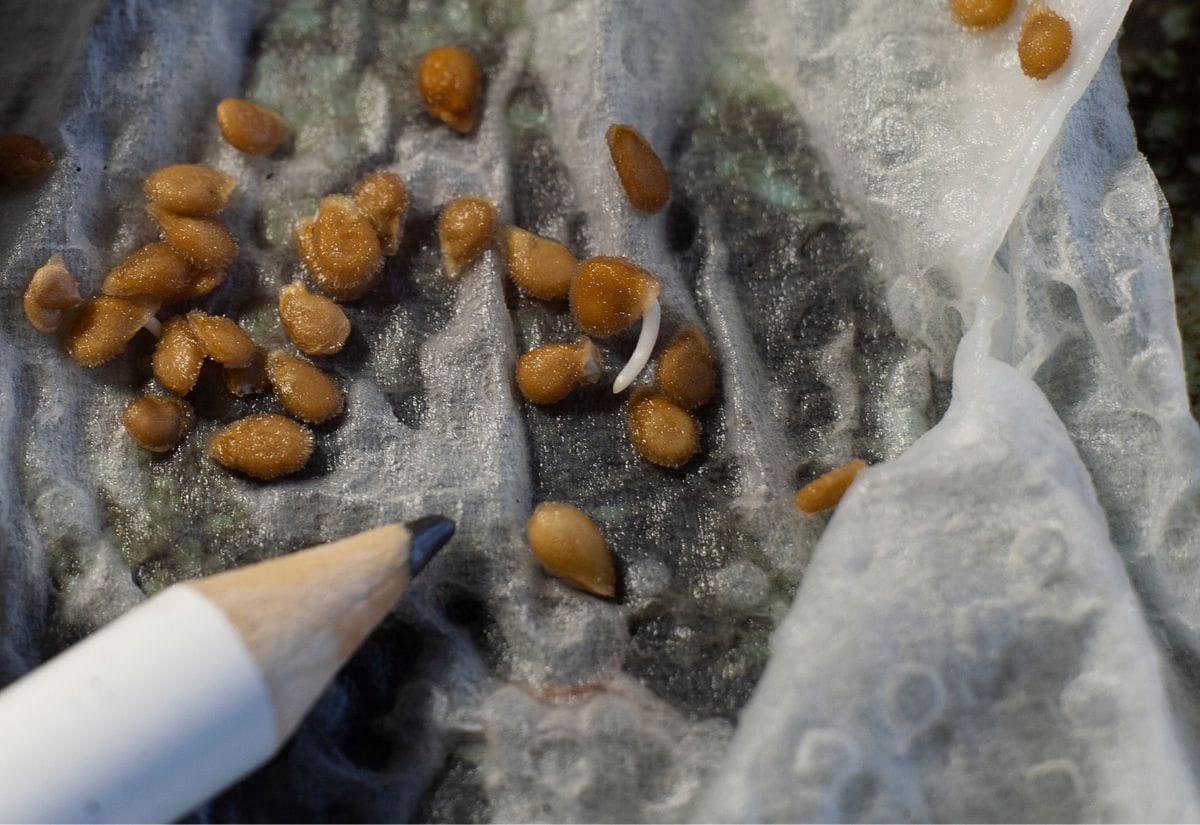
The Paper Towel Test
One of the easiest and most effective ways to test seed viability is the paper towel method.
Materials Needed
- A few seeds from each packet you want to test
- Paper towels
- A resealable plastic bag or airtight container
- Water
Instructions
- Dampen a paper towel until it’s moist but not soaking wet.
- Place 5-10 seeds on the towel and fold it over them.
- Put the towel inside a resealable plastic bag or airtight container to retain moisture.
- Place the bag in a warm spot (65°F to 75°F), like on top of a refrigerator.
- Check the seeds daily for signs of sprouting.
- After 7-10 days, count how many seeds have sprouted. For example, if 8 out of 10 sprout, your seeds have 80% viability.
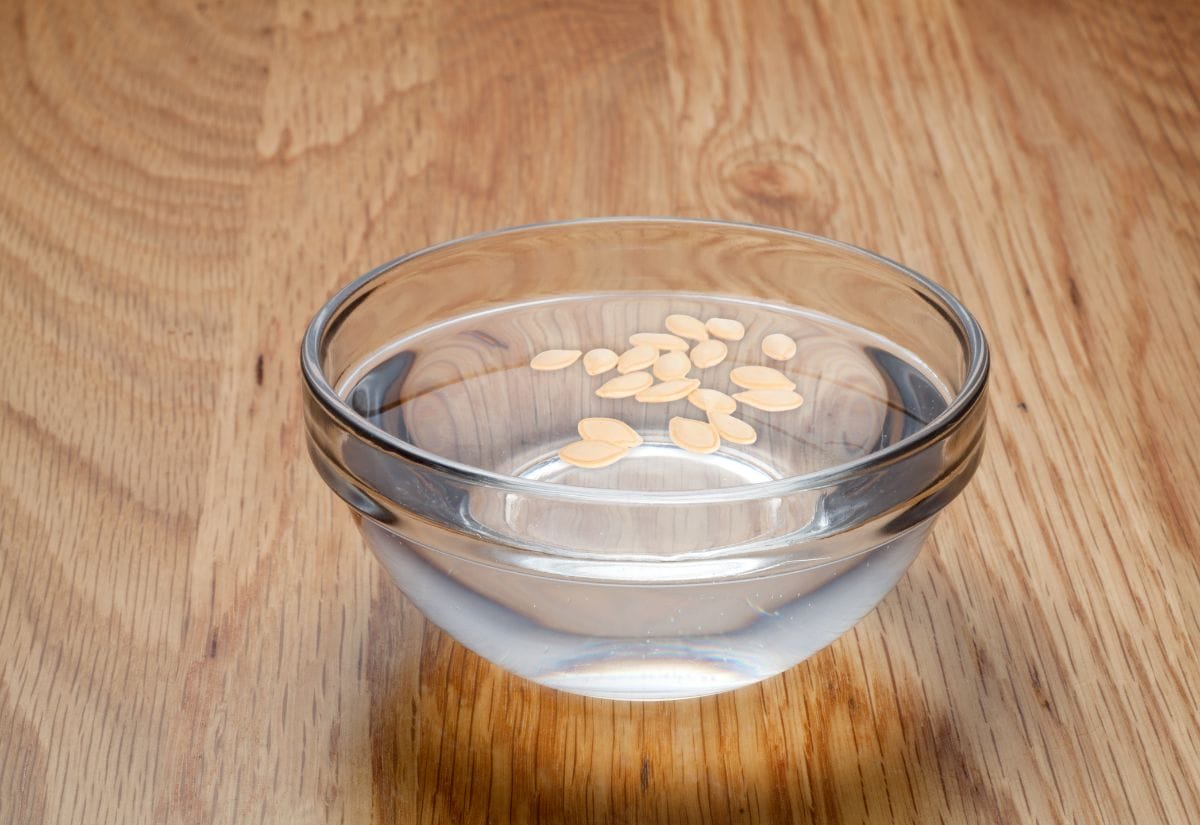
The Water Float Test (Quick Check)
This method works best for larger seeds like beans, peas, and squash but is less accurate for tiny seeds.
Materials Needed
- A cup or bowl of room-temperature water
- Seeds
Instructions
- Fill a glass with water and drop your seeds in.
- Let them sit for 15-30 minutes.
- Viable seeds typically sink, while non-viable seeds float.

Direct Soil Test
If you have extra garden space, you can test seeds directly in soil.
Instructions
- Plant a small number of seeds in a designated test area.
- Water regularly and observe germination over the expected period.
- Monitor how many seeds sprout to gauge viability.
Tips for Improving Seed Storage and Viability
Store Seeds in a Cool, Dry Place: Moisture and heat can significantly shorten a seed’s lifespan by encouraging mold growth and premature sprouting. Keep your seeds in a basement, pantry, or any area away from direct sunlight and humidity to maintain their viability.
Use Airtight Containers: Oxygen and moisture can damage seeds over time. Storing seeds in airtight glass jars, sealed plastic bags, or vacuum-sealed containers prevents exposure to air and humidity, keeping them dry and extending their shelf life.
Label and Date Seeds: Proper labeling helps you track the age of your seeds, making it easier to prioritize which seeds to plant first. Include the seed variety and the date they were stored to avoid planting seeds that may have lost their viability.
Freeze Long-Term Seeds: For seeds that you don’t plan to use for several years, freezing them can significantly extend their life. Place seeds in airtight containers or vacuum-sealed bags before freezing to protect them from moisture and temperature fluctuations.
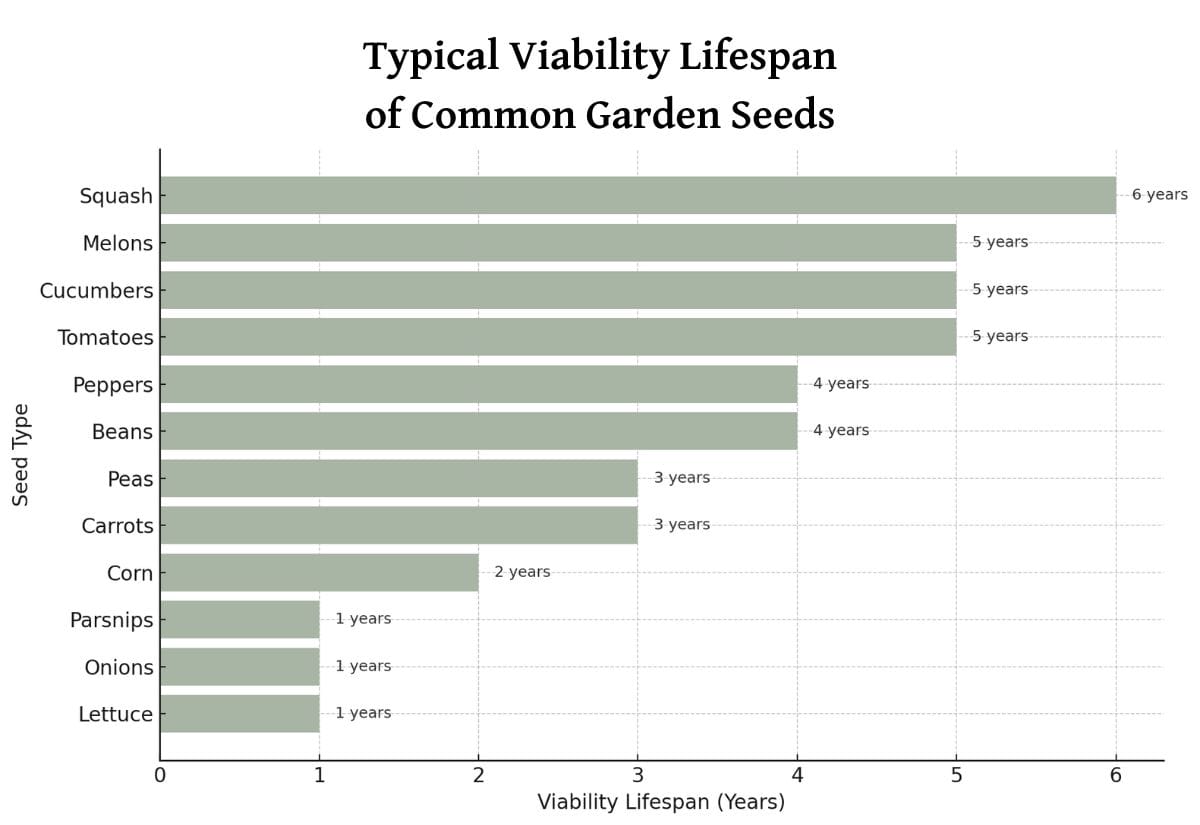
Common Viability Rates for Seeds
- 1-2 Years: Lettuce, onions, parsnips, corn, spinach, radishes, chives
- 3-4 Years: Carrots, peas, beans, peppers, kale, broccoli, cauliflower
- 5+ Years: Tomatoes, cucumbers, melons, squash, watermelons, eggplants, zucchini
Common Seed Testing Questions
From my own gardening experience, I’ve found that storing seeds in glass jars with silica gel packets greatly extends their viability. For seeds with lower germination rates, I often plant extra seeds and thin the seedlings later—this ensures I still get a full harvest.
Love Gardening? Pin these seed testing tips and make every seed count!
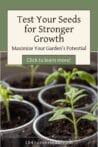
Testing seed viability is a simple, cost-effective step that can save you time, money, and effort while ensuring a successful garden. Whether you’re using leftover seeds or planning a new planting season, checking viability gives you peace of mind and a stronger start.
Before you dive into planting, there are plenty of ways to set yourself up for gardening success. If you’re just starting out, check out some of the easiest vegetables to grow from seed—perfect for beginners looking to gain confidence. Once your seeds sprout, learn how to properly harden off and transplant seedlings to ensure they thrive in your garden. Want to stay organized? Try making creative garden markers using items you already have, like mason jar lids. And for the healthiest plants, don’t forget to enrich your soil with natural, organic amendments to give your crops the nutrients they need.
Have you tried testing your garden seeds before planting? Share your favorite methods or results in the comments below—I’d love to hear how you prepare for a successful growing season!