Rooted Success: Growing Carrots with Open-Weave Burlap

Discover the secret to hassle-free carrot gardening! Learn germination tricks, choosing the right burlap, and budget-friendly options.

Carrots in a burlap sack sitting out in the garden.

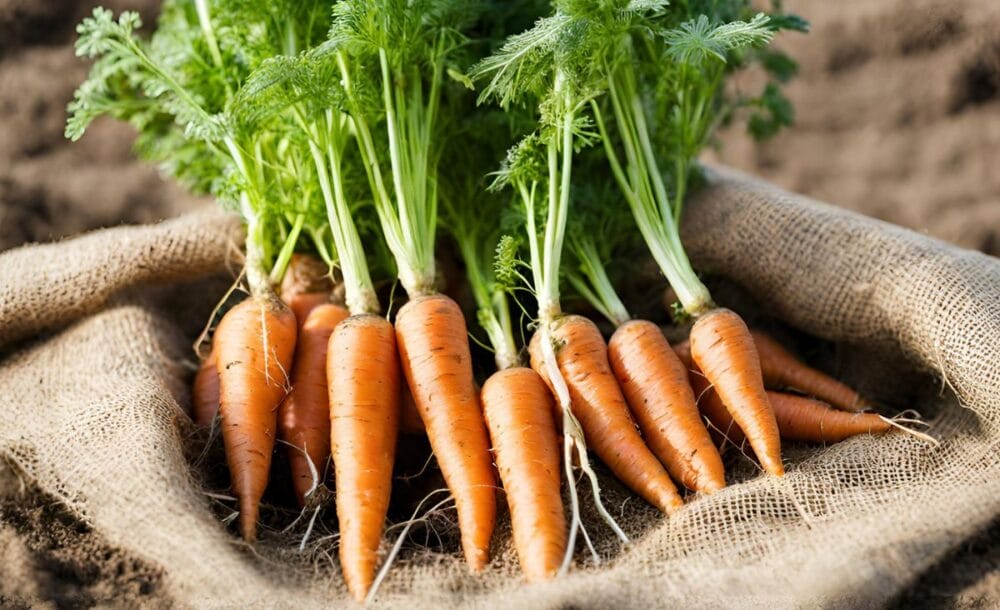
It took me several years to be a carrot gardener. Yes, apparently, you have to be a special kind of gardener to grow carrots. They certainly aren’t one of the easiest vegetables to grow. For years, I could grow practically anything… except carrots. I know I’m not alone. I’ve seen the gardening forums. Carrots are extremely discouraging, but they are (in my opinion) one of the yummiest garden gifts. Tomatoes may get all the glory regarding backyard gardens, but carrots are the stars.

Finally, I discovered the trick, and I was in carrot heaven. It is inexpensive, and it will change your carroting world forever.

Germination is the real struggle. Once properly germinated, carrots expect very little from us. A sprinkling of water, maybe a bit of organic fertilizer (but keep the nitrogen to a minimum, or you’ll have beautiful tops and not a lot happening below the soil). The burlap saves you from many of the struggles that come with starting carrots: soil drying out, seeds being unearthed, and ants destroying your emerging seedlings.

Choosing the Right Burlap

Uncover the key to successful carrot gardening—open-weave burlap! Learn why it’s a game-changer, keeping the soil moist and thwarting pesky critters.

Opting for Open Weave Burlap

Open-weave burlap acts as a guardian for your carrot seeds, creating a microclimate that retains essential moisture, shielding them from erratic weather conditions. With its unique texture, this porous fabric not only baffles intrusive critters but also establishes a protective shield against heavy rains.

Finding Inexpensive Burlap

Burlap is pretty darn cheap anyway, but here is a tip for getting an even lower price. Check out wedding clearance at WalMart. I’m not sure why, but apparently, the whole “farm wedding” is a thing. I found pre-cut sheets of burlap (4′ x 8′ – the size of my beds) for only $4.88 as well as rolls of burlap and lace ribbon (6″ x 50′) for only $3.88. I was able to remove the lace from the burlap with just a few snips of the scissors.  The rolls of burlap “ribbon” are great for the carrots you companion planted along the front of your tomato beds.

How to Get Your Carrots to Germinate

To use burlap to germinate your carrots, dig furrows for the carrot seeds. I like to use DIY seed tape to make the whole process easier. You don’t want deep furrows, but you’ll want them deep enough to hold the burlap off the emerging seedlings. The soil along the top of the furrows will also help hold the material off.

Burlap saves you from many of the struggles that come with carrot starting: soil drying out, seeds being unearthed, ants destroying your emerging seedlings.
If using a Back to Eden gardening method, make sure to push your wood chips back away from your furrows. You can push the chips back as the carrots get established.

Securing the Burlap

Secure the burlap over the seedlings using rocks to hold it relatively taught. Keep the area moist with light watering. I find the shower setting on my hose is perfect. Continue this routine until your seedlings are brushing the bottom of the burlap. They should be about 1/2-3/4″ tall at this point. You’ve successfully passed the hard period. Now is the time to remove the burlap.

Ideally, you would be removing the burlap before the carrots have had a chance to grow through it, but you may have waited a bit for a few slow-pokes to catch up. No big deal. Just slide your hand under the fabric and gently free the seedlings.

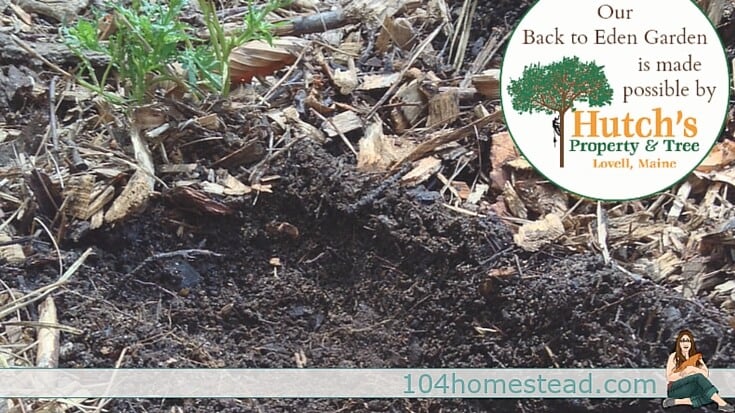
Back to Eden Method Considerations

Because I use the Back to Eden gardening method, I add a bit of wood mulch around my seedlings after removing the burlap. The mulch helps retain moisture, which is important since dryness can still be an issue for your tiny carrots. If you don’t use Back to Eden, here are some other good mulch options for your carrots:

  • Hay or Straw
  • Lawn Clippings
  • Mulched Leaves
  • Newspaper

One of the keys to growing great carrots is keeping the soil continuously moist. The sudden drenching of dry soil causes the carrots to split. I know we’ve all seen the PG-13 carrot photos. Irregular moisture is what brings about those carrot abnormalities.

Tip: Consider companion planting with carrots to enhance their growth. Planting them alongside tomatoes, onions, and lettuce can create a symbiotic environment, deterring pests and promoting overall garden health.

Frequently Asked Carrot Germination Questions

Carrot seeds typically germinate in 14 to 21 days, but factors like temperature and soil moisture can influence the duration.

Carrot seeds don’t require light for germination. They are planted below the soil surface, and darkness is suitable for their initial growth.

Remove the burlap once the seedlings are 1/2-3/4″ tall, ensuring they have passed the vulnerable germination phase but are still young enough for easy removal.

Want a new and exciting recipe to try your homegrown carrots in? Try my quick and easy Russian Carrot Salad.

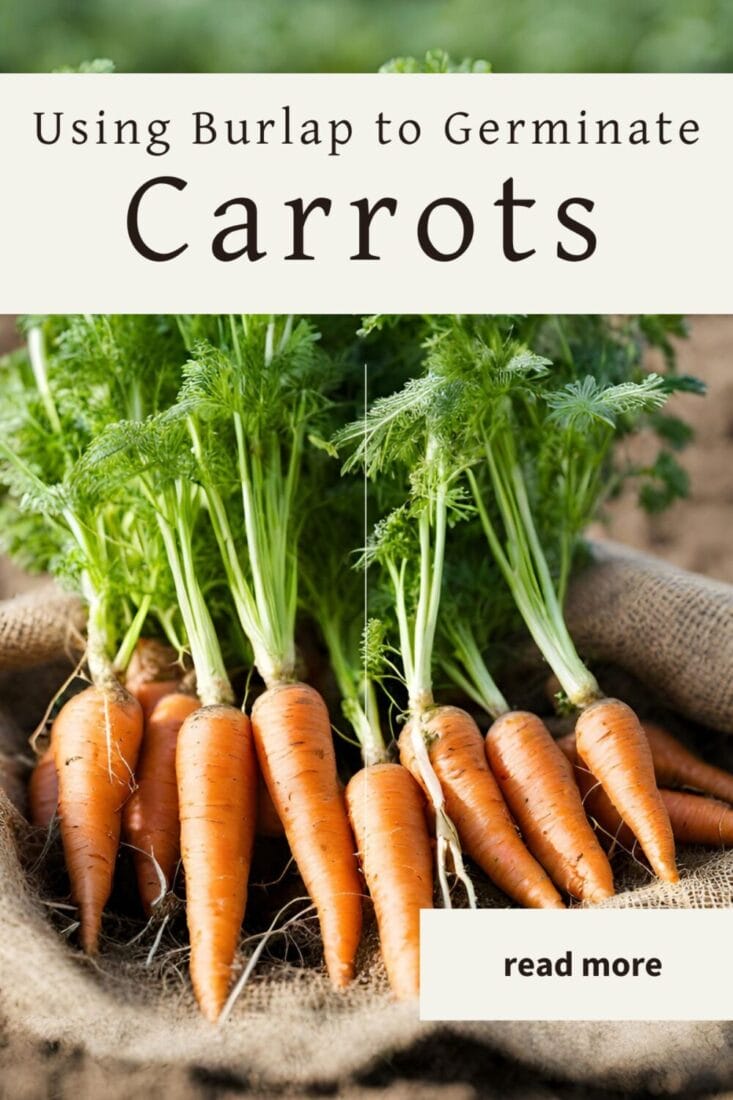
If you’ve found value in this blog post and enjoyed reading it, why not share it with your Pinterest community? Pin the image below and spread the love!

A Pinterest-friendly graphic for my post on using burlap to easily germinate carrots.

Unlocking the mystery of growing carrots has transformed the daunting task into a rewarding venture. Embracing the magic of open-weave burlap has proven to be a game-changer, safeguarding against common germination challenges. Remember, the journey doesn’t end with germination—maintaining consistent moisture, using suitable mulch, and understanding your chosen gardening method all contribute to a thriving carrot harvest.

So, armed with burlap and newfound knowledge, dive into the world of carrot gardening and savor the sweet success of homegrown goodness!

What are your go-to tips for cultivating carrots? Share your insights in the comments below, and let’s keep the carrot community thriving!

Leave a Reply

Your email address will not be published. Required fields are marked *

This site uses Akismet to reduce spam. Learn how your comment data is processed.

25 Comments

  1. Kimberly Doerr says:

    Thank you for an amazing informational blog post. The use of burlap is one that I would never have thought to use. We tried carrots this year and they took forever to grow. The rows had wood chips, fertilizer, and it was hot when we planted them. All sorts of gardening no nos. Now will just claim carrot naivety. This year we are hoping for a large return for our 7 person family. Blessing from our home to yours.

  2. I think my problem is either birds or slugs eating the tops while still tiny. Burlap would help with the birds, but I think probably not with the slugs. Do you deal with slugs where you are?

    1. Jessica Lane says:

      We use diatomaceous earth or beer traps early in the season. Later, when the plants are established, we just set free the ducks and they take care of any slug on the property.

  3. I don’t know how many times I replanted carrots last year. They just wouldn’t do well in NM. By the 4th planting by my husband they finally took off. I think it was August as well. They grew thick and beautiful. We left them in the ground under a row cover throughout the winter and pulled when we wanted some. The tops died back forming an insulating mat under the row cover. Plus we do the Back to Eden garden method which insulates the ground. We planted early this year in the hopes….well, over and over the rabbits came in and chewed down the tops! We have had to put in 4 different fences with some as tall as 5 feet since they jumped up on the 40″ high wooden compost bins and jumped over the 4ft high fence behind it. Tops of the corn are gone too. But they should be ok. We now have a chicken wire (actually stucco wire which is 1/3 the price)fence almost 5 ft tall around 3 sides. The neighbors wall is the 4th side. The rabbits even climbed our 4ft gate to get in! We have lots of rabbits in the hills here. We recently had to put up a shade shelter made of PVC, chicken wire and burlap (which we got free from Lowe’s that they never used for their… whatever). It is an 18′ x 20’x 6′. (120 plants)Not pretty but has helped the tomatoes and chiles tremendously. We have had several weeks of 100 degree weather. Next year we will put up one with shade cloth that will last a long time.

  4. Thanks for the tip! I’m going to have to try it. I started trying to grow carrots 2 or 3 years before I moved my garden. And I would get some. I moved my garden to where it would get more sun (as trees grew, it as getting more shade earlier) and couldn’t get carrots. Last year I tried twice and they didn’t seem to want to germinate. I think the soil kept drying too fast. Where I had them before it had enough shade early on and that particular spot the soil would stay moist much longer.

    1. Jessica Lane says:

      Keeping the soil moist is definitely the key to success.

  5. Thanks for the great tip! Wish there was a picture of what you mean by open weave burlap. We have some burlap bags laying around, but I wonder if the weave is too tihht.

    1. Jessica Lane says:

      This is what I mean: http://amzn.to/1Uy87lj You want something that water can easily get though and open weave enough that if the carrot seedlings grow through it you can still remove the burlap.

  6. I use this Burlap Method on a medium-scale organic farm, it works so well to aid germination. Quite by accident, I discovered that one can tweak the method Jessica uses to combine a weeding element to the technique, something I now call Bed Waxing!

    Since Carrots take so long to germinate, usually 10-14 days, the weeds (especially Lamb’s Quarters and Pigweed) often overtake the little seedlings because they reach true leaf so much faster. This method requires laying the burlap directly on top of smooth soil after seeding, and after 10-14 days when the carrots are at their cotyledon stage and the weeds are at their true leaf stage, both growing through the burlap, one lifts the cloth off the soil a few feet at a time in a quick ‘waxing’ motion. This rips the weeds out and the grassy carrot cotyledon slips through the weave. It can work if the carrot is reaching it’s true leaves as well, as long as their small and delicate enough to slip through. It’s all the satisfaction of waxing without the pain!

    Timing is important, this must be done before the weed seeds gain a strong root-hold. It’s not useful for grass or thistles, mostly lamb’s quarters and pigweed, maybe mustard. Hope this helps anyone with a weed problem, it sure helped me last year when we had to use space that had been poorly managed for weeds in years past.

    Thanks for the article Jessica:)

    1. Jessica Lane says:

      Thank you Sarah. I may have to use that method as well. I’d love to “wax” my weeds away 🙂

  7. I’m thinking of visiting my local coffee roaster to see if I can get burlap bags there.

  8. I have tried growing carrots many times and am now on the point of giving up. However I would like to try your method but living in Scotland I am not familiar with the term burlap. Is it some sort of mesh? Please help as I would love to be able to grow carrots.

    1. I just googled “what is burlap called in the UK”. Several articles stated that is called Hessian (fabric). It is light brown and loosely woven. Sometimes bags of potatoes used to come in burlap bags here in the U.S. Hope this is a little helpful. I would like to try this method for carrots this year, too, I think….

      1. Jessica Lane says:

        Thanks for linking for me. It’s been crazy here lately!

  9. thanks for the tips. I tried this last year with no luck… but I did not trench. will do it again with better prep. this time

  10. I never thought to using the burlap awesome I am going to try this can you grow carrots in pots?

    1. Jessica Lane says:

      You can, but they require a bit more care. They don’t like high temperatures, you you’ll want to keep them out of direct sunlight since pots heat up quickly (a pro and con for them). You’ll also want to check water levels regularly. Pots can dry up quickly and carrots don’t appreciate that.

  11. thanks so much for posting this. It was VERY helpful. I’ve often wondered what the trick was to getting them started.

  12. Dawn Plotezka says:

    I have never had a problem growing carrots, never do anything but plant the seeds in my garden, water a little, i also start thinning my rows as soon as the carrots are big enough to be baby carrots, my favorite. maybee good soil is the key, i live in upper Michigan and my soil is black as black can be and very airy. We grew 300#’s of potatoes last year. i thank the farmer that i bought the farm from for all his hard work for my garden.

    1. Jessica Lane says:

      I’m envious. It sounds like you have wonderful soil. We live on what can only be described as a Maine desert.

  13. Lorinda-The Rowdy Baker says:

    I’m so excited to try this method! I’ve had a few good carrot years, but for the last 4 or 5 years….nada. What a great idea – thank you!

    1. Jessica Lane says:

      You are so welcome!

  14. What a great way to start seeds….but oh no! So sorry to hear about your compost barrel! Hopefully you’ll have enough time to grow some carrots this year! Sometimes I don’t get all mine pulled till mid fall…so it could work!

    Thanks for linking up with Green Thumb Thursday. We’d love to see you back again this week!

    Lisa

  15. Mike the Gardener says:

    Now is a great time to get carrots started in my area. They love the cooler weather, but need a little heat to germinate, which makes right now perfect. The heat of the end of summer is enough to germinate the seeds and then as we head into September, October and November, the temps cool off.