How to Dehydrate Apples Without Browning
Learn how to dehydrate apples without browning using simple pretreatments, step-by-step drying tips, and storage tricks that really work.
When apple season rolls around, I start running out of counter space fast. Bowls of Cortlands, crates of Galas, maybe a few Ginger Golds tucked in from a farmstand run. It’s a good problem to have, but still a problem all the same. Dehydrating is my go-to way to make sure nothing goes to waste. The only catch? That browning that shows up the second you slice into one.
I’ll be honest, browned apple chips aren’t unsafe or inedible, but they don’t look nearly as appetizing. Over the years, I’ve tested just about every trick to keep those slices golden. Some worked beautifully, some made a mess, and a few added flavors I didn’t expect. In this post, I’ll share what really works so you can dehydrate apples without browning, whether you’re using a dehydrator or just your oven.
Why Do Apples Turn Brown?
Let’s start with the “why.” The moment you cut into an apple, the flesh is exposed to oxygen. An enzyme called polyphenol oxidase goes to work, and within minutes, you’ve got those familiar brown spots. It’s the same process that makes a half-eaten apple in your kid’s lunchbox look sad by the end of the day.
Some varieties brown faster than others. Cortlands and Pink Ladies hold their color longer, while McIntosh and Golden Delicious can start browning before you’ve even set down the knife. That’s why one batch of dried apples might come out golden and another batch, treated the same way, looks dull. The good news? You can keep it under control with the right apples and a quick dip.
Apples That Dry Nicely (and Stay Prettier)
Not all apples dehydrate the same. Firm, crisp varieties keep their shape and color better, while softer apples tend to shrivel and brown. If you want slices that stay bright and flavorful, go for Pink Lady, EverCrisp, or Ginger Gold. Galas and Fujis are still solid choices, but they brown a little faster. McIntosh, while delicious fresh, often turns soft and darker when dried.
When it’s a “fruitful” year, I don’t stress too much about variety. I’ll dry whatever’s on hand. But if I’m making apple chips for gifts or long-term storage, I start with the varieties that are naturally slow to brown. It saves me work later.
Pretreatments That Keep Apples From Browning
Here’s where the real difference comes in. Over the years, I’ve tried lemon juice, ascorbic acid, honey water, salt water, and even blanching. Some methods are simple, some are fussy, and a few add unexpected flavor. Let me break them down based on my own results.
Lemon Juice + Water
I reach for this most often because there’s always a lemon rolling around my crisper.
- Mix a solution of 1 tablespoon fresh lemon juice per 1 cup cool water. Make 4–6 cups if you’re doing a big batch.
- Slice directly into the bowl so pieces aren’t exposed to air.
- Soak 5–10 minutes, stirring once or twice to make sure everything gets coated.
- Drain well and pat dry before loading trays.
If lemon tang isn’t your thing, drop to 2 teaspoons per cup. Color will still be good.
Ascorbic Acid Solution
This is just vitamin C powder and water—very effective and flavor-neutral. If you don’t already keep it in your pantry, food-grade ascorbic acid powder is inexpensive and lasts forever—it’s one of the best ways to keep dried fruit from browning.
- Mix a solution of 1 teaspoon ascorbic acid powder per 1 cup cool water.
- Slice into the solution and submerge as you go.
- Soak 5 minutes. Give the bowl a gentle stir halfway through.
- Drain and pat dry. Patting dry prevents long, slow drying times that can dull color.
Honey Water
Great if you want apple “candy” for snacks. I don’t use this batch for baking later because the sweetness is noticeable.
- Mix a solution of 1 tablespoon honey per 1 cup warm water (just warm enough to dissolve the honey).
- Cool the mixture so it’s not hot (you don’t want to pre-cook the fruit).
- Soak slices 5 minutes, then lift out and let excess drip off.
- Optionally give a very quick rinse to keep stickiness down, then pat dry thoroughly. Sticky surfaces dry slower. Keep slices in a single layer with good airflow.
Mild Salt Water
Useful when lemons and vitamin C are out of stock, but easy to overdo.
- Mix a solution of ¼ teaspoon fine salt per 1 cup cool water.
- Soak slices 1–3 minutes—short and sweet. Longer soaks can leave a lingering salty flavor.
- Rinse quickly under cool water to prevent a salty aftertaste.
- Pat dry well.
Quick Blanch
I almost never use this one. It does stop the browning, but the apples lose that fresh snap I like.
- Bring a pot of water to a gentle boil and set up an ice-water bath.
- Lower slices in a strainer or spider for 30–60 seconds.
- Immediately plunge into ice water to stop the heat.
- Drain and pat dry before drying.
Step-by-Step: Drying Apples Without Browning
Now that you’ve chosen your apples and pretreatment, let’s walk through the whole process.
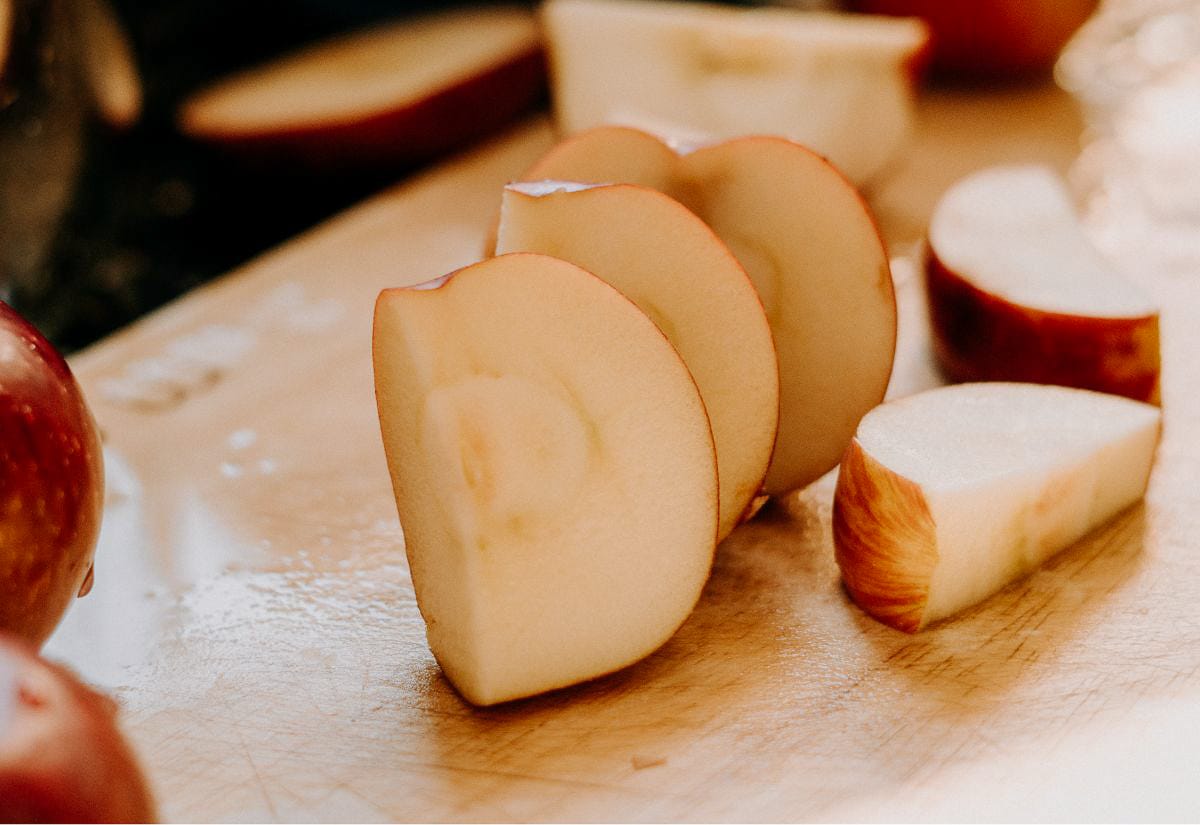
First, wash your apples well. Bruised fruit browns faster, so pick the best ones you’ve got. Peel them if you like, though I usually leave the skin on for extra fiber and flavor. Then core the apples—an apple corer works fast, but you can also just cut around the core with a knife if that’s what you’ve got. Once cored, slice them evenly, about an eighth to a quarter inch thick. A good mandoline slicer makes quick work of getting uniform slices, which means your apples will all dry at the same rate.
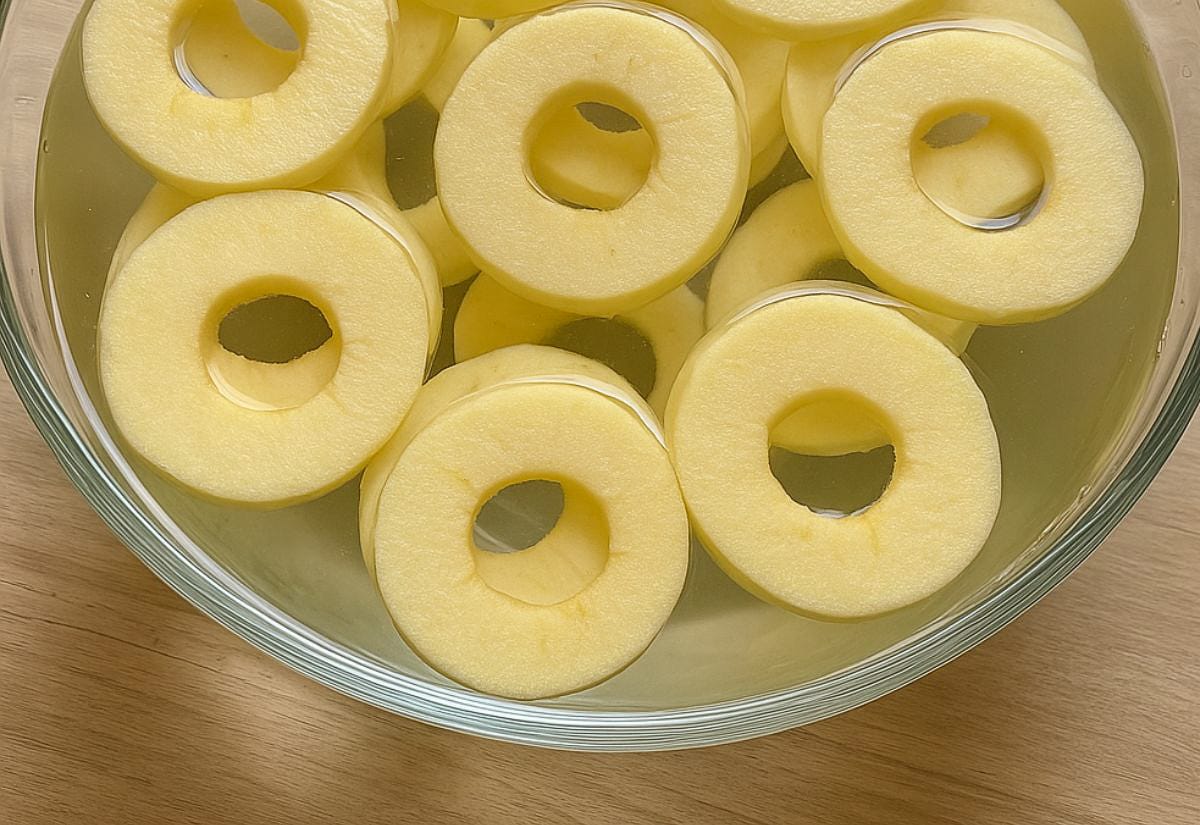
Drop the slices directly into your pretreatment solution as you cut them. This keeps oxygen from sneaking in before you’re ready. After soaking for 5–10 minutes (depending on the method), drain the slices and pat them dry with a clean towel. If they’re dripping wet, they’ll just take forever to dry.
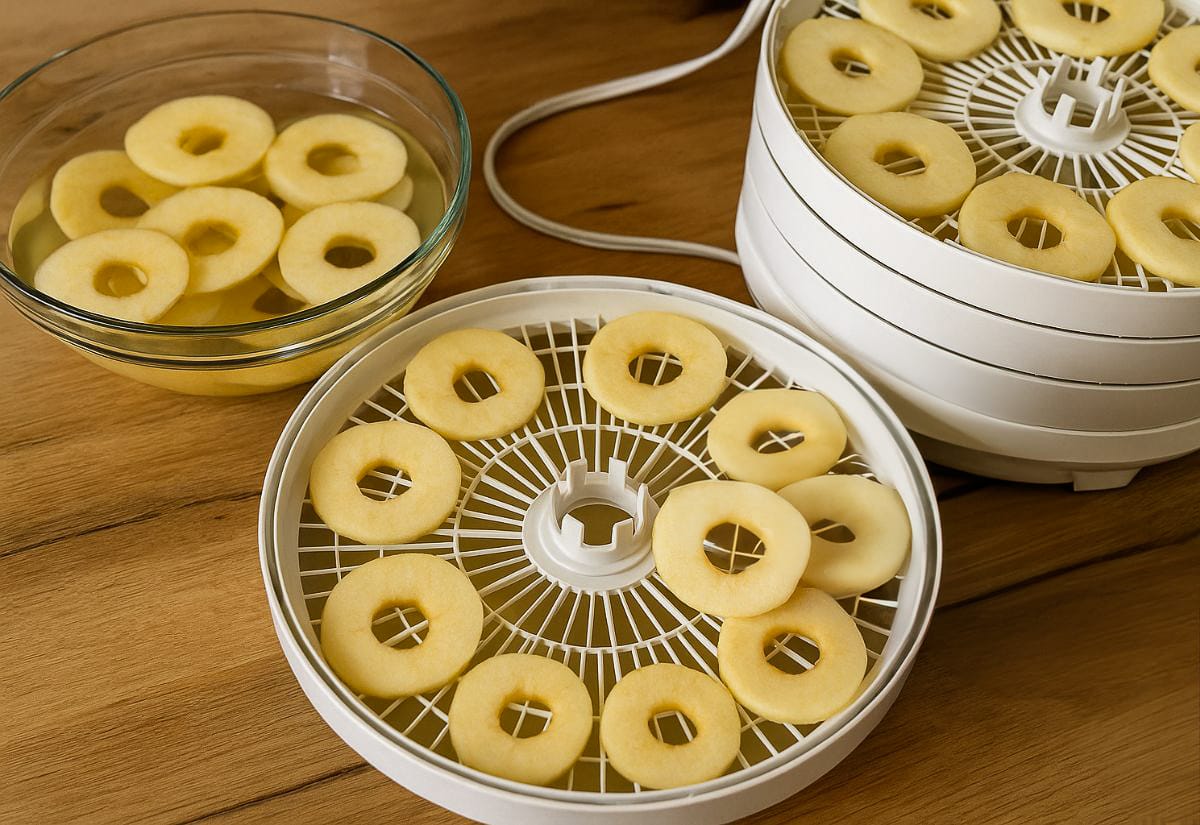
Spread the slices in a single layer on your dehydrator trays or baking racks. Set the dehydrator to about 135°F. If you’re using your oven, choose the lowest setting and prop the door slightly open to let moisture escape. Drying time varies (usually 6–12 hours) depending on thickness, humidity, and apple variety. If you notice some trays racing ahead of the others, just shuffle them around.
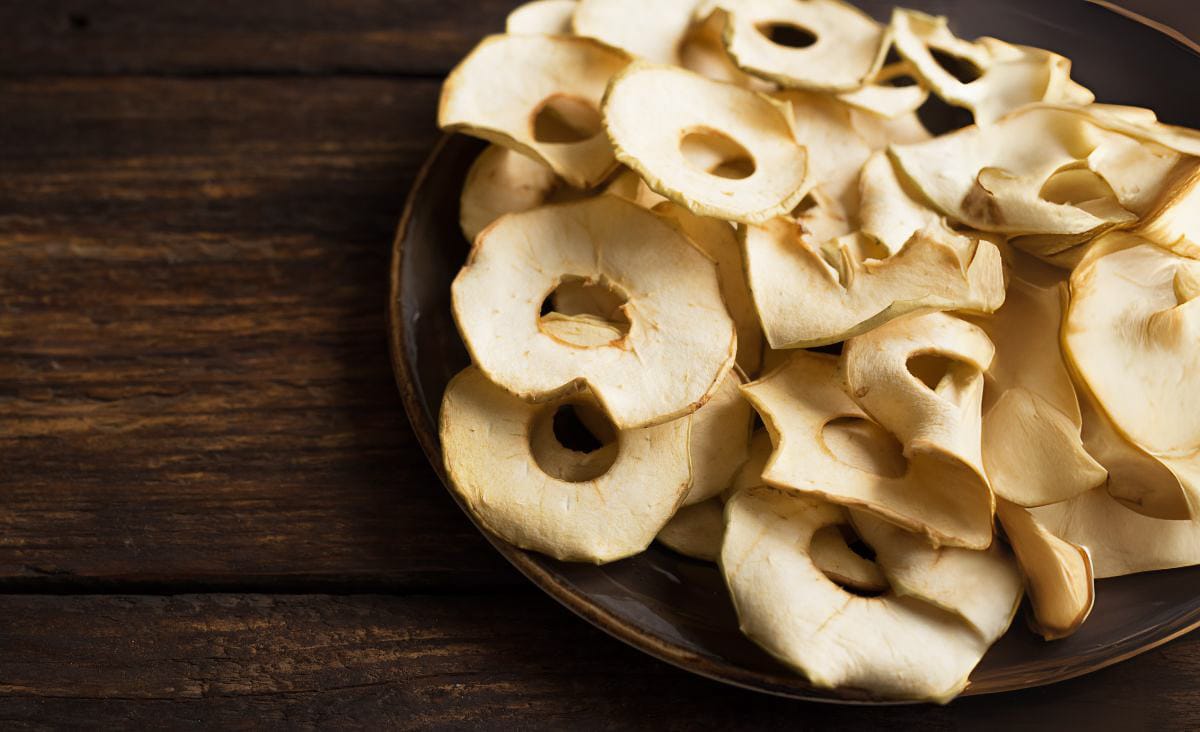
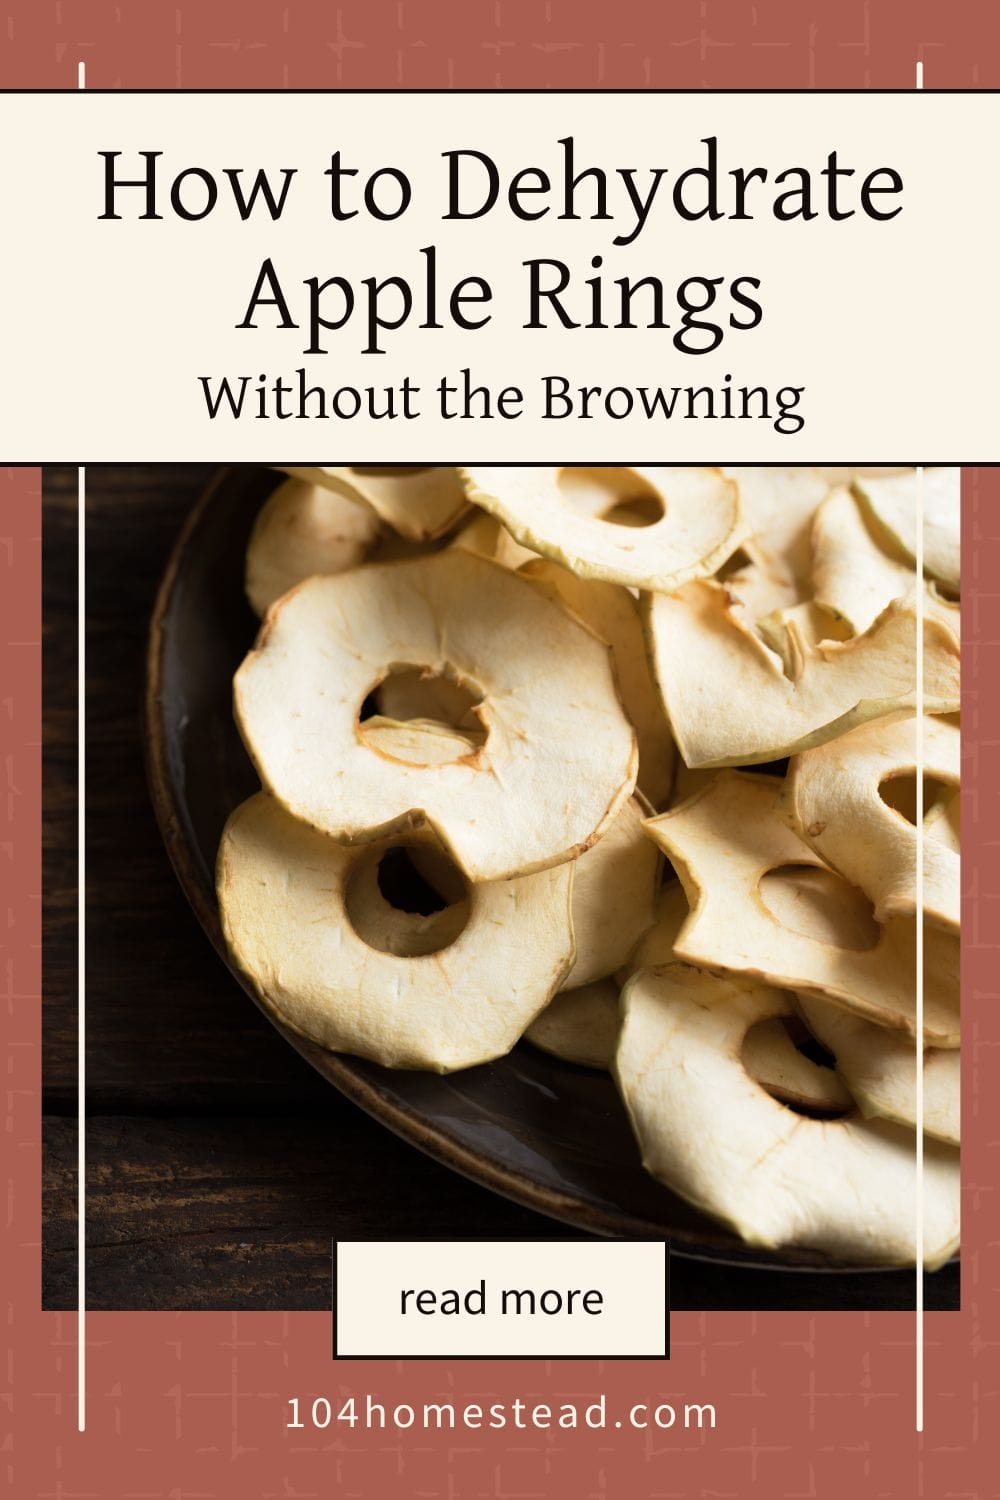
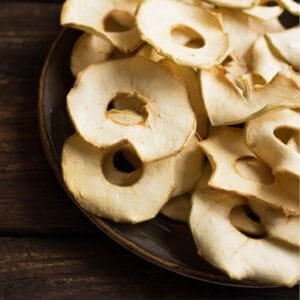
You’ll know they’re done when they feel leathery with no damp spots left (or fully crisp if you want chip-style). Let them cool completely before storing.
If you’ve got a big pile of apples to use up, turning them into homemade crockpot applesauce is another simple way to keep the harvest from going to waste.
Conditioning and Storage (Don’t Skip)
This step often gets skipped, but it’s important if you want dried apples that last. Place the cooled slices in a large jar and shake it once a day for about a week. If condensation forms, pop them back in the dehydrator for a little longer. This “conditioning” process helps even out any leftover moisture so you don’t end up with mold later.
Once conditioned, transfer the apples into airtight jars. If you want to store dried apples for months, a vacuum sealer helps lock in freshness and prevent moisture from sneaking back in. Keep them in a cool, dark place. Properly dried and stored apples will last six months to a year. If you’ve got extra, freezing is also an option. And if you ever find yourself with a surplus, dried apples make a fantastic topping for an apple crumble or even sprinkled into oatmeal.
Comparison: Which Pretreatment Gives Best Color (My Findings)
I’ve run these side by side over multiple seasons. Your results might vary a bit depending on the apples and even the weather that day, but here’s what I usually see side by side.
| Pretreatment | Color After Drying | Flavor Impact | Overall Rank |
|---|---|---|---|
| Fresh Lemon Water | Very good. Apples stay golden-light. | Mild lemon tang, usually pleasant. | 1 |
| Ascorbic Acid Solution | Excellent color (closest to natural). | Very subtle tartness. | 1-2 |
| Honey Water | Good color, slightly warmer tone. | Noticeable sweetness. | 2 |
| Mild Salt Water | Moderate improvement over no treatment. | Risk of salty taste if not rinsed. | 3 |
| Quick Blanch | Color preserved but texture softer. | Slightly muted fresh flavor. | 3-4 |
| No Pretreatment | Darker, especially on cut edges. | No added flavor, but looks less appealing. | 5 |
My take: I default to lemon water for everyday drying and use ascorbic acid when I want neutral flavor for baking mixes. Honey water is a fun snack batch for the kids. Salt water is a last-resort option. Blanching lives in my “only if I must” drawer.
FAQs About Dehydrating Apples Without the Brown
Still wondering about the details? You’re not alone—these come up every fall.
Save this to Pinterest so you’ll remember how to dehydrate apples without browning.
If you’re still swimming in apples, my easy apple butter recipe is another yummy way to put them to use.
Dehydrating apples without browning isn’t complicated—it just takes the right apple, a quick dip in a pretreatment, and patience with the drying process. Once you’ve done it a time or two, you’ll have jars of golden slices ready to snack on all winter.
Give it a try with a small batch first and see which method you like best. Then come back and let me know how yours turned out. Did you go the lemon route, the honey soak, or something else? I’d love to hear your results.
Dehydrated Apple Without Browning
This post may contain paid links. If you make a purchase using the links in this recipe, I may earn a commission.
Equipment
- 1 Dehydrator or oven
- 1 Mandoline Slicer optional
Ingredients
- 3-4 lbs Fresh Apples
- 4 cup Water
- 4 tbsp Fresh Lemon Juice
Instructions
- Wash apples well. Peel if desired (skins add fiber and chew). Core using an apple corer or knife. Slice into ⅛–¼ inch thick rounds or wedges.3-4 lbs Fresh Apples
- In a large bowl, stir together 4 cups water and 4 tablespoons lemon juice.4 cup Water, 4 tbsp Fresh Lemon Juice
- Drop apple slices directly into the lemon water as you cut. Stir gently to coat. Soak 5–10 minutes.
- Remove slices, drain well, and pat dry with a clean towel.
- Lay slices in a single layer on dehydrator trays or oven-safe racks.
- Set dehydrator to 135°F. Dry 6–12 hours until leathery with no damp spots, or fully crisp if you prefer chips. If using an oven, set to the lowest setting, prop door slightly open, and dry 6–12 hours, rotating trays if needed.
- Let slices cool completely. Store loosely in a jar for 5–7 days, shaking daily. If condensation appears, return to dehydrator briefly.
- Transfer to airtight jars or vacuum-sealed bags. Store in a cool, dark place up to 1 year.
Notes
- Drying time depends on apple variety, slice thickness, and humidity.
- If you prefer sweeter chips, sprinkle lightly with cinnamon before drying.
- Extra apple cores and peels can be composted or simmered into homemade apple scrap vinegar.