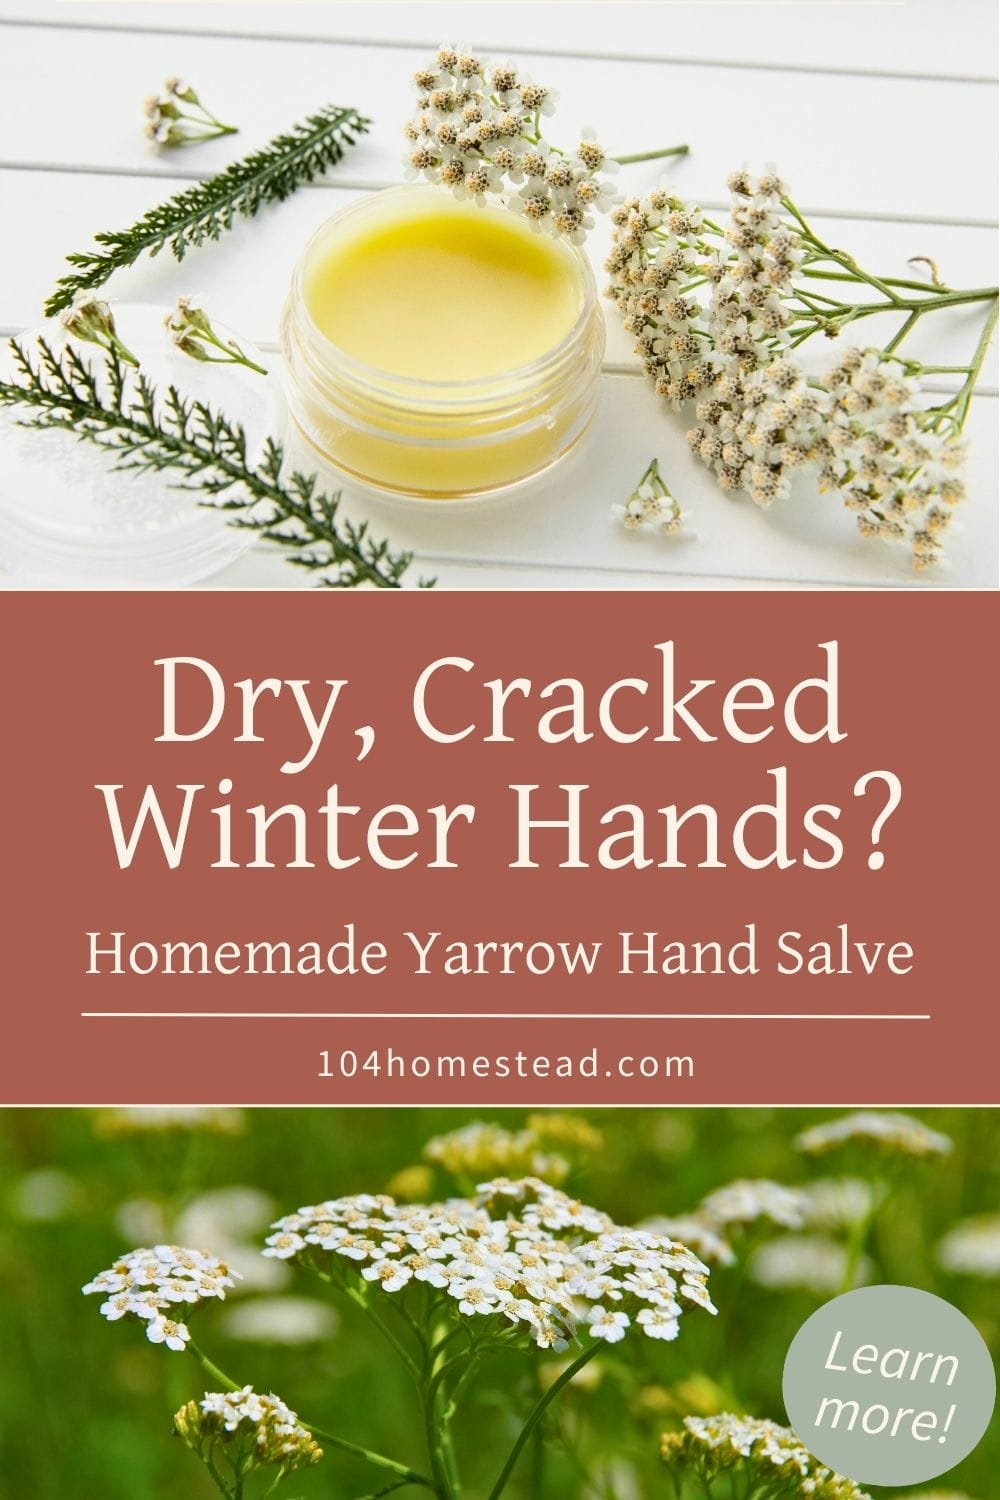
Homemade Hand Salve for Dry Skin That Holds Up All Winter
This homemade hand salve for dry skin absorbs well, isn’t greasy, and actually helps cracked winter hands recover from daily work.

Every winter, my hands take the hit. The combination of hauling firewood and the constant in-and-out of cold air leaves my knuckles cracked before Christmas even arrives. I’ve tried every store-bought lotion I could get my hands on, but honestly, nothing has worked as reliably as this homemade hand salve. It soaks in and keeps up, even on busy days.
I’ve been making variations of this recipe for years, and every time winter rolls around in Maine, I’m reminded why I keep coming back to it. Yarrow is one of those herbs I didn’t fully appreciate until I started using it regularly. When you pair it with a lightweight oil and the right amount of wax, you get a salve that absorbs well, protects your skin, and helps your hands feel better. Usually by the next day.
Why This Salve Works When Winter Wrecks Your Hands
Winter does a number on your skin. Cold air outside, wood heat inside, and a full day of chores in between. It all pulls moisture from your skin faster than you can replace it. And once those knuckles crack, every little movement stings. Here’s what makes this salve different:
- Occlusives like beeswax that protect and trap moisture.
- Emollients like sunflower oil that soften and soothe.
- Yarrow, which brings old-fashioned herbal support for irritation and minor skin damage.
I’ve made salves that smelled pretty but just sat on top of my skin. This one sinks in and stays put. That’s the difference between something that looks nice and something that gets you through January. If you’re new to homemade skincare, a quick refresher on what a salve is and how it works on your skin can be helpful. Knowing that helps you get better results.
The Ingredients That Make This Salve Work
I love a simple recipe, but simple only works when the ingredients are the right ones.
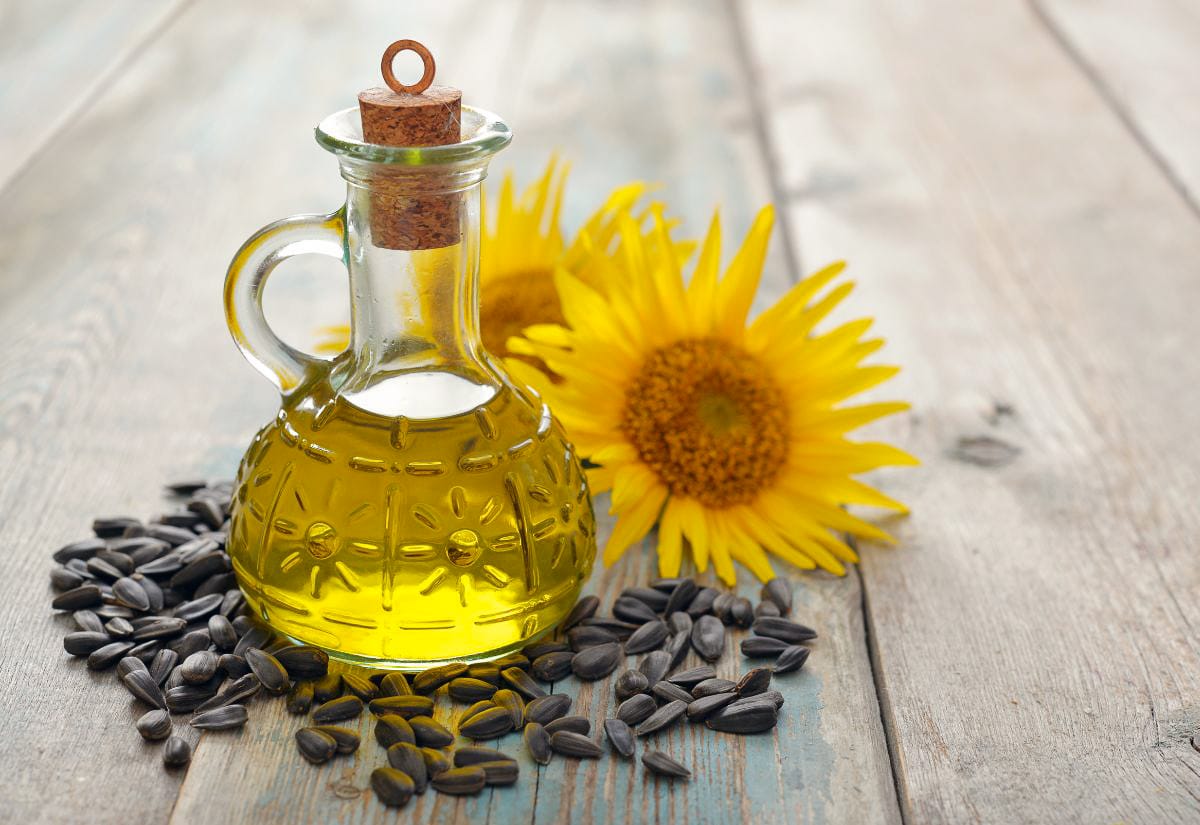
The Best Oils for Winter-Dry Skin
A neutral oil keeps things light and absorbent. Sunflower oil is my favorite because it disappears quickly into the skin and doesn’t leave a greasy finish (pretty important when you’re trying to grab your coffee mug without fear of dropping it). Other good choices:
• Sweet Almond Oil: Softer feel, moderate absorption
• Olive Oil: Richer and heavier, great for deeply cracked hands
Wax Options and How They Change the Texture
Beeswax is the classic salve thickener and gives you a smooth, friendly texture that warms quickly to the skin. If you prefer vegan options, candelilla and carnauba both work, but they’re significantly harder. You’ll need to adjust your ratios accordingly.
This is the ratio I usually stick with: 1 part wax : 4 parts oil
It starts firm but melts easily once it’s on your skin. From there, you can tweak the consistency depending on your climate and personal preference.
Should You Use Yarrow Leaves, Flowers, or Both?
Both. Leaves bring their well-known astringent qualities, and the flowers soften and support irritated skin. Together, they work better than either one alone. If you’re growing yarrow for your garden anyway, you might enjoy growing other herbs that are useful beyond the garden.
Tweaking the Texture to Fit Your Needs
The base formula is intentionally flexible.
- For a firmer salve: Increase the wax slightly. This helps when you want a “throw it in your coat pocket” version that won’t melt.
- For a softer, fast-melting salve: Reduce the wax or use a lighter oil like sunflower.
- For extremely cracked hands: Stick with a standard ratio but use a richer oil, like olive.
I tend to keep one soft batch for nightly hand care and a firmer batch in a tin for daytime.
How to Make a Strong Yarrow-Infused Oil
This is what gives the salve its herbal benefits.
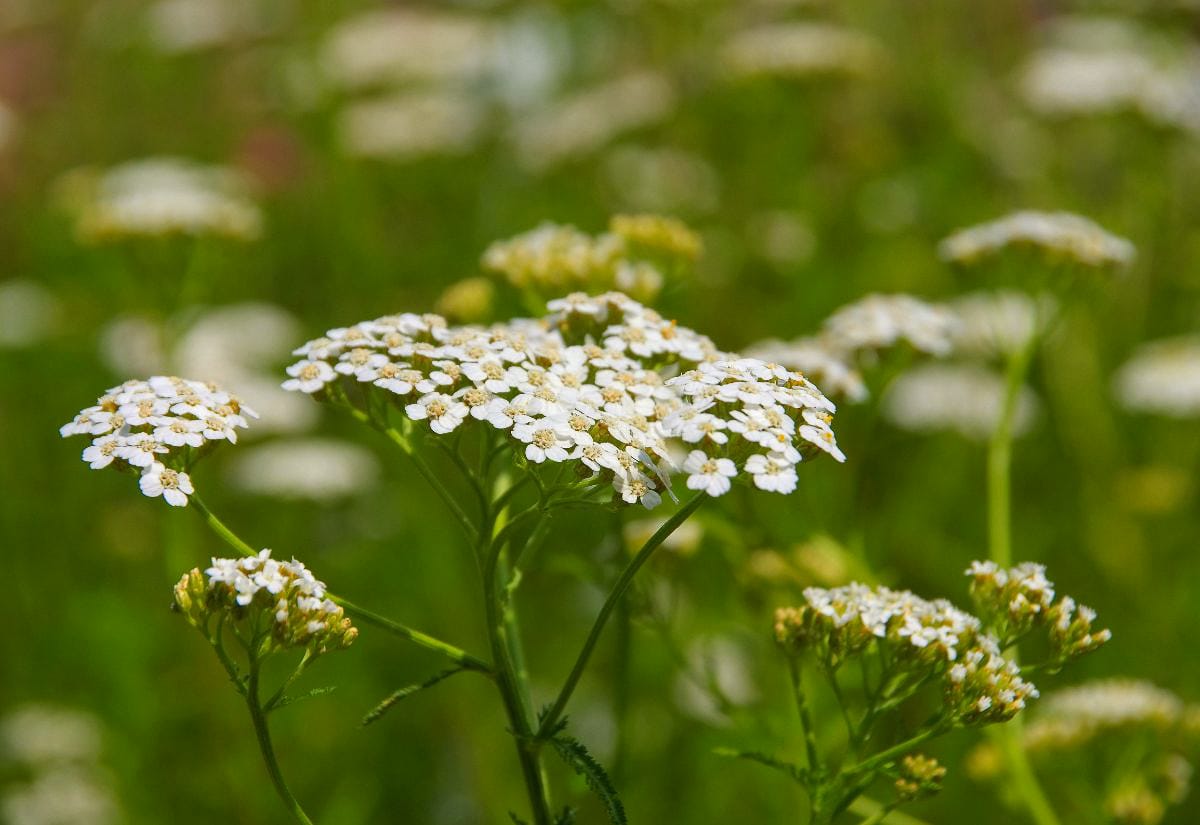
Warm Infusion for Fresh Yarrow
Fresh yarrow contains moisture, so you want gentle heat and patience. Keeping the temperature low helps prevent spoilage and preserves the plant’s properties.
Slow Infusion for Dried Yarrow
If you’re using dried leaves and flowers, you can steep them for 4–6 weeks in a cool, dark place. This long infusion gives you a beautifully scented oil that’s ready for winter projects like this hand salve.
If you’re just starting to learn what you can forage right outside your door, yarrow is a good place to begin.
How to Make This Winter Hand Salve
In the salve-making world, ratios matter more than strict cups and ounces, so once you understand the balance, you’re free to adjust it anytime.
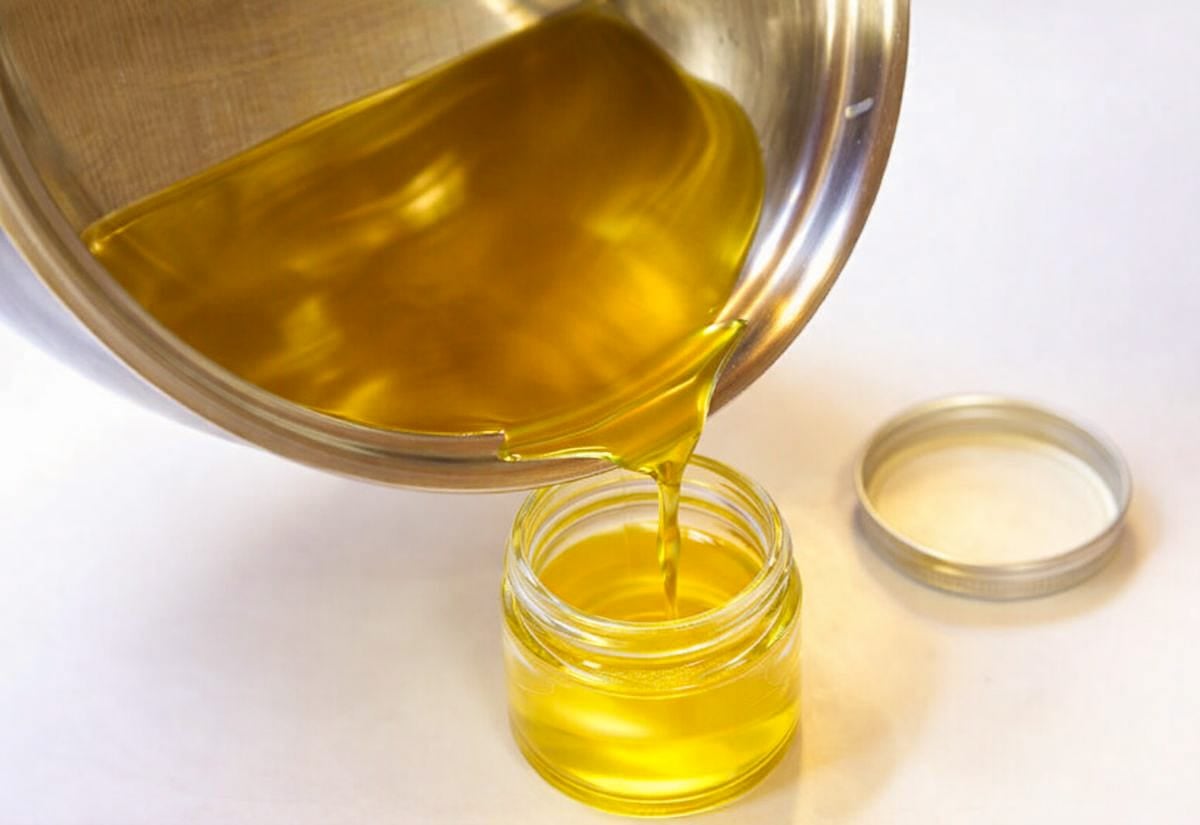
You’ll warm your infused oil in a double boiler, melt in the wax slowly, and pour everything into clean tins or jars. I always seem to have a pile of jars tucked away for salves, but if you need something simple, these basic screw-top jars are sturdy, easy to label, and hold up well in coat pockets and garden aprons.
I also use a double-boiler insert for melting wax and oils so I’m not sacrificing one of my everyday saucepans. Cleanup is easier, and it keeps the heat controlled (important when you’re working with herbs).
Let the salve cool completely before using. It usually sets in 30–40 minutes, depending on the temperature in your kitchen.
How I Check If a Salve Turned Out Right
Absorption is the thing most homemade salves get wrong. Too greasy and you’re leaving fingerprints everywhere. Too firm and it drags across your skin. These help you see if it needs adjusting.
The Wrist Test: Rub a small amount onto the inside of your wrist. If it sinks in within 30 seconds, your ratio is right.
The Paper Test: Dab a bit on a scrap of paper and wait five minutes. Wide oil spread = too oily. Barely spreads = firmer texture.
The Spread Test: Warm a little between your fingers. If it drags instead of softening smoothly, your wax ratio is too high.
Troubleshooting Your Salve
Most of us don’t get salves perfect on the first try. I’ve remelted plenty of jars and adjusted as needed.
- Too hard? Remelt and add a splash of oil.
- Too soft? Remelt and whisk in more wax.
- Too greasy? Use a lighter oil next time or increase wax slightly.
- Smells too strong? A mild essential oil like lavender can balance the scent without overpowering the yarrow.
How to Use the Salve for Winter-Dry Hands
I use this salve every night before bed. On days when I’m splitting kindling, hauling water, or doing barn chores, I might use a tiny bit midday. If your hands are cracking or peeling, put on cotton gloves after applying the salve. It helps everything soak in more deeply.
Variations to Try Based on Skin Needs
Once you get comfortable with the base recipe, it’s easy to mix things up.
• Calendula for gentle soothing
• Plantain for irritated or deeply cracked skin
• Lavender for bedtime calm
• Lanolin for stubborn splits
And if you want to learn how to grow and use more of these healing herbs, my mini handbook, From Soil to Salve, walks through the plants I rely on most and how I use them in simple remedies like this.
Things People Often Ask About This Salve
Here are a few things people often wonder when they start making their own herbal salves.
Pin this so it’s easy to find when winter hits your hands hard.
This yarrow hand salve has become a winter staple for me, partly because it works and partly because it connects me back to the plants I grow and gather here at home. There’s something satisfying about that. If dry winter hands are part of your life too, give this salve a try. You might be surprised by how quickly it becomes your go-to.
Do you already make salves, or are you just getting started? Share your experience or questions in the comments below.
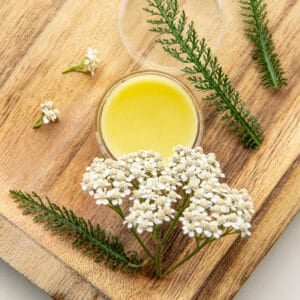
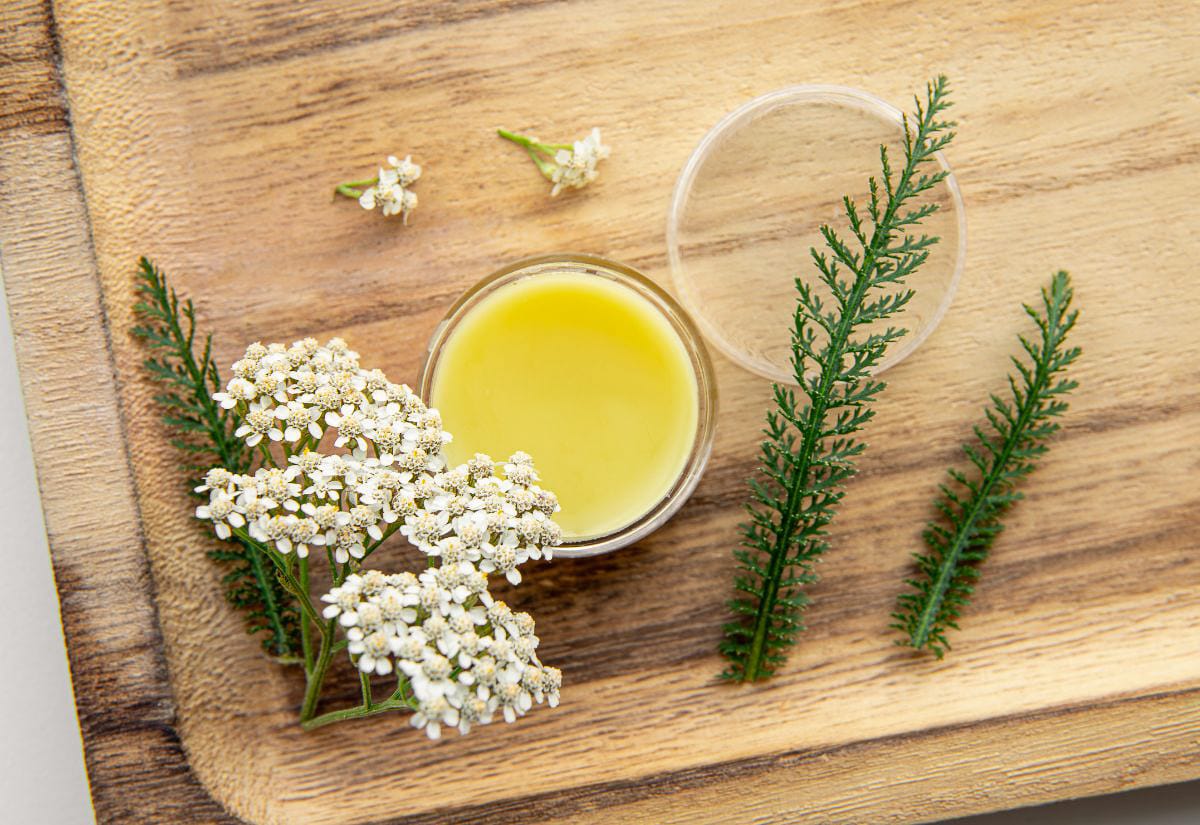
Homemade Yarrow Hand Salve for Dry Skin
This post may contain paid links. If you make a purchase using the links in this recipe, I may earn a commission.
Equipment
- 3 Glass Jars or tins
- Double Boiler or heat-safe bowl over a saucepan
- Kitchen Scale
Ingredients
- 1 cup Yarrow-Infused Oil sunflower oil preferred
- ¼ cup Beeswax Pastilles or grated beeswax
- 10-15 drops Essential Oil lavender works well (optional)
- 1 teaspoon Vitamin E Oil optional
Instructions
- Add the yarrow-infused oil to a double boiler and warm gently over low heat.1 cup Yarrow-Infused Oil
- Slowly add the beeswax, stirring until fully melted and combined.1/4 cup Beeswax Pastilles
- Remove from heat once smooth and clear.
- If using, stir in essential oil and vitamin E oil.10-15 drops Essential Oil, 1 teaspoon Vitamin E Oil
- Carefully pour the hot salve into clean jars or tins.
- Let cool and set completely before using or sealing with lids.
Notes
- If the salve sets too hard, remelt and add a small splash of oil.
- If it’s too soft, remelt and add a little more beeswax.
- Sunflower oil absorbs quickly and keeps the salve from feeling greasy.
- Store in a cool, dry place. Shelf life is about 6–12 months depending on oil freshness.
- Always patch test if you’re sensitive to new herbs or essential oils.