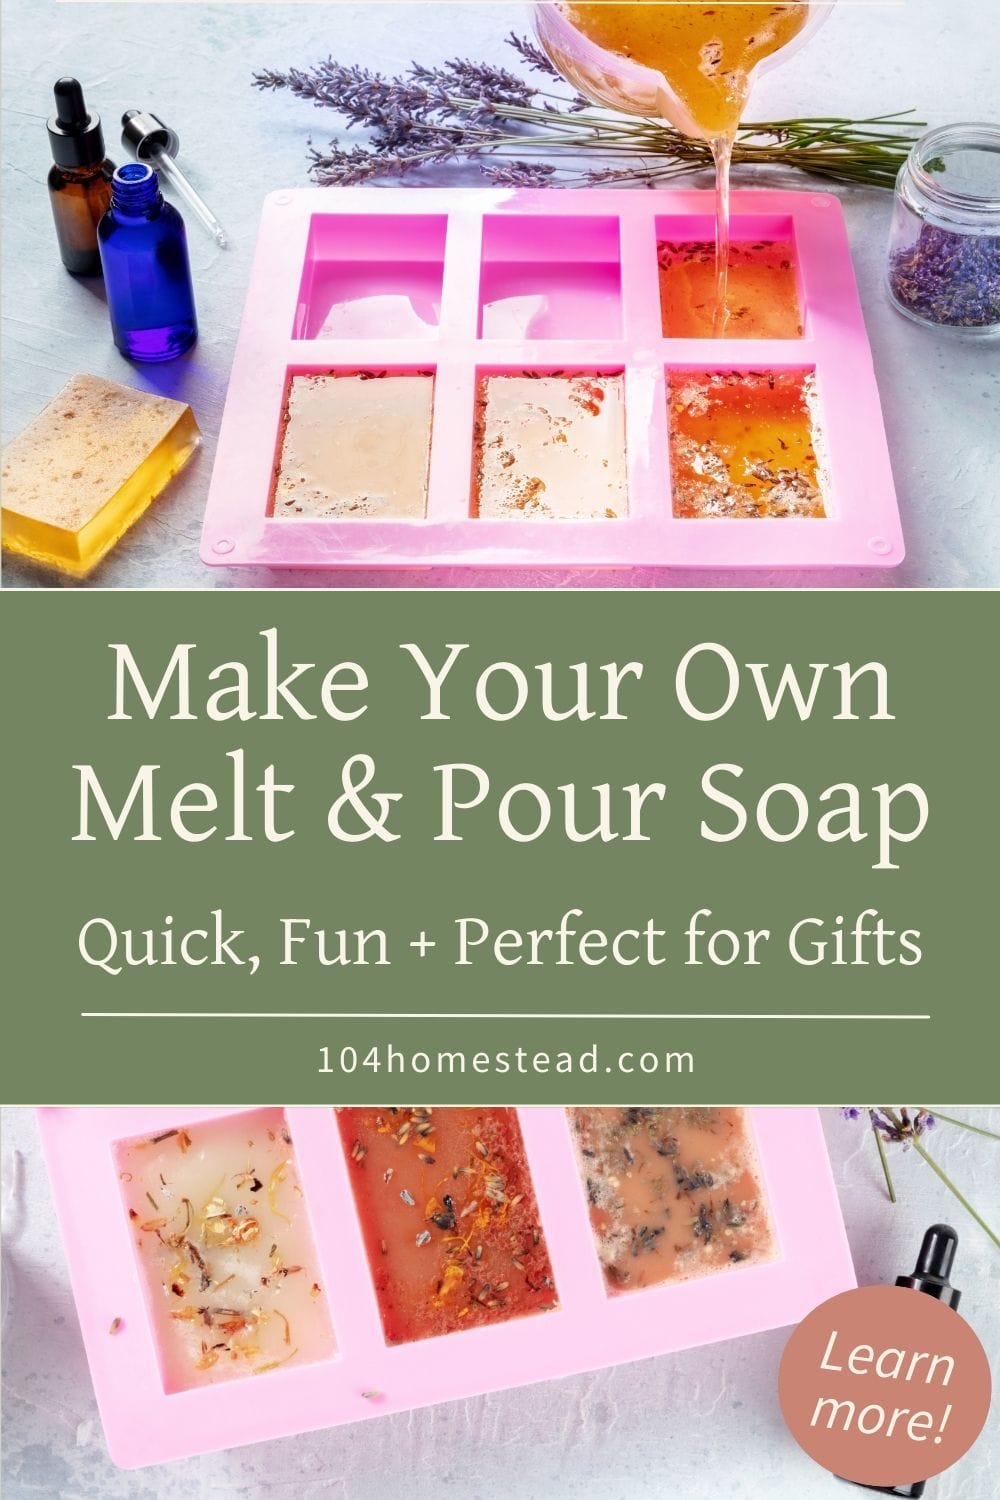
How to Make Melt and Pour Soap for Beginners
Learn how to make melt and pour soap with easy steps, simple tips, and an Orange & Honey recipe. Perfect for beginners who want homemade soap fast.
If you’ve ever wanted to try soap making but felt overwhelmed by the whole “handling lye” part, melt and pour is the perfect place to start. It’s simple, forgiving, and honestly pretty fun once you get into it. I first dipped my toe in because I wanted something homemade for gifts, and melt and pour let me experiment without feeling like I needed a chemistry degree. It’s been part of my winter crafting routine ever since.
What I love most is that you get that handcrafted look without the long curing time or the safety gear. Whether you want a few bars for around the house or a whole run of them for holiday baskets, melt and pour gives you plenty of room to play around without feeling like you’re going to mess anything up.
I’ll walk you through how to make melt and pour soap, from choosing a base to adding color, scent, and all the little touches that make it feel like your soap. You’ll find troubleshooting help, essential oil guidelines, ideas for getting fancy with layers and embeds, and a simple Orange & Honey soap recipe waiting for you at the end.
Why Melt and Pour Soap Is Perfect for Beginners
Melt and pour soap starts with a pre-made base, which means the lye work has already been done for you. You’re simply melting, customizing, and pouring. That’s it. No 4–6 week cure time. No chemical reactions to monitor. And honestly, no fear of ruining a whole batch while you’re learning. Here’s why I always point beginners in this direction:
You Skip the Risky Stuff: You don’t handle lye at all, which is usually the step that makes new soapmakers nervous. You can let kids help, too, as long as you’re managing the hot soap.
It Sets Fast: You can pour in the afternoon and unmold by evening. I won’t lie, it’s pretty satisfying to unmold it the same day.
It’s Easy to Customize: Scent, color, texture, exfoliants, botanicals, moisturizers… you can tweak your soap as much or as little as you want.
It Still Feels Handmade: Even with a pre-made base, the end result still feels handmade and totally giftable.
Choosing the Right Melt and Pour Soap Base
There are more options than you might think. Over the years, I’ve played with just about every type, partly out of curiosity and partly because Maine winters are long and I need projects.
Here’s how to tell them apart so you can pick what fits your project.
- Goat Milk Base: Creamy, gentle, and great for dry skin. It gives your bar a soft, off-white color.
- Shea Butter Base: Moisturizing and mild. A solid everyday option.
- Oatmeal Base: Lightly exfoliating. Great for soaps that need a little scrub to them.
- Clear Glycerin Base: A true “see-through” base. Best for embeds, layers, toy soaps for kids, or anything with a pop of color.
- Aloe Vera Base: Soothing and fresh. I like this one in summer blends or anything with mint or citrus.
- Hemp Seed Base: A little earthier and very moisturizing, especially for sensitive skin.
If you’re brand new, start with goat’s milk or shea butter. They melt like a dream and are tough to mess up.
If you love the richness of goat milk in skincare, you might also enjoy my goat milk shampoo bars (a cold process recipe), which walks you through making a really nourishing bar that’s gentle on hair and scalp.
What You’ll Need Before You Start
You really don’t need much to get started. You’ll need…
- Melt and pour soap base (I’ve had good luck with Primal Elements, but any good base works)
- A sharp knife
- A microwave-safe bowl or heat-safe glass measuring cup
- Silicone molds (loafs, rectangles, or fun shapes)
- Rubbing alcohol in a spray bottle (to pop surface bubbles)
- Fragrance or essential oils
- Optional colorants or additives
If you’re the kind of person who normally eyeballs things (I lean that way, too), a small kitchen scale does help, especially when you’re following a recipe or trying to recreate a batch you love.
How to Make Melt & Pour Soap (Step-by-Step)
Now that you know what you’ll need, here’s how to actually melt, customize, and pour your soap.
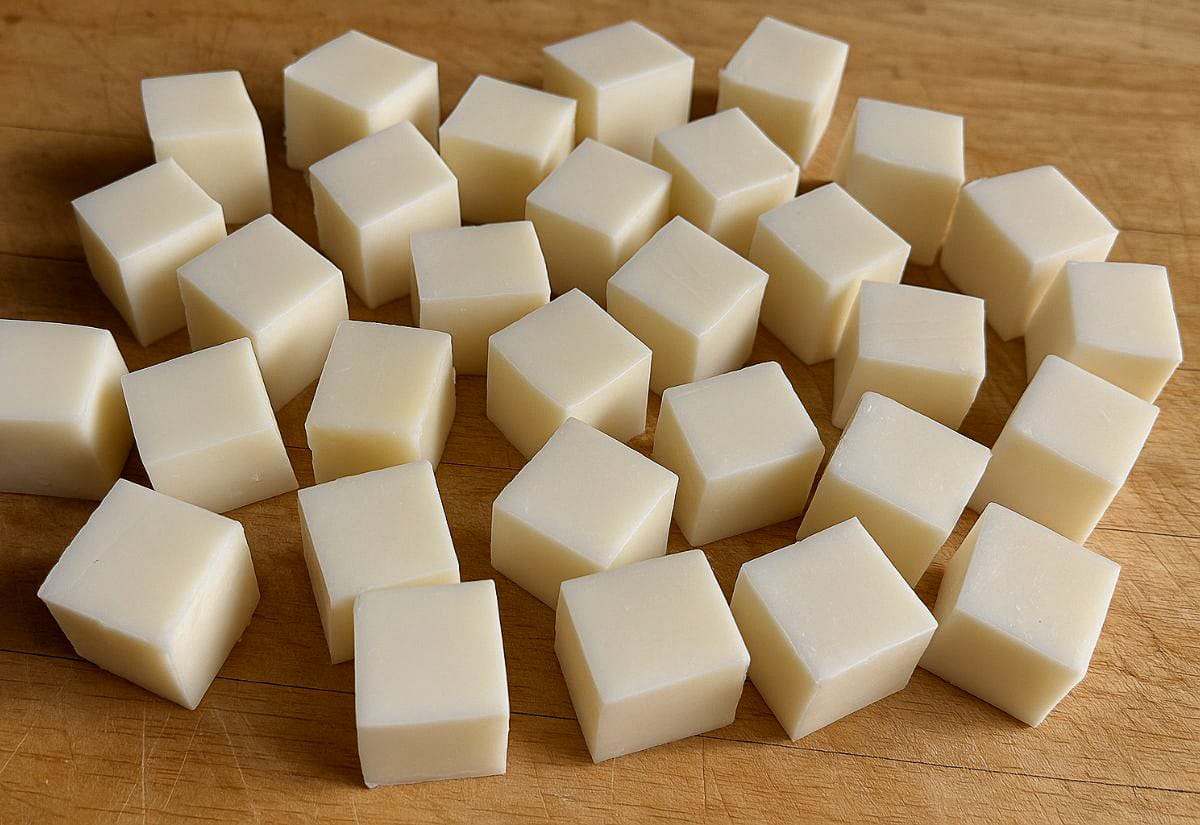
Chop the Base Into Cubes
Don’t melt the whole block at once. Cut the base into roughly 1-inch cubes. They don’t need to look perfect. You just want everything to melt evenly and quickly.
Melt Slowly and Gently
This is usually the part people get hung up on. You have two options:
Stovetop
Place your cubes into a heat-safe glass measuring cup and set it inside a saucepan with a couple of inches of water (your makeshift double boiler). Medium-low heat is best. High heat scorches the soap and makes it smell… not great.
Microwave
Use short bursts (20–30 seconds), stirring between each one. It’s fast, but you have to babysit it or it overheats. I’ll admit it, I’ve scorched more microwave batches than stovetop ones. When in doubt, heat slow.
Add Your Oils, Color, and Additives
Once your base is fully melted, remove it from heat and stir in:
- Essential oils or fragrance
- Natural colorants (mica, clay, charcoal)
- Honey, oils, or butters
- Exfoliants like oatmeal or poppy seeds
Essential oil ratio: A safe range is 0.5–1 oz of essential oil per pound of soap base. Lighter scents need more; stronger scents need less. If you add too much oil or honey, the finished bar may feel soft or sweaty, so go easy.
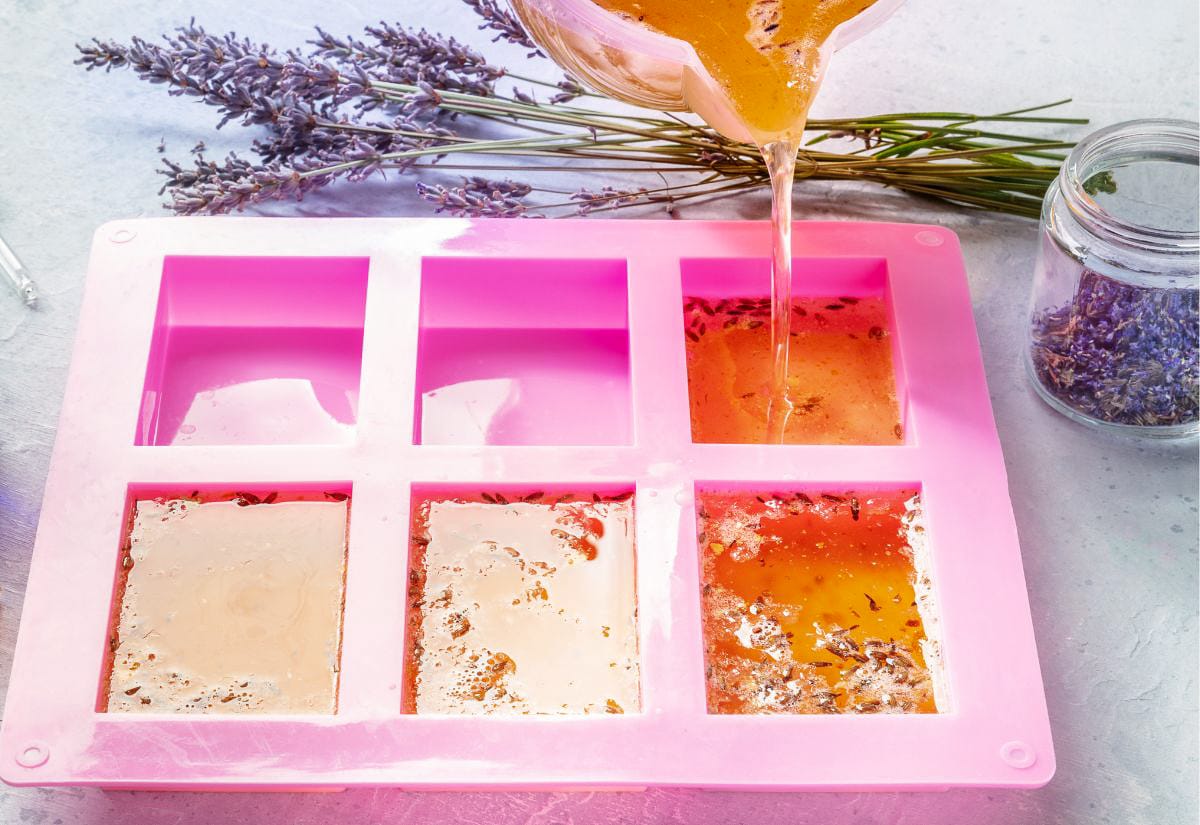
Pour Into Your Molds & Spritz with Rubbing Alcohol
Pour slow and steady if you want fewer bubbles in the finished bar. Silicone molds are easiest for beginners because the bars pop out cleanly. Give the surface a light spray. This pops any trapped bubbles and gives your bars a smooth finish.
Let the Soap Set
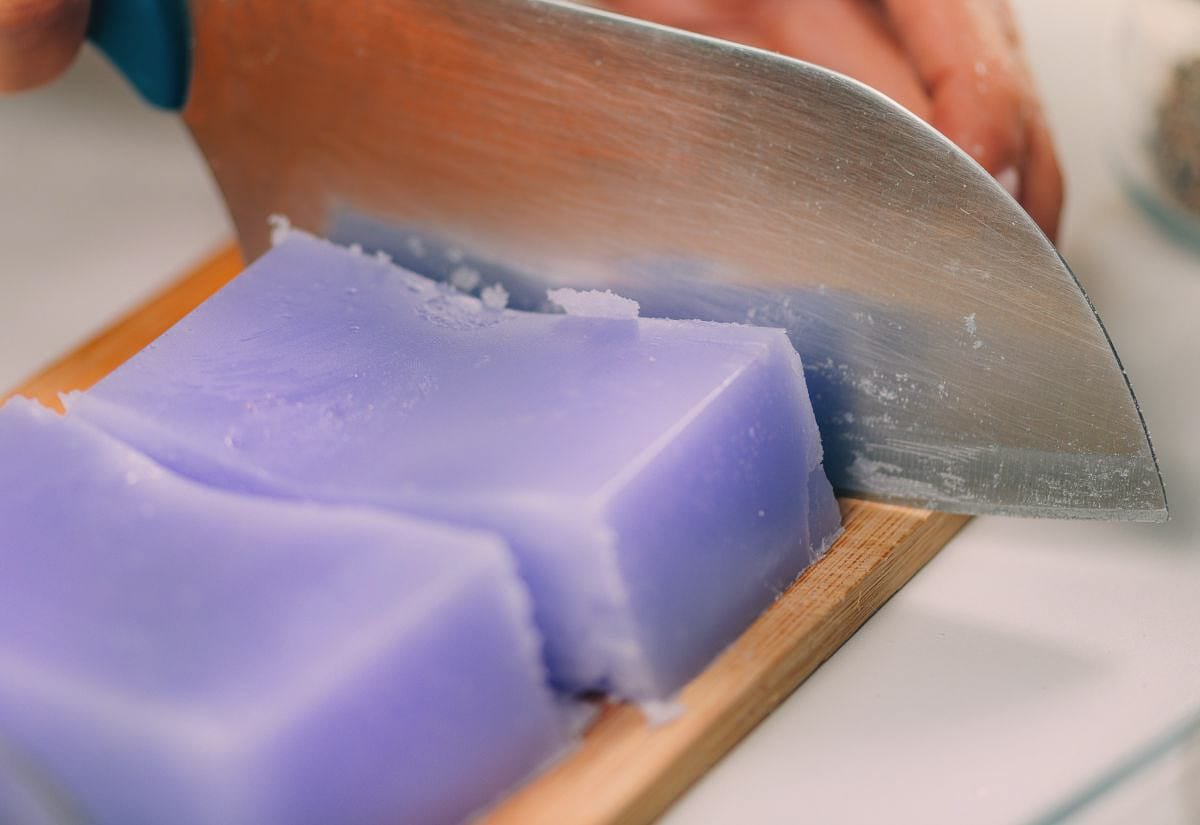
Melt and pour doesn’t need to cure, but it does need to harden. Plan on 4–8 hours depending on the temperature of your home and the thickness of your molds. When they’re firm to the touch, go ahead and unmold them and let them sit a little before storing.

Easy Ways to Customize Your Soap
Once you’ve got the basics down, this is where it gets fun…
- Layers: Pour one color, let it set, pour another. You’ll get clean lines and nice clean layers.
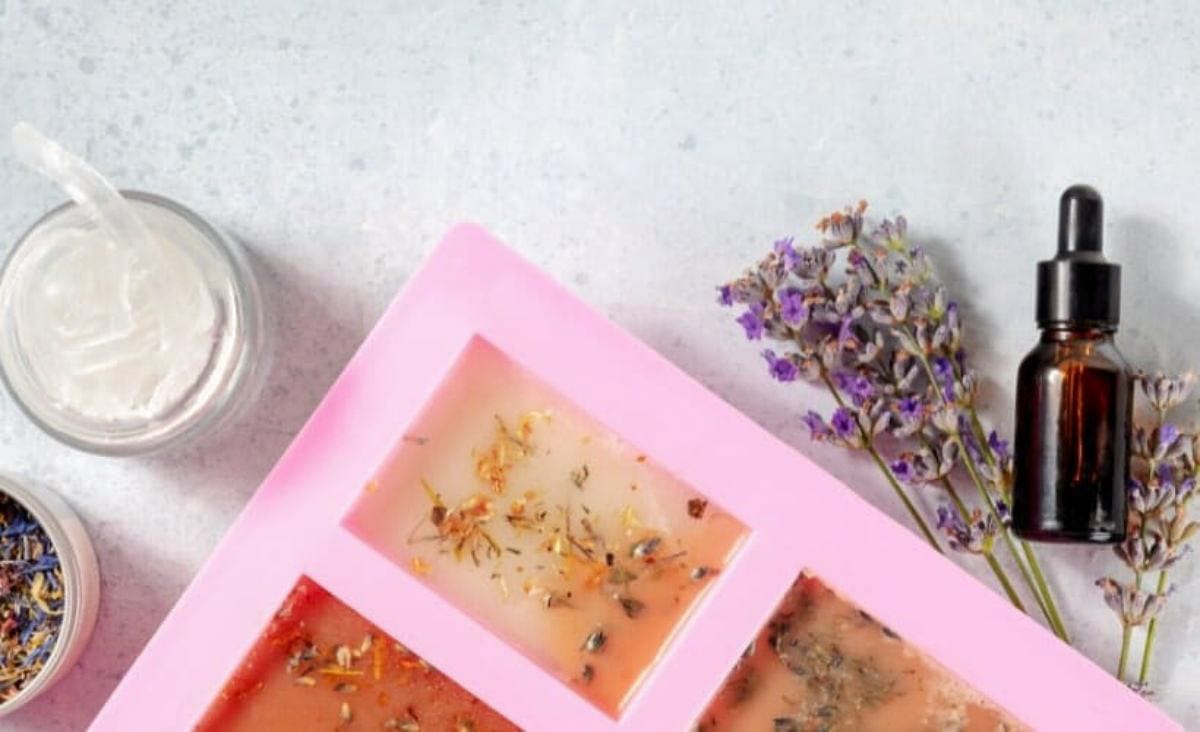
- Embeds: Use a clear base over small shapes, dried flowers, or even little toys for kids. (Just make sure the toy is safe and large enough not to be a choking hazard.)
- Botanicals: Calendula petals work beautifully. Lavender buds look pretty but tend to brown over time (just a heads up).
- Swirls: This works best with a combination of opaque and clear bases. Don’t overmix; let the swirl happen naturally.
- Using Up Scraps: I toss my leftover bits from previous batches into a clear base. It makes a fun, kind-of-mosaic bar that uses up all the odds and ends.
If you’re drawn to simple self-care recipes like this, my milk and honey bath soak is another easy project that pairs beautifully with homemade soap. And if you’re experimenting with gentle exfoliants in soap, you may like my collection of homemade lip scrubs, which use simple ingredients to create customizable natural exfoliators.
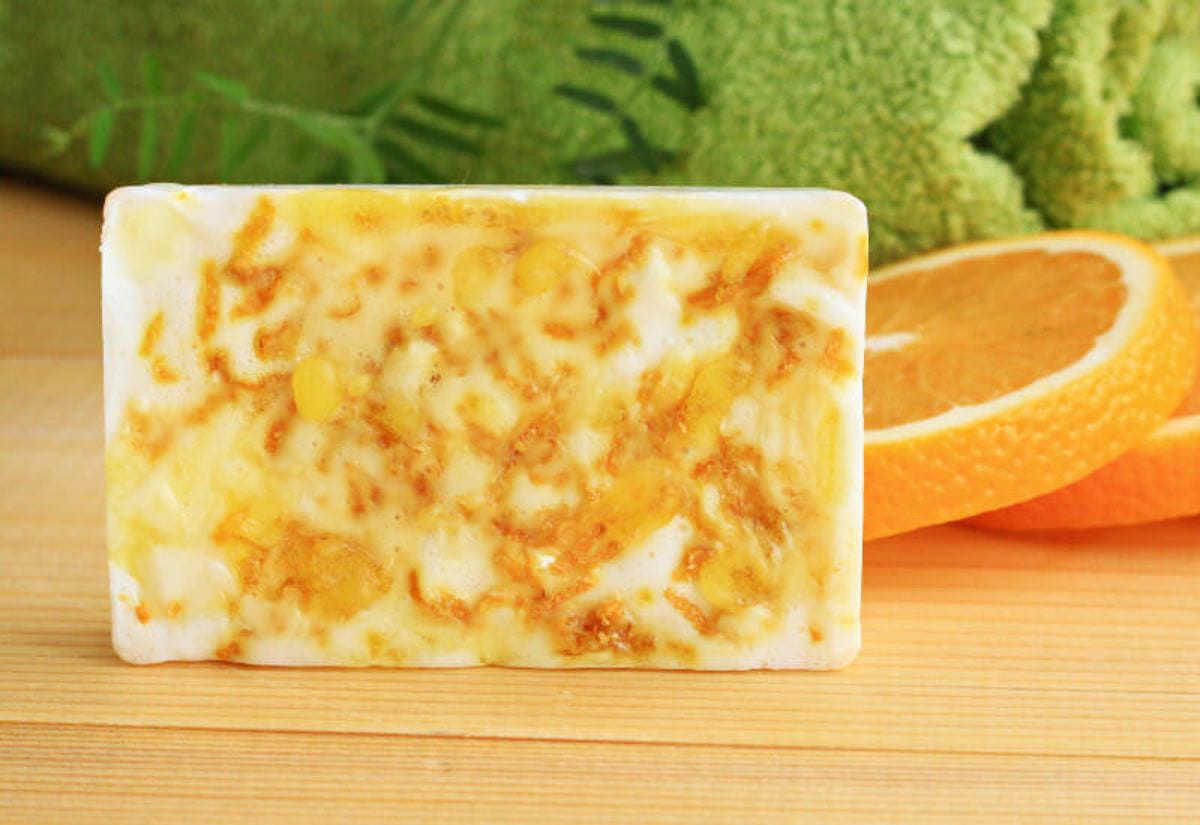
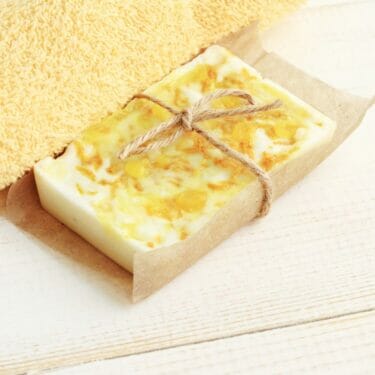
Orange & Honey Melt and Pour Soap Recipe
If you want to try a recipe after learning the basics, this one is a good place to start. It uses goat milk melt-and-pour base, honey for extra richness, a bit of almond oil for moisture, and a simple orange scent that works any time of year.
The full recipe card is at the end of this post, so you can print it or save it for later.
Troubleshooting (What to Do When Things Go Sideways)
I wasn’t planning on becoming an expert in melt and pour disasters, but experience is funny like that. Here are the things that go wrong most often and how to fix them.
Your Soap Won’t Harden: Usually too much oil, honey, or butter. Try:
- Reducing additives next time
- Letting it sit in the fridge for 10–15 minutes (not long-term—condensation happens)
Your Soap Looks Sweaty or Wet: That’s just glycerin dew (totally normal). Keep them wrapped up or stored airtight so they stay dry.
Your Layers Are Separating: You either waited too long between layers or didn’t spritz with alcohol. Alcohol helps layers bond.
Your Soap Scorches or Smells Burnt: This is from high heat. Slow down the melting process. Medium-low heat works best.
Your Fragrance Disappears: Make sure you’re using skin-safe fragrance or essential oils and the correct ratios. Some fragrances are naturally lighter and need a little more.
Common Melt & Pour Questions
Here are the questions I hear most when people start making melt and pour soap.
Pin this so you can come back to it anytime you’re ready to start melting and pouring.
Melt and pour soap making is one of those simple skills that feels surprisingly satisfying once you give it a try. Whether you’re making gifts, stocking your own shelves, or just looking for a creative project on a rainy day, it’s an easy little project you can do without blocking off your whole afternoon.
For an easy next step, you might enjoy my healing hand cream for gardeners, especially if you’re looking to build a small collection of homemade skincare basics.
If you give melt and pour soap a try, let me know how it goes or what scent blend you end up loving. I’m always looking for new combinations to play with.
Orange & Honey Goat Milk Soap (Melt & Pour)
This post may contain paid links. If you make a purchase using the links in this recipe, I may earn a commission.
Equipment
- 1 Large Measuring Cup
- 1 Kitchen Scale
- 1 Spoon for Soap Only preferably silicone
- 4 Soap Molds
Ingredients
- 1 lb Goat Milk Soap Base
- 1 tbsp. Honey
- 1 tsp. Almond Oil
- 10-15 drop Orange Essential Oil or citrus of your choice
- Dried Orange Zest optional
Instructions
- Chop the goat milk melt and pour soap base into small cubes for easier melting.1 lb Goat Milk Soap Base
- In a double boiler, melt the soap base using medium-low heat, stirring occasionally to ensure even melting.
- Once the soap base is completely melted, add the tablespoon of honey and stir until well combined.1 tbsp. Honey
- Add the almond oil and essential oil, and continue to stir until the mixture is thoroughly blended.1 tsp. Almond Oil, 10-15 drop Orange Essential Oil
- Optional: You can also add any natural colorants or exfoliants at this stage if desired.
- Pour the mixture into soap molds of your choice. If there are any air bubbles on the surface, spritz them with rubbing alcohol to remove them.
- Sprinkle bars with orange zest.Dried Orange Zest
- Allow the soap to cool and harden completely in the molds. This typically takes around 4-8 hours.
- Once hardened, carefully remove the soap from the molds and enjoy your homemade goat milk soap bars!
Hi. Have you ever used Caustic Soap beads? Is this even safe?
I never have. But I received a jar of this.
I haven’t used those myself. If they’re actually caustic (like lye), they’re not meant for melt and pour soap at all. Melt and pour is already fully saponified, so adding anything caustic wouldn’t be safe.
I’d double check exactly what’s in that jar before using it.
Would it be okay to add castor oil to this, or should I leave out the almond oil, if I add castor oil?
I would omit the almond oil and give it a try. Otherwise I think it may not set up appropriately.
Please how can I add rice milk to my melt and pour soap, and is there a specific quantity I can use?
I’m going to make melt and pour soap, as this this is my venture in making soap. I purchased M & P with oat meal. My question is, can I still add powdered goat’s milk to it ? I have no clue as to how much I should add to a one pound block.
Thank you for your instructions, I thought about using the microwave, but now I’m going to do it how you did.
I know you can add it, but I haven’t done so myself. I’ve used a goat’s milk base and loved it though. I did find this and think it might be helpful when you are adding things to your base: http://www.teachsoap.com/forum/viewtopic.php?f=6&t=1985