How to Plant Garlic in the Fall (Step-by-Step Guide for a Bigger Harvest)
Learn how to plant garlic in the fall with this simple, proven method. Get the timing, soil prep, and real-life tips for growing big, healthy bulbs.
I never skip garlic. It’s low-maintenance, cold-hardy, and just plain satisfying. Few things beat pulling up those fat bulbs next summer and thinking, yep, I did that.
If you’re new to growing garlic (or just want to make sure you’re doing it right) here’s my simple step-by-step guide to planting garlic in the fall. I’ll walk you through exactly what to do, when to do it, and a few mistakes I’ve learned to avoid the hard way.
Why Fall is the Best Time to Plant Garlic
Garlic needs a good cold spell to form those nice, fat cloves we all love. When you plant it in the fall, it has time to establish roots before the ground freezes. Then it sleeps through winter and wakes up the minute the soil warms in spring.
Plant in fall and you’ll get bigger bulbs, no question about it. Try it once and you’ll be convinced.
Step-by-Step Guide to Planting Garlic in the Fall
If this is your first time planting garlic (or if you’ve done it before but want to make sure you’re doing it right) this is the way I plant mine every fall, and it’s worked well year after year. I’ll walk you through the whole thing, from picking your cloves to tucking them in under mulch.
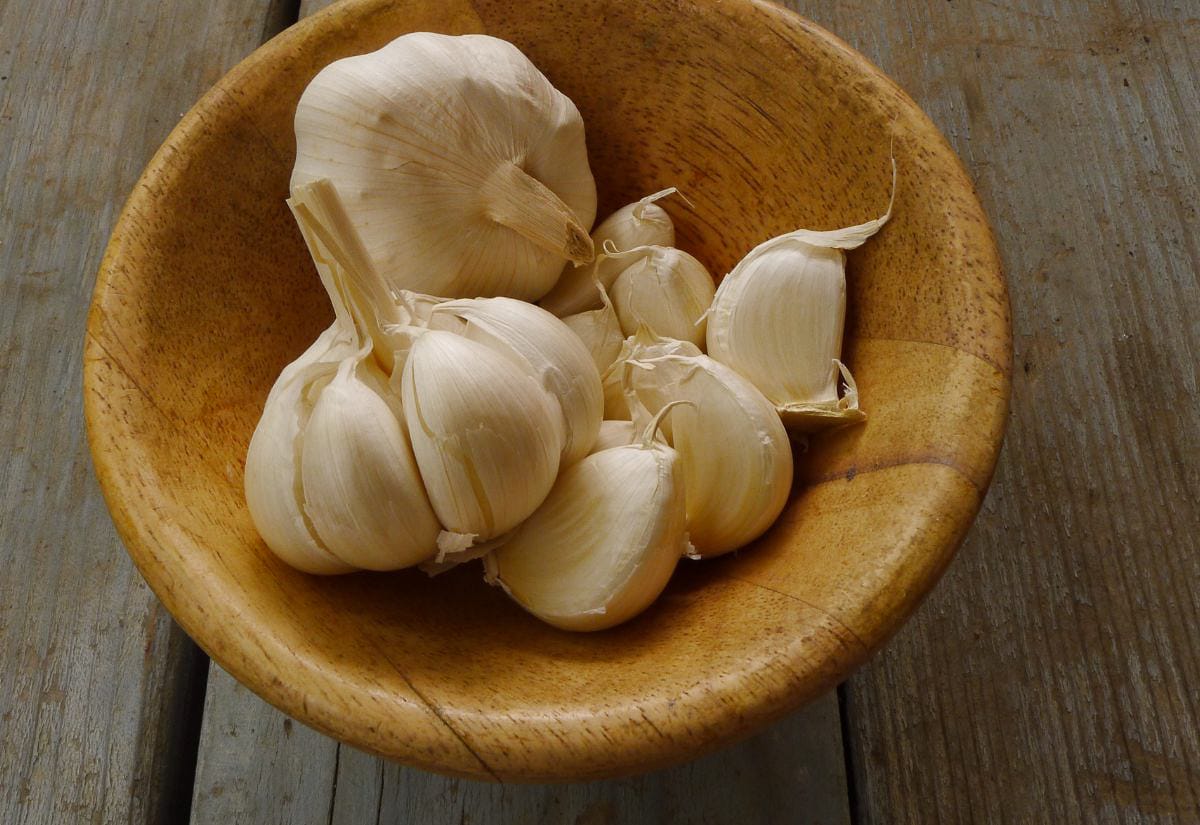
Choose the Right Garlic
There are two main types of garlic: hardneck and softneck.
- Hardneck garlic: Best for northern growers (like us here in Maine). More cold-hardy and tends to have a stronger flavor. Plus, you get garlic scapes in the spring. A tasty bonus!
- Softneck garlic: Grows better in warmer climates and stores longer, but can struggle with cold temps.
For fall planting in most U.S. zones (especially 3–7), go with hardneck varieties.
Buy seed garlic from a reputable supplier or local farm stand. Grocery store garlic is usually treated to prevent sprouting and may carry diseases (ask me how I know).
Prep Your Planting Bed
Garlic’s a hungry crop. It does best in rich, loose soil that drains well. I usually throw in a good helping of compost or aged manure.
Here’s how I prep my beds:
- Pick a sunny spot. Garlic loves full sun.
- Loosen the soil down about 8 inches. Use a garden fork if it’s compacted.
- Work in compost or aged manure. Consider sprinkling a little wood ash in the garden to boost potassium, just don’t go overboard if your soil’s already alkaline. If your soil’s a bit acidic, add some lime. Garlic likes a pH between 6.5 and 7.
- Rake the surface smooth.
Don’t overthink it. As long as your soil drains well and isn’t rock-hard, you’re golden.
Break Apart the Bulbs
Each clove becomes one new bulb, so choose the biggest, healthiest cloves.
- Gently break apart the bulb just before planting. Leave the papery skins on the cloves.
- Skip the tiny inner cloves. They’ll grow, but the bulbs will stay small and really aren’t worth the space.
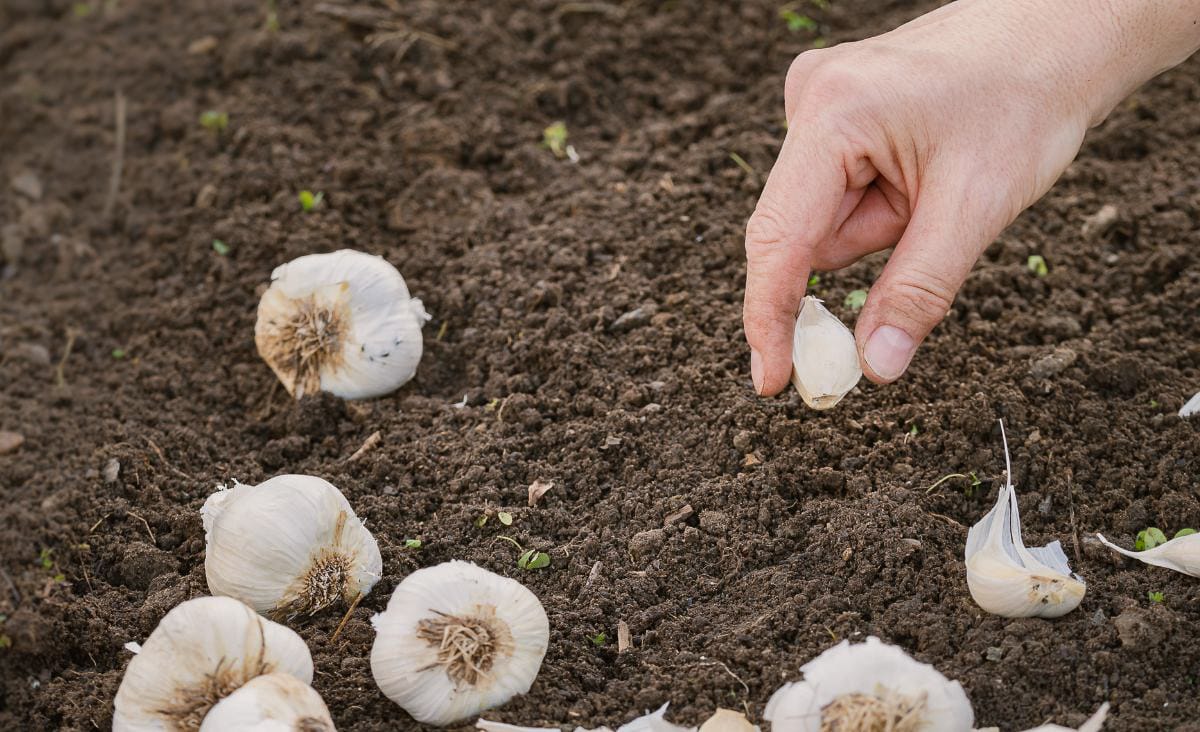
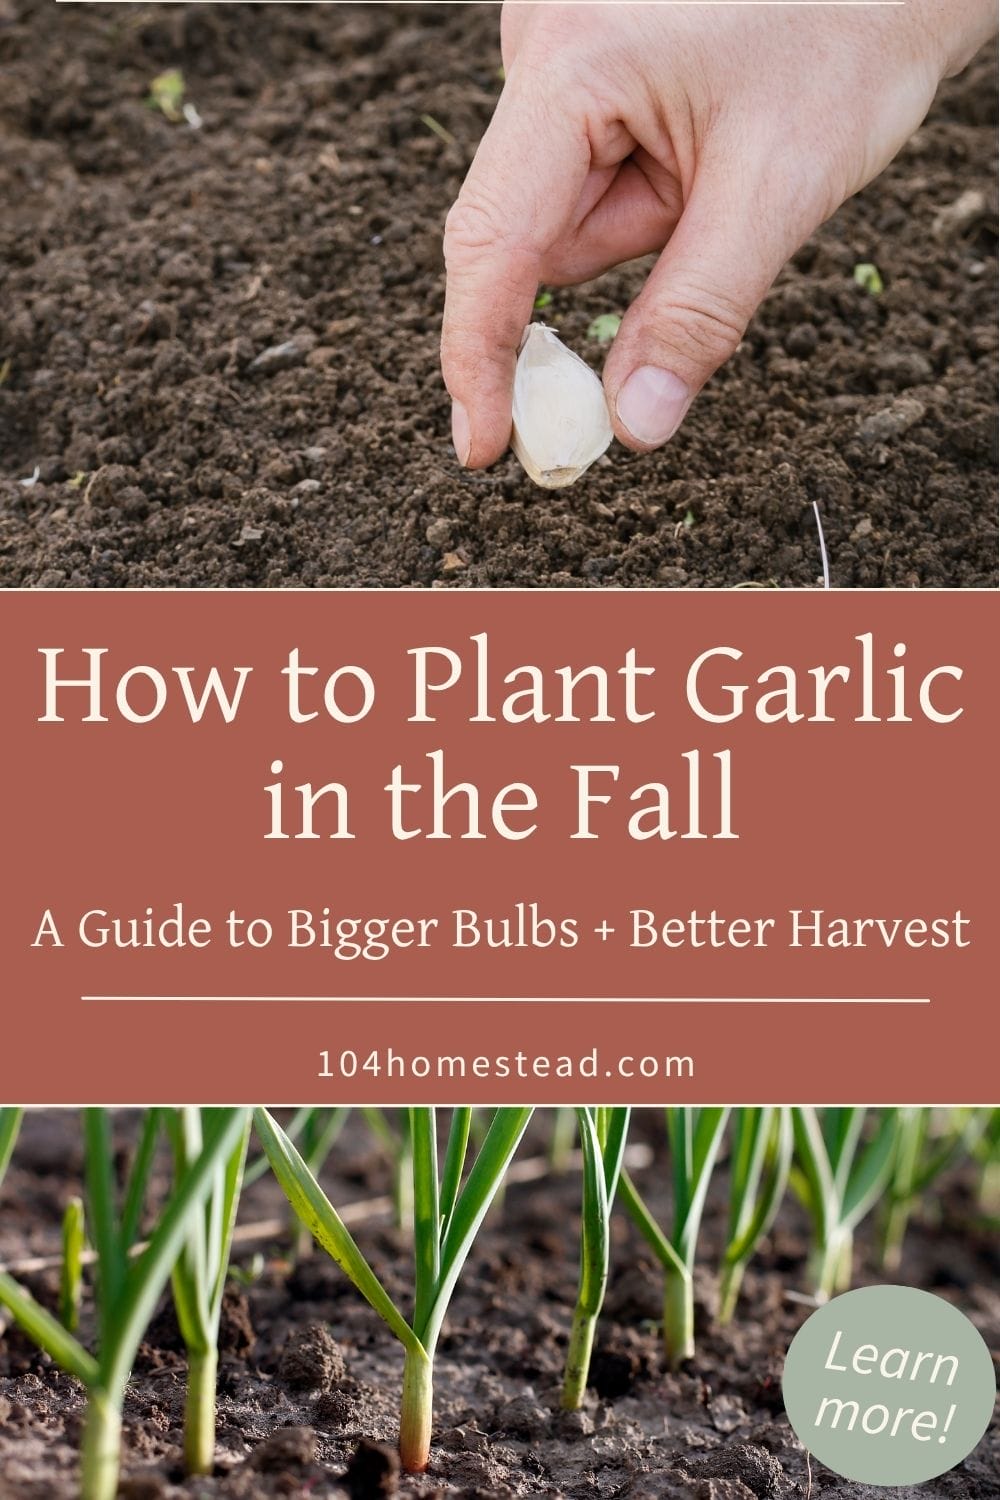
Plant Your Garlic
My rule of thumb is simple:
- Plant cloves 2–3 inches deep, pointed end up.
- Space cloves 4–6 inches apart in rows about 12 inches apart.
I use my fingers to make the holes and just drop each clove in. If you’re planting a lot, a dibber or bulb planter makes life easier.
Water It In
Give the bed a good drink after planting. It helps the soil settle around the cloves and gets them started putting out roots. You won’t need to water again until spring unless you’re in an unusually dry climate.
Mulch Generously
Mulch is garlic’s best friend.
- Add 3–6 inches of mulch right after watering. Straw, shredded leaves, or grass clippings all work well.
- Mulch keeps the soil insulated, the weeds down, and those cloves protected through winter’s freeze-thaw mess.
I’ve skipped mulch before and I regretted it when the weeds came roaring back in spring and the bulbs were struggling.
When to Plant Garlic in Fall
Plan to plant about 4–6 weeks before the ground freezes solid. That’s usually:
- Late September to early November, depending on your location
- Here in Maine, I typically plant the first or second week of October
You want the cloves to have time to sprout roots, but not enough to send up green shoots before winter.
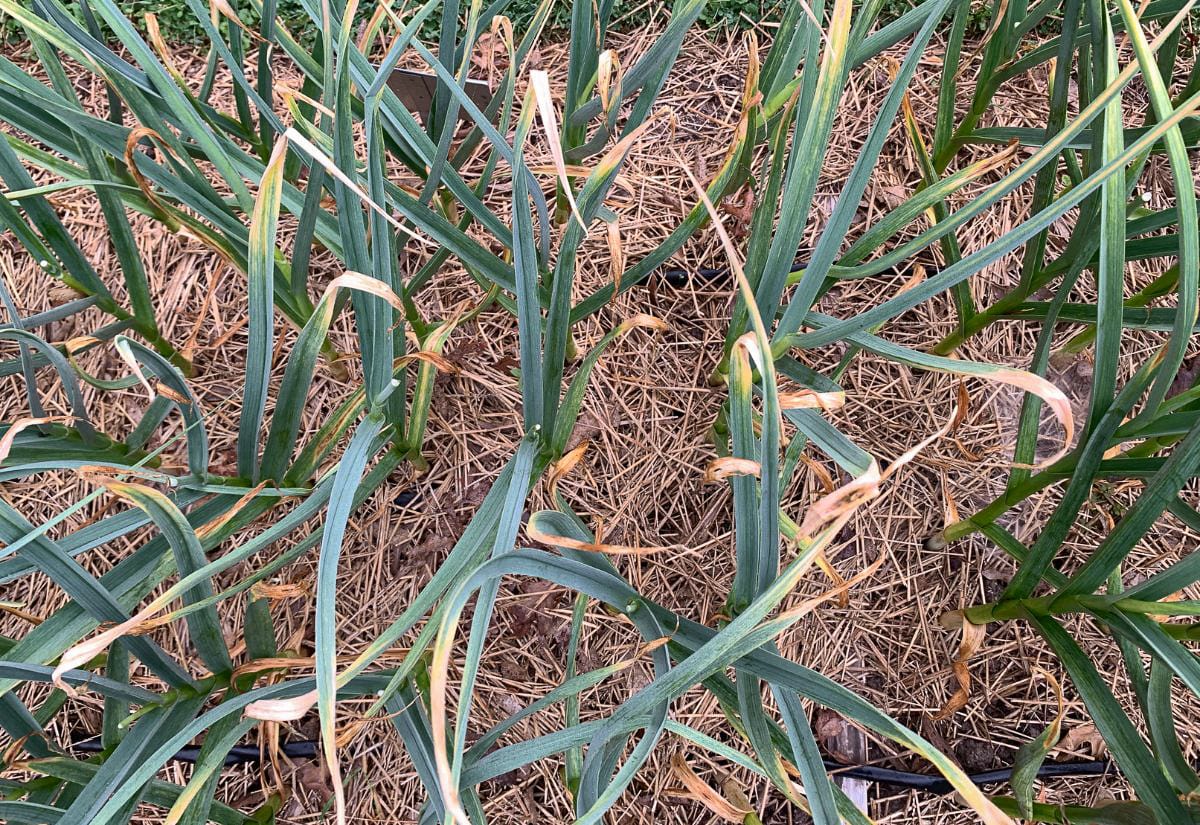
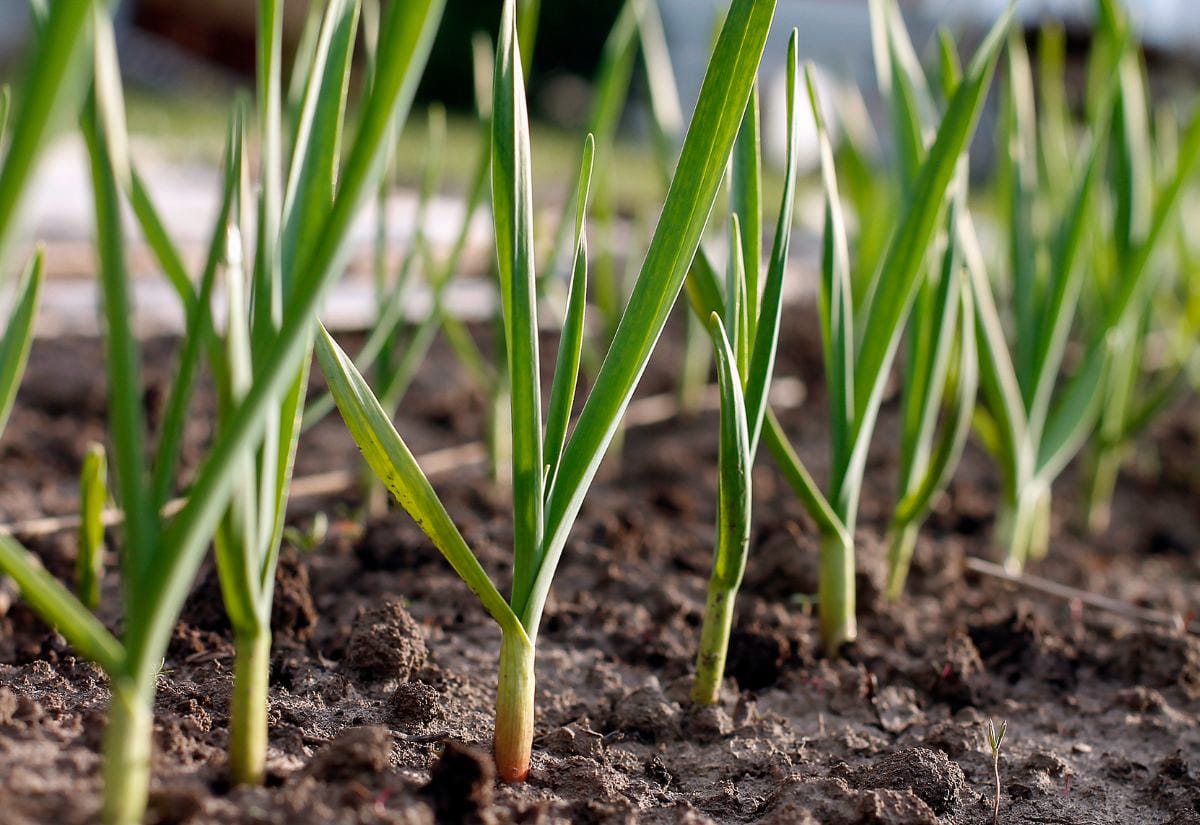
What to Expect After Planting
Once the garlic is in and mulched, your job is mostly done. Through winter, it’ll go dormant. You might see some green shoots in late fall or early spring (totally normal). In spring, remove the mulch once the danger of hard frost has passed, give the garlic a little fertilizer and watch it take off. By June or July, you’ll be yanking up your own bulbs. Some will be picture-perfect, some a little wonky, but every one of them will taste amazing.
Once your garlic’s tucked in for winter, it’s the perfect time to get the rest of your garden ready too. Here’s how to prepare your garden for winter with my simple 8-step guide.
Once harvest rolls around, you’ll want to store your garlic so it lasts well into winter and beyond. If you’ve never done it before (or just want a refresher) here’s how to keep your garlic lasting through winter without sprouting or spoiling.
Frequently Asked Questions About Planting Garlic in Fall
Still have garlic questions? You’re definitely not alone. Here are some common ones that pop up after planting time and what you need to know.
Want bigger, better garlic next summer? Save this step-by-step fall planting guide to your gardening board!
Planting garlic is easily one of my favorite fall chores. It’s simple, it sets you up for next year, and it makes me feel like a real gardener, even if the rest of the season was a total flop.
Got questions about varieties, timing, or troubleshooting? Drop them in the comments. I’m always happy to help.
You really need to put some fertilizer recommendations/requirements in this article for people who are new to growing garlic. To get decent size bulbs you need a lot more than just soil and mulch.