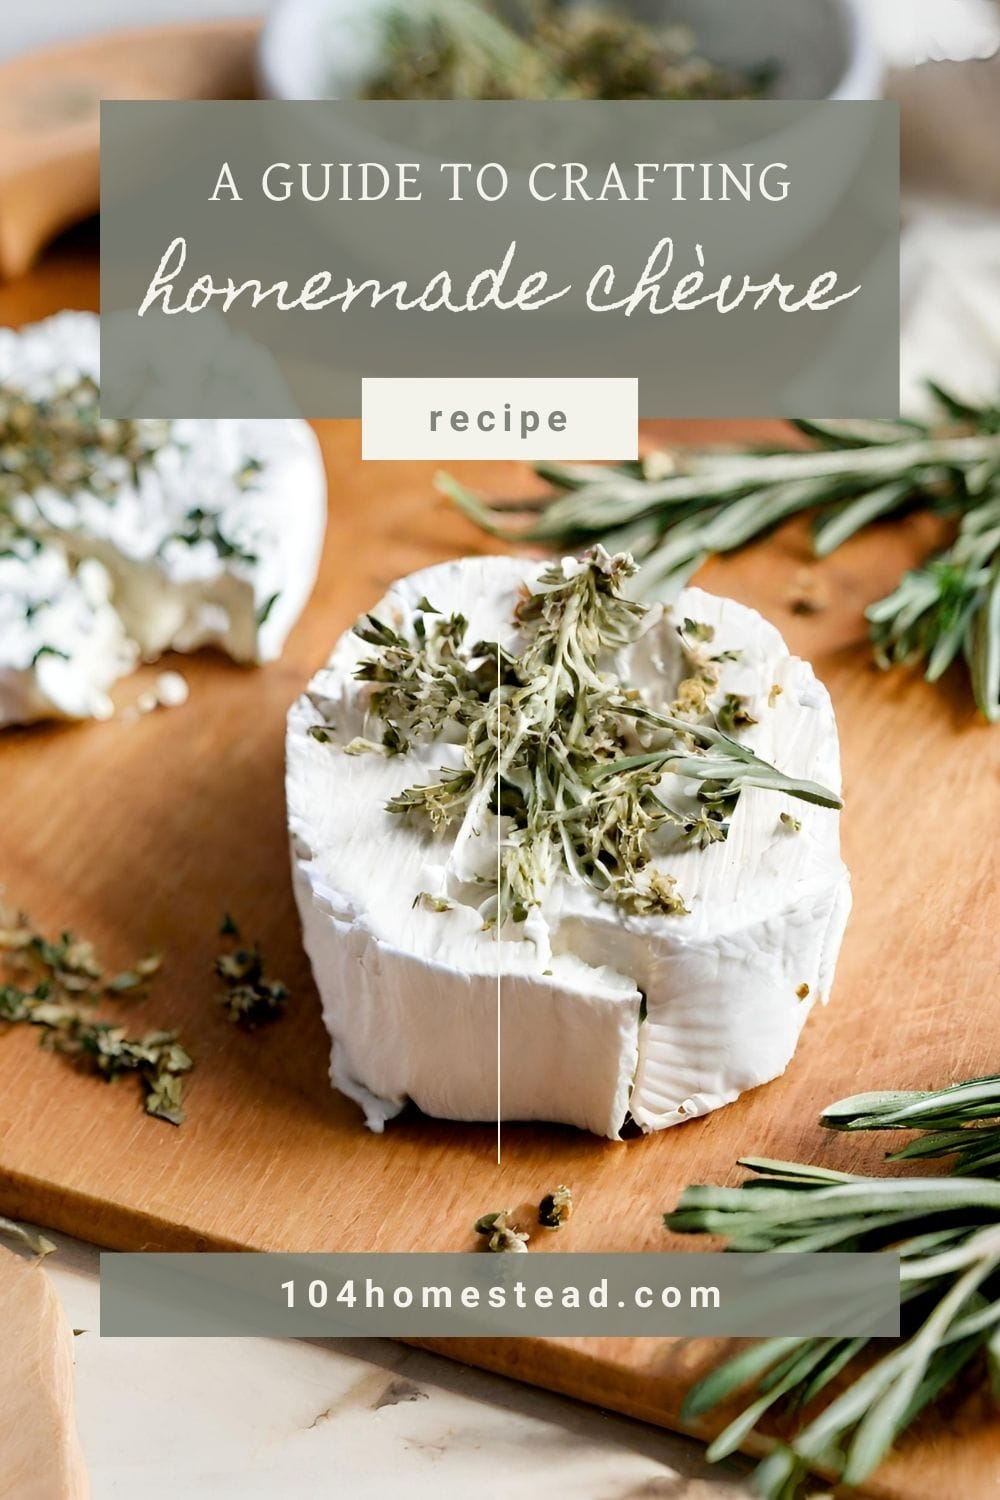
Homemade Chèvre: A Homesteader’s Guide to Crafting Cheese
Discover the joy of making your own homemade chèvre. Learn to season, store, and enjoy homemade goat cheese. Perfect for beginners!
With a small herd of Nigerian dwarf goats, my family will never be free from purchasing fluid milk. But we didn’t get these little girls for the milk. Nope. We bought them for their butterfat. Nigerians are cheese goats.
I only milk my small herd once a day, so I hoard milk in the freezer and make my cheese, butter, and cajeta (Mexican caramel) one quart at a time.
I love making chèvre at home because it is so easy and gives me such a great sense of accomplishment when I make something unique from scratch. Beginners and experts alike can use this recipe to make delicious homemade cheese. It has a process that is easy to follow and does not have to be followed exactly. Simple techniques and the fun of adding personal touches with seasoning are what make this chèvre recipe stand out. It is a favorite in my kitchen because it can be used for many things.
Start with Good Milk
The key to tasty cheese is good milk. There are some tricks to making sure you have the best-tasting goat’s milk. That includes having the right equipment and using a good teat wash. Cleanliness during the milk handling process is essential.
The Basics of Starting Chèvre
Chèvre is the easiest cheese in the world to make, and it’s very forgiving. Perfect for a novice. To begin, I bought a 5-packet starter culture from everyone’s favorite, New England Cheesemaking Supply Co. This is also where I got my little basket mold and butter muslin for draining, but you could improvise these materials with a colander and a clean cotton pillowcase.
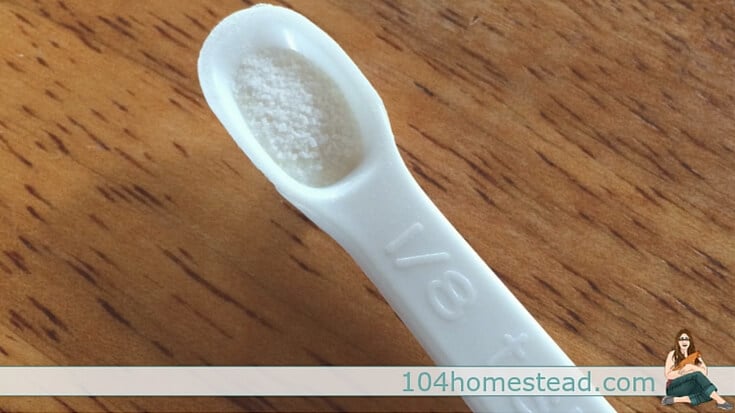
One packet sets a gallon of milk, so I use about 1/16th of a teaspoon of powder for a quart of milk and mark it off on the packet itself so I know when to buy more. You can store the culture in the freezer for up to two years.
To start, pour your milk into a stainless steel pot and heat it up to around 80°F. The packet recommends 86°F, but again, this is a forgiving process, and we’re just aiming for room temperature. Our milk is raw, so I don’t want to cook out any of the goodness. If you are lucky enough to be using fresh milk straight from the goat, you’ll need to let it cool to the correct temperature.
Next, sprinkle your powdered starter over the milk and let it sit for two minutes to rehydrate. Then you’ll stir the culture throughout the milk. I use a whisk for this, but not the actual “whisking” motion. Now put a lid on the pan and wait. Time is the biggest ingredient when making fresh cheese.
Creating Curds & Whey
If you start the cheese in the morning, let it sit in the pot undisturbed until the next morning. Personally, I do this bit at night and spend my waiting time sleeping.
And back to cheese!
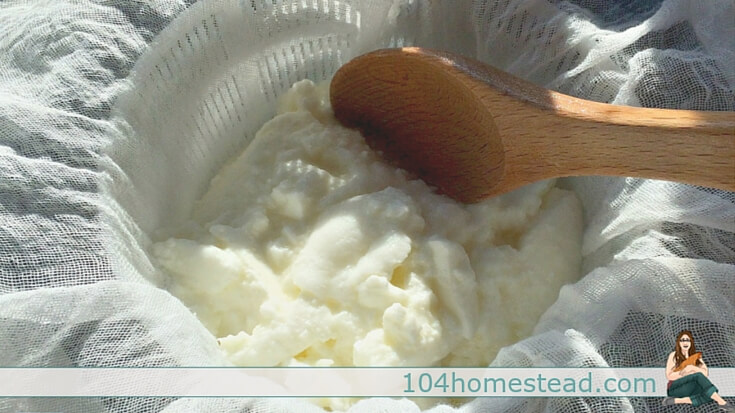
After 12 (or even 24) hours, you should see a snow-colored solid mass of curds when you tilt the pan and pour off the yellow whey. Our cats and chickens LOVE cheese days, as they get the castoffs.

Scoop the lovely curds into a muslin-lined plastic cheese mold to drain. I let my cheese drain for about 6 hours. I prefer a wetter chèvre, but if you want a thicker, dryer cheese, let it drain longer.
Tip: No matter what you read anywhere else, don’t start this process in the morning and then drain the cheese overnight. It is too long; you won’t be there to check on it, and that is how you end up feeding rubbery cheese to your cats. Ask me how I know. The initial 12-hour “waiting in the pot” process can be stretched out to 24 hours without any issues.
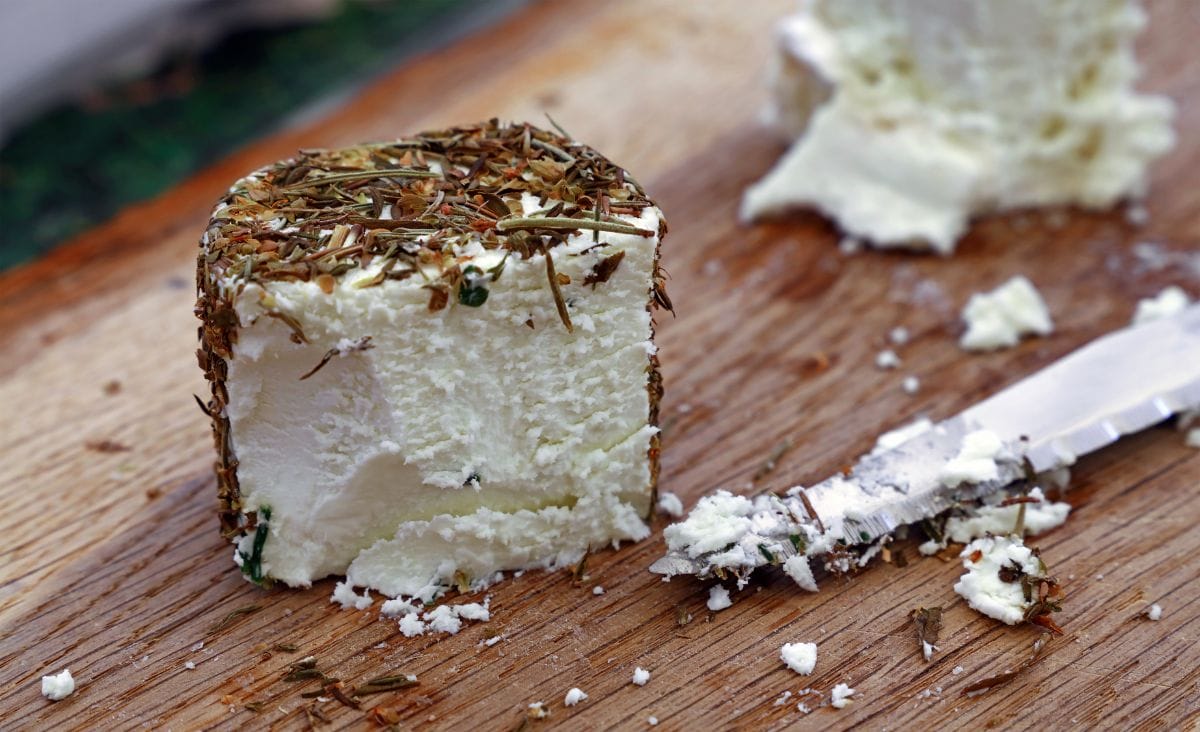
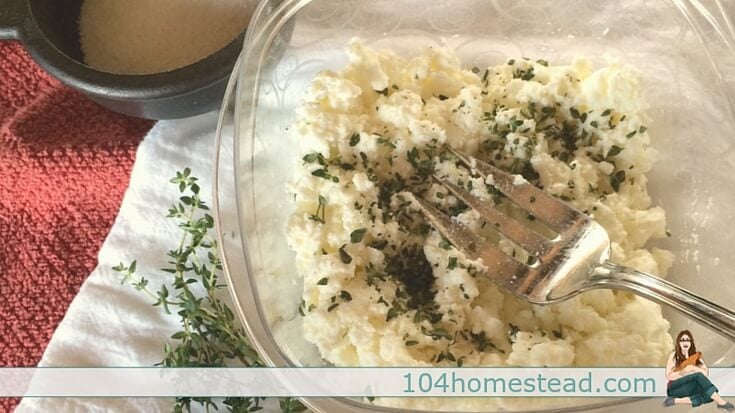
Seasoning Your Chèvre
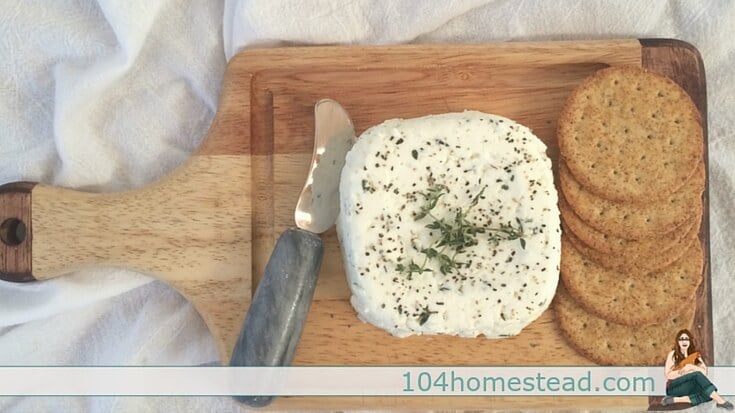
Once your cheese has reached your preferred consistency, put it in a bowl for seasoning. I usually use a serving fork to blend my chèvre with Kosher salt to taste, and I like to add some fresh, chopped thyme.
Other Seasoning Blends That Are Sure to Delight
Here are some seasoning variations for your chèvre that can cater to a variety of tastes and occasions:
- Herbal Infusion: Mix in fresh or dried rosemary, dill, or basil for an aromatic flair.
- Savory Delight: Incorporate crushed garlic, finely chopped olives, or sundried tomatoes for a robust taste.
- Sweet and Spicy: Blend in a dash of honey with cracked black pepper or finely chopped chili peppers for a sweet heat.
- Fruity Twist: Add finely chopped dried cranberries or figs with a sprinkle of lemon zest for a sweet and tangy combination.
- Nutty Blend: Stir in crushed walnuts or pecans with a drizzle of maple syrup for a crunchy texture.
- Garden Fresh: Combine finely chopped fresh chives, parsley, or cilantro for a burst of freshness.
- Rich and Earthy: Mix in a small amount of truffle oil or finely grated truffle for a luxurious flavor.
Each of these variations can create a unique chèvre experience, perfect for spreading on crackers, incorporating into salads, or simply enjoying on its own.
Once the cheese is seasoned, you can roll it into a log using plastic wrap and refrigerate, or you can use my ghetto method (there goes fancy) and smash it into a small plastic storage container. Hit it against the counter a few times to release any air bubbles, and then put the lid on and refrigerate for an hour or two.
Storing Your Cheese
Once your chèvre has been seasoned to perfection and reached your desired consistency, it’s important to store it correctly to maintain its freshness and flavor. For immediate use, you can roll it into a log with plastic wrap and refrigerate, or opt for a more straightforward approach by pressing it into a small plastic storage container to eliminate air pockets before refrigerating. This method ensures the cheese stays fresh and retains its delightful texture for up to a week, allowing you to enjoy the creamy goodness on demand.
Ways to Enjoy Chèvre
Chèvre, with its creamy texture and mild yet tangy flavor, is incredibly versatile and can be enjoyed in numerous ways across a variety of dishes. Here are a few delightful methods to savor this homemade cheese:
- As a Spread: Enjoy it simply on a slice of crusty bread, crackers, or baguette, perhaps with a drizzle of honey or a sprinkle of herbs for extra flavor.
- In Salads: Crumble your chèvre over fresh green salads. It pairs beautifully with vinaigrette dressings, nuts, and dried fruits.
- Stuffed in Vegetables: Use it as a filling for cherry tomatoes, bell pepper slices, or mushroom caps for a delicious appetizer.
- In Pasta Dishes: Melt it into pasta sauces or sprinkle over the top of your finished dish for a creamy texture and a boost of flavor.
- With Eggs: Incorporate it into scrambled eggs, omelets, or quiches for a breakfast or brunch with a gourmet touch.
- On Pizza: Dot it over your pizza before baking for a creamy and tangy addition that complements any toppings.
- In Baked Goods: Mix it into batter for savory scones, muffins, or bread for a moist and flavorful result.
- As a Dessert Feature: Pair it with sweet fruits like figs, pears, or berries, perhaps with a drizzle of honey or balsamic reduction, for an elegant dessert.
These are just a few ideas to get started, but the beauty of chèvre is its adaptability to both savory and sweet companions, making it a delightful addition to any meal.
Frequently Asked Questions
To delve deeper into the joys of turning milk into delicious goodness, don’t miss my post on How to Turn Raw Milk into Butter Using 4 Methods. This guide will take you through the rewarding process of transforming raw milk directly from the source into a delightful spread that enhances any homemade dish.
If you’ve found value in this blog post and enjoyed reading it, why not share it with your Pinterest community? Pin the image below and spread the love!
Embarking on the journey of making your own chèvre is not only rewarding but also a delightful introduction to the world of cheese-making. With simple steps, essential tips on seasoning and storage, and a touch of personal flair, you can transform milk into a culinary masterpiece to share and enjoy.
What are your favorite flavors or herbs to add to homemade chèvre, and do you have any special tips or experiences to share from your cheese-making adventures?
Happy cheese-making!
Do you use raw goat milk or do you separate the cream from the milk before you use it?
Just the raw milk. No separating required 🙂
Curious about the starter culture. I live in spain at the moment. Can I make my own maybe?
Thanks
Can you freeze milk, and make cheese from it later? If so does it turn out the same? What is the shelf life on the cheese?
Hello from the Deep South,
I love everything you posted about the goats and cheese making.
If I can’t find fresh goat milk I will try it with store bought.
I’ve always wanted a goat and if I could ever get my home repairs finished after a fire and 2 hurricanes I’m going to find me a little homestead in the country somewhere ( probably Texas ) and live my life off the land.
You must be in heaven where you live. Can you buy those little goats in the United States or did you have to order them. Sorry I jabber so much but live basically a lonely life and I love to chat and make friends.
Thank You for this post. 🙂
This might be a silly question, but can you use store bought milk to make cheese? I am really interested in trying, but do not have access to any raw milk. 🙁
Not a silly question at all. You can, but the quality isn’t the same. Homogenization doesn’t affect the cheese-making process, though it may make softer curds. Pasteurization can affect the outcome, but you should be fine as long as it isn’t ultra-pasteurized.
Hello! You have no idea how encouraging it was to read this. I have two does, both first fresheners. One of the does lost her baby so we’re milking her twice a day and getting close to a pint of milk. I thought that was on the low end, but I guess it’s all good! The other doe just had her first kid 2 days ago, so we’re giving them some time before we start milking her. Great recipe!
yum! This is similar to how I make ricotta. I’m going to have to give it try.