How to Extend Your Growing Season with a Polytunnel
You can protect your plants and extend the growing season with a polytunnel. Find out the benefits of gardening longer into the season.
A short growing season is often a problem for people who love gardening. Nevertheless, if you use the right methods, you can greatly increase this time frame.
A polytunnel is a game-changer for gardeners who want to protect their plants from bad weather and pests (like birds and bugs). In this post, I will talk about the many benefits of polytunnels and give you some tips on how to get started so that you can have a successful harvest all year.
Gardening in Maine is tough. Our season is definitely coming to an end, with only kale, gourds, and some herbs hanging on. The sunflowers suffered a cold snap and have drooped. The zinnias are the only flowers still showing life. The autumn foliage here in the northeast is the most beautiful in the country, but that beauty does not carry on in the garden beds. That’s why we use polytunnels.
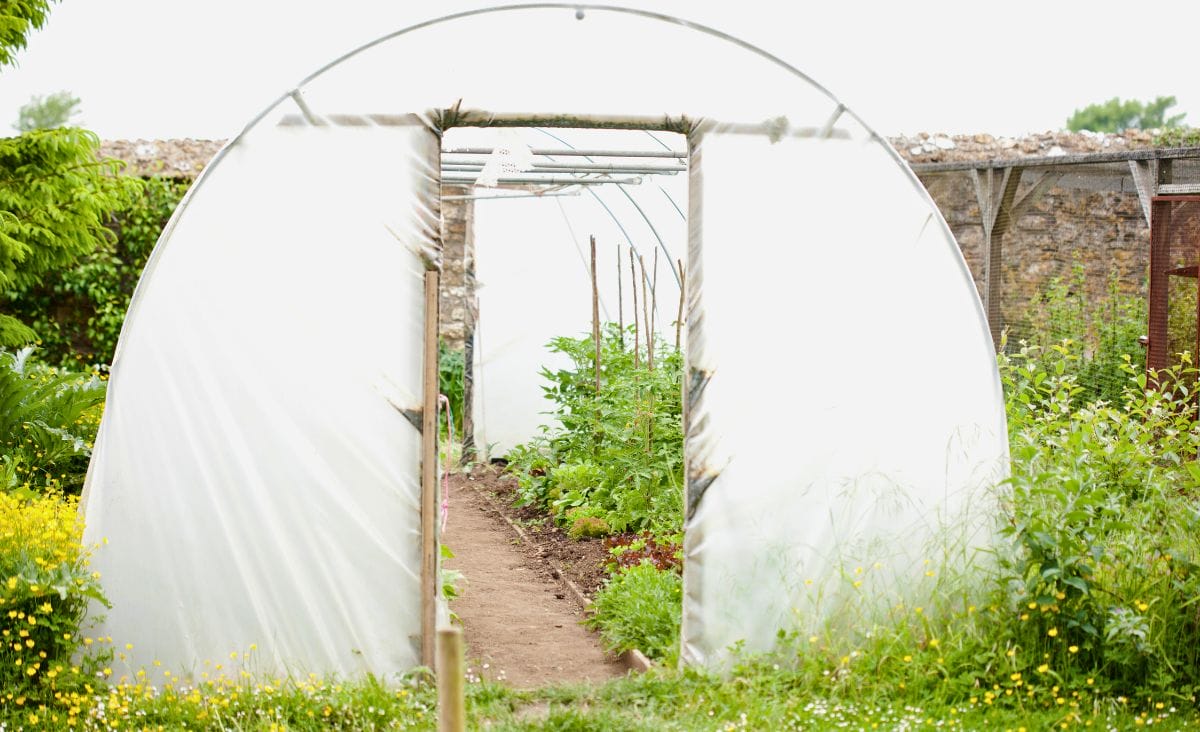
The Difference Between Greenhouses & Polytunnels
Greenhouses, cold frames, and polytunnels offer us Mainers a bit more time in our growing season. Polytunnels are my favorite hands-down.
Greenhouses are large enough to walk into. Cold frames allow you to plant directly into the ground and can be taken down when not in use. Polytunnels give you the best of both. The difference between a greenhouse and a polytunnel is that a polytunnel is made from plastic and is portable or able to be disassembled when it’s not needed.
Last year, I used a polytunnel for an unorthodox purpose. I used one to give my chickens a warmer place to spend their winter days. They appreciated it, and I eyed the tunnel, wondering if I could hang baskets of salad greens out of the chickens’ reach to take advantage of the noticeably warmer temperatures.
Well, the chickens ate the greens, but I knew a polytunnel was my answer to extended-season growing, just not with the chickens.
What to Look for When Buying a Polytunnel
Size and Scalability: Ensure the polytunnel fits your current garden layout and offers room for expansion.
Quality of the Polythene Cover: Opt for covers with UV protection to prolong the lifespan and protect plants.
Frame Durability: The frame should be robust enough to withstand adverse weather conditions.
Ventilation Options: Features like side vents or roll-up sides are essential for managing internal temperature.
Ease of Assembly: Consider how straightforward the polytunnel is to set up and whether you can do it yourself.
Availability of Replacement Covers: Check if you can easily source replacement covers as needed.
Manufacturer’s Reputation and Warranty: Research the manufacturer’s reputation for quality and customer service, and look for products with a warranty for added assurance.
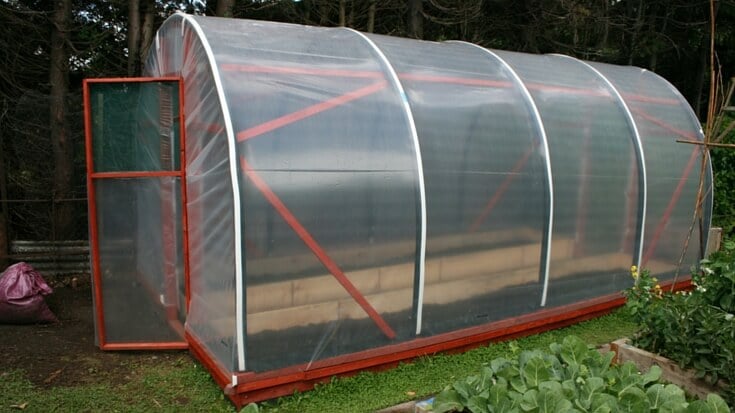
Making a Polytunnel
Making your own DIY polytunnel is certainly the more affordable option, and it’s really quite easy. All you need is a lightweight frame that can be moved or disassembled and some plastic wrap, which we have an abundance of here in Maine for blocking window and foundation drafts.
Here are some great do-it-yourself guides:
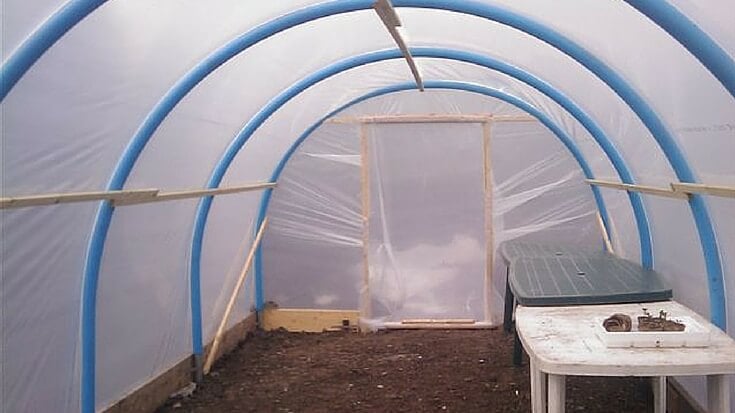
The video below illustrates a similar to the polytunnel to the one I made for the chickens last year and will use for the garden this year. To make it easy to disassemble for the off-season, omit the glue/pipe cement. I found pressure alone was enough to hold it through heavy snow.
Using your Polytunnel
Check out these great books about using polytunnels to extend your growing season:
The Polytunnel Book: Fruits and Vegetables All Year Round by Joyce Russell shows you how to grow vegetables easily, organically, and abundantly so that you have something to eat every month of the year.
How to Grow Food in Your Polytunnel by Mark Gatter and Andy McKee is an easy-to-follow, practical guide to growing crops year-round in your polytunnel.
The Winter Harvest Handbook by Eliot Coleman focuses on growing produce of unparalleled freshness and quality in customized unheated or, in some cases, minimally heated, movable plastic greenhouses.
Bioshelter Market Guide: A Permaculture Farm by Darrell Frey describes the creation of a sustainable food system through a detailed case study of the successful year-round organic market garden and permaculture design at Pennsylvania’s Three Sisters Farm.
Vegetables and Herbs for the Greenhouse and Polytunnel by Klaus Laitenberger shows how to use the heat and shelter of a greenhouse or polytunnel to maximize crop production and supply tasty, healthy food throughout the year.
Frequently Asked Questions
To get the most out of your garden and enjoy fresh food for as long as possible, one important thing you can do is extend the growing season. Spacing out crop plantings with techniques like succession planting lets homesteaders keep harvesting all year. Alternatively, you can use a greenhouse to move your garden “south,” which can create a microclimate that is similar to warmer areas. Winter sowing lets gardeners get a head start on spring by starting seeds outside during the colder months. This makes sure that the seedlings are strong and ready for the warmer weather.
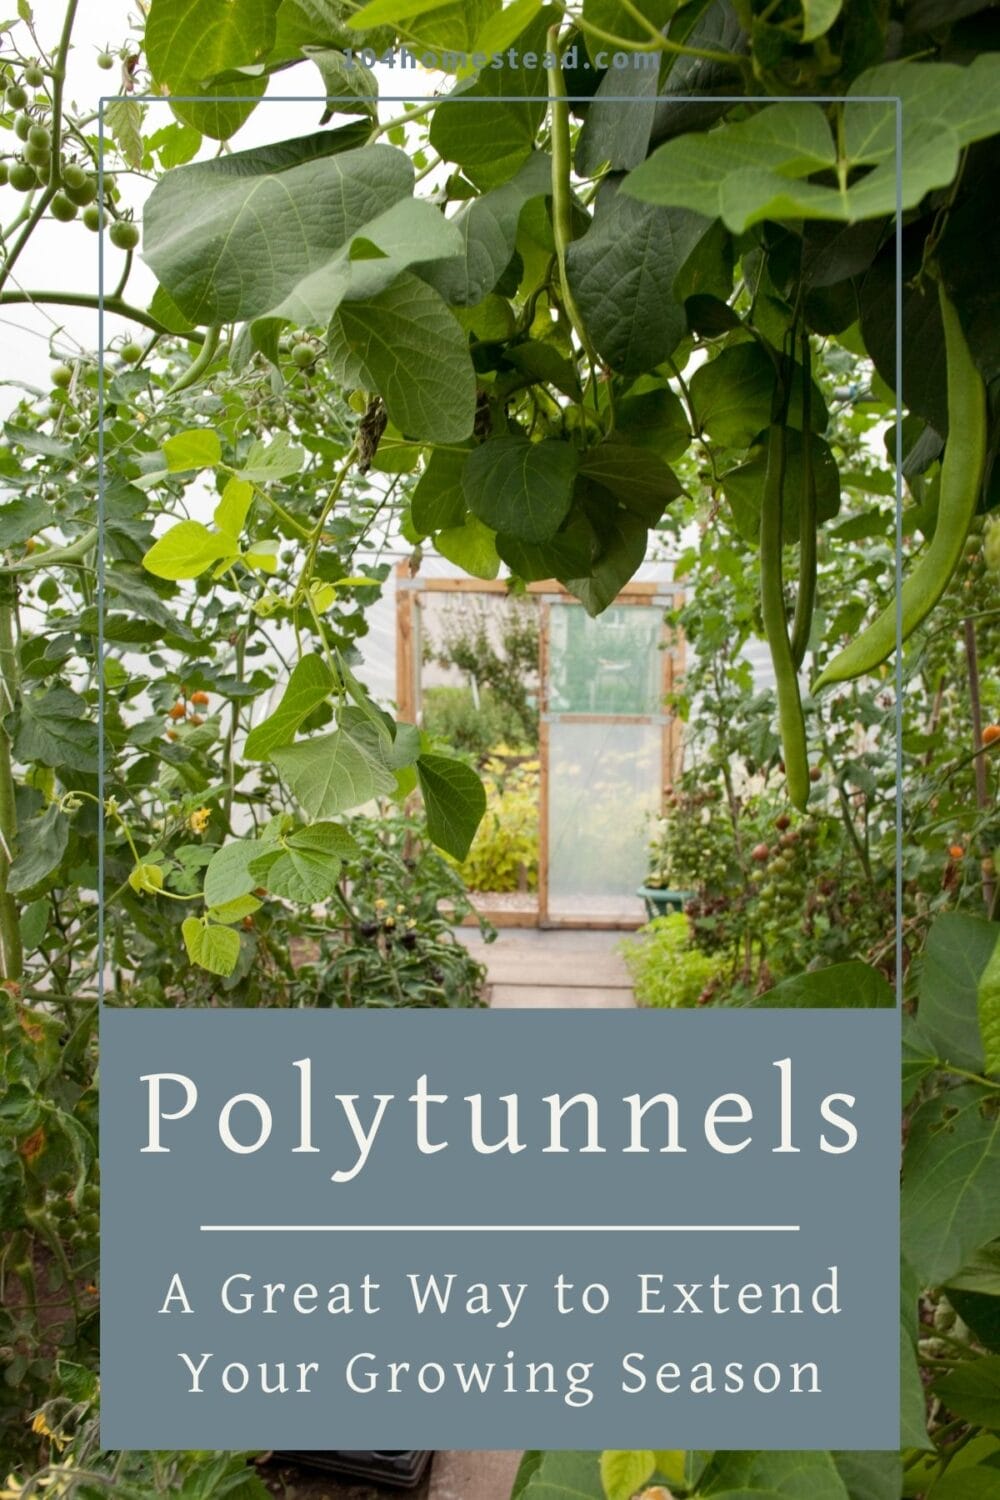
If you’ve found value in this blog post and enjoyed reading it, why not share it with your Pinterest community? Pin the image below and spread the love!
To extend your growing season and improve your gardening experience, a polytunnel is a great option. No matter how experienced or new to gardening you are, a polytunnel is a good investment because it can be used for many things and has many benefits. If you set up and take care of your garden properly, you can harvest a lot of food all year long.
Have you tried using a polytunnel in your garden? Share your experiences and tips with our gardening community!
I really want to try this…our growing season is so short here!
Thanks for linking up with Green Thumb Thursday. I hope to see you back this week!
Lisa
Yes they definitely help in areas that will experience cold. They are a great way to grow all kinds of leafy greens and other cold tolerant root crops such as radish or carrots.