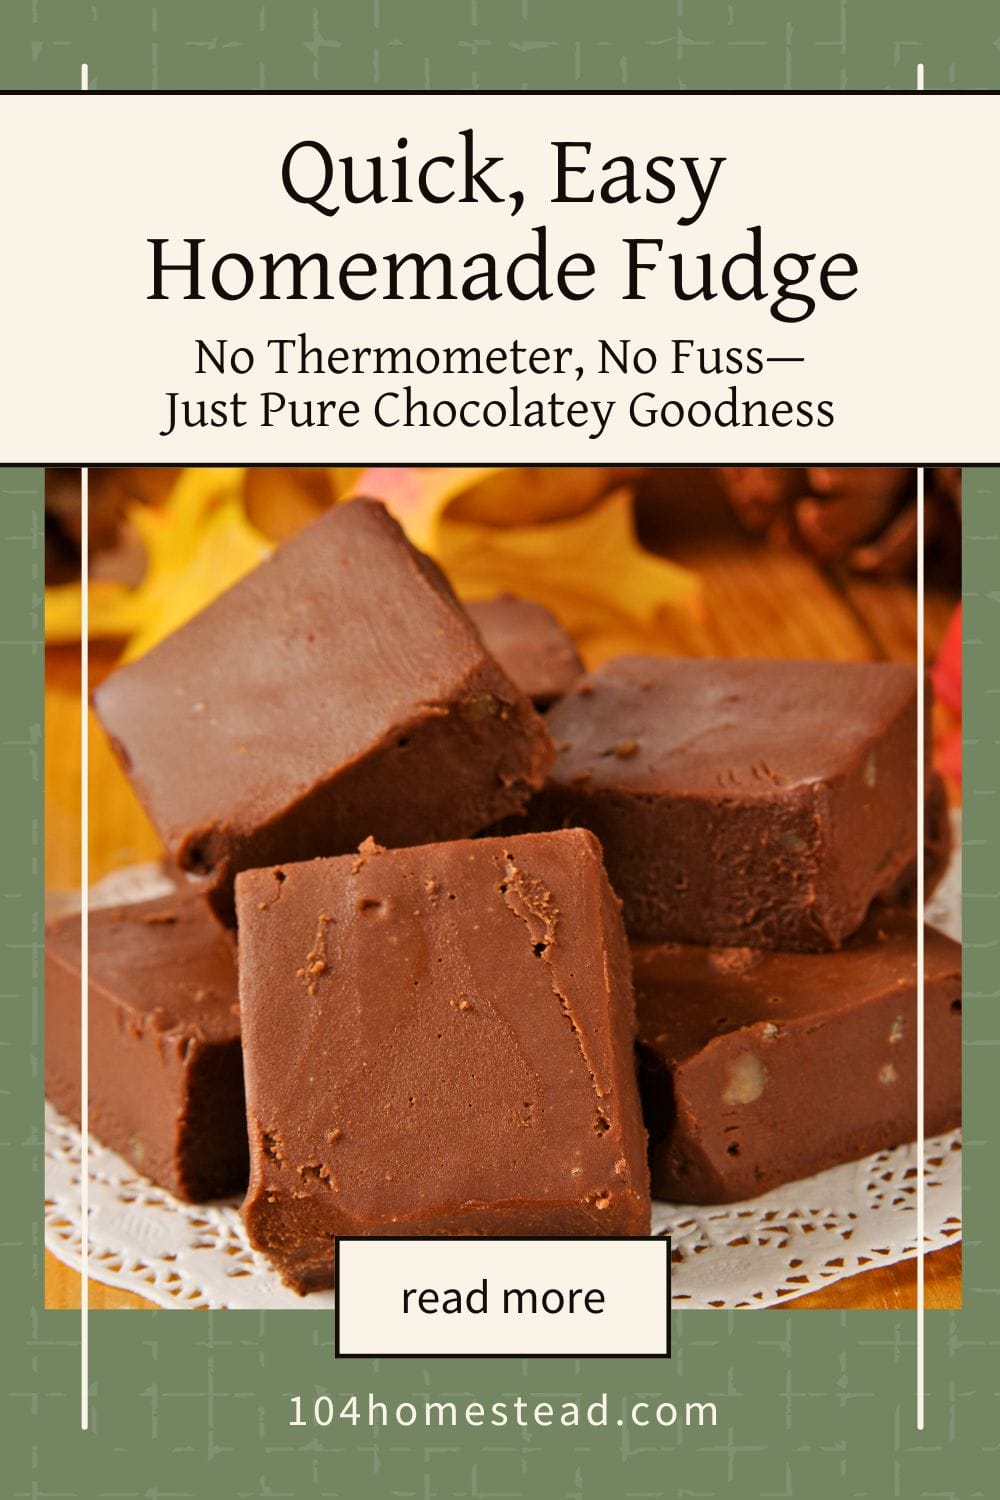
An Easy Homemade Fudge Recipe (Ready in Minutes)
No candy thermometer? No problem. This homemade fudge recipe comes together quickly and sets perfectly every time.
This fudge is my little kitchen trick. It looks like you spent all afternoon, but it only takes minutes.
I’ve been making this easy homemade fudge for years. It gets rave reviews every single time, and honestly, folks never believe how simple it is. Whether it’s for a holiday tray, last-minute dessert, or a sweet gift for neighbors, this recipe always comes out right. It always comes out smooth and chocolatey, and I like that I can change it up depending on what’s in the pantry (or what I’m in the mood for).
No candy thermometer, no double boiler—none of that fuss. Just a bowl, a microwave, and five minutes. That’s it.
I’ll show you my base recipe, the fun ways I switch it up, and a few tricks for storing and swapping ingredients so it works with what you’ve got.
Why I Love This Fudge Recipe
This is one of those recipes that I keep in my back pocket for any occasion. It’s so reliable that I don’t even bother with other fudge recipes anymore. This one never lets me down.
There’s no boiling, no candy-making stress, and no risk of ruining a batch if you get distracted (which, let’s be honest, happens often around here). It always sets up perfectly and tastes like you put in way more effort than you actually did.
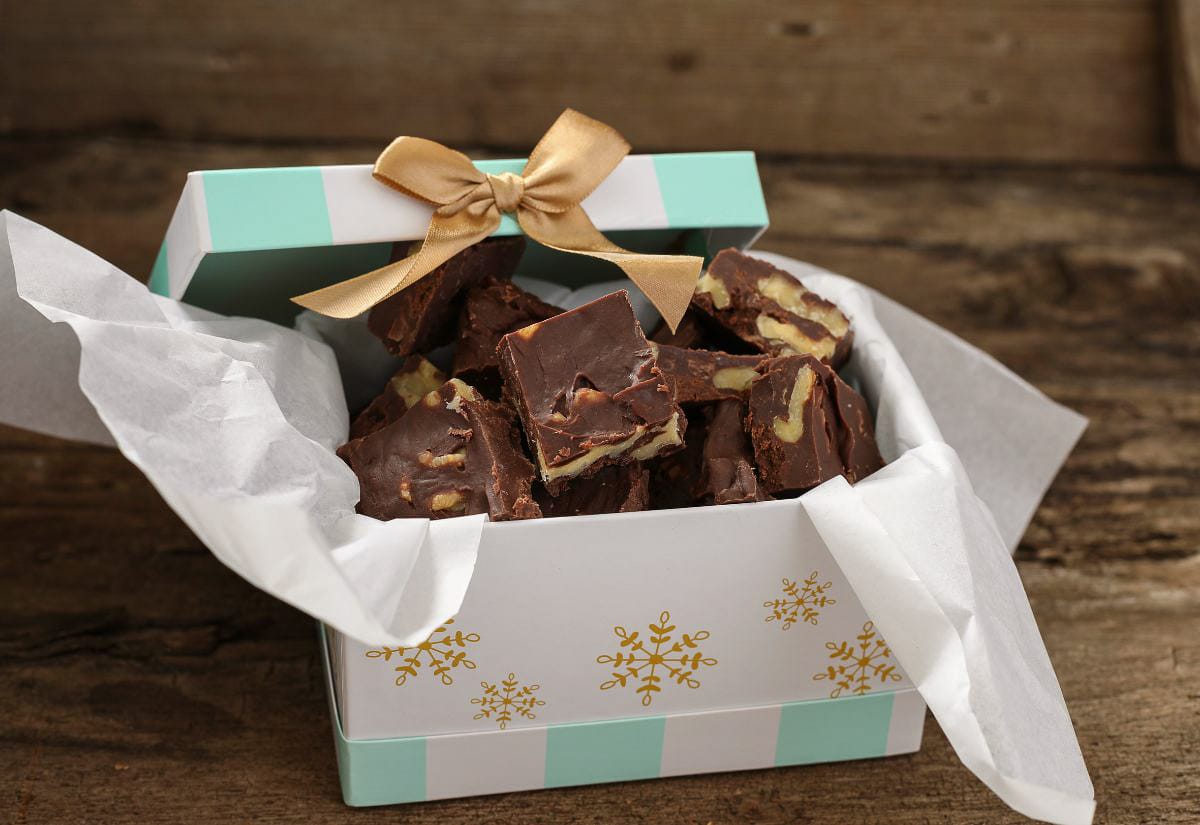
Tip: This fudge also makes a great edible gift. I like to cut it into squares, tuck a few into parchment-lined boxes, and add a handwritten label. It’s simple but heartfelt.
Simple Ingredients, Big Flavor
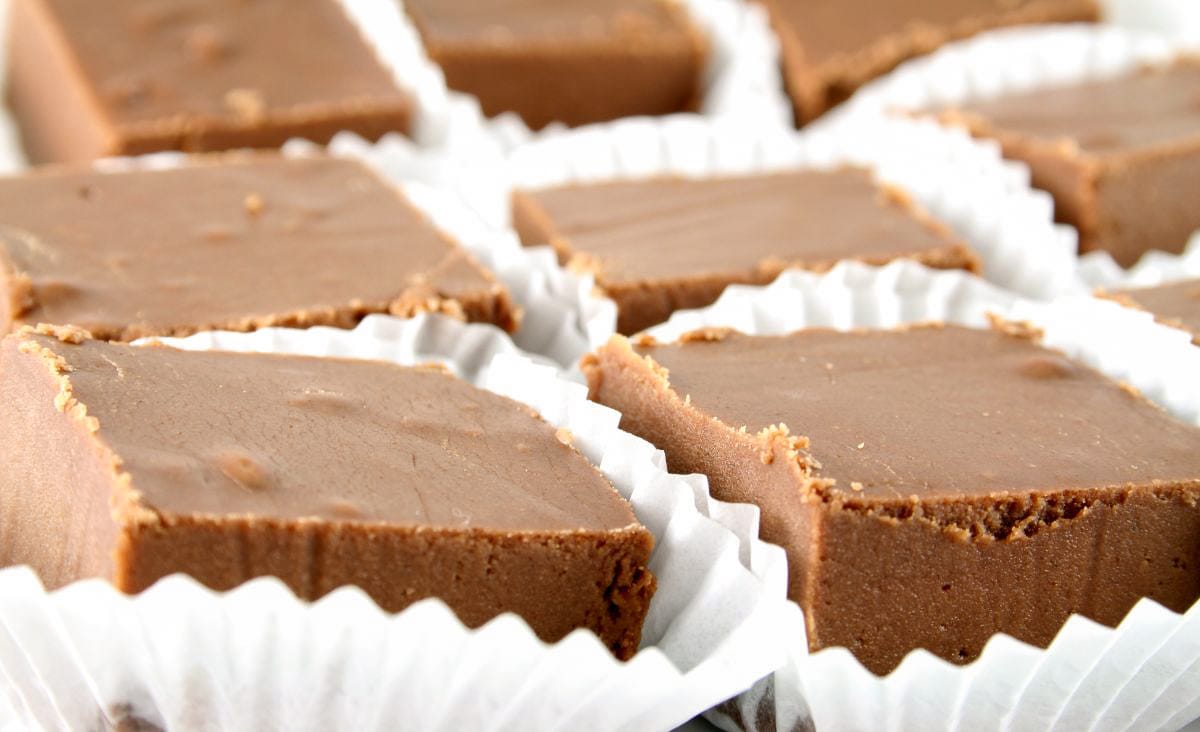
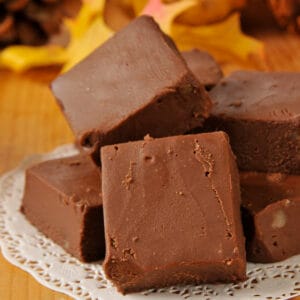
You only need a few basic ingredients to make this fudge, and odds are you already have most of them on hand. The classic version uses chocolate chips, sweetened condensed milk, butter, and a pinch of salt. That’s it.
The butter adds richness, the condensed milk brings sweetness and structure, and the chocolate… well, it speaks for itself.
From here, you can mix and match add-ins to create endless flavor combinations (more on that below).
Step-by-Step Instructions
This is truly a foolproof fudge. Here’s how it comes together:
Line an 8×8 or 9×9 baking dish with parchment paper or foil. Leave a little overhang on the sides so you can lift the fudge out easily once it sets.
In a microwave-safe bowl, combine the chocolate chips, sweetened condensed milk, and butter. Microwave in short bursts, stirring in between, until everything is melted and smooth. Stop when just a few chips are left and stir them in. The heat from the bowl will finish the job and keep the fudge smooth without burning.
Stir in your extract, salt, and any other mix-ins you’re using (nuts, crushed cookies, dried fruit, etc.).
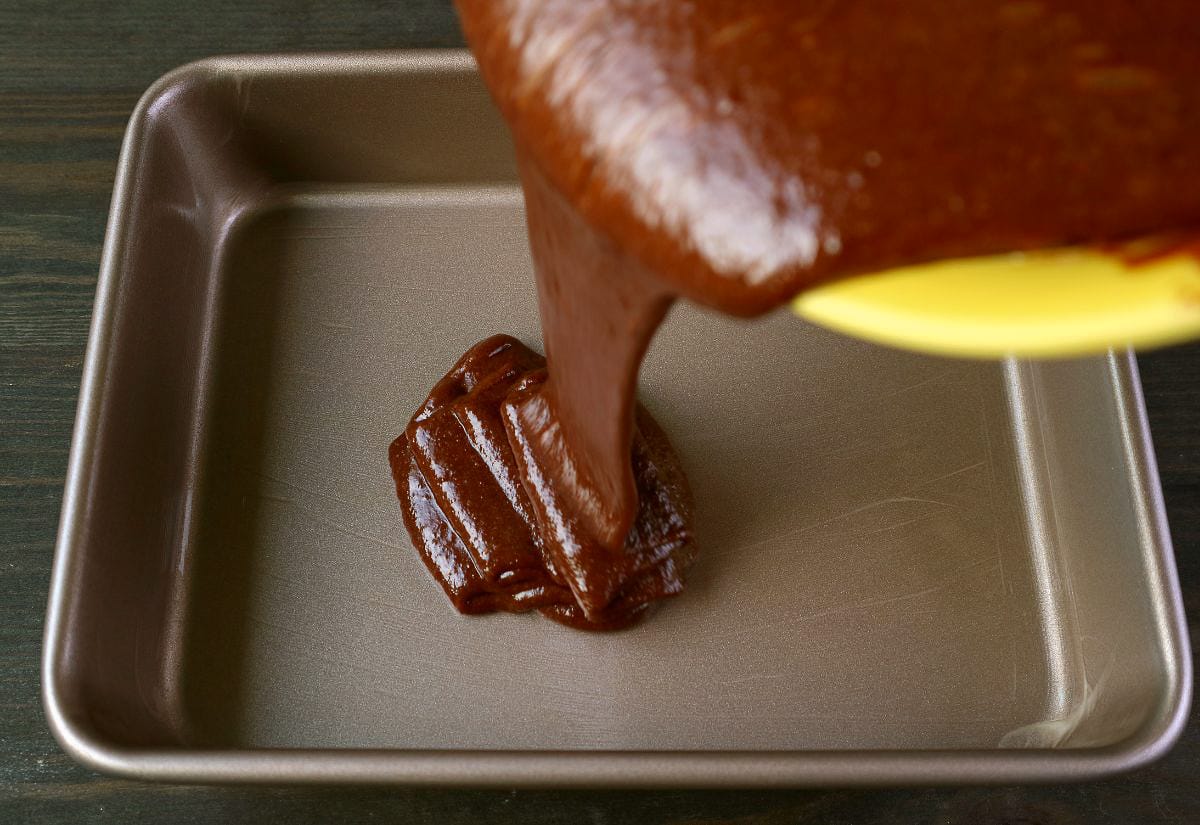
Pour the mixture into your prepared pan and smooth the top with a spatula or spoon. I usually grab a silicone spatula. It spreads the fudge without making a sticky mess. Refrigerate until firm, usually 1–2 hours. Once fully chilled, lift the fudge out of the pan and cut it into squares. Store as needed (see tips below).
Flavor Variations to Try
Once you’ve got the base recipe down, you can take it in a hundred different directions. I’ve made all of these at one point or another, usually when I need to use up odds and ends in the cupboard.
Peppermint Bark Fudge
Use white chocolate chips, add a splash of peppermint extract, and sprinkle crushed candy canes on top.
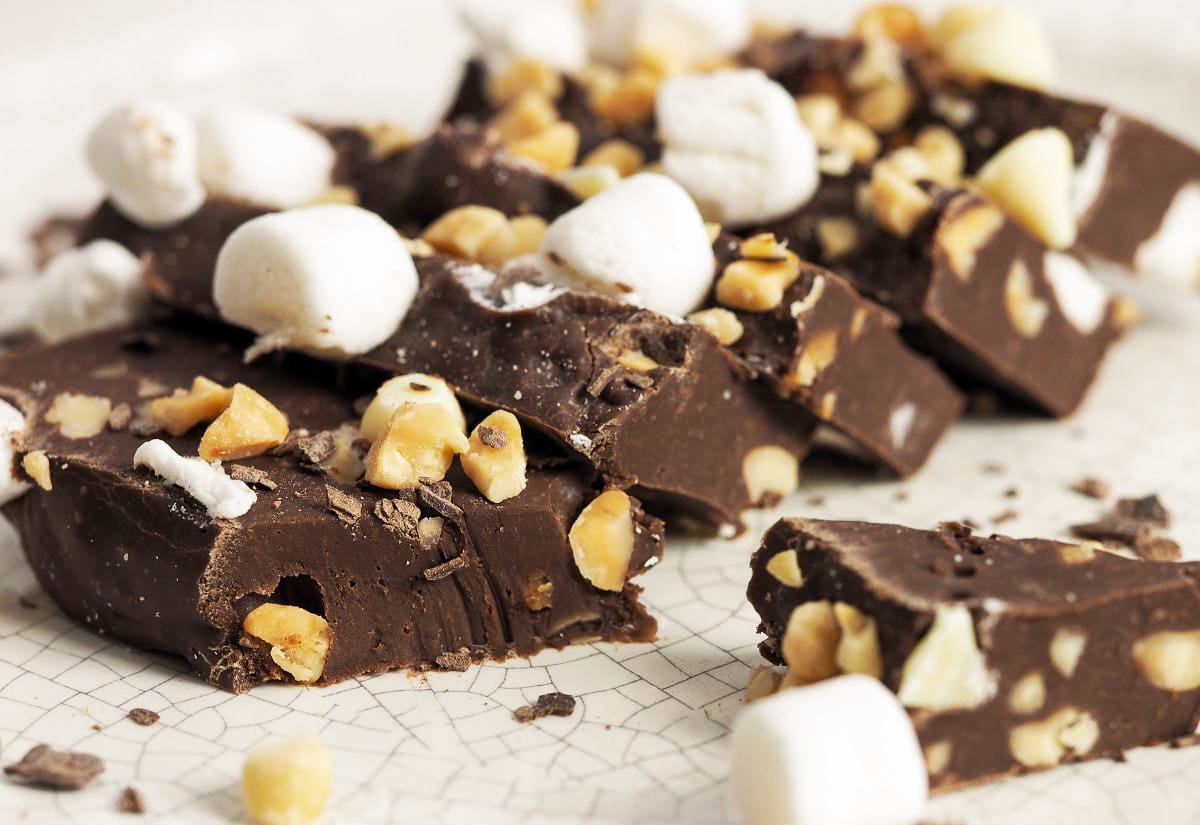
S’mores Fudge
Fold in mini marshmallows and crushed graham crackers, and drizzle with melted milk chocolate before chilling.
Salted Caramel Swirl
Swirl in homemade or store-bought caramel sauce and finish with flaky sea salt.
Mocha Fudge
Add a teaspoon of instant espresso powder to the base mixture for a grown-up twist.
Peanut Butter Cup
Dollop peanut butter over the top and swirl it in before chilling. Want to go all in? Sprinkle chopped peanut butter cups on top. Craving more chocolate and peanut butter? Try these homemade peanut butter cups—they’re simple, satisfying, and still no candy thermometer required.
Don’t stir in more than about a cup of total mix-ins or toppings. Too much can affect how the fudge sets.
Substitutions That Work
Here are some common swaps that I’ve used with great success:
- Chocolate Chips: You can use milk, dark, white, or even butterscotch chips. A mix of semi-sweet and dark gives the richest flavor.
- Dairy-Free: Use plant-based butter and dairy-free sweetened condensed milk (many brands carry coconut-based options).
- Flavoring: Vanilla extract is classic, but almond, orange, or mint extracts all add something fun.
- Add-Ins: If you’re skipping nuts for allergy reasons, try crushed pretzels or freeze-dried fruit for texture.
Storage Tips and Shelf Life
This fudge keeps well, which makes it great for gifting or making ahead.
- Room Temperature: Store in an airtight container for up to 1 week (as long as your kitchen isn’t too warm).
- Fridge: Keeps for up to 3 weeks—just let it come to room temp before serving for best texture.
- Freezer: You can even freeze it. Just wrap it well and stash it in a freezer container. It’ll keep for about 3 months. When you’re ready, move it to the fridge to thaw overnight.
Fudge will happily take on the smell of last night’s leftovers if you don’t wrap it up tight. Ask me how I know…
Fudge Frequently Asked Questions
Still curious about this easy homemade fudge? Here’s what folks usually ask:
Pin this one for later! You’ll be glad to have it tucked away when a chocolate craving hits.
This is hands-down my go-to fudge recipe. It’s quick, it’s flexible, and it never lasts long around here. Whip up a batch tonight and see how fast it disappears.
Give it a try and let me know what flavor combos you come up with!
Easy Homemade Fudge (No Thermometer Needed)
This post may contain paid links. If you make a purchase using the links in this recipe, I may earn a commission.
Equipment
- 1 8×8-inch Pan or 9×9" for thinner fudge
Ingredients
- 3 cups Semi-Sweet Chocolate Chips
- 1 can Sweetened Condensed Milk 14-ounce
- 4 tbsp Unsalted Butter
- ½ tsp Vanilla Extract
- ⅛ tsp Salt
Instructions
- Line an 8×8 or 9×9-inch pan with parchment paper or foil, leaving an overhang for easy removal.
- Combine chocolate chips, condensed milk, and butter in a microwave-safe bowl. Microwave in 30-second bursts, stirring each time, until mostly melted. Stir until the last few chips melt in.3 cups Semi-Sweet Chocolate Chips, 1 can Sweetened Condensed Milk, 4 tbsp Unsalted Butter
- Stir in vanilla, salt, and any optional mix-ins.½ tsp Vanilla Extract, ⅛ tsp Salt
- Spread into the pan and smooth the top with a spatula.
- Chill in the refrigerator for 1–2 hours or until firm.
- Lift out of the pan and cut into squares. Store in an airtight container.
Notes
- See the full post for flavor ideas, substitutions, and storage tips.
- Storage: Room temp up to 1 week (if your kitchen isn’t too warm), fridge up to 3 weeks, or freezer up to 3 months (well-wrapped).
Nutrition
Want something warm to sip alongside your fudge? This homemade hot chocolate recipe uses pantry staples and comes together fast.
If you love desserts that don’t take all day, check out these quick and easy dessert ideas ready in under an hour. There’s something for every craving.
Post originally published December 8, 2017. Updated with new tips, step-by-step instructions, and flavor variations to make your fudge even more foolproof.
I just made this 10/28/25. Obviously not original fudge,but like you said in a chocolate emergency it is smooth, sweet and chocolaty!
I’m so glad it satiated your sweet tooth!