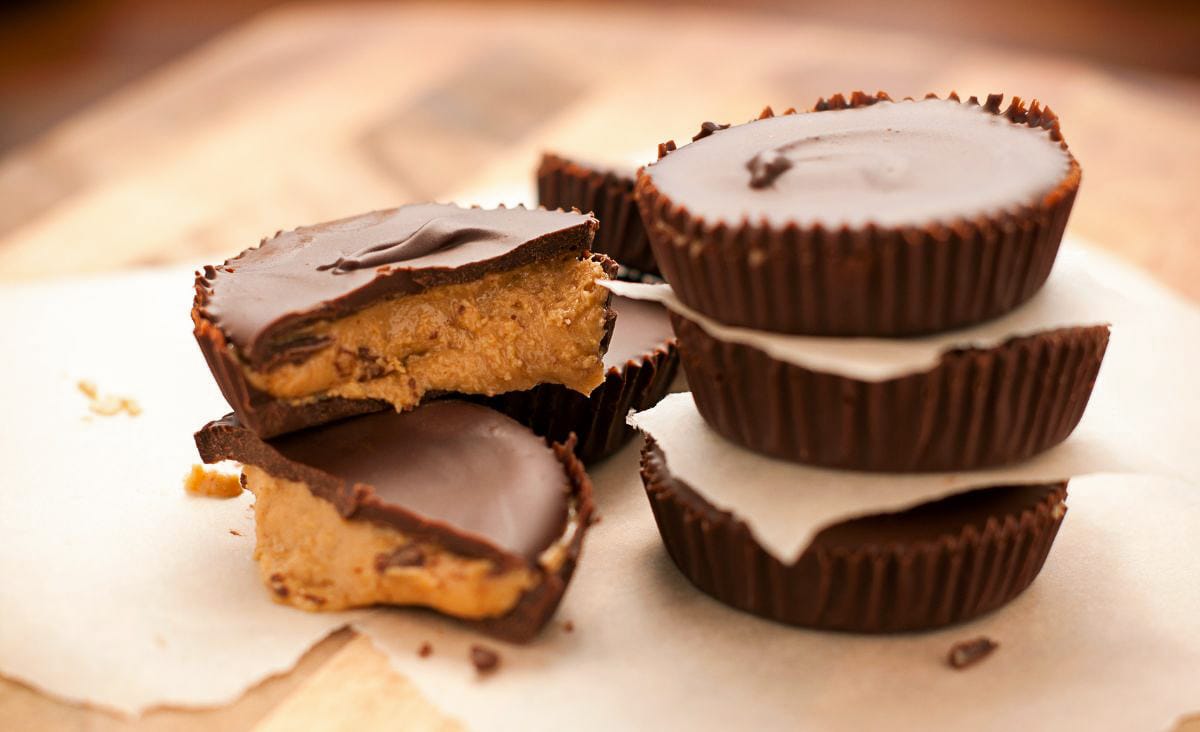
No-Bake Homemade Peanut Butter Cups
These homemade peanut butter cups taste like a creamier, richer version of Reese’s. A quick, simple dessert that hits every chocolate craving.
If you’ve ever had one of those moments where you just need something chocolatey but don’t want to fire up the oven, you’re in good company. These homemade peanut butter cups have come to the rescue more than once on nights when I just needed something sweet.
I’ve been making them for years, sometimes as perfect little cups, sometimes as bars when I can’t be bothered to find the muffin liners. Either way, they taste like a creamier, richer version of Reese’s, and they come together fast with pantry basics.
Here’s how I make mine, the way I’ve done it for years, and a few tricks that keep the layers in line.
If you’re craving more easy chocolate desserts that don’t require baking, you’ll love my easy homemade fudge recipe. It comes together fast and sets perfectly every time.
Why You’ll Love This Recipe
There are plenty of peanut butter cup recipes out there, but this one’s that sweet spot between delicious and ridiculously easy.
What I love most is how these taste homemade in the best possible way. The peanut butter layer is rich and a little salty, the chocolate melts just right, and the texture has that soft bite you can’t get from store-bought candy. You can change them up however you like. Swap milk chocolate for dark, add sea salt, or make them as bars when you don’t feel like messing with muffin liners.
Ingredients You’ll Need
You only need a few basics. Stuff you’ve probably already got sitting in the pantry.
- Peanut butter (creamy or crunchy, your choice)
- Unsalted butter
- Brown sugar
- Powdered sugar
- Milk chocolate chips
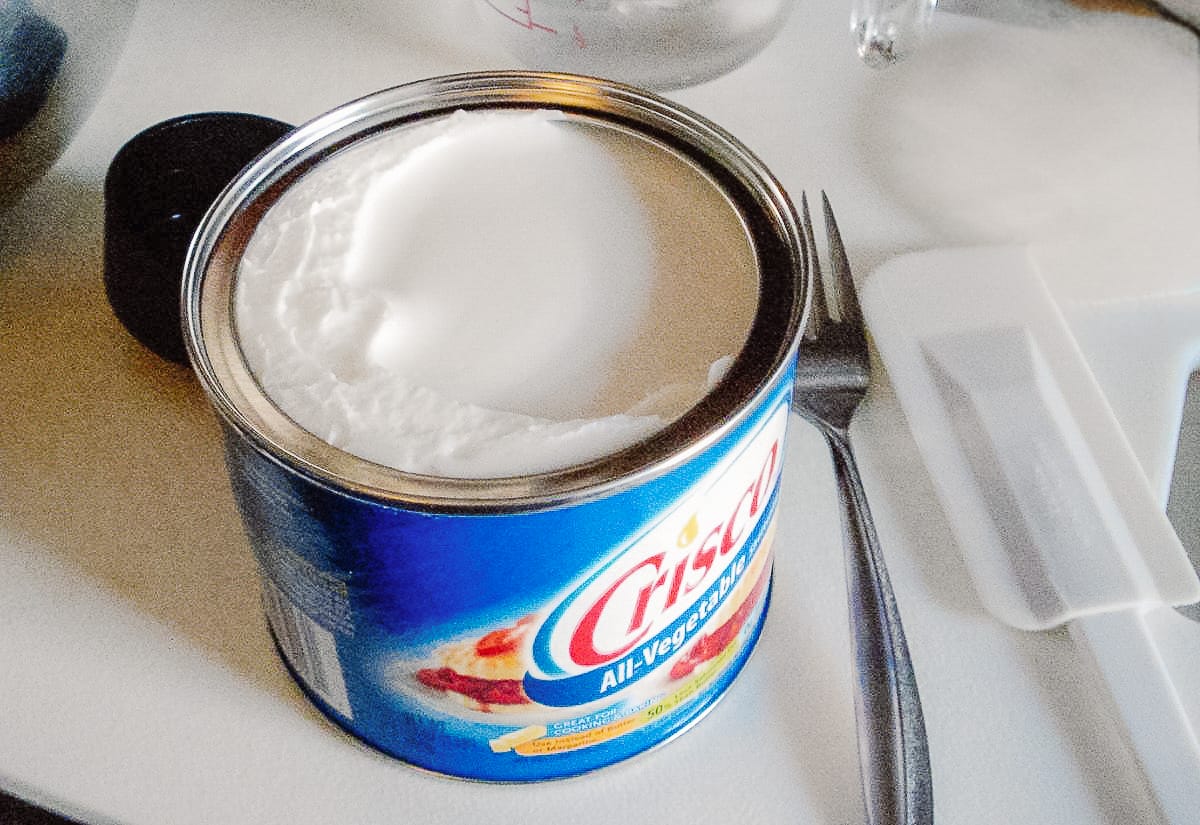
- Vegetable shortening (for that silky melt and glossy finish)
Don’t skip the shortening. It keeps the chocolate soft enough to bite through without cracking.
If you enjoy getting the texture just right when baking, you might also appreciate these tips for making the best chocolate chip cookies, because honestly, learning how to handle chocolate never hurts.
How to Make Homemade Peanut Butter Cups
Before you dive in, take a minute to read through the whole process once. It’s simple, but there are a few points where timing matters (mainly when layering and cooling). Once you get the hang of it, you’ll end up making these every time a craving hits.
Prep Your Pan
Start by lining a muffin tin with paper liners. This keeps cleanup easy and gives you that classic peanut butter cup look. If you’d rather skip the muffin liners, just line an 8×8 pan with parchment and make bars instead. I do this when I’m short on time. It’s faster, and you can cut them into neat squares once they’ve chilled.
Melt the Peanut Butter Layer
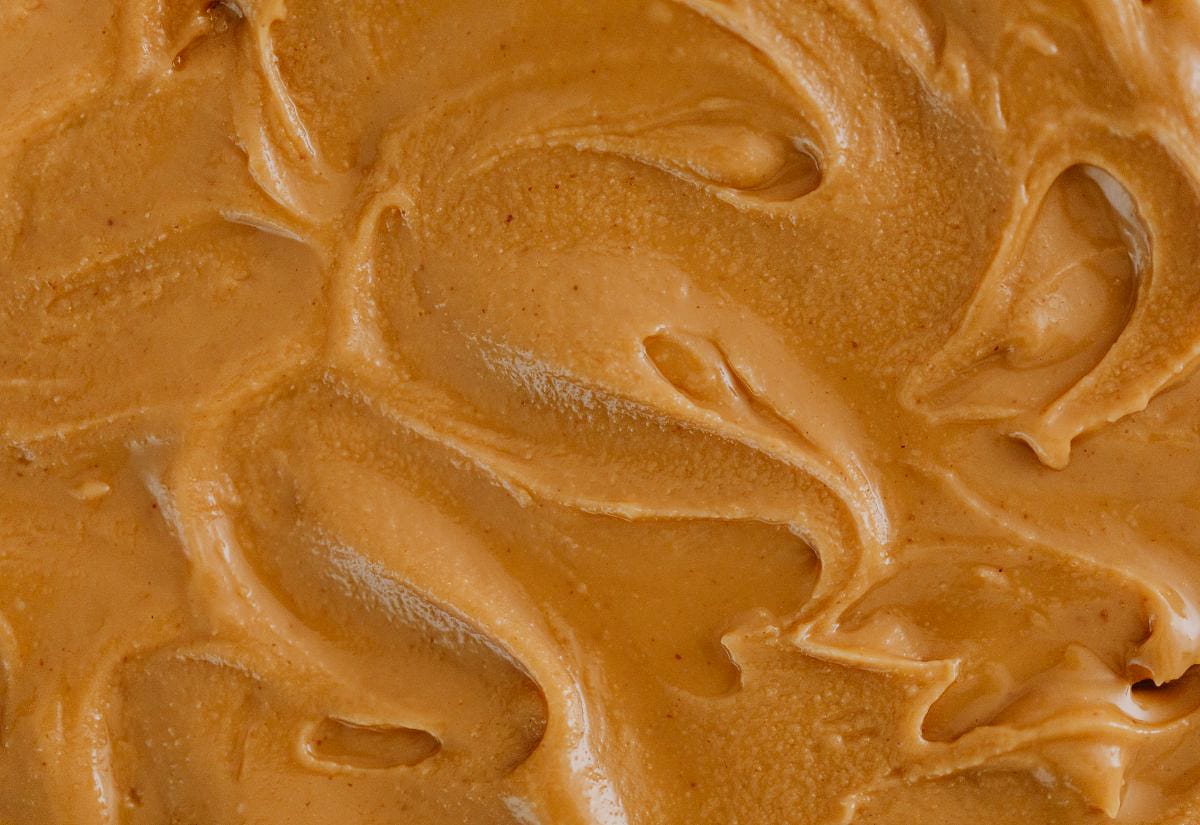
Grab a medium saucepan and add the peanut butter, butter, and brown sugar. Heat it over medium and keep stirring. This part goes from smooth to scorched faster than you’d think. The sugar will melt, and the mixture will start to look glossy and smooth.
Once you see tiny bubbles forming around the edge, remove it from the heat and let it sit for a minute. Then stir in the powdered sugar a little at a time. It should come together into a thick, dough-like filling. If it seems too soft, don’t worry. It firms up as it cools.
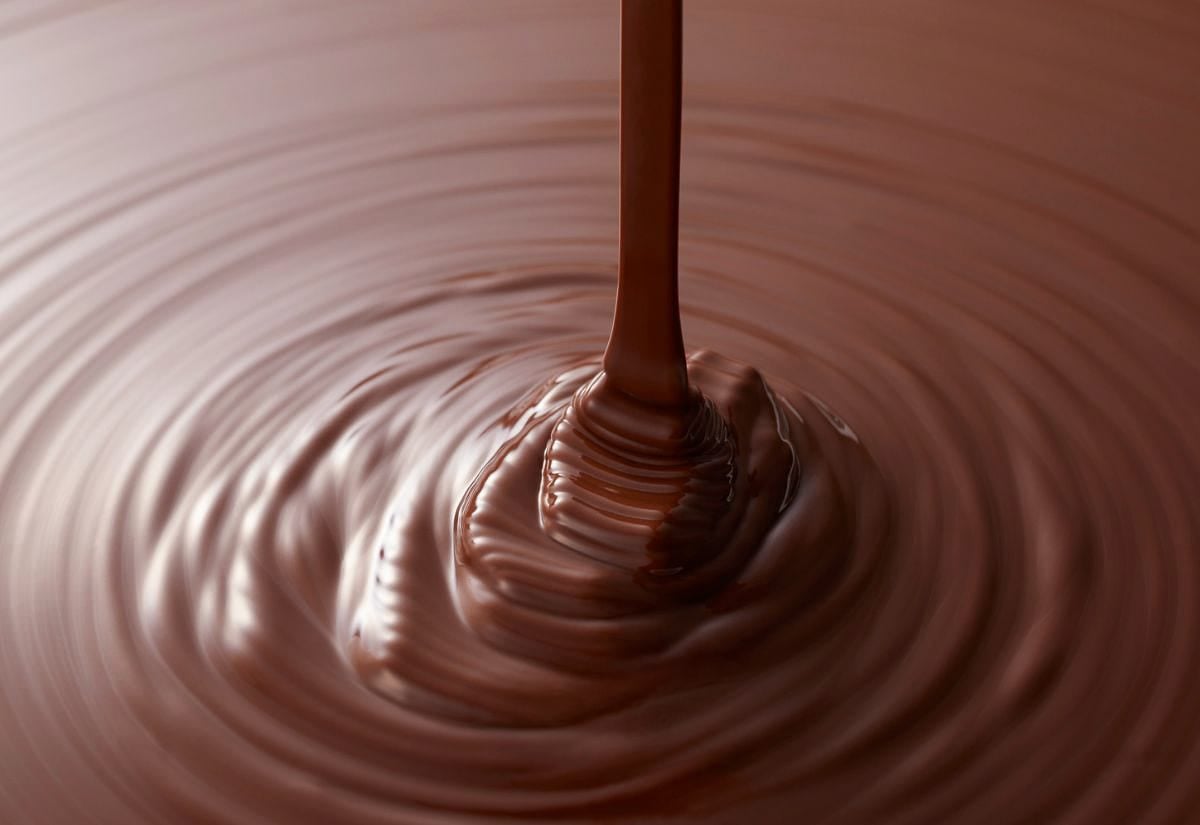
Melt the Chocolate
In a smaller saucepan (or a heatproof bowl over simmering water), melt your chocolate chips with the shortening on low heat. Keep stirring until smooth and shiny. Take it slow. Crank up the heat and you’ll end up with clumpy chocolate (ask me how I know). If it looks too thick, you can add an extra teaspoon of shortening to loosen it up.
If you’re using a microwave, heat in 20–30 second bursts and stir in between. Stop as soon as it’s melted through. Chocolate burns faster than you think, so stop while it still looks a little lumpy. It’ll smooth out as you stir.
Start with the Chocolate Base
Spoon a thin layer of melted chocolate into each muffin liner, just enough to cover the bottom. If you’re doing bars, pour in about half the chocolate and spread it evenly with a spatula.
Pop the pan in the fridge for about 30 minutes. Don’t be like me… let it firm up completely. You want the base firm enough that the peanut butter layer won’t sink. If your kitchen’s cool, you can also let them set on the counter. It’ll just take a bit longer.
Shape the Peanut Butter Layer
Once the chocolate is set, scoop the peanut butter mixture into small balls, flatten them into disks, and place one in each muffin cup. They should be a little smaller than the cup itself so chocolate can flow around them later. If the peanut butter mixture sticks to your hands, dust your fingers with powdered sugar or lightly grease your palms.
If you’re making bars, rewarm the peanut butter mixture slightly (just until spreadable) and smooth it over the chilled chocolate layer. It doesn’t have to be perfect. Once everything’s covered in chocolate, no one will know.
Add the Final Chocolate Layer
Reheat the remaining chocolate just until it’s pourable. Spoon it over each cup to completely cover the peanut butter layer, or pour it over your pan if making bars. Give the pan a little tap on the counter to smooth things out and pop any air bubbles.
Slide everything back into the fridge for another 30 minutes, or until firm.
Enjoy (and Try Not to Eat Them All at Once)
Once the chocolate’s firm, peel off the paper liners or lift the parchment and cut your bars into squares. You have to sample one right out of the pan. Quality control, right? They’re ready to eat straight from the fridge, but they soften nicely at room temperature after a few minutes.
Variations Worth Trying
Once you’ve nailed the basic version, you can have a little fun with it. This recipe works no matter what you’re in the mood for—sweet, salty, or seasonal. Here are a few versions I’ve played around with:
- Salted Peanut Butter Cups: Sprinkle flaky sea salt on top before chilling.
- Crunchy Twist: Use crunchy peanut butter for a bit of texture.
- Holiday Version: Use shaped silicone molds for Christmas or Easter.
And if you’re planning cookie trays or edible gifts, check out my roundup of Christmas cookie recipes that go great with these peanut butter cups.
How to Store Homemade Peanut Butter Cups
Store them in an airtight container in the fridge for a couple of weeks or the freezer if you want them to last longer (mine never make it that far). If you freeze them, let them sit out for 10 minutes before eating, unless you like that solid, cold-crunch thing (I kind of do).
Peanut Butter Cup Questions, Answered
You asked, I tested, and here’s what works.
Love this recipe? Save it to your dessert board so you can whip up a batch whenever the chocolate craving hits.
Homemade peanut butter cups prove that a few simple ingredients can turn into something ridiculously good. Whether you make perfect little cups or quick sheet-pan bars, they’ll taste just as good.
If you make these, save a few in the freezer for those nights when you need something homemade and indulgent, fast. Trust me, you’ll thank me later.

Homemade Peanut Butter Cups
This post may contain paid links. If you make a purchase using the links in this recipe, I may earn a commission.
Equipment
- 1 Muffin Tin or 8×8-inch baking pan
- Parchment Paper if making bars
Ingredients
- 1 cup Peanut Butter creamy or crunchy
- ¼ cup Butter unsalted
- ¼ cup Brown Sugar
- 1¼ cups Powdered Sugar
- 4 cups Milk Chocolate Chips
- ¼ cup Vegetable Shortening
Instructions
- Line a muffin tin with paper liners or an 8×8-inch pan with parchment paper if making bars.
- In a medium saucepan, melt the peanut butter, butter, and brown sugar over medium heat, stirring constantly until smooth and glossy. Remove from heat.1 cup Peanut Butter, ¼ cup Butter, ¼ cup Brown Sugar
- Stir in the powdered sugar a little at a time until it forms a thick, dough-like filling. Set aside to cool.1¼ cups Powdered Sugar
- In a small saucepan (or microwave-safe bowl), melt the chocolate chips and shortening on low heat, stirring until smooth.4 cups Milk Chocolate Chips, ¼ cup Vegetable Shortening
- Spoon a thin layer of chocolate into each liner—or pour half into the pan and smooth evenly. Chill for about 30 minutes or until firm.
- Roll the filling into small balls, flatten into disks, and press one into each cup. For bars, spread the filling evenly over the chilled chocolate layer.
- Rewarm the remaining chocolate just until pourable and spoon or pour it over the peanut butter layer. Gently tap the pan to smooth. Chill again for 30 minutes or until firm.
- Peel off the liners or cut bars into squares. Store in the fridge or freezer and enjoy whenever a craving hits.
Notes
- Natural peanut butter works if you stir it well first—it can make the filling slightly softer.
- You can swap shortening for coconut oil if you prefer, but the texture will set a bit firmer.
- These freeze beautifully; just thaw for about 10 minutes before eating.
- For a salty-sweet version, sprinkle a pinch of flaky sea salt on top before chilling.
- Try using dark chocolate for a richer, less-sweet flavor.
These peanut butter cups look awesome! I am addicted to these. I have to try to make these myself. Thank you for the recipe!
How many does this make using a muffin tin (regular size)? Or do you use a mini muffin tin? If using a sheet pan, what size pan? Thank you.