How to Grow a Backyard Tulip Garden on Your Homestead
Learn how to plant and care for tulips in your backyard garden with this step-by-step guide for vibrant spring blooms year after year.
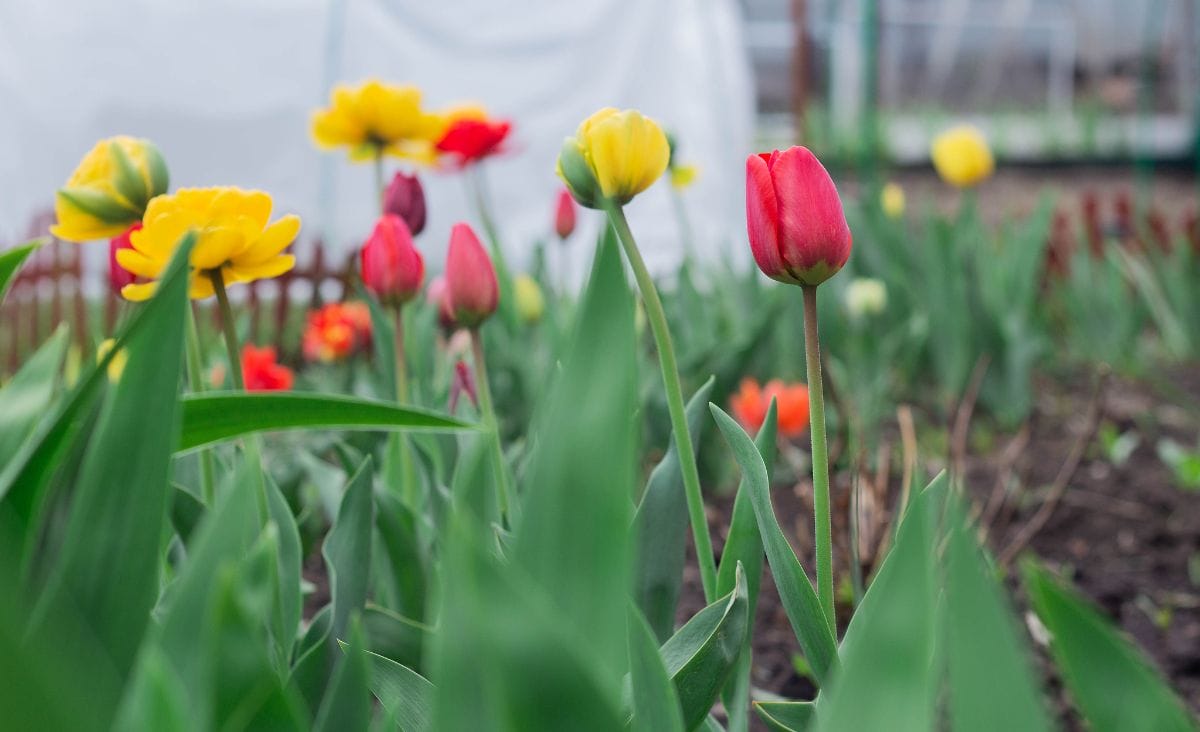
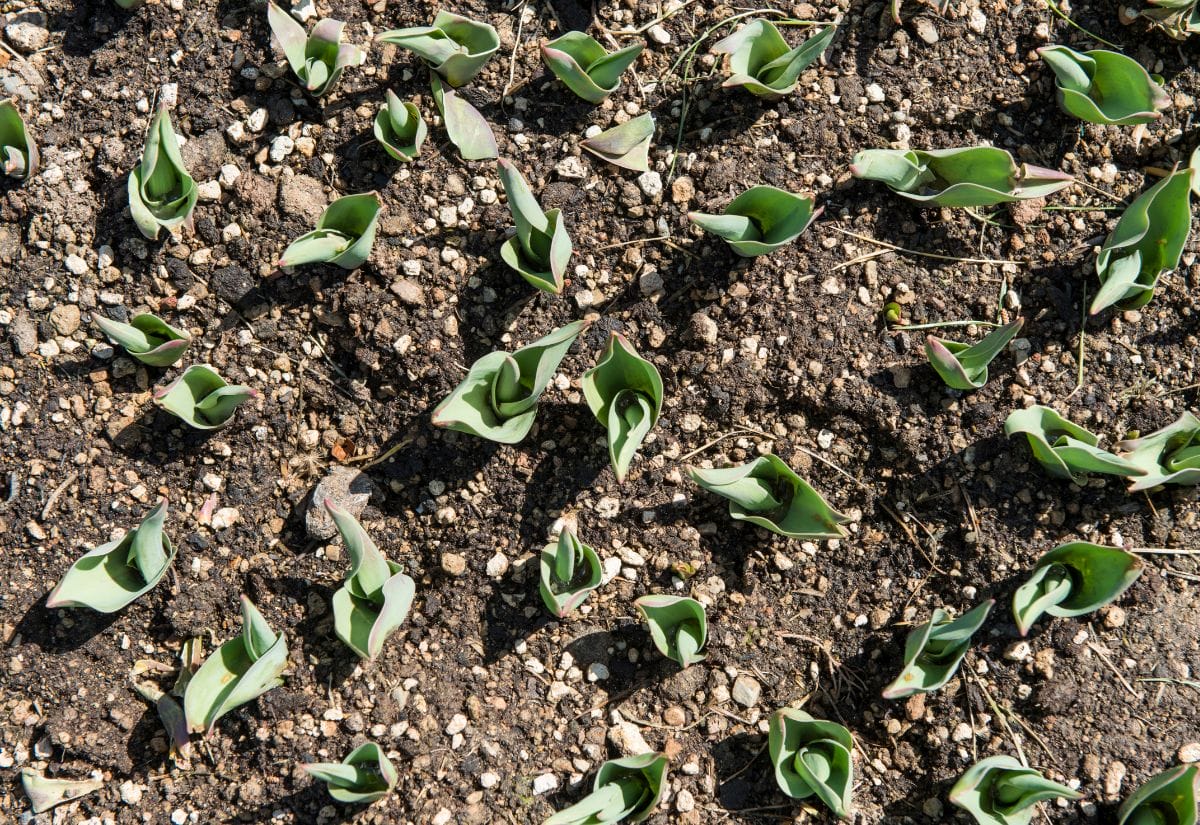
There’s something magical about seeing the first tulips push through the soil after a long, cold winter. Those vibrant pops of color feel like a reward for surviving the darker months—and they signal that spring has finally arrived.
If you’ve been dreaming of adding a backyard tulip garden to your homestead, you’re in the right place. Tulips are one of the easiest flowers to grow, offering bold, cheerful blooms with minimal effort. In this tulips planting guide, I’ll walk you through exactly how to plant, grow, and care for tulips so your garden bursts with color year after year.
Choosing and Preparing Your Tulip Bulbs
Before you start planting, it’s important to choose the right tulip varieties and ensure your bulbs are healthy. A little planning now will reward you with a stunning spring display.
Picking the Right Tulip Varieties
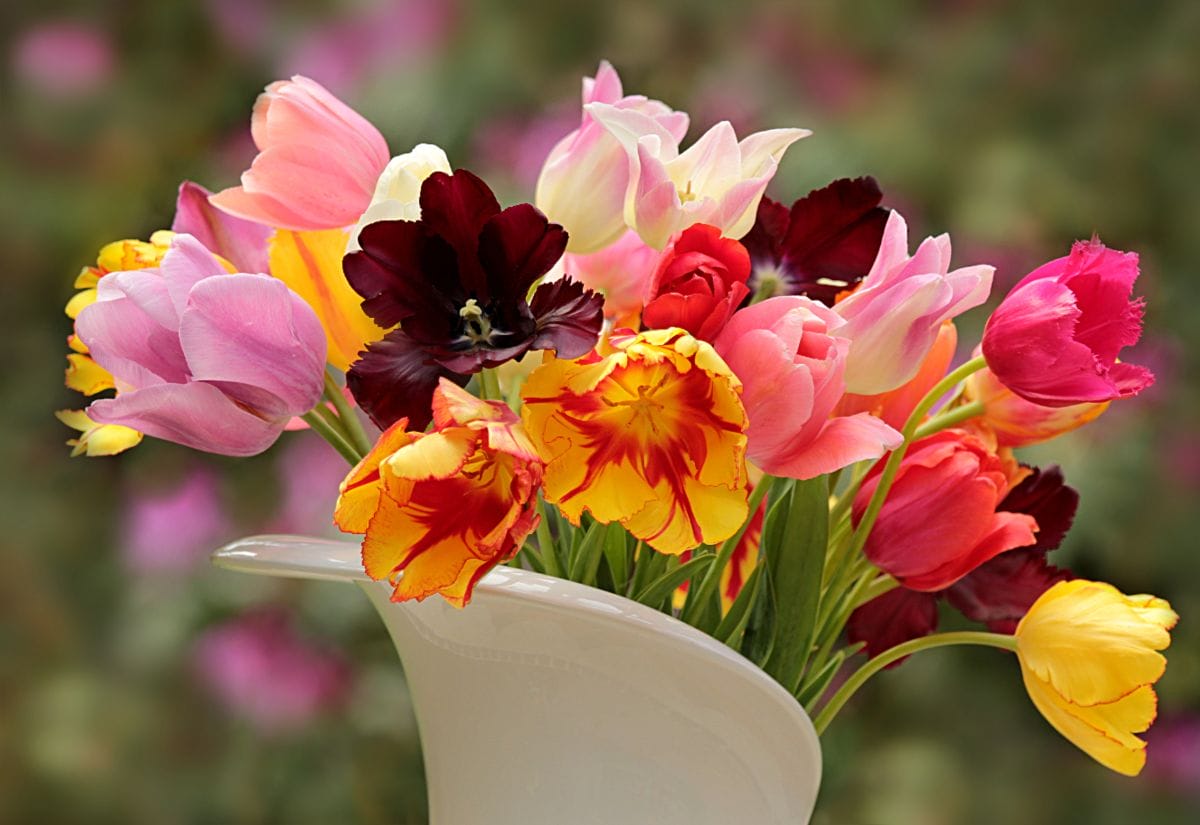
Not all tulips are created equal! Some varieties bloom early, others late, and the colors and shapes are endless. For a longer blooming season, mix early, mid, and late-season varieties. Here are a few to consider:
- Early Bloomers: Fosteriana, Kaufmanniana
- Mid-Season: Triumph, Darwin Hybrid
- Late Bloomers: Parrot Tulips, Double Late Tulips
Selecting Quality Bulbs
Always choose firm, healthy bulbs—avoid any that feel soft or have mold spots. Bigger bulbs generally produce bigger blooms.
How to Plant Tulips for a Lush Spring Display
When to Plant Tulips
Tulip bulbs need to be planted in the fall, about 6-8 weeks before your first hard frost. For most homesteads, that means planting between late September and early November.
Where to Plant Tulips
Tulips love well-draining soil and plenty of sunlight. Choose a sunny spot that doesn’t hold water. If your soil is heavy clay, mix in some sand or compost to improve drainage.
Step-by-Step Planting Guide
- Dig Deep: Dig holes about 6-8 inches deep for standard tulips. For smaller varieties, 4-6 inches is plenty.
- Place the Bulbs: Position the bulb with the pointy end up.
- Spacing Matters: Space bulbs 4-6 inches apart for a fuller look.
- Cover and Water: Cover the bulbs with soil, water thoroughly, and add a layer of mulch to help insulate them through winter.
Tip: I like to sprinkle a little organic bulb fertilizer into the hole before planting—it gives the bulbs a nutrient boost to kickstart growth in the spring.
Caring for Tulips Through the Seasons
Each season brings different needs for your tulips, and with the right care, you’ll enjoy vibrant blooms year after year. Let’s break down how to keep your tulips thriving through every stage.
Spring Care
Once tulips bloom, enjoy the show! When the flowers start to wilt, snip off the spent blooms to prevent seed production. This encourages the plant to focus energy on building up the bulb for next year.
Summer Care
Allow the leaves to turn yellow and wither naturally. This process feeds the bulb for next spring. Once the leaves are fully dried, you can cut them back.
Fall and Winter Care
In colder climates, tulips can stay in the ground year-round. But in warmer zones (USDA zones 8-10), tulip bulbs may need to be dug up and chilled for 8-12 weeks before replanting.
Common Tulip Problems and Solutions
Rotting Bulbs
This is often caused by poorly drained soil, which leads to excess moisture and bulb rot. To prevent this, improve drainage by mixing compost, sand, or fine gravel into your soil. If your garden tends to stay soggy, consider planting tulips in raised beds or containers where drainage is easier to control.
Animal Damage
Squirrels, voles, and even deer are notorious for digging up tulip bulbs. To protect your bulbs, plant them in wire mesh cages or bury chicken wire just above the bulbs to deter digging. You can also sprinkle crushed red pepper, garlic powder, or blood meal around the planting area as natural deterrents.
Weak Blooms
Tulips that produce small or weak flowers may be struggling due to overcrowding, poor soil nutrition, or inadequate sunlight. Thin out crowded plantings every few years and work in a balanced, slow-release fertilizer in the fall and early spring. Additionally, make sure your tulips are planted in a spot that receives at least six hours of direct sunlight daily.
Tulip Growing Questions Answered
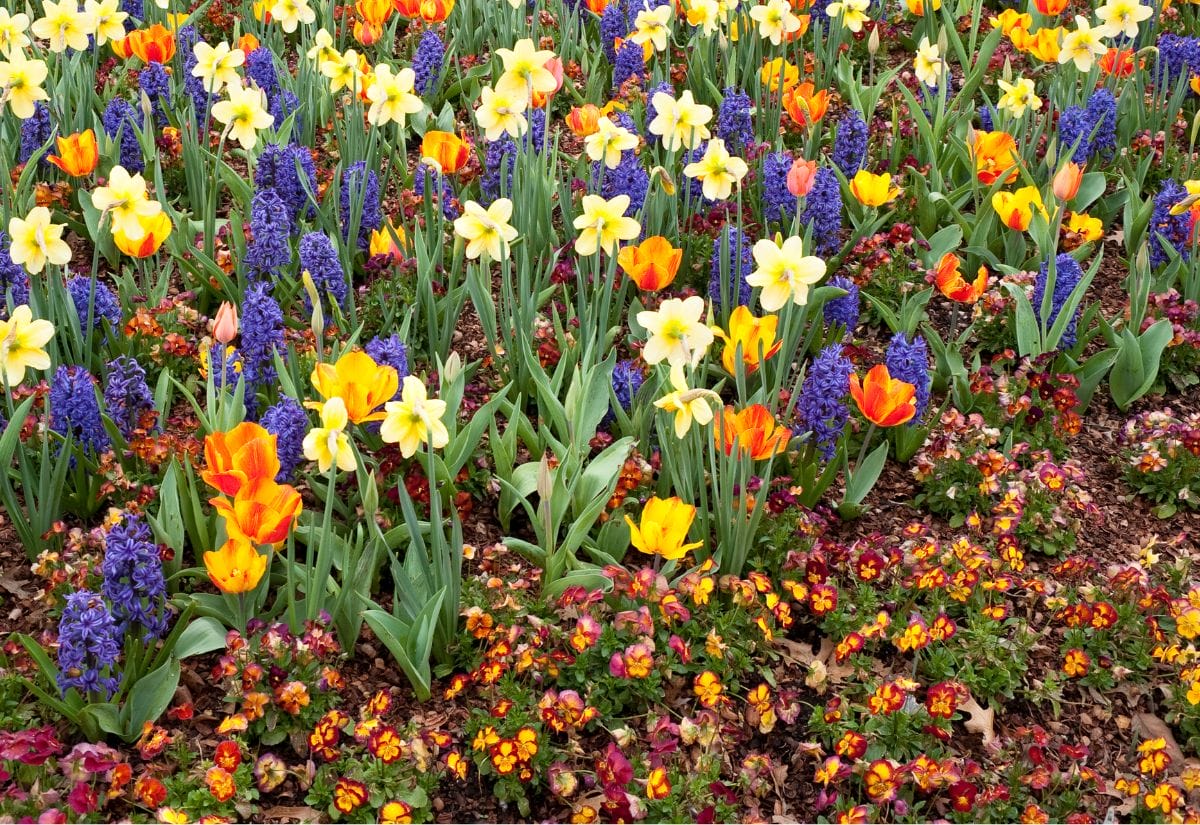
One trick I’ve learned over the years is to mix tulips with other early bloomers like daffodils or hyacinths. Not only does this create a stunning display, but daffodils can help deter critters from munching on your tulip bulbs.
Pin this and start planning your dream tulip garden!

Planting tulips is one of the simplest ways to add early spring color to your homestead garden. With just a little planning in the fall, you’ll be rewarded with vibrant blooms that signal the start of a new growing season.
Ready to take your gardening skills even further? Once your tulip garden is thriving, why not expand your homestead with more creative and sustainable projects? If you’re working with limited space or tricky soil, there are simple ways to start a productive garden right in your yard. You can also add charm to your space by creating your own galvanized planters—it’s easier than you might think! And if you’re looking to enrich your soil naturally, composting is a fantastic way to nourish your plants while reducing waste. Plus, planting with pollinators in mind can turn your garden into a safe haven for monarch butterflies and other beneficial insects.
Have you planted tulips before, or is this your first time? I’d love to hear about your plans or any tips you’ve picked up—drop a comment below and let’s chat!
My favorite flower is tulips, your article gives me inspiration to grow tulips right in my garden. Good article, thank you very much.
Could you recommend another flower that is nice combination with the tulip. I live in wa. Another flower that I like are hyacinths. Do you think they would be a nice choice to combine with tulips in a flower bed.
Hyacinths would be beautiful. I have a few of those as well as crocuses and daffodils that arrive before my self-seeding annuals take over for the summer.
I would like to share a good tips about tulip bulbs here. I have to say that tulip is one of the best and early spring flower bulbs that is available in variety of colors and forms. Tulips grow well in sandy type of soil because of they provides good drainage that is essential for good flowering.
Thank you for the tip!
Hi! i am happy for the information you shared! thank you so much! God bless you and make you strong for the life!
Tulips are so lovely! Thanks for the tutorial!
~Lisa M
I am more of a vegetable guy but even I think tulips are one of those awesome looking flowers that ad such beauty to anyone’s garden or yard area. Thanks for the tips.
Beautiful photo of one of my favorite flowers! Every year I think I’ll plant some tulips, then I never get around to it. I’m inspired now though!
I’m so glad you’re inspired 🙂 Tulips, crocus and these things that look like tiny lupines I planted forever ago are my spring favorites. They are a nice colorful reward for surviving another harsh Maine winter.